Japanese Okonomiyaki recipe

For those who love Japanese food; you may already be familiar with Okonomiyaki (O-konomi-yaki). If not, it is a must try! This vegetarian Japanese Okonomiyaki recipe is something we’ve been wanting to try making at home for months.

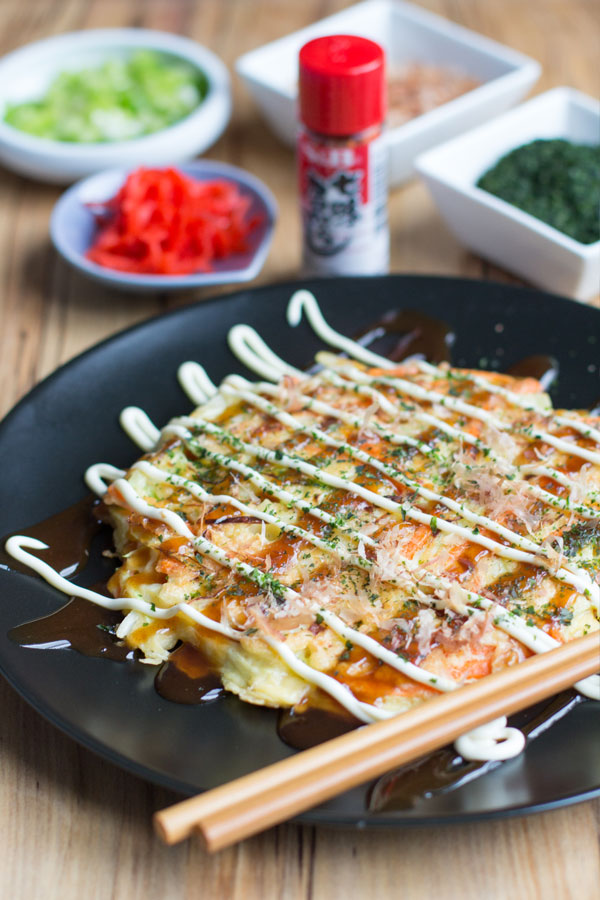
Okonomiyaki is a Japanese savoury pancake containing a variety of ingredients. The name is derived from the word okonomi, meaning “what you like” or “what you want”, and yaki meaning “grilled” or “cooked”.

As the name insists, you can do what you like. But there are some differences in ingredients that change the style of the dish depending on the region of Japan. There are two main types of okonomiyaki. Osaka (or Kansai) style or Hiroshima. For us, it is all about the former style – Osaka, as this was the variety we “sampled” the most while travelling around Japan earlier this year. Our first attempt at making okonomiyaki was at a cooking class in Osaka called Eat Osaka which is well worth doing if you are ever in Osaka.

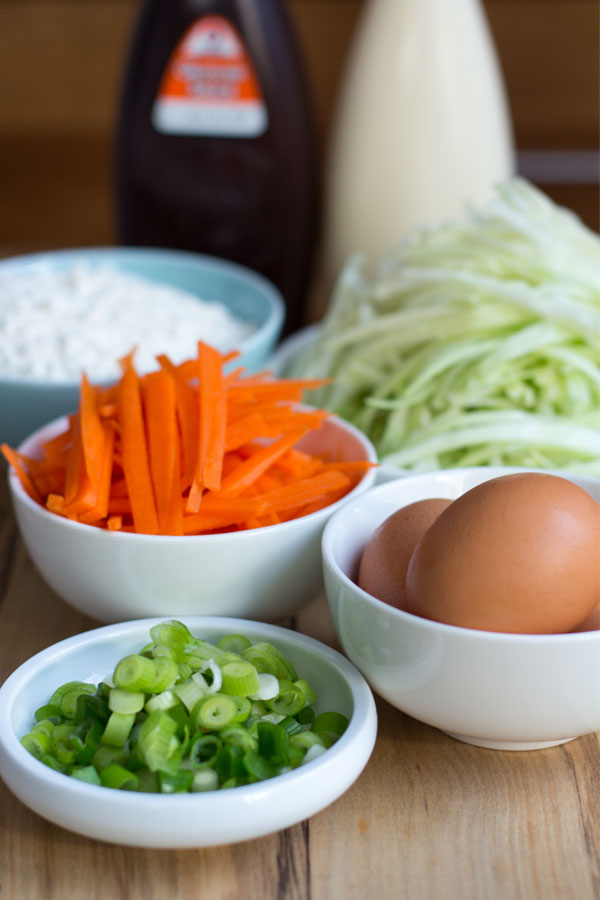
To make the okonomiyaki, it is a simple flour based mixture combining vegetables (predominantly cabbage) and if you want a non-vegetation option, you could add some cooked pork, chicken or prawns.

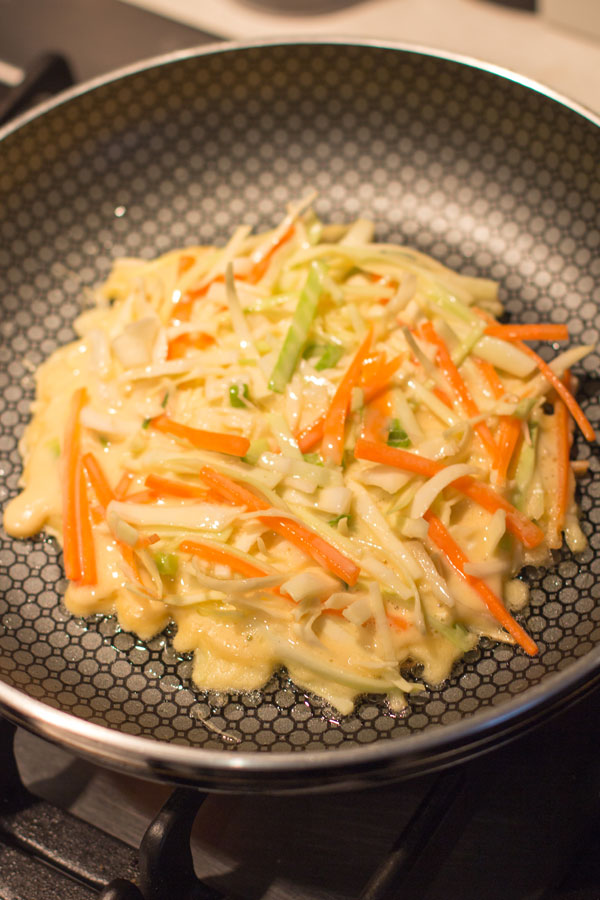
At a restaurant traditionally the Okonomiyaki is cooked on a hot plate in front of you, however, our homemade Okonomiyaki recipe can be cooked using a non-stick fry pan with a little vegetable oil.

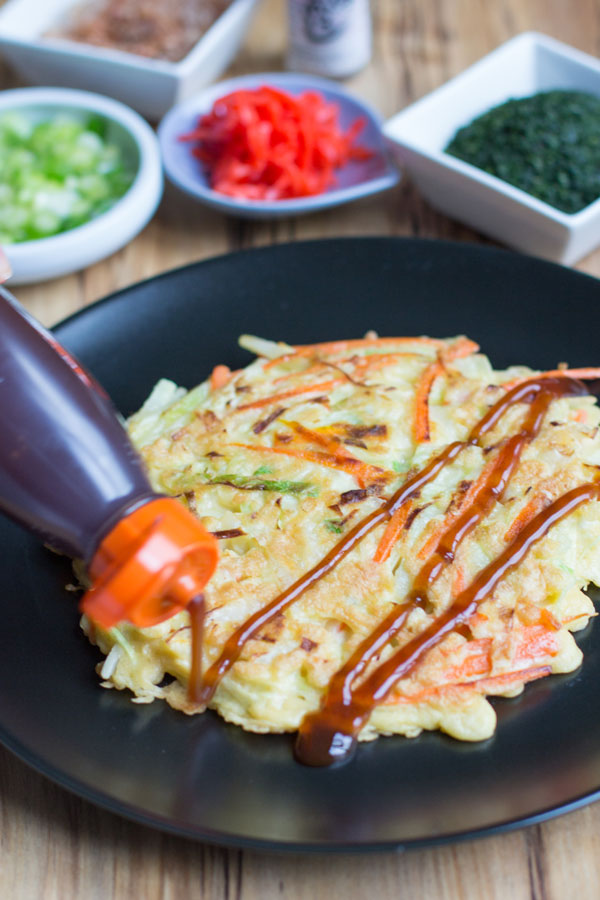
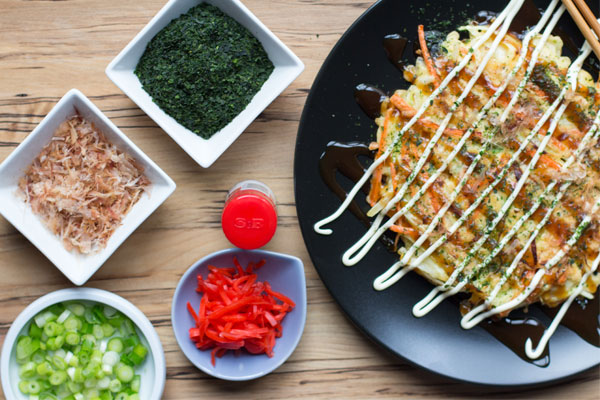
To finish your okonomiyaki the best part is the toppings! Okonomiyaki sauce is essential. It is a dark brown sauce combining Worcestershire sauce, soy sauce, ketchup, and a dash of sugar or a teaspoon of honey. The dominant okonomiyaki sauce brand is Otafuku. You then need to use Japanese mayonnaise; Kewpie Mayo is the most popular brand or any other Japanese mayo which is thicker and sweeter than other varieties. To finish, top off your okonomiyaki with Aonori; a green seaweed close to powder form and Dried Bonito Flakes (if you like). In our house, if you like a little spice, you can also use sriracha or some Nanami Togarashi (dried chilli powder)!

Looking for other vegetarian recipes then check out or vegetarian rice paper rolls.
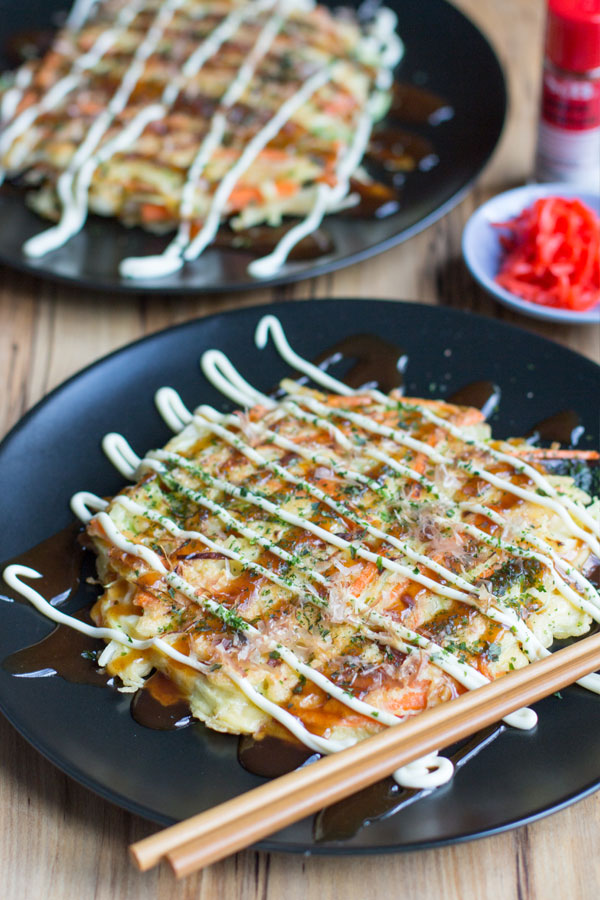
Japanese Okonomiyaki ingredientsJapanese Okonomiyaki batterJapanese Okonomiyaki mixtureCooking Japanese Okonomiyaki RecipeOsaka Okonomiyaki RecipeJapanese Okonomiyaki RecipeHomemade Japanese Okonomiyaki RecipeJapanese Okonomiyaki Recipe

Vegetarian Japanese Okonomiyaki – Recipe Instructions

5.0 from 1 reviews
Japanese Okonomiyaki Recipe
 
Prep time
Cook time
Total time
 
Okonomiyaki is a Japanese savoury pancake containing a variety of ingredients. The name is derived from the word okonomi, meaning "what you like" or "what you want", and yaki meaning "grilled" or "cooked".
Author:
Recipe type: Main
Cuisine: Japanese
Serves: 4
Ingredients
Japanese Pancake mixture
  • 120g Okonomiyaki flour or plain flour
  • ¾ cup water
  • 3 eggs, lightly beaten
  • 500g Cabbage, finely shredded
  • 1 carrot, grated or finely sliced
  • 4 Spring onions, sliced (half for recipe, half for decoration)
  • Vegetable oil
Toppings
  • Okonomiyaki Sauce
  • Japanese Mayonnaise
  • Aonori
  • Dried Bonito Flakes
  • Pickled Ginger
Instructions
  1. In a large bowl, whisk together flour and Water until smooth.
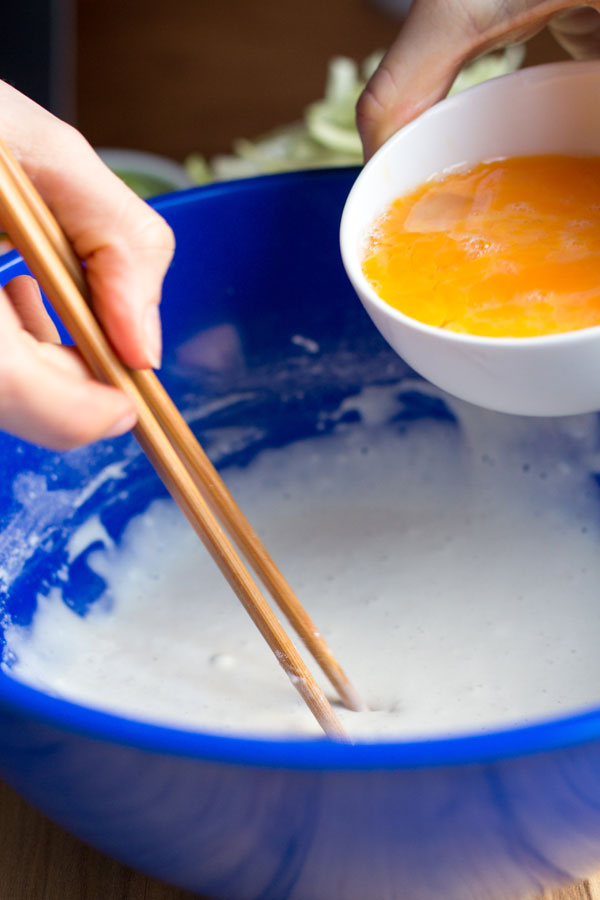
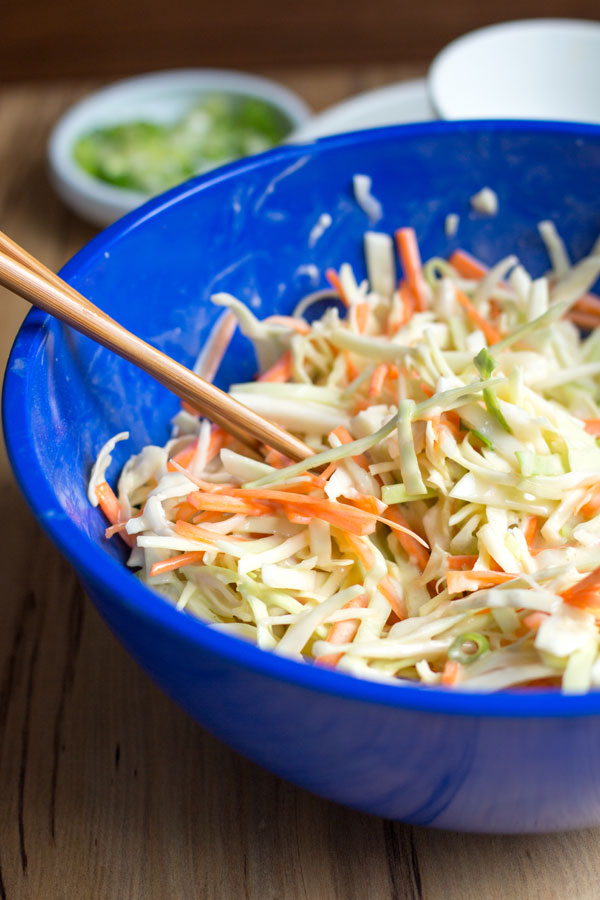
  2. Add the eggs to the batter and whisk to combine. Stir in the cabbage, carrot, and spring onions.
  3. Meanwhile, heat a non-stick frying pan over medium-high heat.
  4. Add Okonomiyaki mixture. Using a spatula and form pancakes until ½” thick and approximately (6”) across.
  5. After about 3 minutes, flip over pancake and cook for 4 minutes.
  6. Remove to plate and drizzle with Okonomiyaki sauce, Kewpie mayonnaise and sprinkle with Aonori and dried Benito flakes.
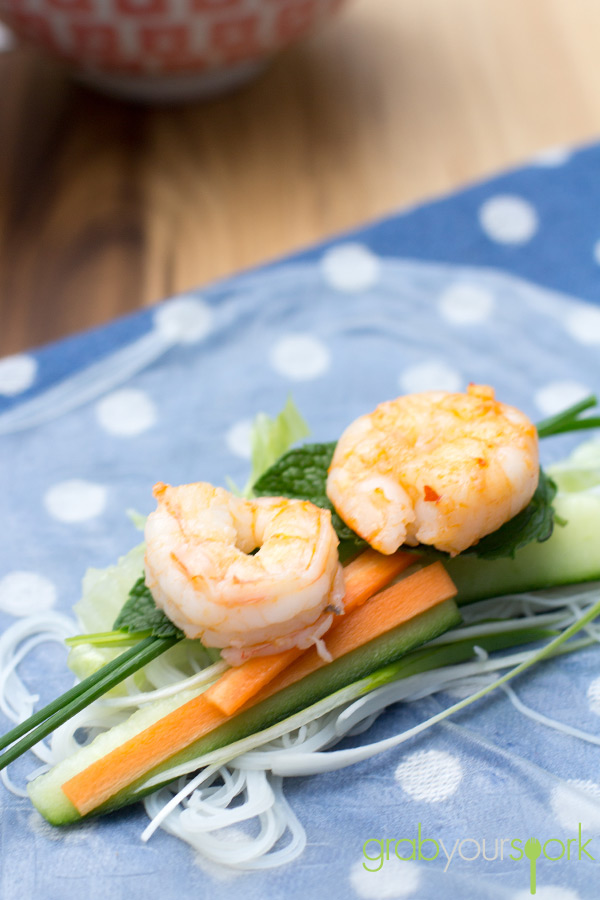
 

Prawn Rice Paper Rolls with Hoisin Dipping Sauce

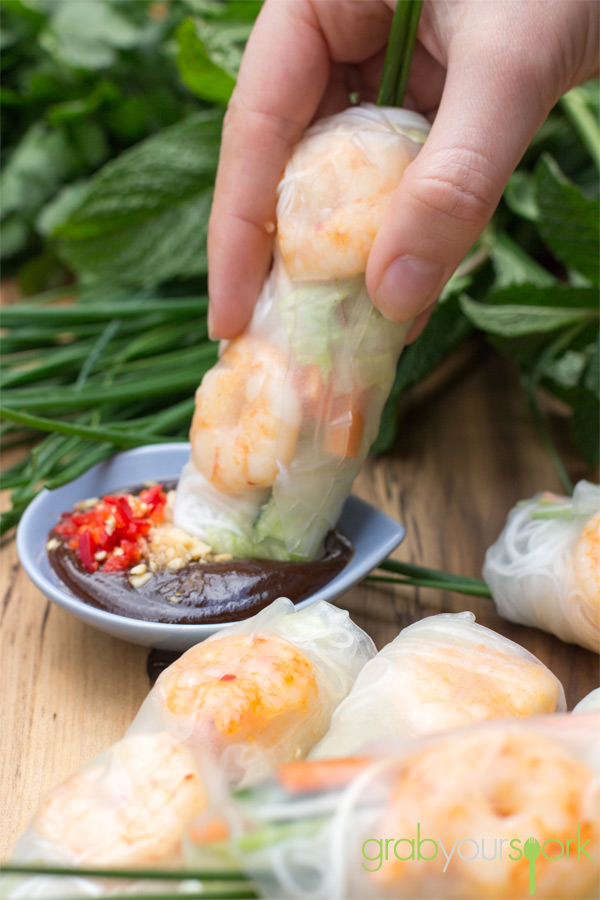
These homemade Prawn Rice Paper Rolls with Hoisin Dipping Sauce are one of my favourite go to recipes for summer! With the weather warming up here in Melbourne (finally!), Brooke and I thought it would be great to share with you how easy and adaptable rice paper rolls can be. Other variations of rice paper rolls on the blog are our chicken vietnamese rice paper rolls and our vegetarian rice paper rolls both equally simple and tasty.

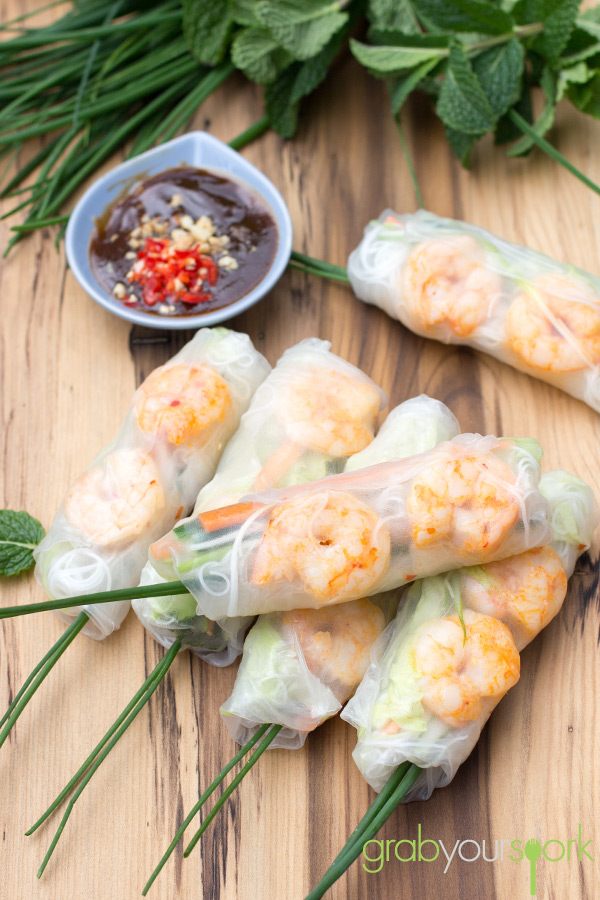
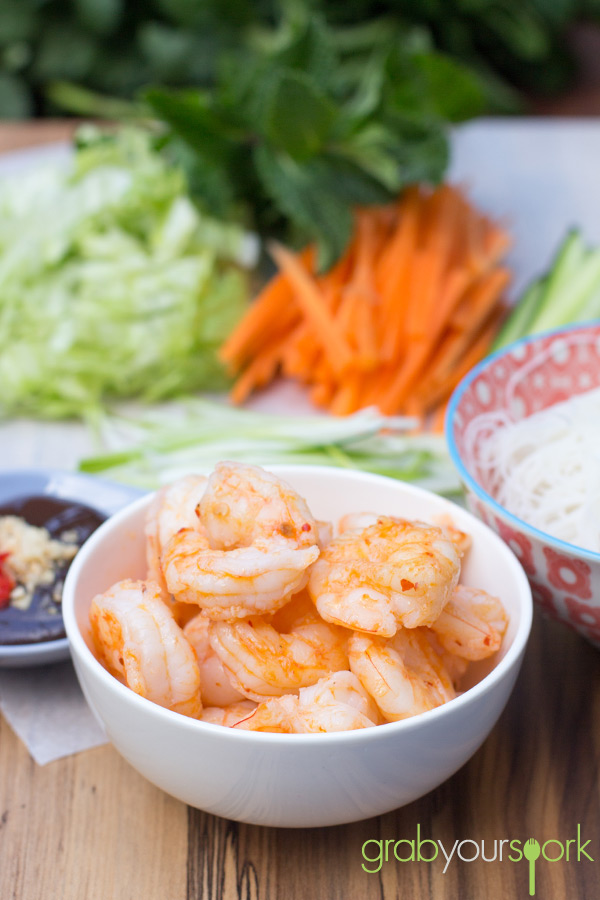
For this recipe we have used some Queensland prawns which we bought at the South Melbourne Markets on our usual Sunday shop. Giving them a quick clean and cutting the larger prawns in half, Brooke cooked the prawns in a little fresh chilli and garlic for an extra kick. However, the prawns can be left plain letting their natural sweetness come through.

For those of you who haven’t made homemade rice paper rolls before, they are actually quite easy once you have made them a few times. The trick is to making sure you have all your ingredients prepared before you start assembling.

Now depending on the brand of rice paper wrappers you buy, they can be a little fiddly to make, if you accidentally rip the rice paper when trying to roll them, don’t stress – these are simply the “taste testers”. When assembling the rolls, the key is to not over-fill and leave enough room around the sides of the rice paper for folding and rolling. Once you have done a couple you will master your own “tuck and roll” technique.

Prawn Rice Paper Rolls with Hoisin Dipping SaucePrawn Rice Paper Rolls with Hoisin Dipping SaucePrawn Rice Paper Rolls with Hoisin Dipping SaucePrawn Rice Paper Rolls with Hoisin Dipping Sauce

Prawn rice paper rolls – Recipe instructions

Prawn Rice Paper Rolls with Hoisin Dipping Sauce
 
Prep time
Cook time
Total time
 
Homemade Prawn Rice Paper Rolls with Hoisin Dipping Sauce.
Author:
Recipe type: Seafood
Cuisine: Vietnamese
Serves: 24
Ingredients
Hoisin Dipping Sauce
  • 2 – 3 Tablespoons Hoisin Sauce
  • 1 Teaspoon Soy Sauce (Salt Reduced)
  • ½ Teaspoon minced Chilli
  • ½ Teaspoon crushed peanuts
Prawn Rice Paper Rolls
  • 24 spring roll rice paper wrappers
  • 1 large or 2 small carrot, peeled and julienned
  • 1 large cucumber, julienned
  • 3 spring onions, julienned
  • 1 ounce cooked rice noodles/rice vermicelli (optional)
  • 4 large green lettuce leaves, shredded
  • 200g medium cooked prawns, peeled and sliced in half length-wise
  • Fresh herbs (chives, coriander or mint)
Instructions
  1. When you’re ready to assemble the rolls, fill a shallow dish with warm water.
  2. Dip one rice paper wrapper into the water for 15-20 seconds and place on a clean flat surface.
  3. Fill the rolls: Place a few sticks of carrot, cucumber, spring onion, and small amount of lettuce on top of the bottom ⅓ of the rice paper. Then, a small amount of noodles (if using), a selection of herbs and two prawns. Remember, do not overfill the roll. Start small then add more if needed.
  4. To roll: Tuck over each side, then pull the bottom of the roll and roll over the filling, remembering to roll and use your hands to tuck the filling as you go.
  5. Repeat with the remaining rice paper wrappers and filling.
  6. Serve the spring rolls whole, or sliced in half with a Hoisin Dipping Sauce.

Ham and cheese croquettes recipe

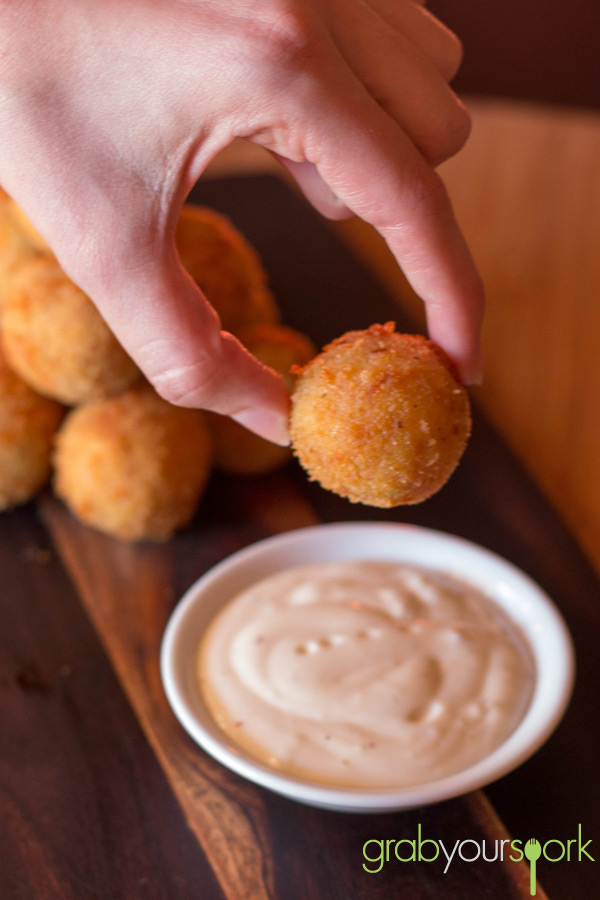
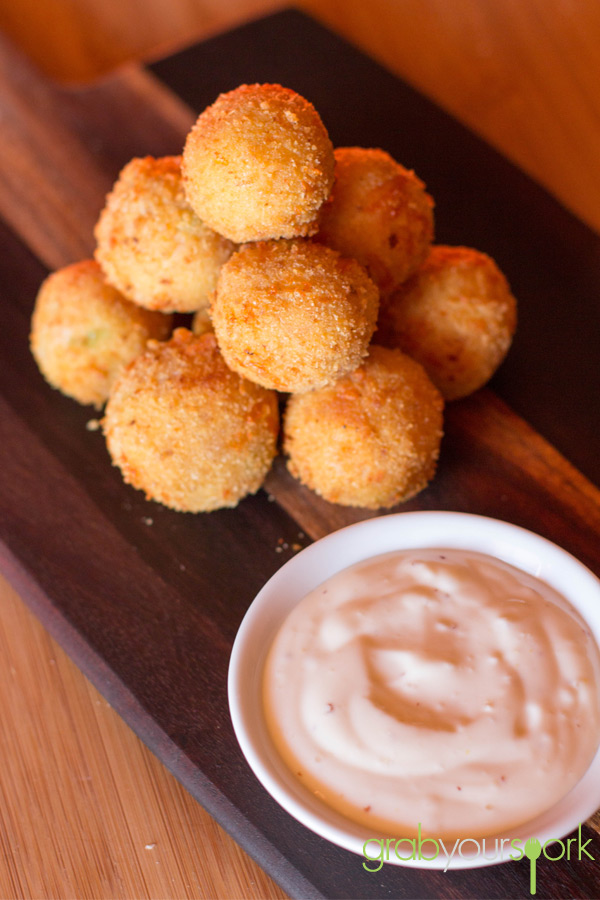
Today we have a ham and cheese croquettes recipe to share, these delish small bread-crumbed fried delights originate from France. However the first time I had these was when I was travelling around Spain and the same goes for Brooke. To make croquettes the main ingredient starts with either mashed potato or with a béchamel sauce (which is what we used). These are then flavoured with meat, fish, cheese, and vegetables before being coated and fried off giving them their name croquer, which means “to crunch”.

I love these little snacks and they are definitely a crowd pleaser. You can simply make them ahead of time, and fry when ready to be served. Or cook them then simply reheat in the oven to crisp and warm through.

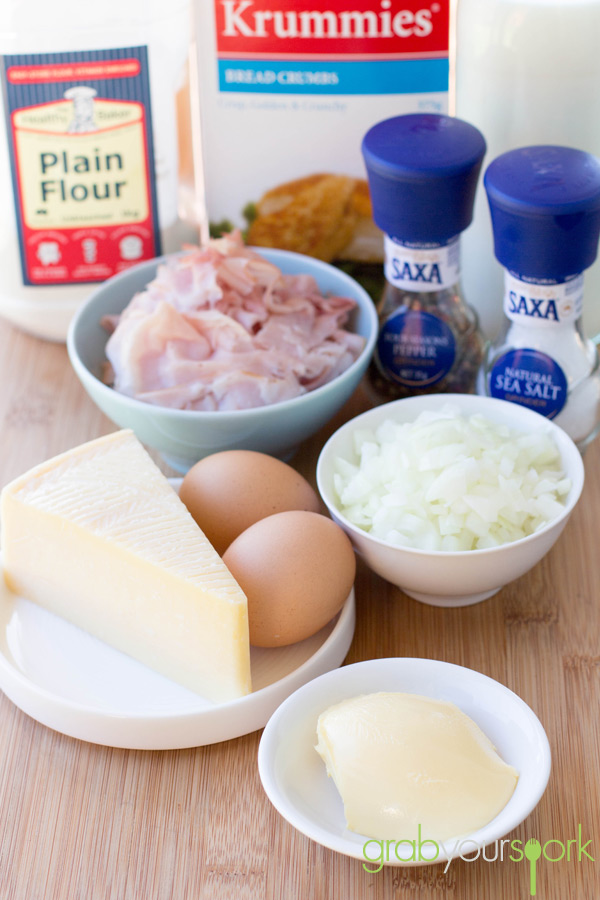
To make our croquettes we have used onion, ham, cheese and added a bit of spring onion for freshness and colour. However all these ingredients are interchangeable with other meat, fish or vegetables.

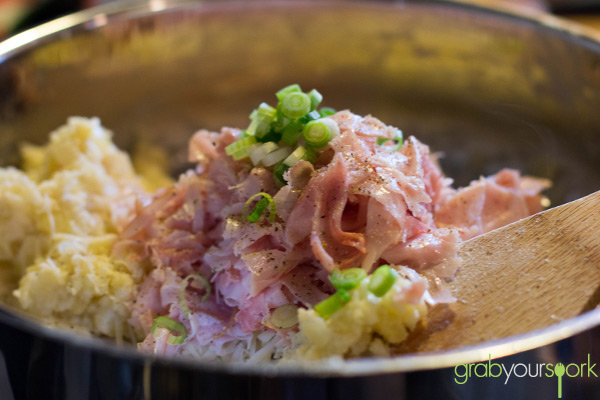
To start, simply saute the onion off in the olive oil and butter until the onions are soft. Gradually add the flour and cook it off before adding the milk. It is very important that you add the milk slowly ensuring there are no lumps. Once this is done add in your grated cheese, ham and spring onions. We have used pecarino cheese for a bit of extra bite, but you can use manchego also. Once this is all combined spread the mixture on a tray to allow too cool. This will leave you with a mixture that is easy to form and shape before crumbing.

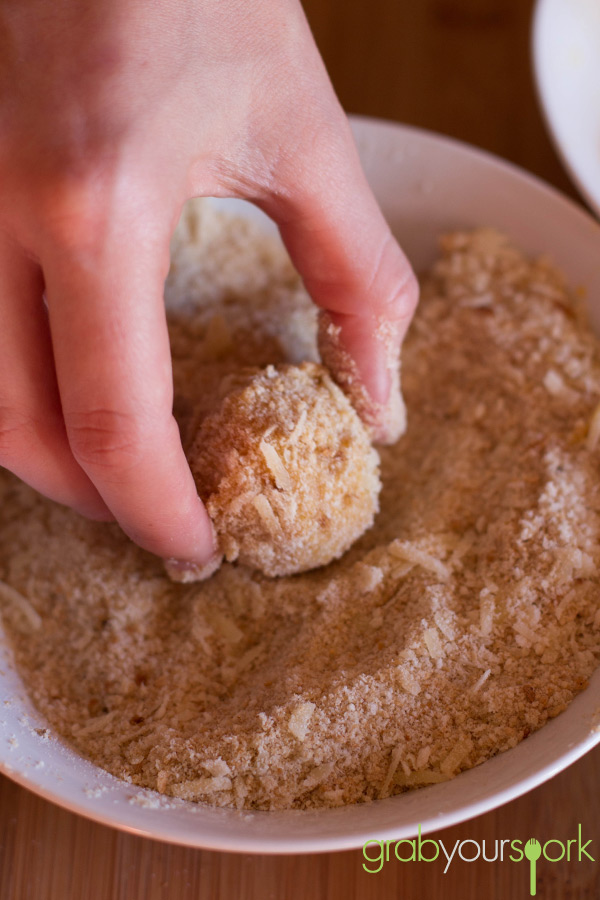
Refining our ham and cheese croquettes recipe we learned it is important to crumb twice, as not only will it help contain your filling, it will give your croquette the necessary crunch. To cook, fry in small batches watching them closely to get a nice golden brown colour. Serve these warm with a simple dipping sauce or on their own!

If you are looking for some alternative snack options then check out our savoury muffin recipe or Vietnamese rice paper rolls recipe.

Ham and Cheese Croquettes IngredientsHam and Cheese CroquettesHam and Cheese Croquettes RecipeHam and Cheese CroquettesHam and cheese croquettes recipe

5.0 from 2 reviews
Ham and Cheese Croquettes
 
Prep time
Cook time
Total time
 
Ham and Cheese Croquettes made with onion, ham, cheese and spring onion for freshness and colour.
Author:
Recipe type: Snack
Cuisine: Spanish
Serves: 12
Ingredients
  • 2 tablespoons unsalted butter
  • 2 tablespoons olive oil
  • 1 small onion, finely chopped
  • Coarse salt and freshly ground pepper
  • 7 tablespoons all-purpose flour, plus more for shaping
  • ¾ cup whole milk
  • ½ finely chopped ham of your choice
  • ½ cup plus ¼ cup grated Pecorino cheese
  • 3 large eggs
  • 1½ cups fresh breadcrumbs
  • Vegetable oil, for frying
  • 2 tablespoons spring onion
Instructions
  1. Heat butter and oil in a medium saucepan over medium heat until butter has melted.
  2. Add onion, and cook until onions are translucent.
  3. Add flour gradually; cook, stirring, 1 minute.
  4. Whisk in milk gradually ensuring no lumps and cook, whisking.
  5. Whisk in ham, ½ cup cheese, and spring onions.Season with salt and pepper as desired.
  6. Spread mixture onto a baking sheet, and let cool completely.
  7. Whisk together eggs in a shallow dish. Stir together breadcrumbs and remaining ¼ cup cheese in another dish.
  8. Scoop tablespoons of cooled mixture, and shape.
  9. Working with 1 ball at a time, coat in beaten egg, then in breadcrumb mixture. Repeat and transfer to a baking sheet lined with parchment paper.
  10. Heat 2½ inches oil in a large, heavy stockpot until it reaches 375 degrees.
  11. Working in batches, fry croquettes, flipping once, until golden brown, 1 to 2 minutes total.
  12. Using a slotted spoon, transfer to paper towels to drain. (Adjust heat between batches as needed to keep oil at a steady temperature.)
  13. Serve warm.