Belgian lemon tea cake recipe

When life gives you lemons… you need to make this easy Belgian lemon tea cake recipe!

Belgian lemon tea cake recipe

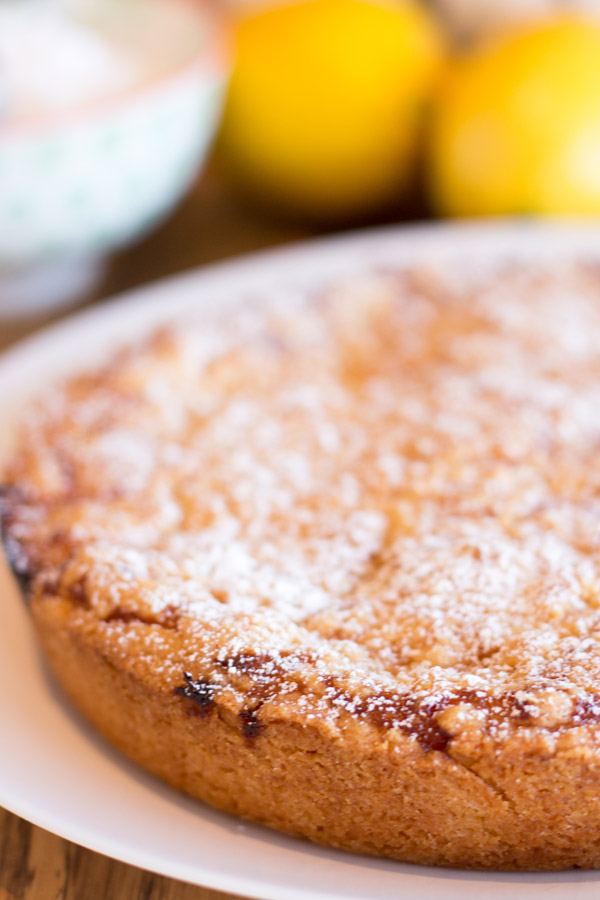
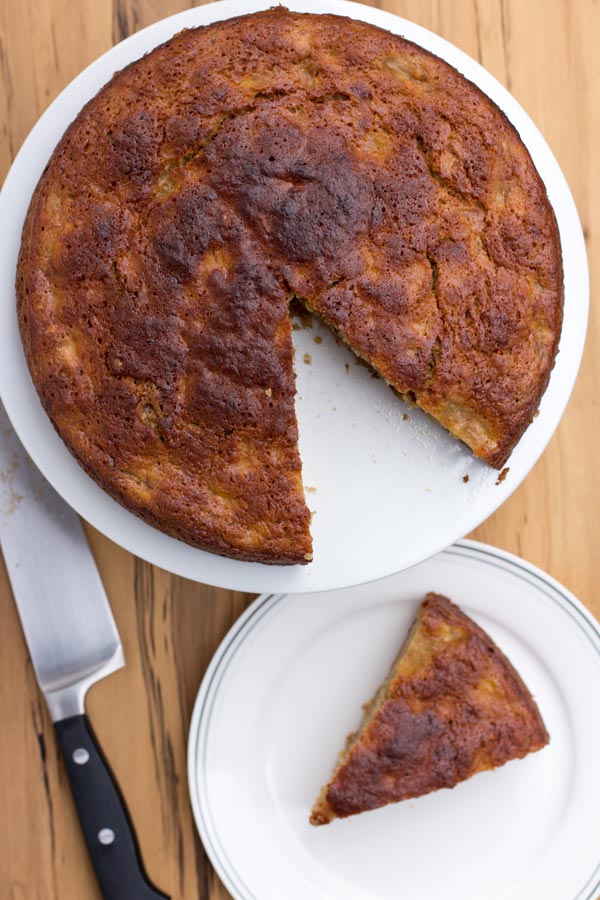
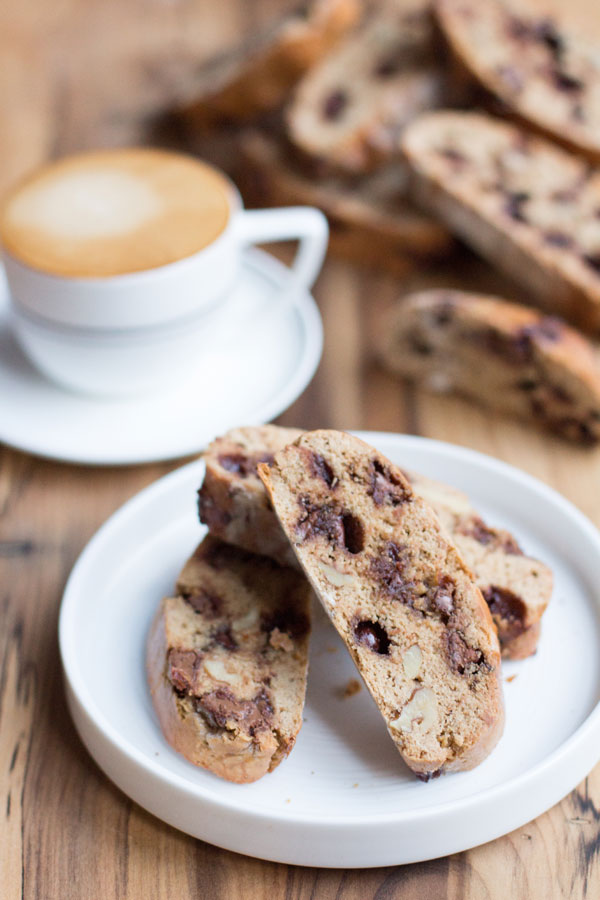
One of the single greatest things about spring, in my opinion, is LEMON dessert in all shapes and forms. So enter this new luscious Belgian lemon tea cake. It’s not going to blow the roof of the internet or anything. No bells and whistles and extra fancy things. It’s just a basic lemon curd tea cake – with just the right amount of density and weight, and golden crumbs on top, incorporating that zingy lemon-cake taste. Basic, full of lemony flavour throughout, and so, so good.

So, the lemon tea cake.

Brooke’s mum introduced her to this lovely Women’s Weekly recipe for a Belgian lemon tea cake. It is a delicious tea cake, with a lemon curd filling. It is not a difficult recipe; in fact, it is very simple. In addition I should point out that I could eat the whole thing myself, if allowed. As in, the whole cake. A little piece here, and a little piece there, and three more pieces after that. Next minute it would be gone. It’s that good!

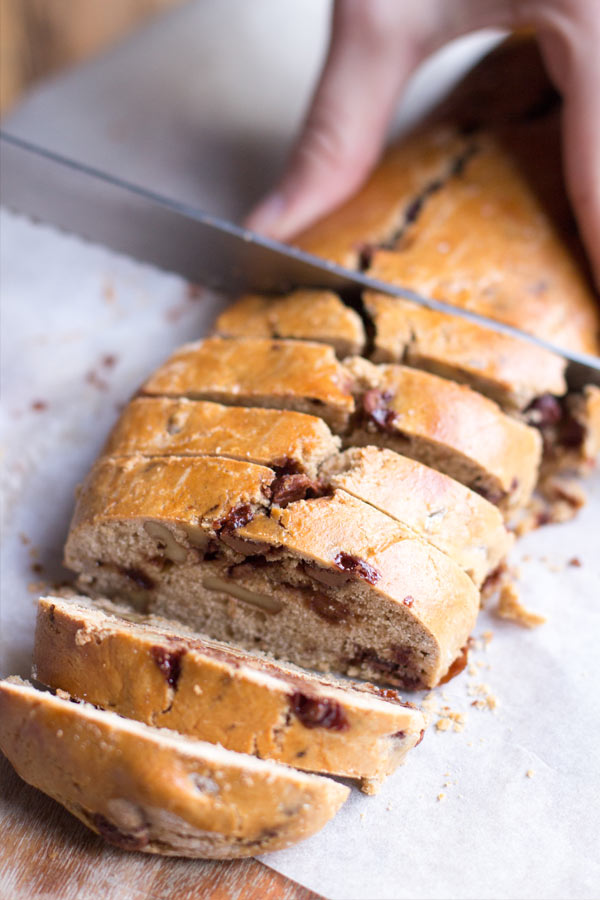
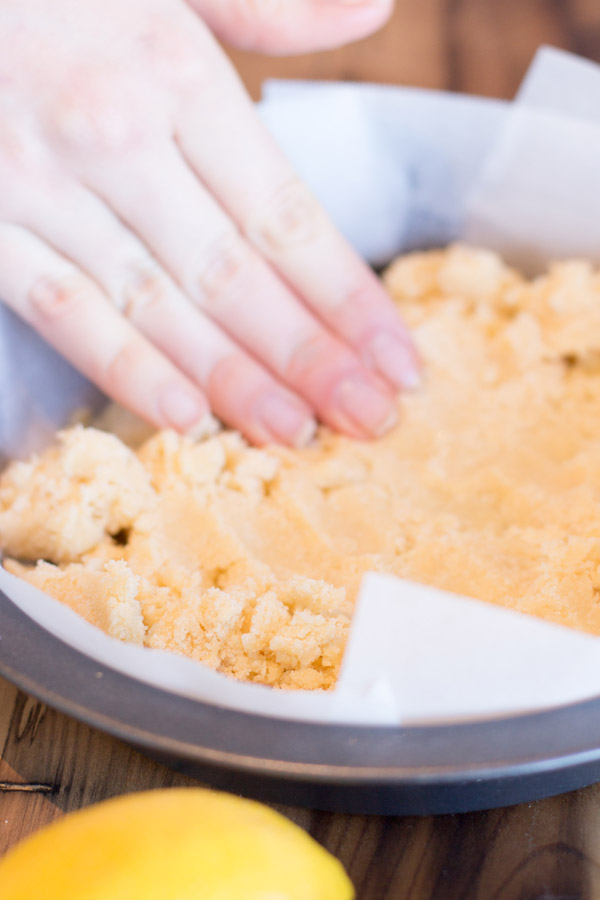
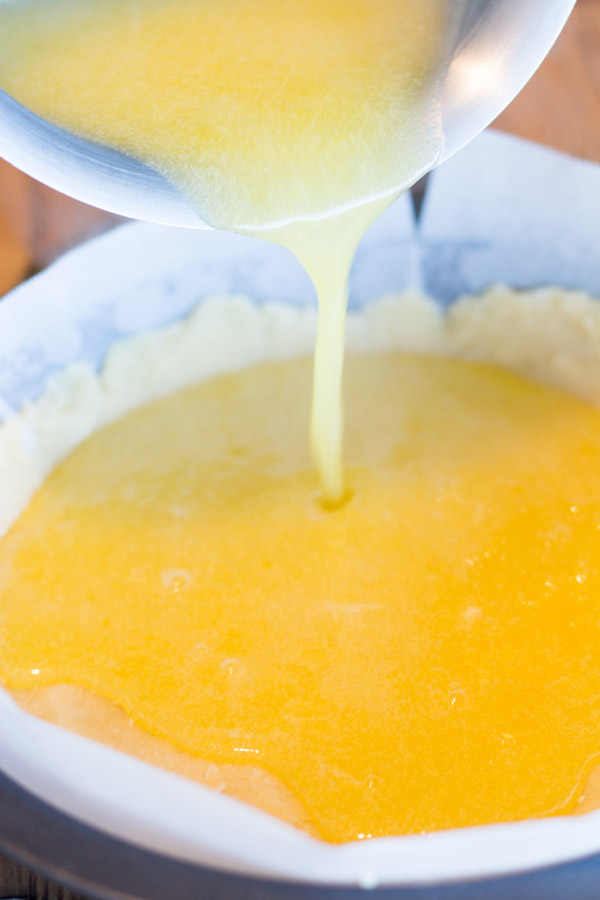
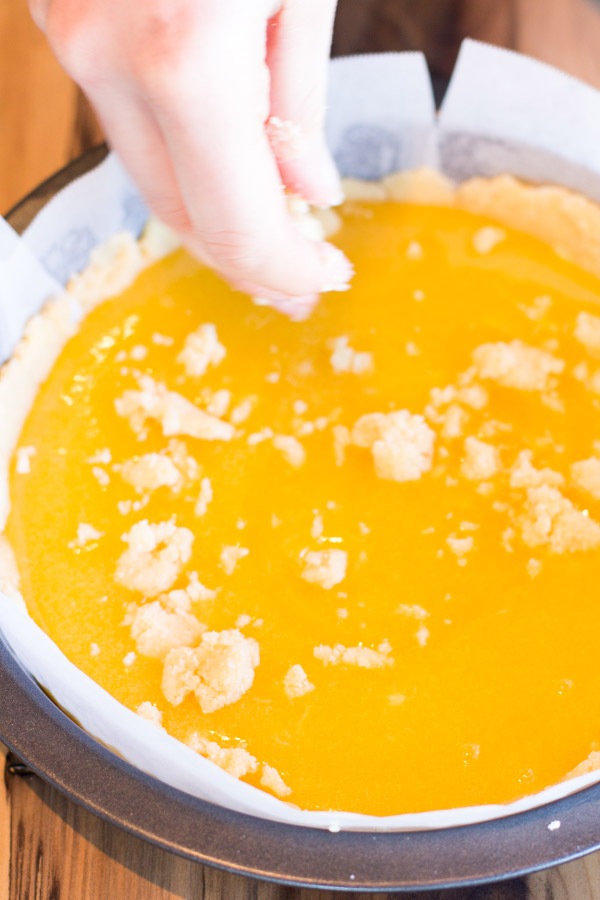
Don’t be daunted by the thought of making lemon curd, it really is quite easy. The cake mix is actually more like a pastry base which you press two-thirds of the mixture into the base of a greased tin and then add the lemon curd – almost like a pie. Finally, sprinkle some of the remaining cake mixture on top. The sweetness of the pastry on top of the tea cake compliments the zingy, lemon curd filling.

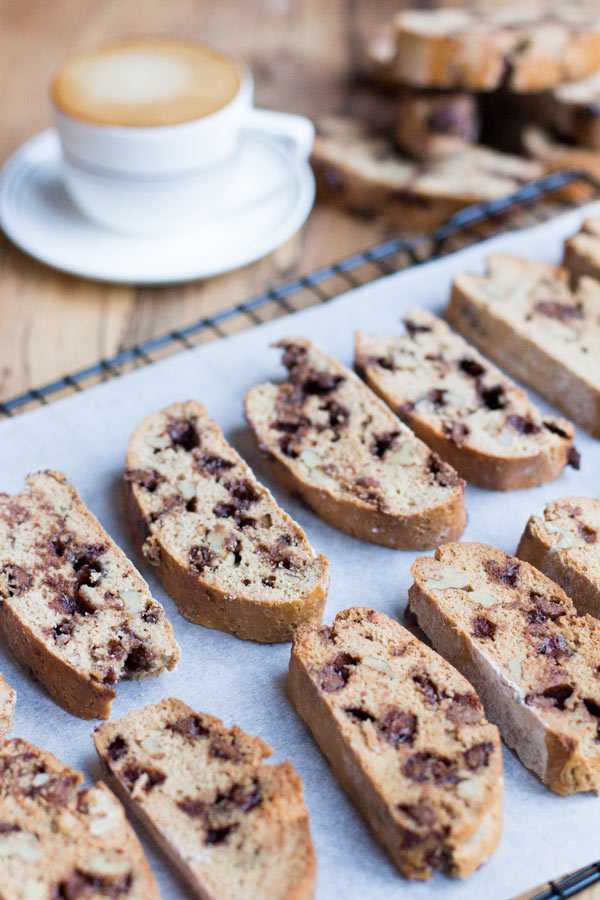
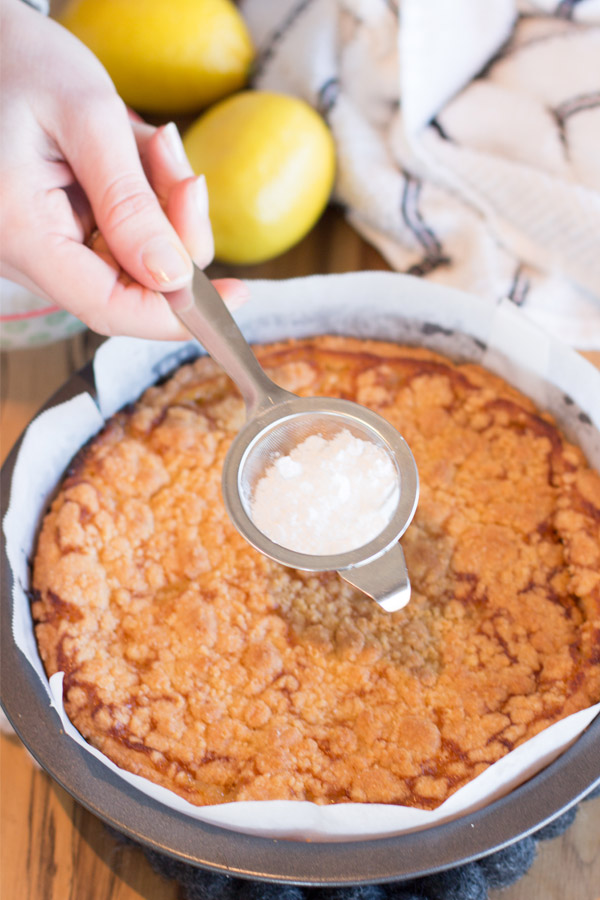
This luscious Belgian lemon tea cake looks more complicated than it really is. The cake has a wonderful combination of flavour and texture, and something I crave as soon as I see a tree full of lemons.

Enjoy!

If you like this recipe – then check out our other dessert and sweets recipes – like our recipes for no-bake mars bar slice, ginger-nut biscuits, easy raspberry friands, blueberry and lemon loaves or easy banana cake.

luscious Belgian lemon tea cake recipeBelgian lemon tea cake recipeuscious Belgian lemon tea cake recipe fillinguscious Belgian lemon tea cake crumble recipeuscious Belgian lemon tea cake icing

Belgian lemon tea cake recipe instructions

Belgian lemon tea cake recipe
 
Prep time
Cook time
Total time
 
Basic Belgian lemon tea cake recipe – with just the right amount of density and weight, and golden crumbs on top, incorporating that zingy lemon-cake taste.
Author:
Recipe type: Cake
Cuisine: Belgian
Serves: 1
Ingredients
Base
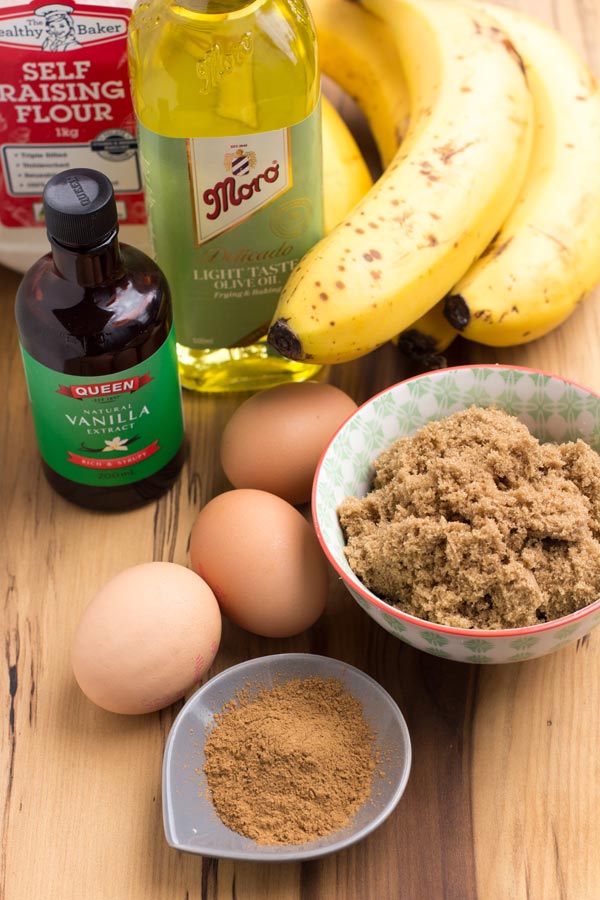
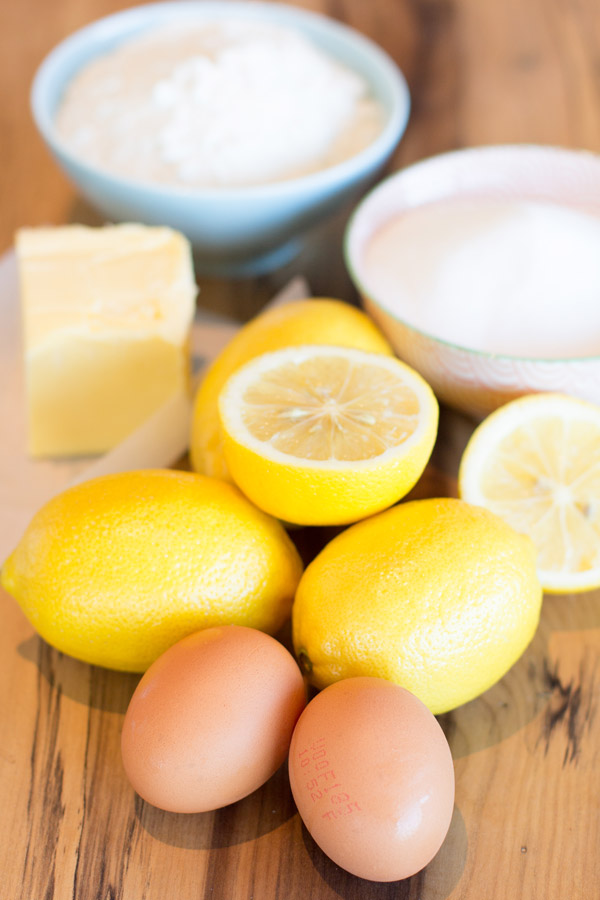
  • 1 cup self-raising flour
  • ½ cup caster sugar
  • 60g butter
  • 1 egg, lightly beaten
Filling
  • ¼ cup lemon juice
  • ½ cup sugar
  • 1 egg, lightly beaten
  • 60g butter chopped
Instructions
  1. Preheat oven to moderate 180c.
  2. Brush a 17cm shallow round tin with melted butter and line the base of the tin with baking paper.
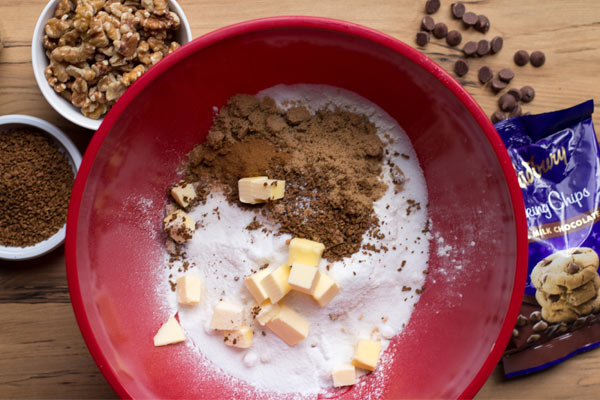
  3. Sift self-raising flour into a bowl, and add sugar and stir well to combine. Add butter and rub in with finger tip until mixture resembles fine breadcrumbs. Make a well in the centre and stir in egg to form a soft dough.
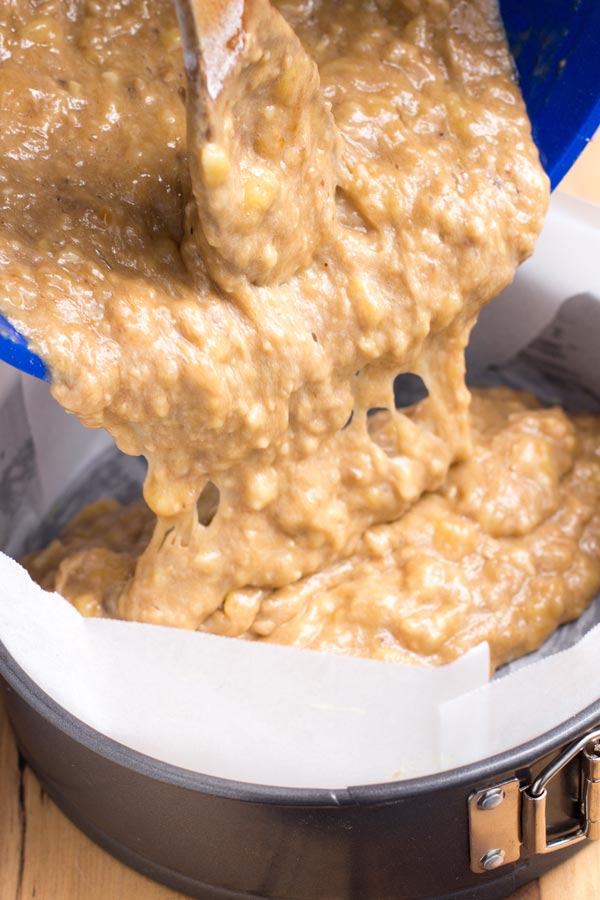
  4. Press ⅔ of the dough into the prepared tin.
  5. Pour over hot lemon curd filling. Crumble small pieces of the remaining dough over the lemon curd filling. Bake for 30 minutes and cool tin.
  6. To make filling – place all ingredients in small pan. Stir constantly over a low heat until the mixture boils and thickens.


Easy banana cake recipe

You know the times when you want to eat something cozy and yummy at 10am on a Saturday morning? But you feel guilty about having cake for breakfast. Well get over it this easy banana cake recipe is so delicious and simple you will want to eat cake for breakfast every morning.

That’s what we have going on here today. Banana cake for breakfast, guys! Is this not the most perfect way to wake up?

This one-bowl banana cake is adapted from Donna Hay’s one bowl banana cake recipe. The beauty of this easy banana cake recipe is in its simplicity.

This recipe makes a wonderfully moist, sweet, perfectly dense banana cake. It’s stick-to-the-back of your fork moist. It is even semi-healthy.

What’s not to love about a melt-and-mix cake that helps you use up all your over-ripe bananas? We’re all for reducing food wastage and time spent cleaning up, so this delicious one-bowl wonder ticks those boxes and more. This Donna Hay one –bowl easy banana bread recipe is a beauty can be whipped up in minutes and served warm for afternoon tea if you are more civil than Brooke and I who eat cake for breakfast.

This is the sort of recipe that everyone who has a slice begs you for the recipe. It is, hands down, the best banana cake I’ve ever had.

Enjoy!

If you like this recipe – then check out our other dessert and sweets recipes – like our recipes for no-bake mars bar slice, ginger-nut biscuits, easy raspberry friands, blueberry and lemon loaves or apple and rhubarb crumble.

Easy banana bread ingredients
Easy banana cake mixture
Olive oil easy banana cake recipe
Easy banana cake recipe mixture
Piece of moist banana cake
Perfect one bowl banana cake recipe
Easy banana cake recipe

One bowl easy banana cake Instructions

5.0 from 1 reviews
Easy banana cake recipe
 
Prep time
Cook time
Total time
 
Wonderfully moist, sweet, perfectly dense banana cake recipe.
Author:
Recipe type: Cake
Cuisine: American
Serves: 1
Ingredients
  • 4 medium ripe bananas (1 ½ cups mashed)
  • 3 eggs
  • ½ cup (125ml) light extra virgin olive oil
  • 1 ½ cups (265g) brown sugar
  • 2 teaspoons vanilla extract
  • 1 ½ (225g) self-raising flour
  • 1 teaspoons ground cinnamon
Instructions
  1. Preheat oven to 180°C (350°F). Place 1 ½ ripe bananas in a bowl and mash with a fork. Add the oil, eggs, sugar and vanilla and mix to combine. Add the self-raising flour and cinnamon and mix to combine.
  2. Pour into a 22cm round cake tin lined with non-stick baking paper. Cook for 45 minutes or until a skewer comes out clean.
  3. Rest the cake in the tin for 5 minutes before turning out onto a wire wrack to cool completely.


Easy Afghan biscuit recipe

For those who love all things cookie; I’m looking at you cookie monster, you may already be familiar with Afghan biscuits or cookies to our American friends. If not, they’re a must try! These Afghan biscuits are creamy, nutty, chocolatey, crunchy and could be the definition of yum. They’re hit with both little kids and big kids alike.

The origin of the Afghan biscuit recipe and the derivation of the name are unknown, but the recipe has appeared in many editions of the influential New Zealand Edmonds Cookery Book. They’re surely one of the country’s greatest exports, second only to Richard Wilkins hair.

This recipe has a high proportion of butter, and relatively low sugar, no rising agent, giving them a soft, dense and rich texture, with crunchiness from the cornflakes, rather than from a high sugar content. The substantial butter used gives the biscuit a soft melt-in-the-mouth texture, and the sweetness of the icing offsets the low sugar content of the biscuit and the cocoa bitterness.

The simple ingredients and easy steps make these biscuits the perfect treat to make on a lazy Sunday to have with a cuppa. With the added bonus of many of the ingredients required being pantry staples why not give this Afghan biscuit recipe a try.

If you love this Afghan biscuit recipe then be sure to check out our recipes for florentine biscuits, oatmeal raisin cookies, melting moments with jam.

Easy Afghan biscuit recipeNew Zealand Afghan biscuit recipeEasy Afghan biscuit recipeEasy Afghan biscuit recipeEasy Afghan biscuit recipe

Easy Afghan biscuit recipe
 
Prep time
Cook time
Total time
 
These afghan biscuits are creamy, nutty, chocolatey, crunchy and could be the definition of yum.
Author:
Recipe type: Dessert
Cuisine: New Zealand
Serves: 30
Ingredients
Biscuits
  • 250g butter softened
  • ¾ cup brown sugar
  • ¼ cup Cocoa powder
  • 1⅔ cups plain flour
  • 2½ cups cornflakes
  • Walnuts, to decorate
Chocolate icing
  • 1½ cups icing sugar mixture
  • 2 tablespoons cocoa powder
  • 2 tablespoons hot water
Instructions
  1. Preheat oven to 180C/160C fan-forced.
  2. Grease 2 large baking trays and line with baking paper.
  3. Using an electric mixer, beat butter and sugar together until light and fluffy. Add cocoa and flour. Beat on low speed until combined. Stir in cornflakes. Roll level tablespoons of mixture into balls. Flatten slightly. Place onto prepared trays, 4cm apart, to allow room for spreading during cooking.
  4. Bake for 16 to 18 minutes or until just firm to the touch, swapping trays halfway through cooking. Cool completely on tray
  5. Make Chocolate icing: Sift the icing sugar and cocoa into a bowl. Gradually stir in enough hot water until the mixture is smooth and combined.
  6. Add a teaspoon of chocolate icing onto the tops of the biscuits, spreading slightly (see note). Decorate with walnuts. Set aside for 1 hour to set. Serve.

Choc chip coffee biscotti recipe

This choc chip coffee biscotti recipe opened my eyes to the flavours you can have in biscotti. Before this recipe, I had only tasted Brooke’s cranberry and pistachio biscotti, which is amazing. But this coffee biscotti made with a combination of coffee, chocolate, walnuts, and cinnamon might be my new favourite!

We opted to use milk chocolate chips, however, you could use dark chocolate if you want to make it a bit healthier. Adding toasted walnuts delivers a slight hint of bitterness that cuts through all that sweetness, and adds a second layer of crunch.

The coffee biscotti’s crisp and crunchy texture comes from baking the cookies twice. The first baking sets the dough, while the second baking dries it out. The biscotti’s instantly recognizable long curved shape comes from forming the dough into a log and then cutting the log into slices after the first baking. The slices of biscotti are then baked until most of their moisture is removed.

Vary the length of the second bake to change the texture of your biscotti recipe. If you like a hard and crunchy biscotti, perfect for dipping in your coffee, you can bake them a bit longer than we did in the recipe. These cookies do store for several weeks in an airtight container making them perfect for unexpected guests or for keeping at your desk at work.

I love my coffee so there is only one thing better than drinking a coffee, drinking a coffee while eating a piece of this choc chip coffee biscotti!

Recipe adapted from Crumb.

Choc chip coffee biscotti ingredientsChoc chip coffee biscotti recipechocolate coffee biscotti recipeChocolate chip coffee biscottiChoc chip coffee biscotti

Coffee biscotti – Recipe Instructions

Choc chip coffee biscotti recipe
 
Prep time
Cook time
Total time
 
Coffee biscotti made with a combination of coffee, chocolate, walnuts, and cinnamon.
Author:
Recipe type: Breakfast
Cuisine: Italian
Serves: 40
Ingredients
  • 2 cups flour
  • ½ cup sugar
  • ½ cup brown sugar
  • 1 tsp baking powder
  • 1 tsp instant coffee granules
  • ½ tsp ground cinnamon
  • ½ tsp salt
  • ¼ cup cold (cut into small cubes)
  • 1 cup milk chocolate chips
  • ½ cup chopped toasted walnuts
  • 3 eggs, lightly beaten
  • Egg wash (1 egg, lightly beaten with 2 tbsp milk)
Instructions
  1. Preheat oven to 180 Celsius (350F). Line two large baking sheets with parchment.
  2. In a large mixing bowl, combine flour, sugar, brown sugar, baking powder, coffee granules, and salt. Using a pastry cutter or 2 knives, cut in the butter until the mixture is fine and crumbly.
  3. Stir in chocolate chips, walnuts, and eggs until the dough is just barely moistened. Turn out onto a lightly floured surface, and knead lightly until the dough is soft and slightly sticky, about 8-10 times.
  4. Using floured hands, divide the dough into quarters. Shape each quarter into a 9" long roll. Place two rolls 4 inches apart on each of the prepared cookie sheets, gently flattening each one into a 2" wide slab. Brush the top and sides with egg wash.
  5. Bake in preheated oven for 30 minutes, or until the top of the slabs feels firm and dry. Remove from the oven, but do not turn off the heat. Set the slabs on a wire rack to cool for 10 minutes.
  6. Once the slabs are cool enough to handle, cut crosswise into ½ inch thick slices. Place slices upright, inch apart, on cookie sheets.
  7. Place the slices on the baking sheet, cut sides down, and return to the oven to bake for 10 minutes. Turn biscotti over, and continue baking for another 10 minutes (the cookies should be just a bit soft in the center – don’t worry, they’ll harden up once they cool). Transfer to a wire rack to cool completely, then store in airtight containers.


Apple and sultana hot cross buns

Hot cross buns are a must at Easter time.  Traditionally we eat these tasty spiced buns on Good Friday, however, each year they are available to buy in the shops earlier and earlier (the supermarket chains roll them out straight after Christmas is over).  Apple and sultana hot cross buns provide a new twist on an old favourite.

Traditional hot cross buns are usually made with currants or raisins and flavoured with mixed spice.  To make our recipe we used granny smith apples and sultanas to add a new twist on the classic recipe.  I like my hot cross buns spicy so Brooke added an extra tablespoon to this recipe.

Baking these treats the delicious smell of mixed spice filled the apartment.  After making the dough, letting it rise, kneading it again, and dividing it into your buns.  You need to let to dough rise once more in the baking dish before adding the traditional flour paste lines as crosses on the dough.  After all this, bake your buns in a moderate oven for around 30 minutes or until cooked through.

To give the buns a nice glossy finish you need to make a simple glaze.  Heat a few tablespoons of apricot jam in a bowl in the microwave for a few seconds until runny and then brush over the hot cross buns with a pastry brush.

These apple and sultana hot cross buns are a delicious treat, perfect for breakfast or a snack with a cup of tea.

If your looking for another twist on the traditional hot cross bun then try our cranberry and apricot hot cross buns.

Apple and sultana hot cross bunsApple and sultana hot cross bunsApple and sultana hot cross bunsApple and sultana hot cross buns recipeApple and sultana hot cross bunsApple and sultana hot cross buns

Apple and sultana hot cross buns – recipe instructions

Apple and sultana hot cross buns
 
Check out this recipe for rustic hot cross buns made with mixed spice, apple and sultanas.
Author:
Recipe type: Baking
Cuisine: British
Serves: 12
Ingredients
Buns
  • 4 Cups Plain Flour
  • 14 g Dried Yeast
  • ¼ Cup Caster Sugar
  • 3 Tsp Mixed Spice
  • Pinch of Salt
  • ¾ Cup sultanas
  • ¾ Cup granny smith apple, diced
  • 40 g Butter
  • 300ml Milk
  • 2 eggs, lightly beaten
Flour paste
  • ½ Cup Plain Flour
  • 4 to 5 Tbsp water
Glaze
  • 1 Tsbp Water
  • 2 Tbsp apricot jam
Instructions
  1. Combine flour, yeast, sugar, mixed spice, salt and apple and sultanas in a large bowl.
  2. Melt butter in a small saucepan over medium heat. Add milk. Heat for until lukewarm.
  3. Add warm milk mixture and eggs to fruit mixture. Using a flat-bladed knife, simply cut the knife through the dough until it almost comes together. Using clean hands to finish mixing to form a soft dough.
  4. Turn dough out onto a floured surface. Knead for 10 minutes, or until dough is smooth.
  5. Place into a lightly oiled bowl. Cover with plastic wrap. Set aside in a warm, draught-free place for 1 to 1½ hours, or until dough doubles in size.
  6. Line a large baking tray with non-stick baking paper.
  7. Punch dough down to its original size. Knead on a lightly floured surface until smooth.
  8. Divide into 12 even portions. Shape each portion into a ball. Place balls onto lined tray, about 1cm apart. Cover with plastic wrap. Set aside in a warm place for 30 minutes, or until buns double in size.
  9. Preheat oven to 190°C.
  10. Make flour paste: Mix flour and water together in a small bowl until smooth, adding a little more water if paste is too thick.
  11. Spoon into a small snap-lock bag. Snip off 1 corner of bag. Pipe flour paste over tops of buns to form crosses.
  12. Bake for 25 to 30 minutes, or until buns are cooked through.
  13. Make glaze: Heat a few tablespoons of apricot jam in a bowl in the microwave for a few seconds until runny and then brush over the hot cross buns with a pastry brush.
  14. Serve warm or at room temperature.