No bake Mars bar slice recipe

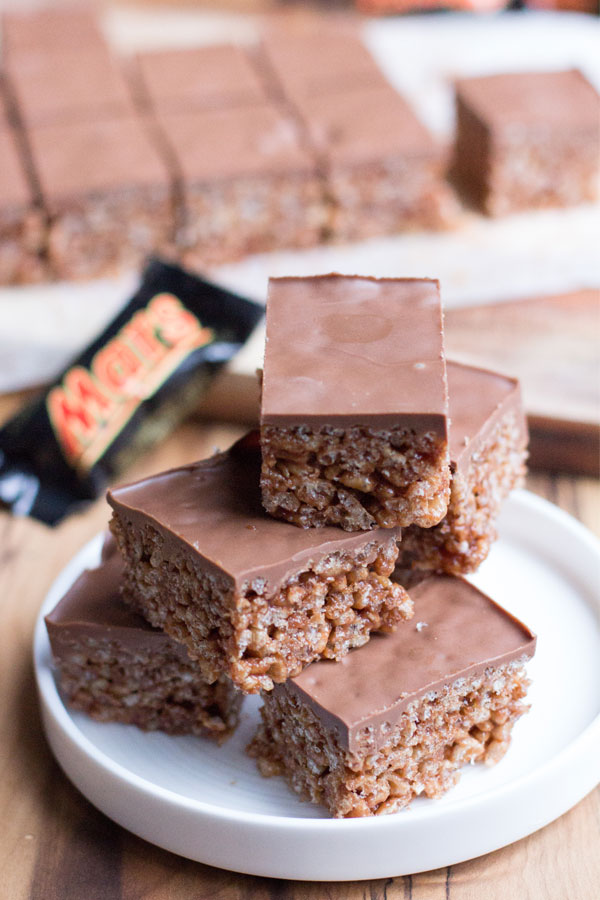
Warning this recipe is highly addictive! Proceed with caution… This ultra indulgent no bake Mars bar slice recipe is also dangerously tasty. The humble Mars bar slice has been a staple of Australian households for decades.

Do you love chocolate? Caramel? That memory of chocolate crackles at every birthday party you went to as a kid? Then this no bake Mars bar slice recipe is for you!

Mars bar slice is one of those recipes that has been around for years! In fact, the Mars bar first hit Australian shores in the late 1940’s, first being manufactured under licence by another company until Mars opened up their own manufacturing in Ballarat in 1979. No one really knows who created the original Mars bar slice, but one thing is for certain and that is its delicious. The ooey gooey melted mars bars, combined with rice bubbles and a chocolate icing set on top is not only a treat for the kiddies, it is also a treat for the adults!

If like me you’ve always wondered how to make Mars bar slice you will be pleased to know this recipe is so easy to make, requires only four ingredients and did I mention you don’t have to bake it? Perfect-o! This timeless favourite and crowd-pleasing treat is perfect for those time poor and perfect to make for parties or take along to functions. No doubt it will be a hit with all ages!

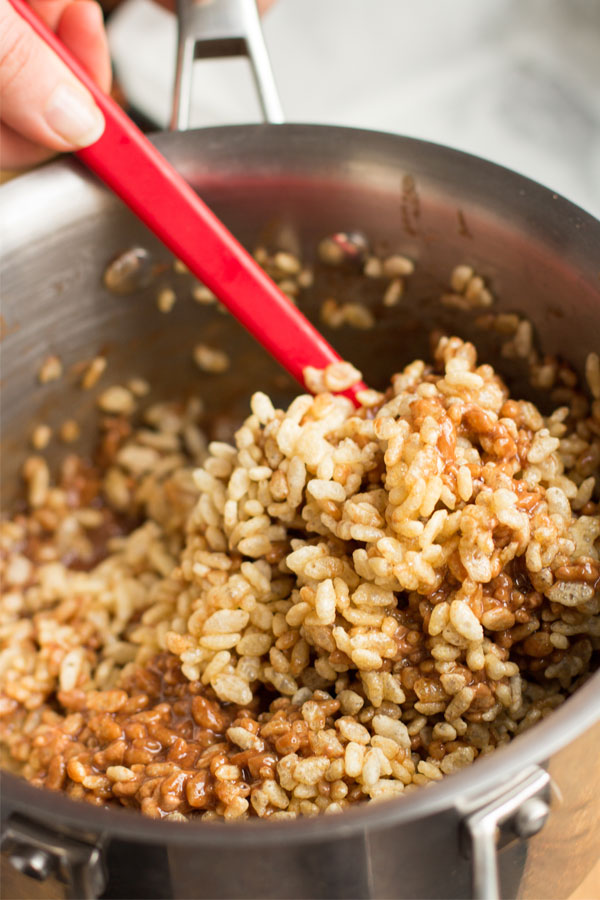
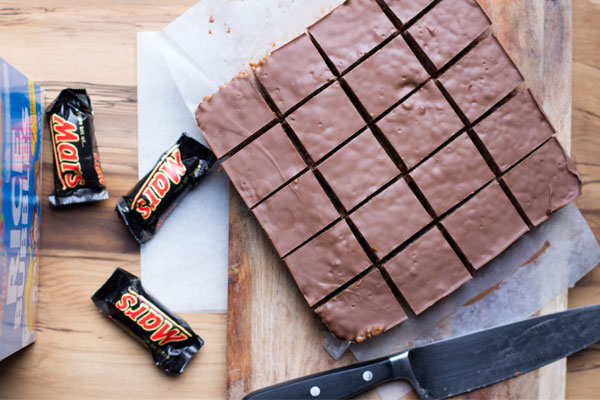
Simply melt the mars bars in a large pot with a little butter and add the rice bubbles. Filling a square tin with the mixture, top off with a simple Cadbury chocolate icing and allow to set in the fridge! Slice into bite sized pieces or a squares depending on your preference. Voila!

Note – it is encouraged you share the mars bar slice with friends, family or work colleagues otherwise you will end up eating it all if you have no control!

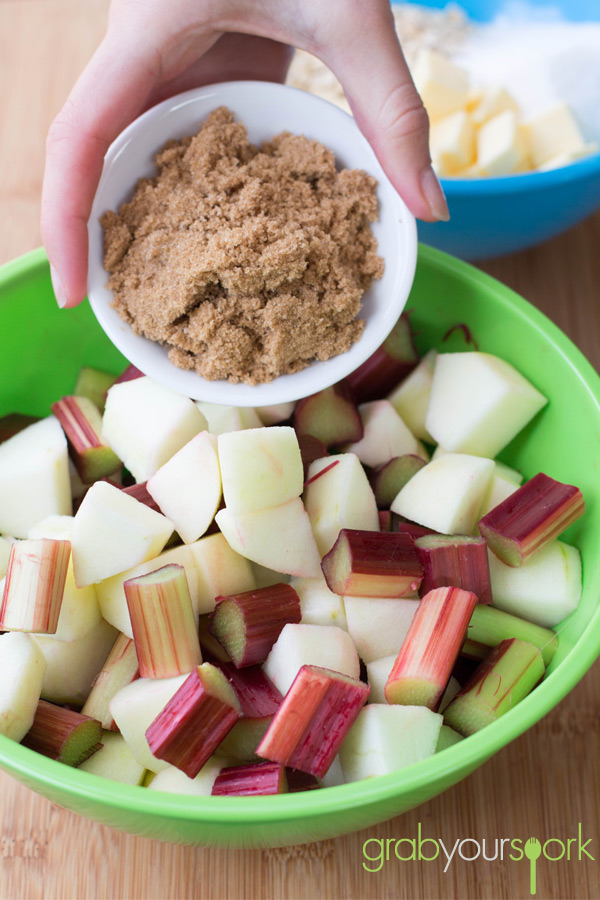
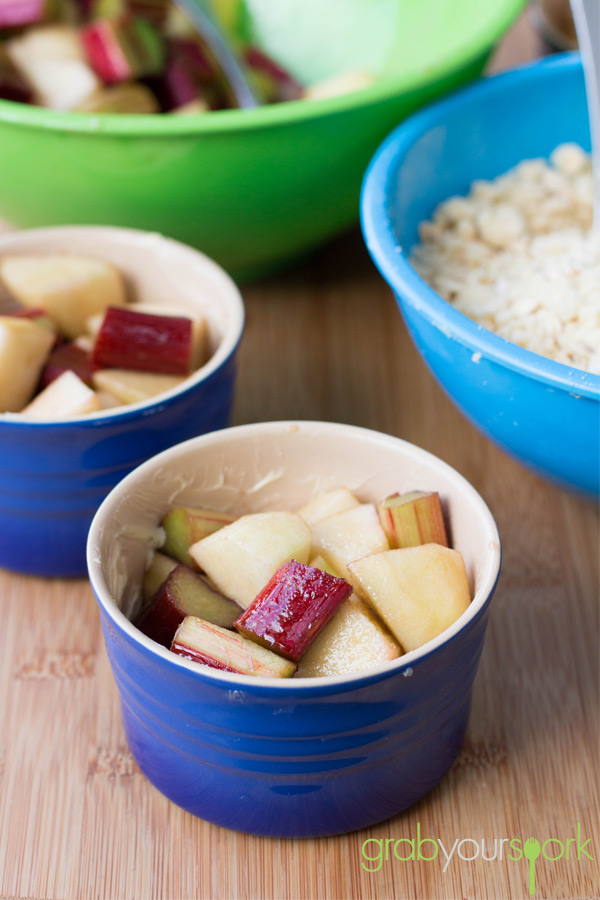
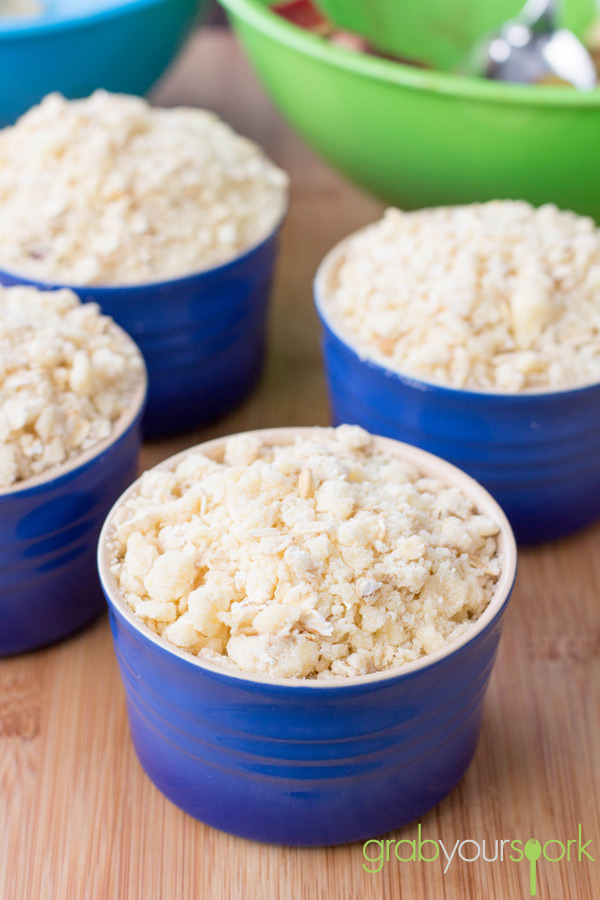
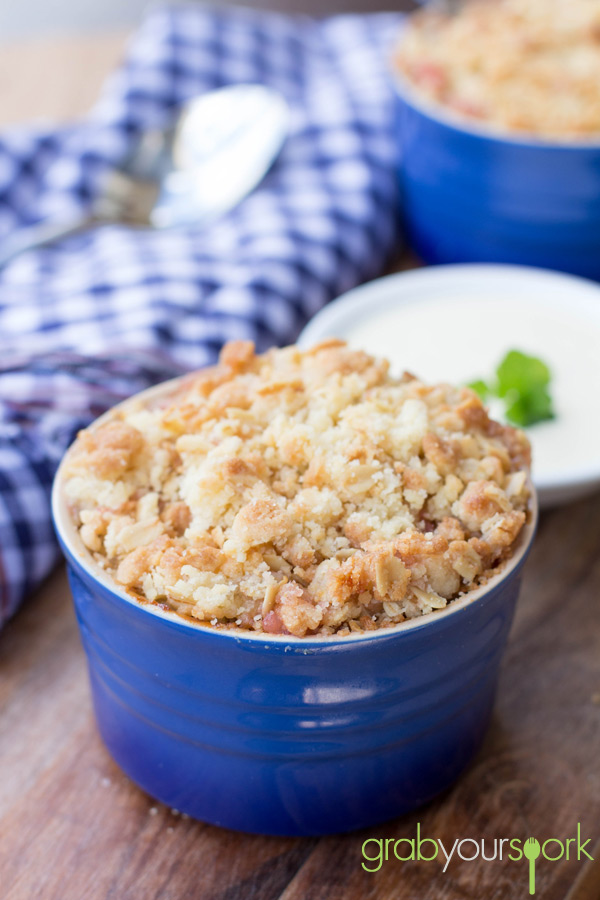
If you like sweet treats then check out these our recipes for chocolate mint fudge, passionfruit marshmallows, pecan slice, apple and rhubarb crumble, florentine biscuits or afghan biscuits.

No bake Mars bar slice recipe ingredientsNo bake Mars bars slice recipe instructionsNo bake mars bar slice recipeCadbury chocolate mars bar slice recipeSliced mars bar sliceNo bake Mars bar slice recipe

Perfect Mars bar slice tips

Like all baking practice and precision with measurement makes perfect! There are many slight variations but follow these tips for the best Mars Bar Slice recipe.

Because this is a four ingredient Mars bar slice and there it is a no-bake slice it is a straightforward process but following these three tips will ensure it turns out perfect every time.

Use quality ingredients

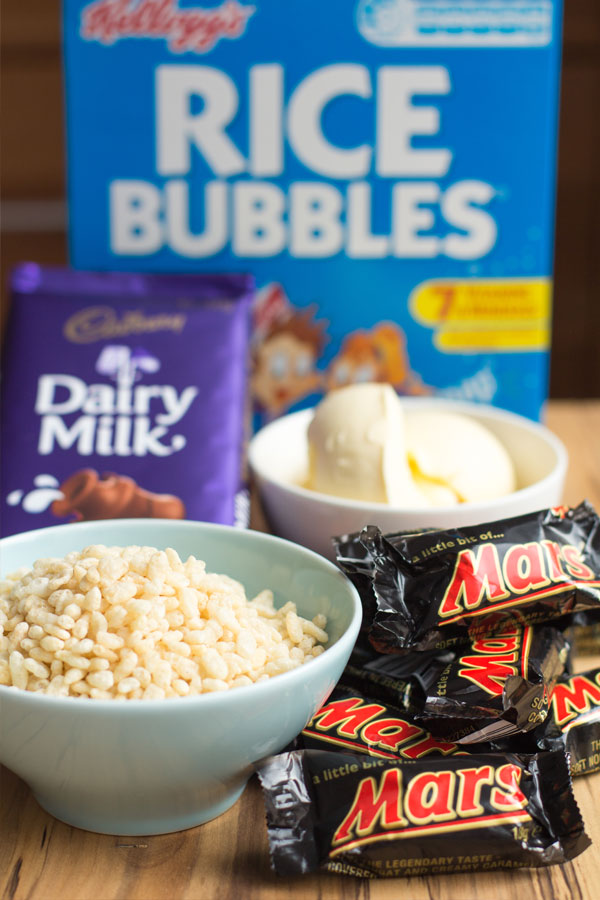
There are only four ingredients, so use the best. Cadbury milk chocolate, real Mars Bars (none of this Moro bar rubbish), Kellogg’s rice bubbles, and quality butter.

Whisk to ensure a super smooth melted mixture

When melting the butter, Mars Bars together over heat, the mixture can be clumpy. Use a whisk to stir the mixture at the end of the melting process for a super smooth result every time.

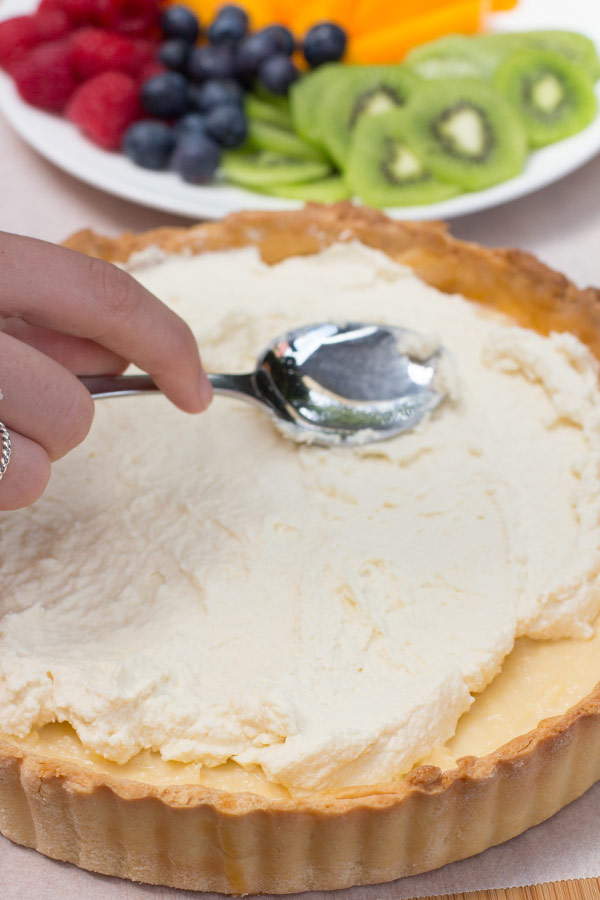
Use the back of a spoon for an even finish

After pressing the mixture into the tray, use the back of a spoon to flatten the slice evenly on top before putting in the refrigerator to set.

Mars bar slice recipe FAQs

Q. Why does it taste so good?

The combo of rice bubbles combined with melted Mars Bars and butter… all topped with a layer of chocolate creates the perfect combination of flavour and texture. It’s sweet, crunchy airy and soft all at once making it the perfect comfort food.

Q. How many Mars Bars do you need for the slice?

You need 195g of Mars bars which equates to roughly four 53g mars bars or 11 bite size mars bars depending on the region you live in. If you are a Mars Bar lover, it might pay to buy them on the day you plan to make the slice.

Q. How should you store Mars bar slice?

At room temperature is better than refrigeration when it comes to retaining the quality of the flavour. The best way to store them is to line an air tight container with kitchen paper, and place them on top, if you have two layers worth then add another sheet of baking paper in between before seeling the lid. However, if it is hot in your house then best store it in the fridge. It will last at least a week stored in an airtight container in the fridge.

Q. Can you freeze Mars Bar slice?

You could, and I imagine it would be okay for at least month. Because Mars bar slice is so damn tasty I can’t imagine ever needing to freeze it.

Q. How long does Mars Bar Slice last?

If it lasts more than a few days, then you obviously have more will power than us.

No bake Mars bar slice recipe instructions

5.0 from 1 reviews
No bake Mars bar slice recipe
 
Prep time
Cook time
Total time
 
Mars bar slice recipe the ooey gooey melted mars bars, combined with rice bubbles and a chocolate icing set on top is not only a treat for the kiddies, and is also a treat for the adults!
Author:
Recipe type: Dessert
Cuisine: American
Serves: 20
Ingredients
  • 195g Mars bar chopped (approx. 11 bite sized Mars bars)
  • 75g butter
  • 3 cup rice bubbles
  • 200 g milk chocolate
Instructions
  1. Line a square 16 inch baking tray with baking paper.
  2. Combine your chopped Mars Bars and butter in a saucepan. Stir constantly over low heat, do not boil. Stir until the mixture is smooth.
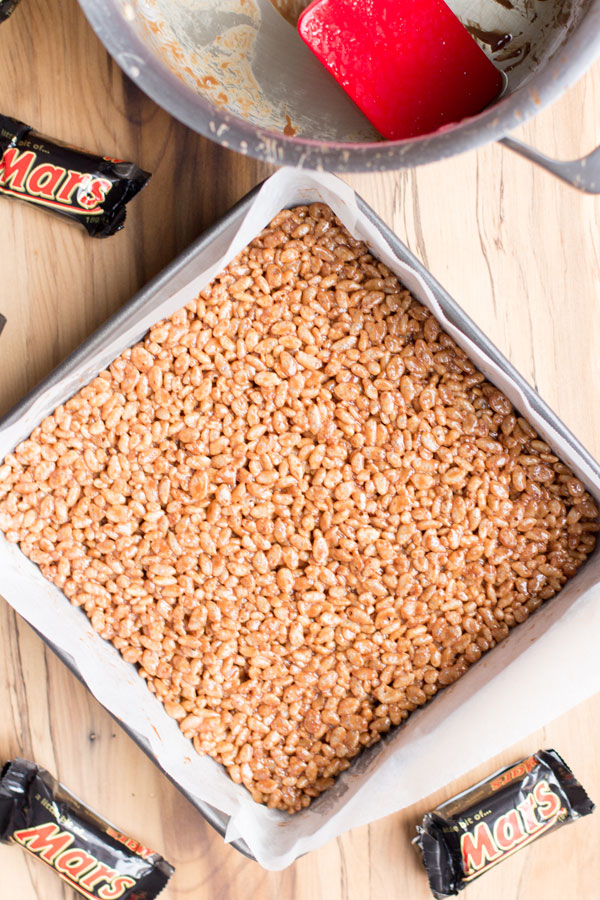
  3. Stir in your Rice Bubbles.
  4. Press your mixture evenly into your lined baking tray.
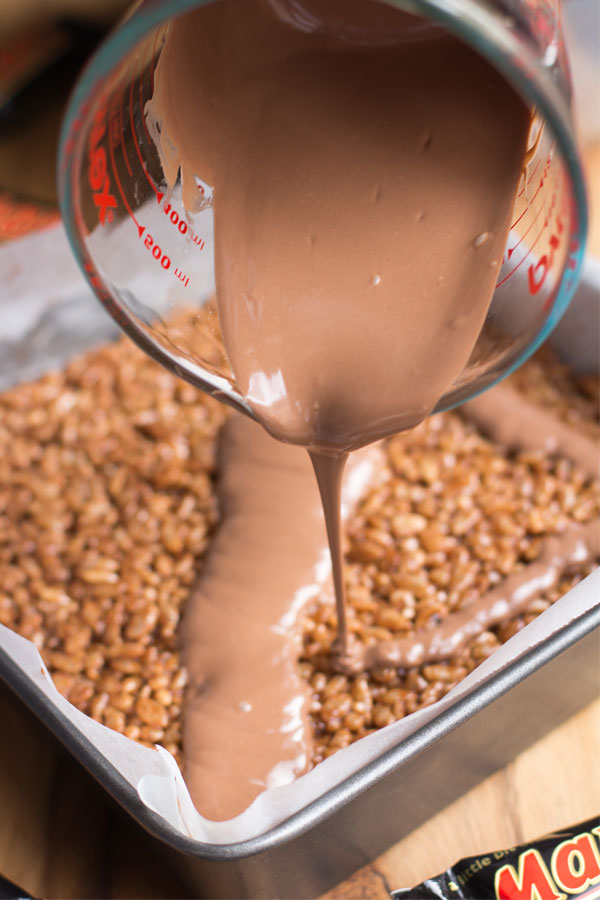
  5. Microwave your chocolate in a small bowl until melted. Use a low setting. Stir every 20-30 secs.
  6. Spread the chocolate nice and even over the slice mixture and refrigerate until set.


Fruit and Custard Tart

It’s the first post of the NEW YEAR, and there is no time for New Year resolutions in this household, there is only time for a tasty fruit and custard tart!

This classic fruit and custard tart has four components, a fluted edged sweet pastry crust, luscious crème patissiere, whipped cream and glistening rows of fresh fruit.

While the components of this fruit and custard tart can be made a day or two in advance, it is best enjoyed the day it is assembled. The cookie-like pastry crust has a sweet flavor and a crisp texture that is the perfect case for holding the pastry custard and cream. Once the crust is baked and cooled, the crust is then sealed by brushing on a thin layer of apricot glaze. This will prevent the filling from softening the crust over time. The classic filling for a fruit tart is crème patissiere, which is a rich, thick custard made from a mixture of milk, vanilla, eggs, sugar, flour and cornstarch (a thickening agent) that is cooked on the stove. We added a layer of whipped cream on top of the pastry custard before applying our fruit.

Of course, the first thing you notice about a fruit tart is the beautiful fruit arranged in concentric circles on top of the cream. There are so many fruits to choose from but it is important that the fruit looks and tastes its best. While berries, with their vibrant colours, are always popular, other fruits are nice as well. We opted for preserved peaches, slices of fresh kiwi, blueberries and raspberries. To finish off glaze the fruit with either an apricot glaze (recipe included) to give the fruit a lovely shine and it also prevents the fruit from drying out.

Looking for other fruit based desserts then check out our Grilled Peaches with Ricotta and Balsamic Glaze or Apple and Rhubarb Crumble.

Fruit and Custard Tart RecipeCustard and Fruit TartFresh Fruit and Custard TartFruit and Custard Tart GlazeFruit and Custard TartFruit and Custard Tart Recipe

Tasty Fruit and Custard Tart – Recipe Instructions

Fruit and Custard Tart
 
Prep time
Cook time
Total time
 
This classic fruit and custard tart has four components, a fluted edged sweet pastry crust, luscious crème patissiere, whipped cream and glistening rows of fresh fruit.
Author:
Recipe type: Tart
Cuisine: French
Serves: 8
Ingredients
Sweet Pastry Crust
  • 1 ½ cups of all-purpose flour
  • ⅛ teaspoon salt
  • ½ cup unsalted butter, at room temperature
  • ¼ cup of granulated white sugar
  • 1 large egg, lightly beaten
Creme patissiere
  • 1 ¼ cups of 2% milk
  • ½ vanilla bean, split lengthwise or teaspoon pure vanilla extract
  • 3 large egg yolks
  • ¼ cup granulated white sugar
  • 2 tablespoons all-purpose flour
  • 2 tablespoons cornstarch (corn flour)
Whipped Cream
  • 300 ml of whipped cream
Apricot Glaze
  • ½ cup apricot jam or preserves
  • 1 tablespoon water
Toppings
  • 3 cups of fruit (we used preserved peaches, fresh kiwi fruit, blueberries and raspberries
Instructions
Sweet Pastry Crust
  1. Place the flour, butter and sugar in a food processor and process until the mixture resembles fine breadcrumbs.
  2. Add the beaten egg and process until the mixture just comes together.
  3. Turn the dough onto a lightly floured surface and knead until smooth.
  4. Flatten the pastry into a disk, cover the pastry into a disk, cover with plastic wrap, and refrigerate for 15-30 minutes or just until firm.
  5. Lightly spray with a non-stick vegetable/flour cooking spray, an 8 - 9 inch (20 - 23 cm) tart pan with a removable bottom.
  6. Evenly pat the chilled pastry onto the bottom and up the sides of the pan. Cover with plastic wrap and place in the freezer for about 15 minutes.
  7. Meanwhile, preheat oven to 400 degrees F (205 degrees C) and place rack in center of oven. Lightly prick bottom of pastry crust with the tines of a fork (this will prevent the dough from puffing up as it bakes). Place tart pan on a larger baking pan and bake crust for 5 minutes. Reduce oven temperature to 350 degrees F (180 degrees C) and continue to bake the crust for about 15 minutes or until dry and lightly golden brown. Remove from oven and place on a wire rack to cool completely before filling. Can be covered and stored for a few days.
Creme patissiere
  1. In a medium-sized heatproof bowl, mix the sugar and egg yolk together (Do not let this sit too long).
  2. Sift the flour and cornstarch (corn flour) together and then add to the egg mixture, mixing until you get a smooth paste.
  3. Meanwhile, in a saucepan bring the milk and vanilla just to boiling (just until milk starts to foam up.)
  4. Remove from heat and add slowly to egg mixture, whisking constantly to prevent curdling. (You can strain the mixture, if you get lumps).
  5. Pour the egg mixture into a medium saucepan and cook over medium heat until boiling, whisking constantly. When it boils, whisk mixture constantly for another 30 - 60 seconds until it becomes thick.
  6. Pour into a clean bowl and immediately cover the surface with plastic wrap to prevent a crust from forming. Cool to room temperature.
  7. Beat or whisk before using to get rid of any lumps that may have formed.
Whipped Cream
  1. Lightly whip 300 ml of fresh cream using an electric beater.
Apricot Glaze
  1. Heat the apricot jam (preserves) and water in a small saucepan over medium heat until liquid. This can also be done in the microwave.
  2. Remove from heat and strain the jam through a fine strainer to remove and fruit lumps.
Assemble the tart
  1. Remove the tart from the fluted sides of the pan.
  2. Spread a thin a thin layer of apricot glaze over the bottom and sides of the baked tart shell to prevent the tart from getting soggy.
  3. Let the tart dry for 20 minutes.
  4. Add first layer of creme patissiere.
  5. Add second layer of whipped cream.
  6. Place fruit in concentric overlapping circles, starting at the outside edge.
  7. After arranging the fruit, rewarm the glaze, and gently brush a light coat on the fruit.
  8. Serve immediately, or if refrigerating bring to room temperature before serving. This fruit tart is best eaten the same day as it is assembled. Cover and refrigerate any leftovers.


Grilled Peaches with Ricotta and Balsamic Glaze

I love stone fruit season and this summer has brought an abundance of local ripe peaches. Brooke is partial to a white peach, while my preference is a yellow peach so we decided to just buy some of each. I’ve got to admit that I had never thought to grill peaches, but when Brooke and I tried some grilled peaches at The Queen Victoria night market they were so good Brooke decided to give them a try at home. These grilled peaches with ricotta and balsamic are simple to prepare and they also look great!

Grilled peaches make an excellent dessert to serve at dinner parties because they are so quick and easy, giving the chef ample time enjoy a wine or two. Topped with fresh creamy ricotta cheese and a drizzling of a balsamic glaze, you will feel spoiled but appreciate how fresh and healthy this dessert is.

If you like fruit-based desserts then be sure to check out our Tasty Apple and Rhubarb Crumble or Fresh Fruit and Custard Tart Recipe.

Ricotta and Balsamic GlazeGrilled Peaches with RicottaGrilled PeachesGrilled Peaches with Ricotta and BalsamicGrilled Peaches with Ricotta and Balsamic

Grilled Peaches with Ricotta and Balsamic Glaze
 
Prep time
Cook time
Total time
 
Grilled peaches topped with whipped creamy ricotta cheese and a drizzling of a balsamic glaze and fresh mint to serve.
Author:
Recipe type: Dessert
Cuisine: Australian
Serves: 6
Ingredients
  • 3 ripe peaches, halved with pits removed
  • 1 cup fresh ricotta cheese whipped
  • ¼ cup balsamic vinegar glaze
  • fresh mint
Instructions
  1. Lightly olive oil a grill pan and heat on med-high. When the grill is nice and hot, grill each half peach for 4-5 minutes per side.
  2. Placed peaches on a plate with cut side facing up.
  3. Lightly whip your ricotta in a bowl to make the texture light and fluffy.
  4. Place a dollop of approximately 2 tablespoons of fresh ricotta cheese in the center of each peach half and drizzle with balsamic glaze.
  5. Top each peach half with mint.


Apple and Rhubarb Crumble

After another cold and wet week here in Perth, I am sure I am not the only one who is wishing for clear blue skies and warm days again. If the Sticky Date and Banana Loaves weren’t enough of a winter indulgence last week, how about a humble Apple and Rhubarb Crumble?

I love apple crumble and when rhubarb is in season, its vibrant colour, and tartness is a great accompaniment to sweet dishes such as tarts, cakes and classic crumbles. After a quick trip to the markets, we managed to nab the last bunch of beautiful rhubarb for our crumble.

After chopping the apples and rhubarb into rather large chunks, Brooke simply added a little brown sugar to the fruit then made a basic crumble using butter, caster sugar, plain flour and some rolled oats. Within a couple of minutes the crumbles are prepared and ready to be cooked in a moderate oven.

Once the crumbles are golden brown on the top they are ready to be served. Of course these will be very hot when they come out the oven so to serve we had some fresh thickened cream, or some custard or ice cream would definitely be an excellent addition!

Looking for other fruit-based desserts then check out our Fruit and Custard Tart Recipe or Lemon and Blueberry Loaves.

Apple and Rhubarb Crumble IngredientsApple and Rhubarb Crumble MixtureMini Apple and Rhubarb CrumbleApple and Rhubarb Crumble RecipeApple and Rhubarb Crumble Recipe

Tasty Apple and Rhubarb Crumble – Recipe Instructions

Apple and Rhubarb Crumble
 
Prep time
Cook time
Total time
 
The ultimate in winter indulgence. A humble Apple and Rhubarb Crumble served with fresh thickened cream.
Author:
Recipe type: Dessert
Cuisine: British
Serves: 4
Ingredients
  • 4 larges green apples, peeled and chopped
  • 1 bunch of rhubarb, approx. 5 stalks, chopped
  • 2 tbsp brown sugar
  • 1 cup plain flour
  • ½ cup rolled oats
  • 75g caster sugar
  • 125g butter, at room temperature
Instructions
  1. Preheat the oven to 180°C. Lightly grease 4 ramekins or a large baking dish.
  2. Place the prepared apples and rhubarb in a bowl and stir through brown sugar.
  3. Place the flour, butter, caster sugar and oats in a medium bowl. Use your fingers or a fork, rub in the butter until well combined and large crumbs form.
  4. Spoon the fruit into the prepared dishes, sprinkle the crumble topping evenly over the fruit. Bake for 15 to 20 minutes or until golden and bubbling.
  5. Serve with cream, ice cream or custard.


Toffee Apples

Toffee apples are one of those nostalgic foods, which seem to evoke memories of when you were young. For me I remember getting them from Coles and they came served with a lecture from mum about how they would make my teeth fall out from all the sugar.

When making toffee apples do no be temped to lick the mixture off the spoon as I did, because you will burn your tongue, trust me. You definitely should not make these with kids around, as it might be a little dangerous. The other thing about making toffee apples is that you shouldn’t try and take photo’s along the way as you need to be spot on with your timing or the toffee will set on you early.

Toffee apples can be made any colour you like but we opted to go for traditional red for ours. Don’t be afraid to be more creative than we were with the colour palate for your toffee apples.

Toffee apples ingredientsToffee apples recipeToffeeToffee apples recipeToffee apples recipeToffee apples

Toffee Apples
 
Prep time
Cook time
Total time
 
Toffee apples recipe with just 5 ingredients. These sweet and sticky toffee apples will bring back childhood memories for sure.
Author:
Recipe type: Dessert
Cuisine: Australian
Serves: 6
Ingredients
  • 6 medium green apples, stalks removed
  • 3 cups caster sugar
  • ¼ cup liquid glucose
  • ¾ warm water
  • 1 teaspoon white vinegar
  • ½ teaspoon red food colouring
Instructions
  1. Line 2 large baking trays with baking paper.
  2. Wash apples in thoroughly in hot water to remove wax coating. Drying the apples thoroughly.
  3. Push 1 stick in top of each apple slowly avoid pushing all the way through.
  4. Place sugar, warm water, glucose and vinegar in a heavy-based saucepan over a low heat. Cook, stirring, for 5 to 6 minutes or until sugar has dissolved.
  5. Increase heat to medium-high and bring to the boil. Cook, without stirring, for 15 to 20 minutes or until toffee reaches hard crack stage, brushing sides of pan with a brush dipped in water to avoid crystallisation.
  6. Remove from heat. Tint with food colouring. Stand for 30 seconds for bubbles to subside slightly.
  7. Working quickly, dip apples one at a time into toffee, tilting pan to coat. Turn apple above pan to drain excess toffee.
  8. Stand apple on prepared tray.
  9. Repeat with remaining apples and toffee. Stand for 20 minutes or until set.