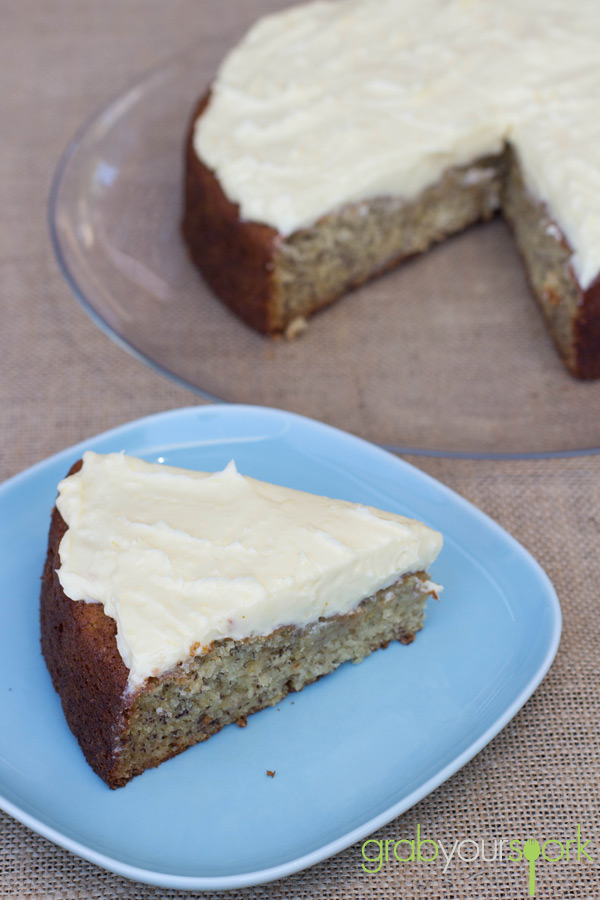
Now we are all guilty of letting bananas ripen in the fruit bowl before getting to enjoy them, and with the warmer months approaching in Perth it even happened to us. Don’t feel guilty though, as overripe bananas make for the best recipes and are what gives every banana recipe the right colour, texture and of course flavour. This banana cake with cream cheese icing is a great way to use up those ripe bananas.
Last week the bananas in the fruit bowl were too far gone to be enjoyed naturally. So by the weekend Brooke was happy to have more than enough overripe bananas to make a cake with. This banana cake is so easy anyone can make it. Through using the overripe bananas you will have a moist and sweet cake and the tangy cream cheese will give it a nice bite to top it off!
You won’t ever feel guilty again for letting the bananas over ripen, and will end up with a simple crowd-pleasing cake!
For other cake recipes check out our recipe for clementine cake.
Banana cake with cream cheese icing – Recipe Instructions
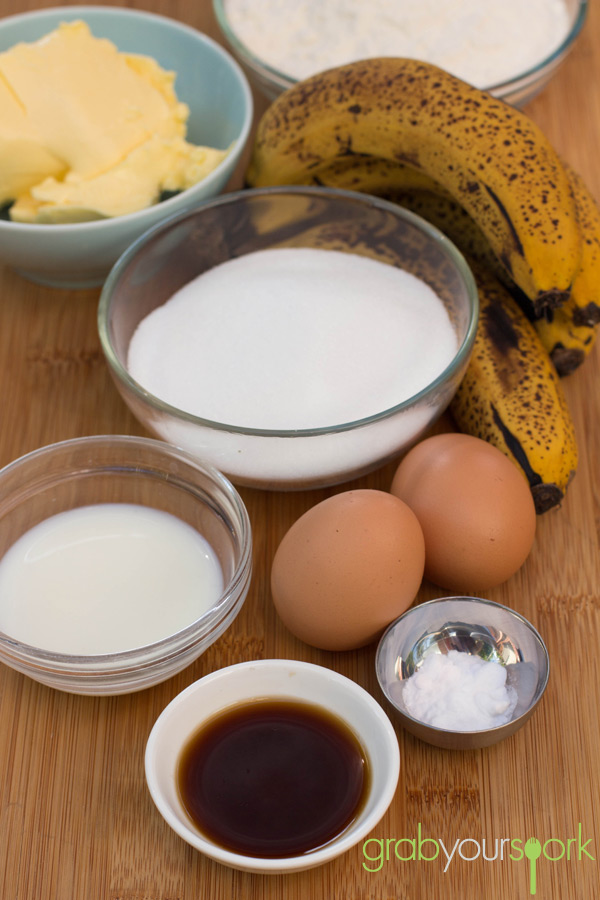
- 150 g butter
- ¾ cup sugar
- 2 eggs
- 3 very ripe bananas mashed together with 1 tsp of vanilla essence
- 1 ½ cup self raising flour sifter with ½ tsp bicarb soda
- 2 tbsp milk
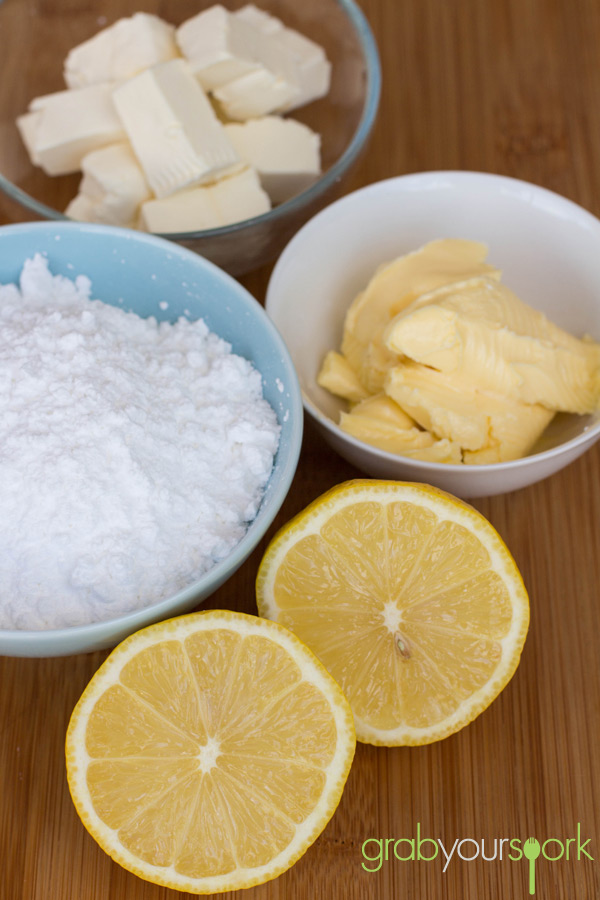
- 60g butter
- 60g cream cheese
- 1 tbsp lemon juice
- 120 g icing sugar
- Beat butter and sugar together till light and fluffy
- Add eggs gradually, then the mashed bananas
- Fold in sifted ingredients and milk
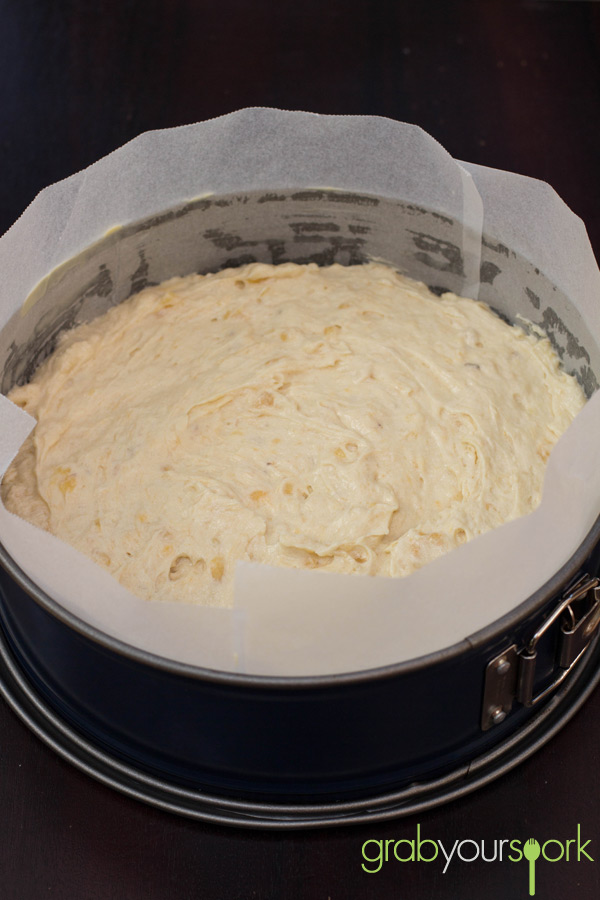
- Place in a greased tin and bake in preheated oven for about 35 minutes
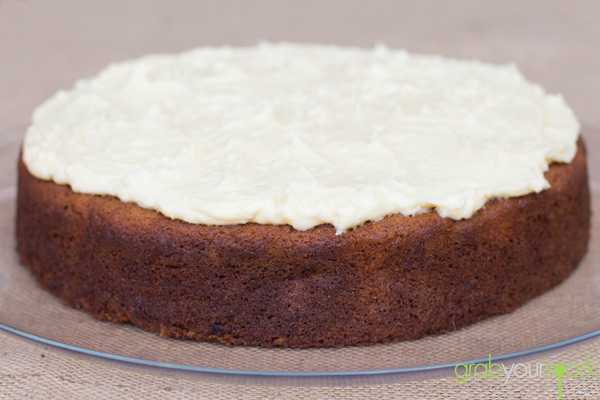
- Leave the cake to cool in the tin for about 10 minutes before turning it out
- Once the cake is cool ice with cream cheese icing
- Mix cream cheese and butter
- Add lemon juice and icing sugar gradually
- Mix until smooth
- Spread on cooled cake
- Note if you want to cover the whole cake in icing, double the icing mixture