Asian BBQ Pork Ribs

A couple of months ago you might remember Brooke bought a slow cooker? When Brooke said she wanted one, she said she would use it all the time and it wouldn’t just become another kitchen appliance. I was sold a story that she would use it all the time to make things like casseroles, soups and slow cooked meats. So far I have only seen Pulled Pork Tacos.

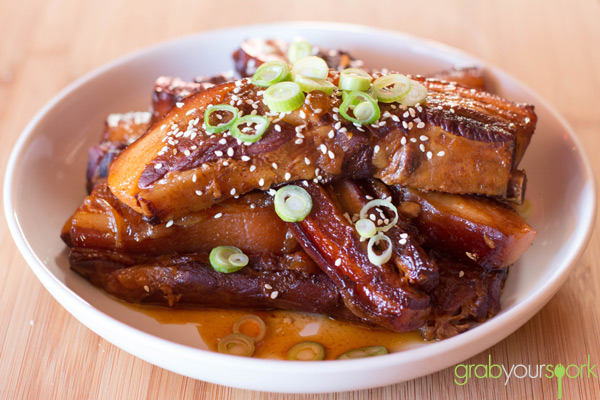
However on this lazy weekend, the meat gods answered my prayers and Brooke finally made ribs for me! Asian BBQ Pork Ribs! Again I think I was more impressed how easy slow cookers are to use.

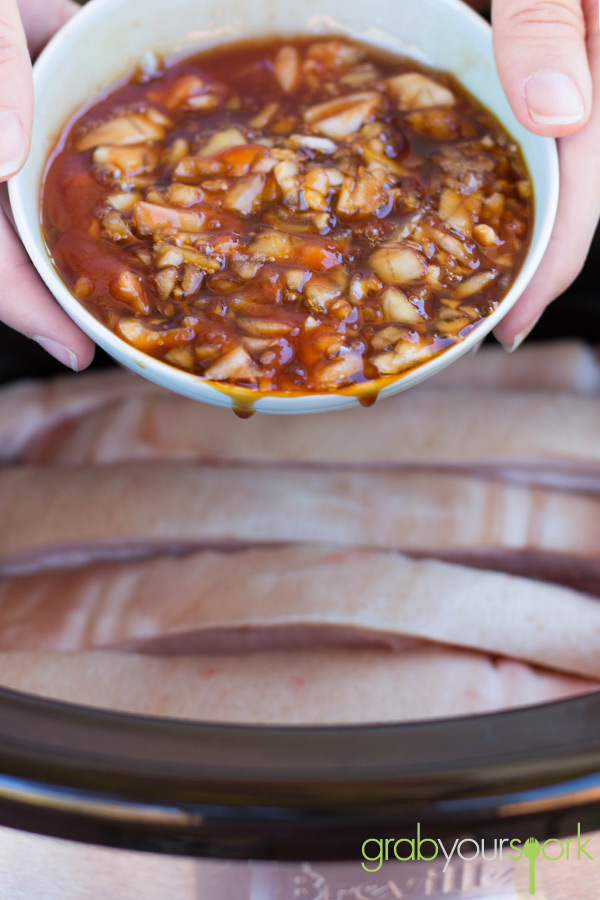
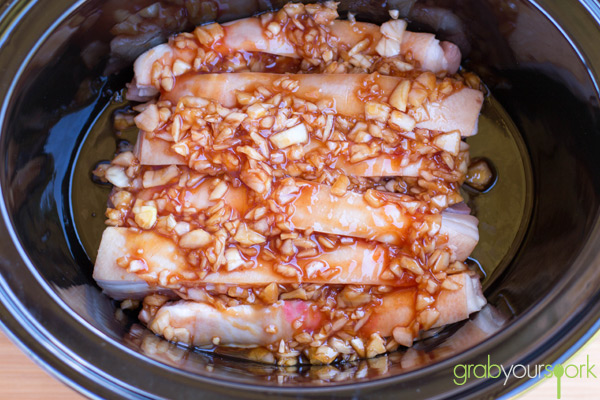
To make this recipe you simply combine all the ingredients (apart from the ribs) together to make a sauce. Then you simply place the ribs meat side up in the slow cooker and pour the sauce over the pork spare ribs. From here leave the ribs to cook for 6 – 8 hours on a low heat and voila! Asian BBQ Pork Ribs!

Now the ribs we used were pork spare ribs and they had quite a lot of fat on them. Don’t worry though. Not only will the fat add to the flavour, when the pork cooks the fat will drip down making the pork meat extremely tender. It is also really easy to pull apart from the meat when you’re eating them.

To serve remove the ribs from the slow cooker and dress with some fresh spring onion and sesame seeds.
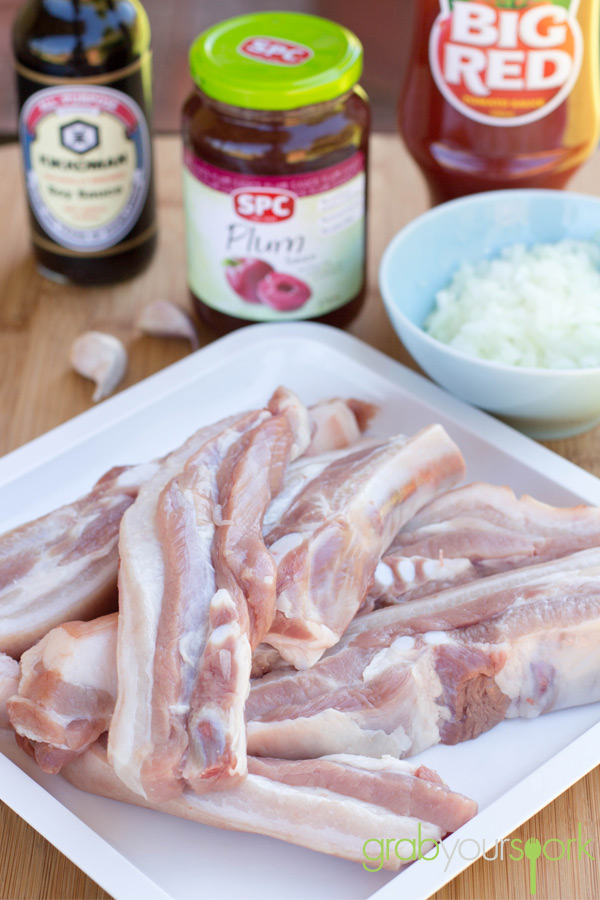
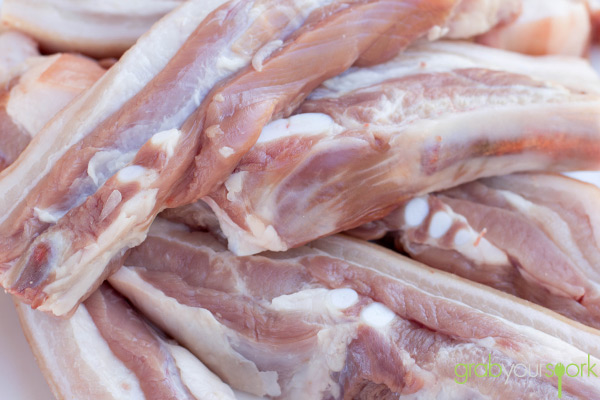
Asian BBQ Pork Ribs IngredientsPork Spare RibsAsian BBQ Pork Ribs SauceSlow Cooker Asian BBQ Pork RibsSlow Cooker Asian BBQ Pork Ribs

Asian BBQ Pork Ribs
 
Prep time
Cook time
Total time
 
Slow Cooker Asian BBQ Pork Ribs dressed with some fresh spring onion and sesame seeds.
Author:
Recipe type: Asian BBQ Pork Ribs
Cuisine: Asian
Serves: 2
Ingredients
  • 1kg pork spare ribs
  • ¼ cup soy sauce
  • ¼ cup plum sauce
  • 3 tbs tomato sauce
  • 1 small onion, finely chopped
  • 2 cloves garlic, crushed
Instructions
  1. Place the ribs in slow cooker with meat side of ribs facing up.
  2. Mix all the ingredients together and pour over the ribs making sure ribs are completely covered.
  3. Cook on a low heat for 8 hours.
  4. Serve with fresh spring onion and sesame seeds.
 

Cranberry and Apricot Hot Cross Buns

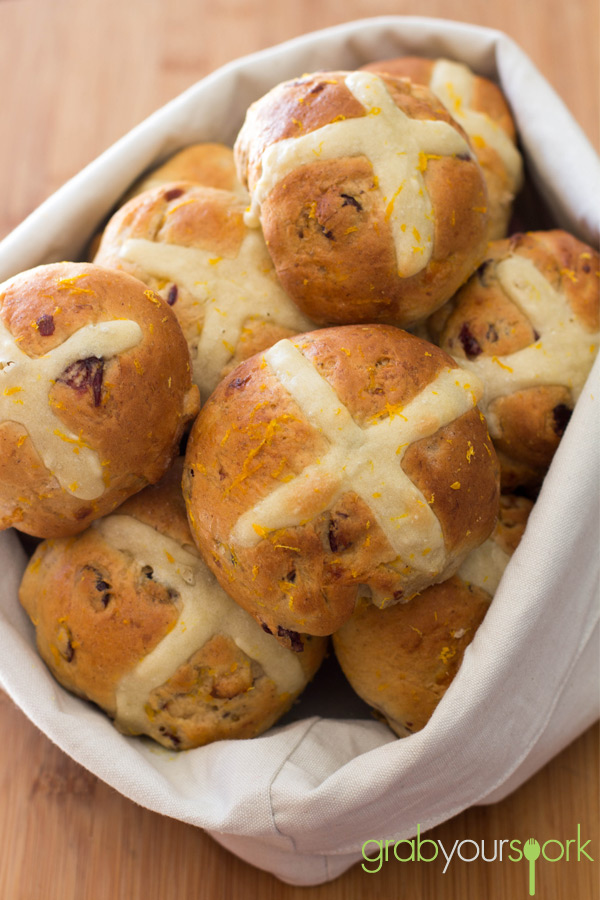
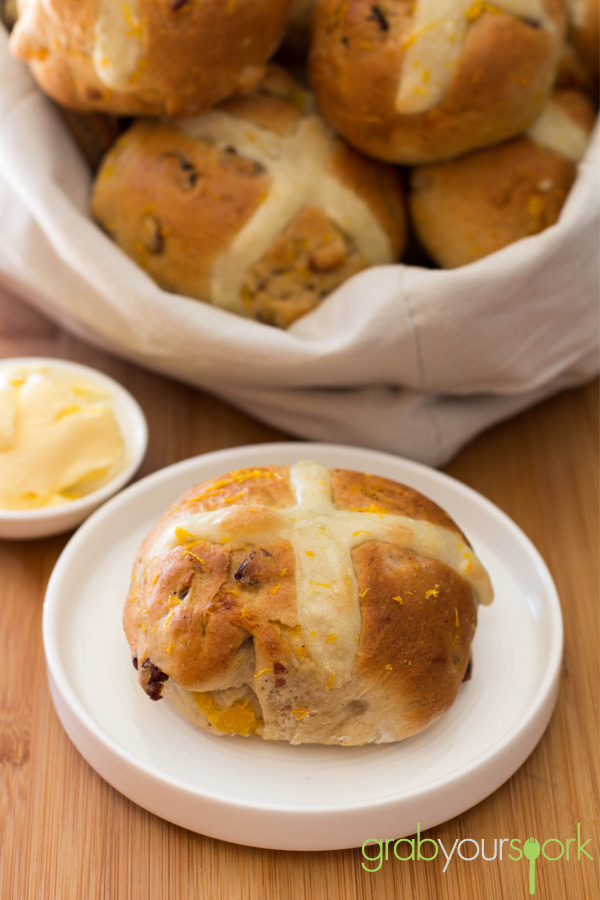
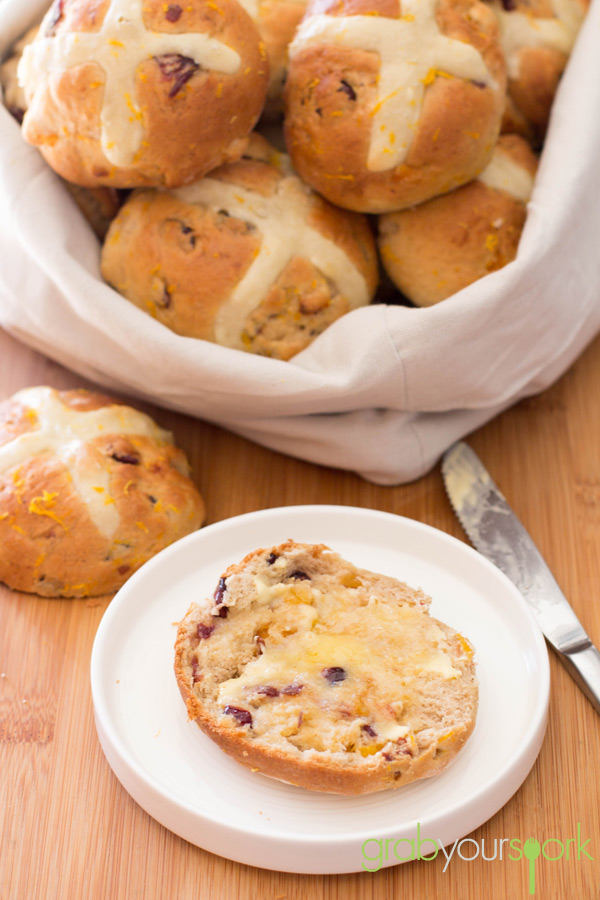
This weekend Brooke set herself the challenge of making her own Hot Cross Buns, so of course I wasn’t going to object. Fresh spiced fruit buns from the oven? Yes please! Hot Cross Buns are one of my favourite things to eat at Easter. Traditionally we eat these yummy spiced buns on Good Friday, however each year they are available to buy in the shops earlier and earlier (I even think I saw them as soon as Christmas was over!).

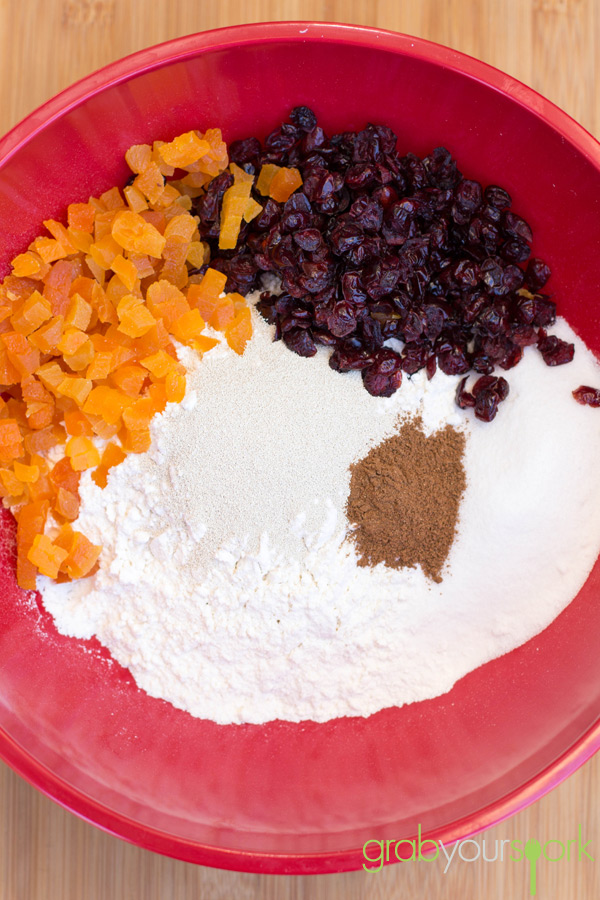
Traditional Hot Cross Buns are usually made with currants or raisins and flavoured with mixed spice. To make our recipe we made our own Mixed Spice and used dried cranberries and apricots. I’m not saying that you can’t just use the normal mixed spice from the shops, however through making your own you can adapt the intensity of each spice to your preference – for hot cross buns Brooke added a bit more cinnamon.

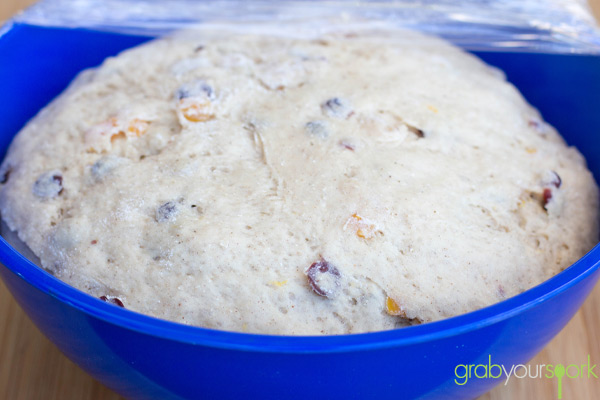
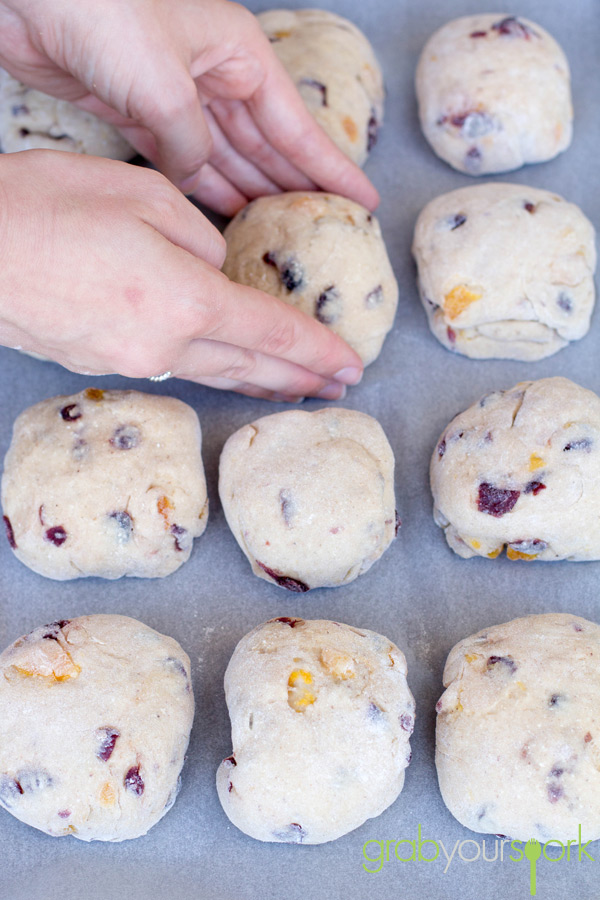
To make the buns, there are a few steps but mainly it is just waiting for the dough to rise that takes up most of the time. With the strong smell of mixed spice filling the house patience was definitely getting the better of me! After making the dough, letting it rise, kneading it again, and dividing it into your buns. You need to let to dough rise once more before adding the traditional flour paste as the cross. Note if you aren’t a fan you don’t have to add it. You could easily cut a cross in the bun giving it a nice rustic look. After all this, bake your buns in a moderate oven for around 20 minutes or until cooked through.

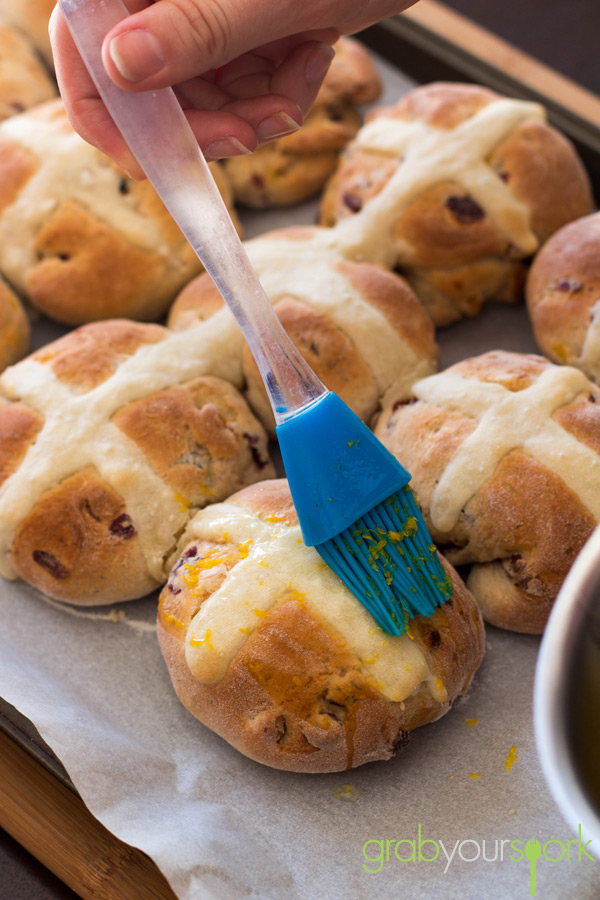
To give the buns a nice glossy finish you need to make a simple glaze through boiling water and sugar on the stove. To enhance the combination of cranberry and apricot Brooke added a little orange zest to her glaze this time.

After some quality control let me assure you these Cranberry and Apricot Hot Cross Buns are delish!

If your looking for another variant this on these delicious buns then try our Apple and sultana hot cross buns.

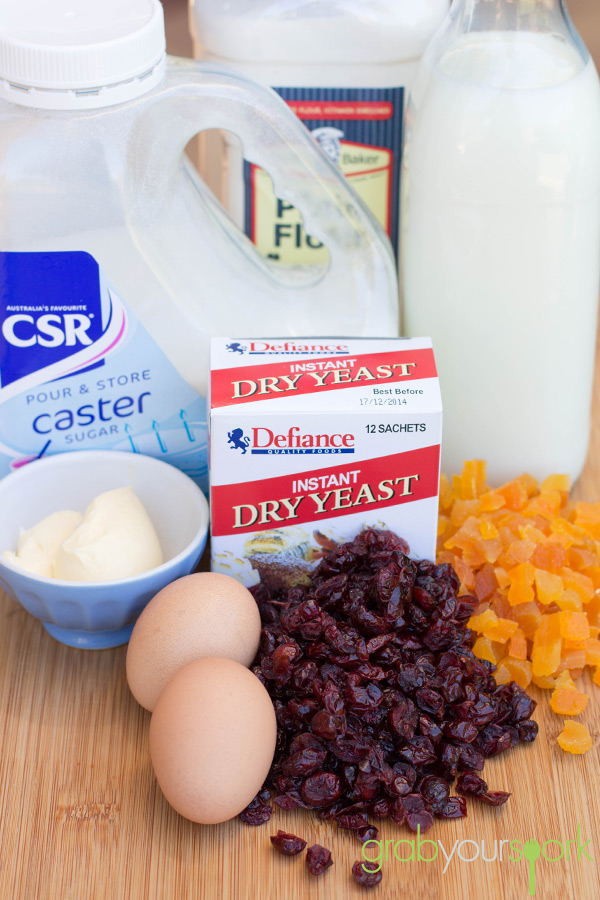
Cranberry and Apricot Hot Cross Buns IngredientsCranberry and Apricot Hot Cross Buns MixtureCranberry and Apricot Hot Cross Buns DoughHot Cross Buns Rising DoughCranberry and Apricot Hot Cross BunsCranberry and Apricot Hot Cross BunsHot Cross BunsCranberry and Apricot Hot Cross BunsApricot Hot Cross Buns

5.0 from 1 reviews
Cranberry and Apricot Hot Cross Buns
 
Prep time
Cook time
Total time
 
Check out this recipe for rustic Hot Cross Buns made with mixed spice, dried cranberries and apricots.
Author:
Recipe type: Baked Goods
Cuisine: English
Serves: 12
Ingredients
Buns
  • 4 Cups Plain Flour
  • 14 g Dried Yeast
  • ¼ Cup Caster Sugar
  • 2 Tsp Mixed Spice
  • Pinch of Salt
  • ¾ Cup Dried Cranberries
  • ¾ Cup Dried Apricots, diced
  • 40 g Butter
  • 300ml Milk
  • 2 eggs, lightly beaten
Flour paste
  • ½ Cup Plain Flour
  • 4 to 5 Tbsp water
Glaze
  • ⅓ Cup Water
  • 2 Tbsp Caster Sugar
  • 1 Tsbp Orange Zest (optional)
Instructions
  1. Combine flour, yeast, sugar, mixed spice, salt and cranberries and apricots in a large bowl.
  2. Melt butter in a small saucepan over medium heat. Add milk. Heat for until lukewarm.
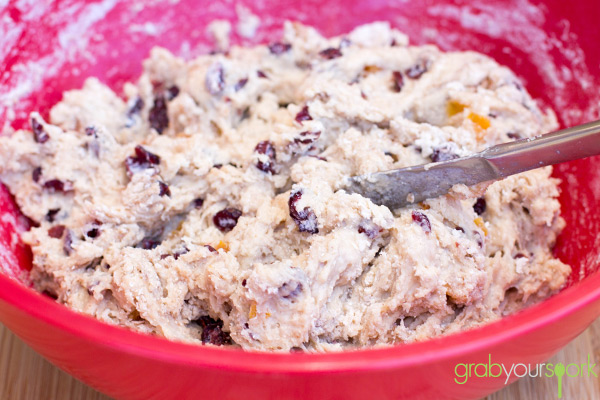
  3. Add warm milk mixture and eggs to fruit mixture. Using a flat-bladed knife, simply cut the knife through the dough until it almost comes together. Using clean hands to finish mixing to form a soft dough.
  4. Turn dough out onto a floured surface. Knead for 10 minutes, or until dough is smooth.
  5. Place into a lightly oiled bowl. Cover with plastic wrap. Set aside in a warm, draught-free place for 1 to 1½ hours, or until dough doubles in size.
  6. Line a large baking tray with non-stick baking paper.
  7. Punch dough down to its original size. Knead on a lightly floured surface until smooth.
  8. Divide into 12 even portions. Shape each portion into a ball. Place balls onto lined tray, about 1cm apart. Cover with plastic wrap. Set aside in a warm place for 30 minutes, or until buns double in size.
  9. Preheat oven to 190°C.
  10. Make flour paste: Mix flour and water together in a small bowl until smooth, adding a little more water if paste is too thick.
  11. Spoon into a small snap-lock bag. Snip off 1 corner of bag. Pipe flour paste over tops of buns to form crosses.
  12. Bake for 20 to 25 minutes, or until buns are cooked through.
  13. Make glaze: Place water, sugar and zest into a small saucepan over low heat. Stir until sugar dissolves. Bring to the boil. Boil for 5 minutes.
  14. Brush warm glaze over warm hot cross buns.
  15. Serve warm or at room temperature


Tomato Salsa

It is no secret that I love salsa. As Brooke knows I could quite easily polish off a bag of corn chips and tomato salsa just watching TV or a movie. However I do have to admit, up until recently I was still buying the one from the shops. Why not though? It is just so convenient. The major problem with store bought tomato salsa is it is full of unnecessary sodium, sugar and artificial flavouring. Little did I know though how easy homemade tomato salsa is!

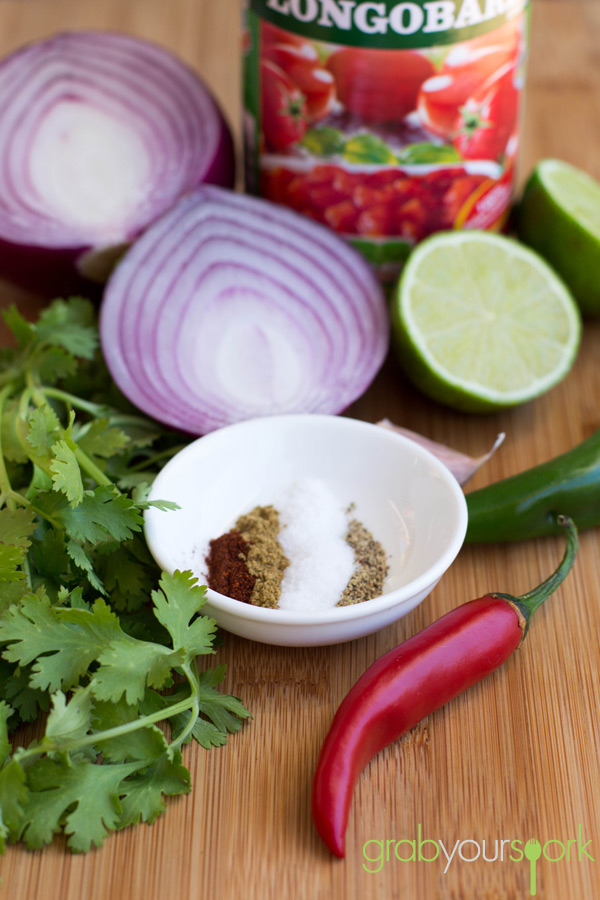
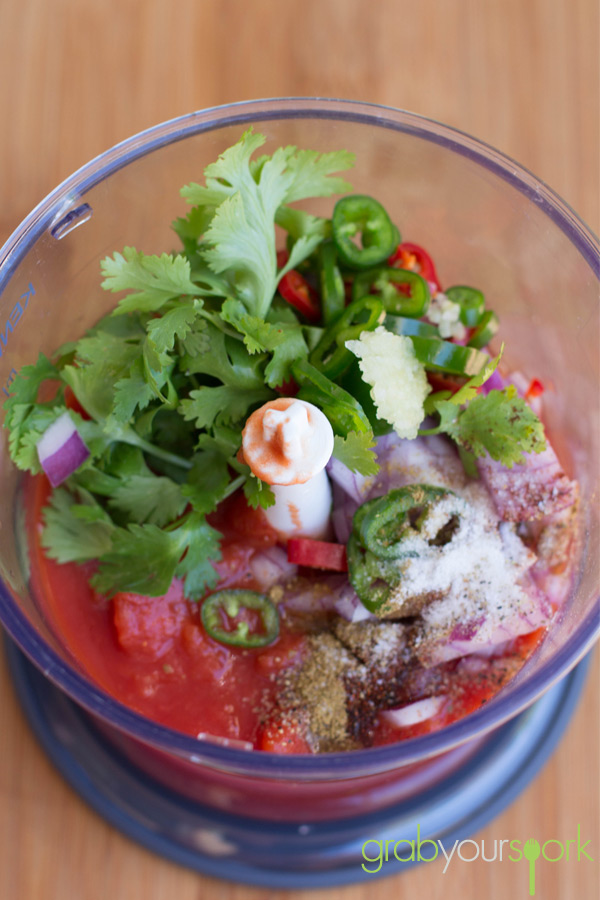
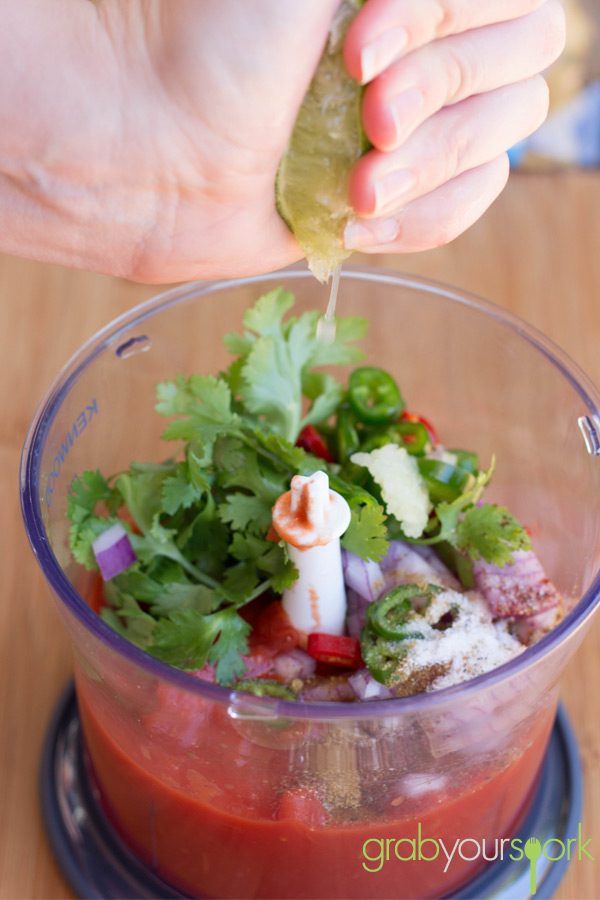
Not only can this recipe for tomato salsa be made is less than 5 minutes its fresh flavours are unbeatable. For our recipe we use one can of tinned tomatoes, red onion, coriander, chilli, garlic fresh lime juice and season with cumin, smoked paprika and salt and pepper. If you’re like me I like my salsa a bit spicier, so we used a combination of red and green chilli. However you can simply just use one jalapeno.

To mix simply blitz in the food processor or with a stick blender. I like my salsa a bit chunky so only blitz for a couple of seconds at a time until you reach a nice consistency. Your salsa may be slightly watery once blitzed. Strain some of the extra liquid leaving you with a rich flavourful salsa.

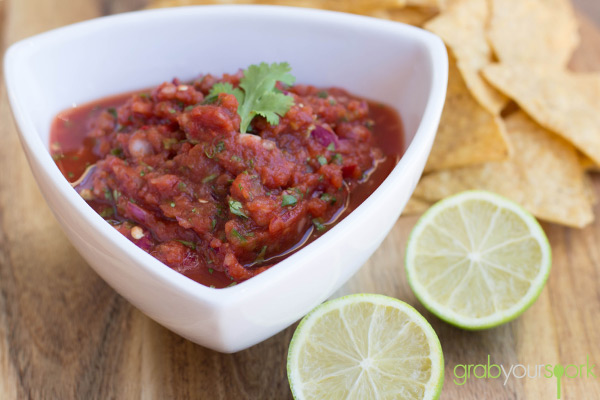
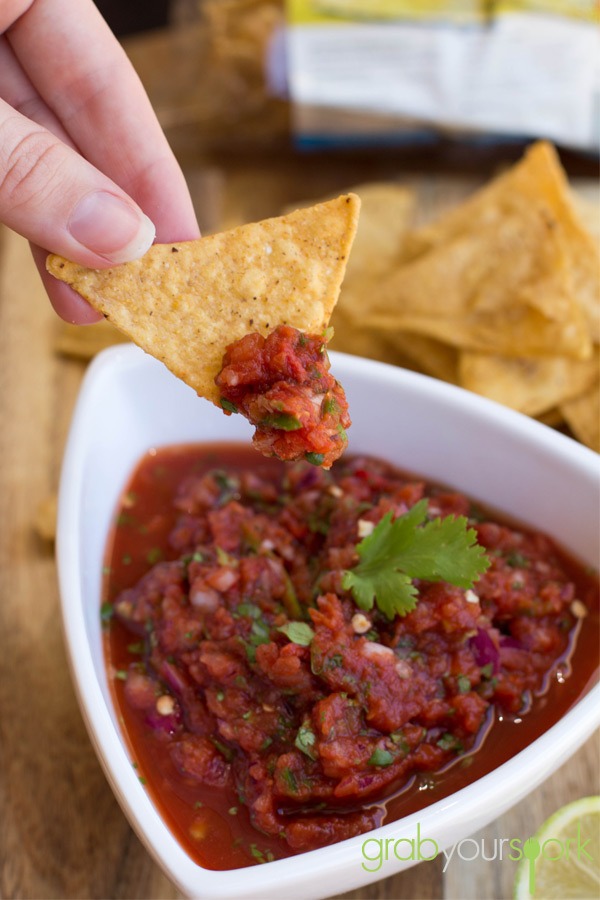
Chill your tomato salsa for a couple of hours to enhance the flavours. Serve with some oven-crisped corn chips. This recipe can also be used to accompany our simple guacamole or even as a topping for our pulled pork tacos!

Tomato Salsa IngredientsTomato Salsa in BlitzerTomato Salsa with LimeTomato Salsa RecipeTomato Salsa Recipe

5.0 from 1 reviews
Tomato Salsa
 
Prep time
Cook time
Total time
 
Simple tomato salsa made with tinned tomatoes, red onion, coriander, chilli, garlic fresh lime juice and season with cumin, smoked paprika and salt and pepper.
Author:
Recipe type: Snacks
Cuisine: Mexican
Serves: 4
Ingredients
  • 1 tin tinned tomatoes, diced
  • ½ red onion, roughly chopped
  • ½ cup coriander
  • 1 garlic clove, crushed
  • 1 green chilli, sliced
  • 1 red chilli, sliced
  • 1 tsp. salt
  • 1 tsp. smoked paprika
  • ½ tsp. cumin
  • ½ tsp. ground pepper
  • 1 lime, juiced
Instructions
  1. Place all ingredients in food processor.
  2. Blitz or pulse for a couple of seconds.
  3. Drain excess liquid from salsa.
  4. Chill in the refrigerator for a couple of hours.
  5. Serve with oven-crisped corn chips.


Chocolate Cupcakes

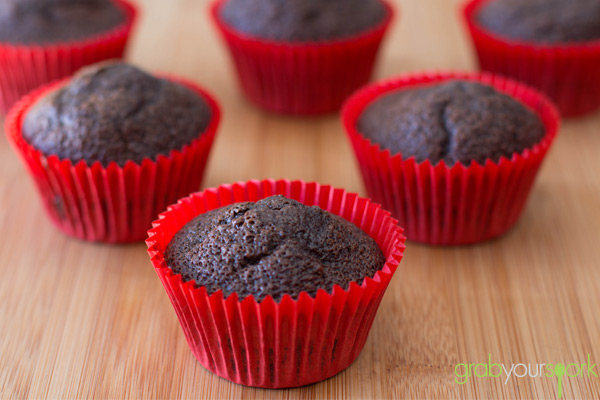
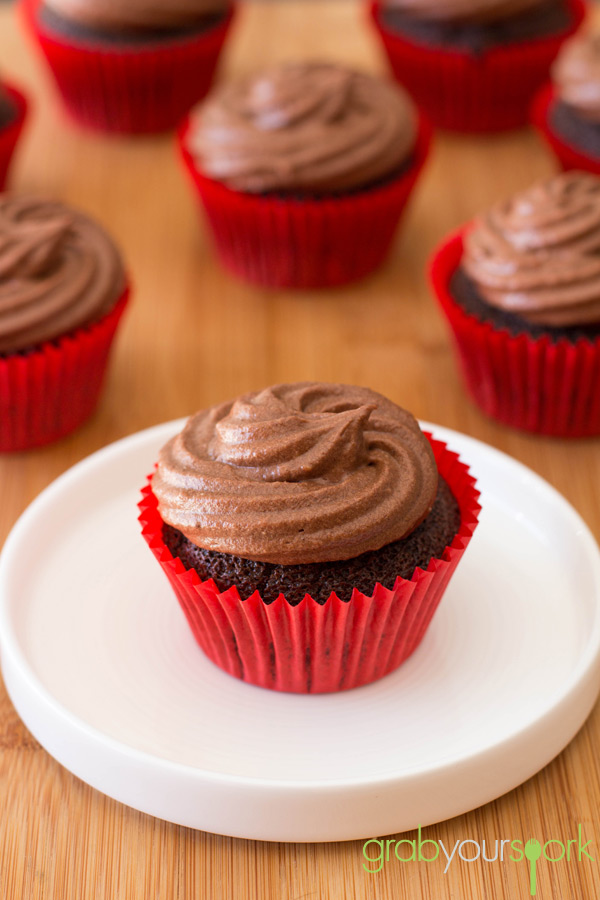
I am sure it is safe to say there are a few chocoholics out there! If you are like Brooke and I who wouldn’t call ourselves chocoholics, but do enjoy indulging in a chocolaty treat every now and then. This recipe is definitely the one you should be making!

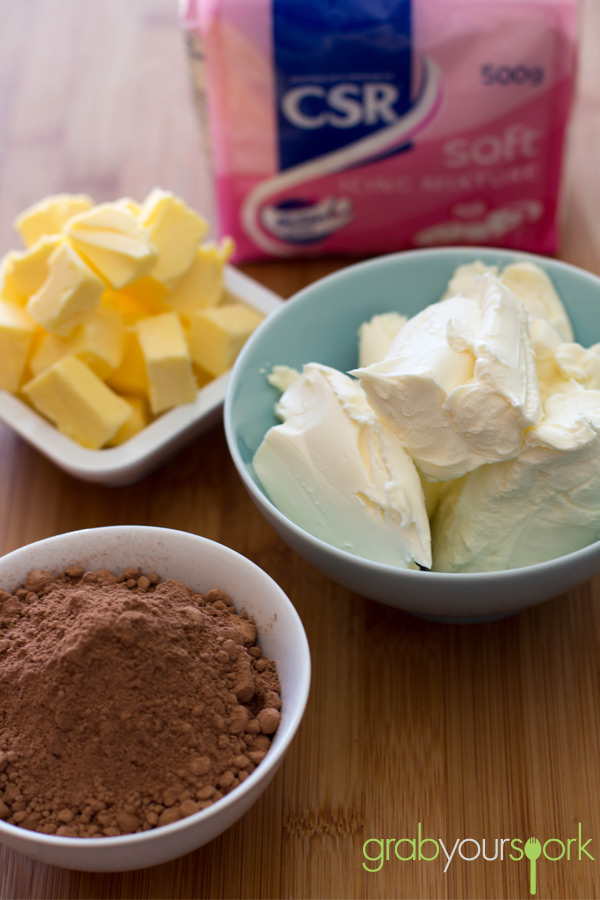
This recipe for Chocolate Cupcakes really is one you will use again and again. A perfect cupcake is all about making sure your base (the cupcake) is light and fluffy (not crumbly and dry)! To top off our cupcakes we used a simple chocolate buttercream icing. However you can easily substitute it with a normal frosting, flavoured icing or decadent chocolate ganache.

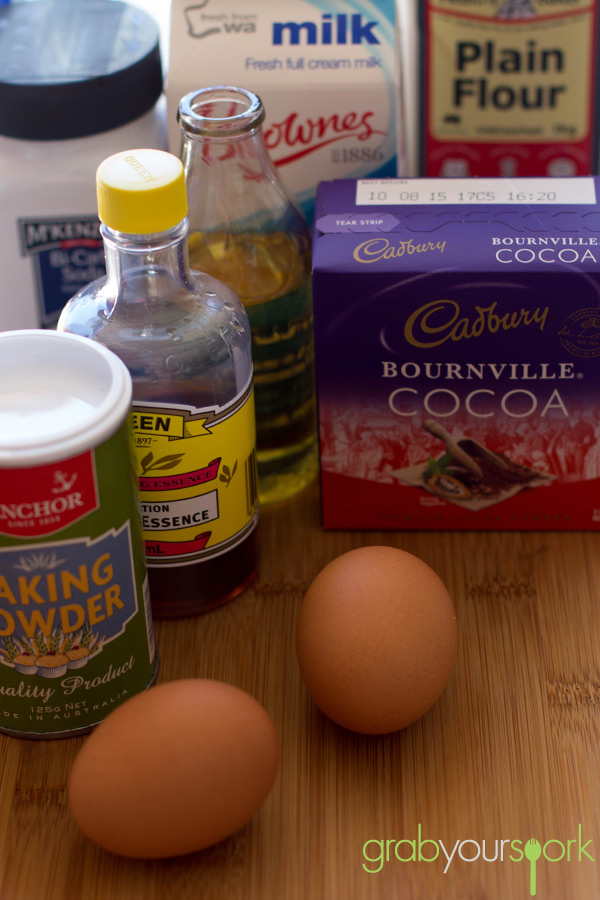
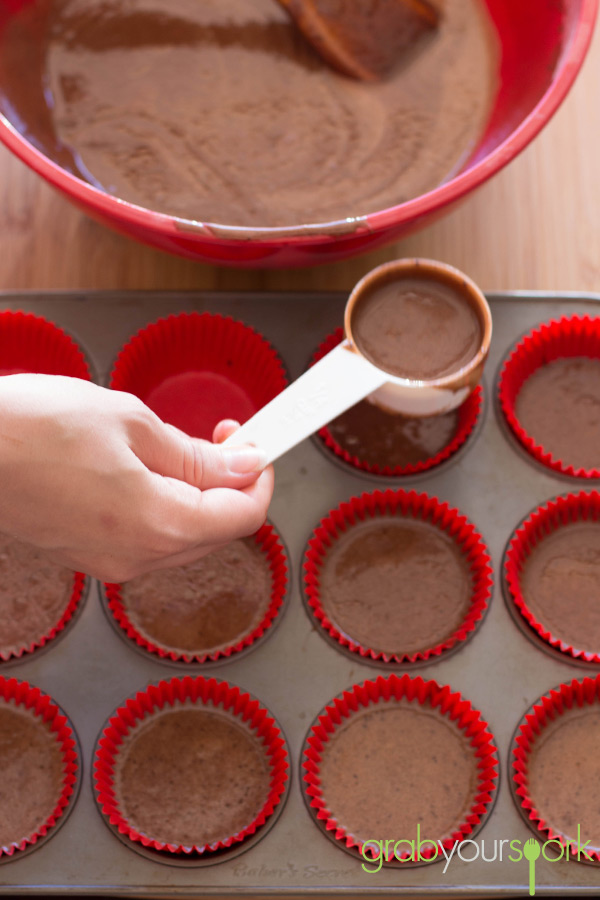
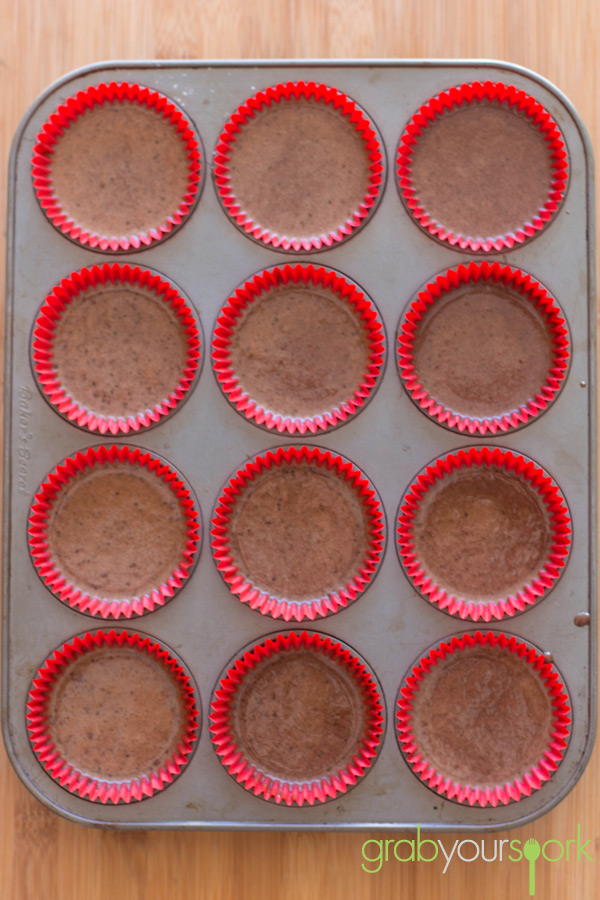
When making your cupcakes you want to use cocoa powder that isn’t overly sweet or bitter. Also adding a couple of teaspoons of vanilla essence or extract will enhance the chocolate flavour (yes it does work), as will substituting the vanilla with a teaspoon of instant coffee. Lastly, when adding the boiling water do not freak out how thin the batter is. This is normal, and your cupcakes will cook! As the mixture is so thin, to make your life easier and avoid getting half the mixture on the tin. Either put the batter in a measuring jug to pour the batter or, use a measuring cup to evenly fill the molds.

Before icing, ensure your cupcakes are completely cool. These chocolate treats sure will makes all chocolate lovers very happy!

Chocolate Cupcake IngredientsChocolate Cupcake MixtureChocolate Cupcakes in tinChocolate Cupcake IcingChocolate CupcakesChocolate Cupcakes

5.0 from 1 reviews
Chocolate Cupcakes
 
Prep time
Cook time
Total time
 
A perfect cupcake is all about making sure your base (the cupcake) is light and fluffy (not crumbly and dry)! To top off our cupcakes we used a simple chocolate buttercream icing.
Author:
Recipe type: Baked Goods
Cuisine: American
Serves: 18
Ingredients
Cupcakes
  • 2 cups sugar
  • 1 ¾ cup plain flour, sifted
  • ¾ cup unsweetened cocoa, sifted
  • 1 ½ tsp baking powder
  • 1 ½ tsp baking soda
  • 1 tsp salt
  • 2 eggs
  • 1 cup whole milk
  • ½ cup vegetable oil
  • 2 tsp vanilla extract
  • 1 cup boiling water
Chocolate Icing
  • ½ cup butter, at room temperature
  • 250g cream cheese, at room temperature
  • 2 tsp vanilla extract
  • ½ cup cocoa powder, sifted
  • 2 cups icing sugar, sifted
  • extra milk
Instructions
Cupcakes
  1. Line muffin tin with paper liners. Preheat oven to 180C.
  2. In a large mixing bowl sift in all dry ingredients.
  3. Add eggs, milk, oil and vanilla. Beat on a medium speed for one minute.
  4. Stir in boiling water (the batter will be thin but don’t worry)
  5. Fill liners ⅔ full.
  6. Bake cupcake for 18 to 20 minutes
  7. Complete with frosting.
Icing
  1. Add butter, cream cheese and vanilla to a mixing bowl. Mix until smooth.
  2. Gradually add sifted cocoa powder and icing sugar.
  3. Mix until smooth. Add extra milk if you find the icing a too dry.


Baked Onion Rings

If you have been on Foodgawker or Pinterest lately you will notice all the food people are making for the Superbowl. Although it isn’t a big deal here, it doesn’t mean we don’t appreciate some of the tasty snacks that come from America. This recipe for Baked Onion Rings will make you appreciate the work that goes into making the perfect snack, yet a whole lot healthier given we baked them.

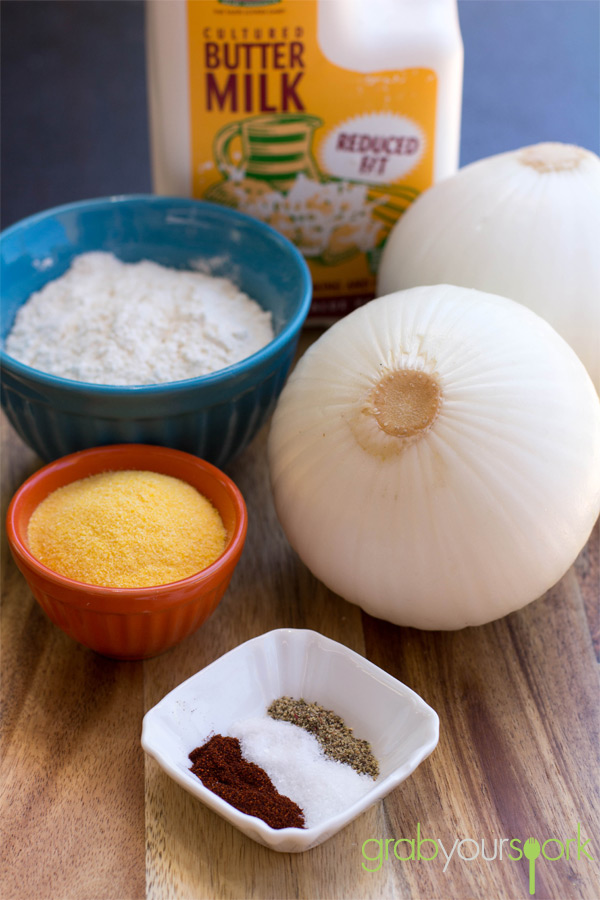
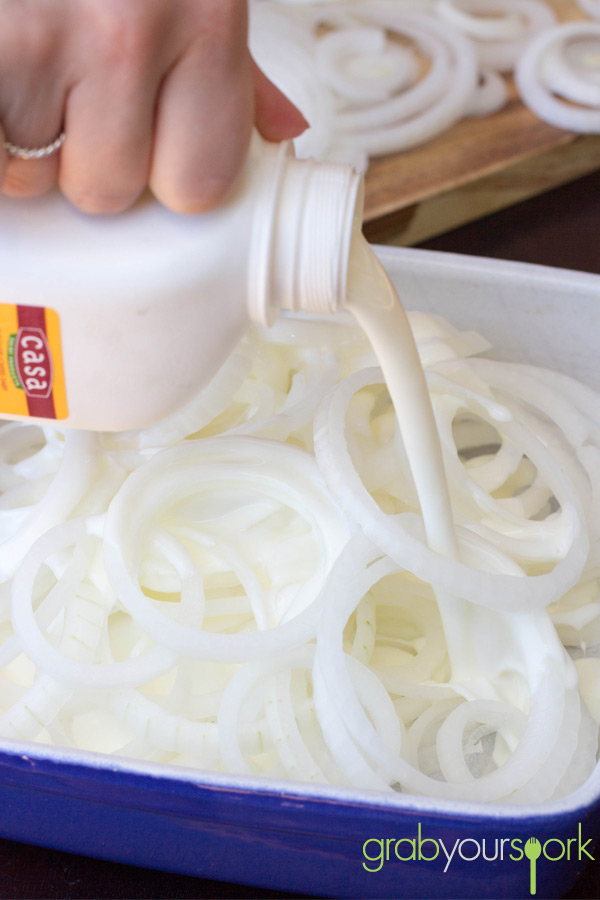
Onion rings are the perfect accompaniment to burgers, barbeques and well any other casual occasion. The trick to making the perfect onion ring however, is ensuring you soak the raw onion rings in buttermilk before coating them. Through soaking the onion first it will not only soften the onion, it also takes away some the heat and acidity onions have. Lastly, soaking the onion rings in buttermilk allows the more coating to adhere to the rings given your that extra crunch.

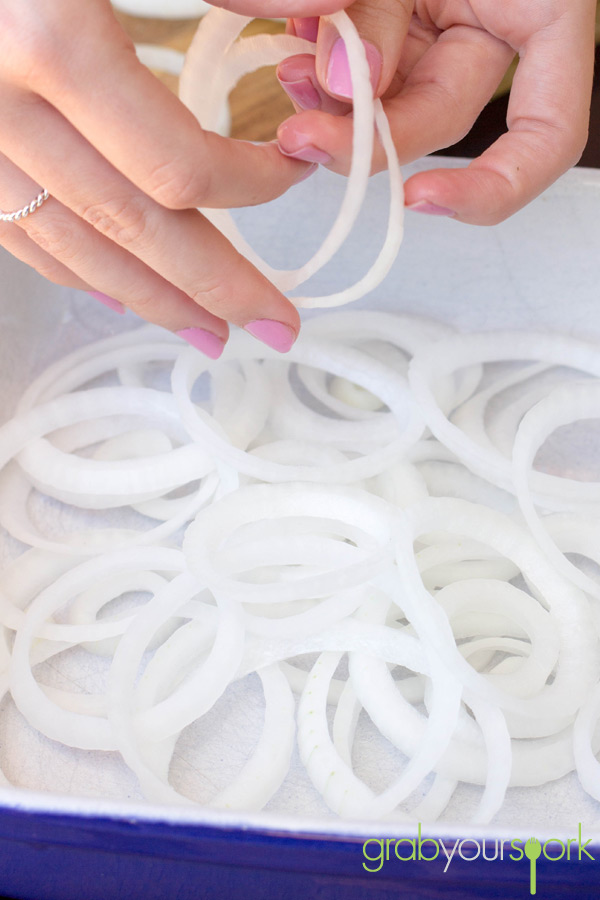
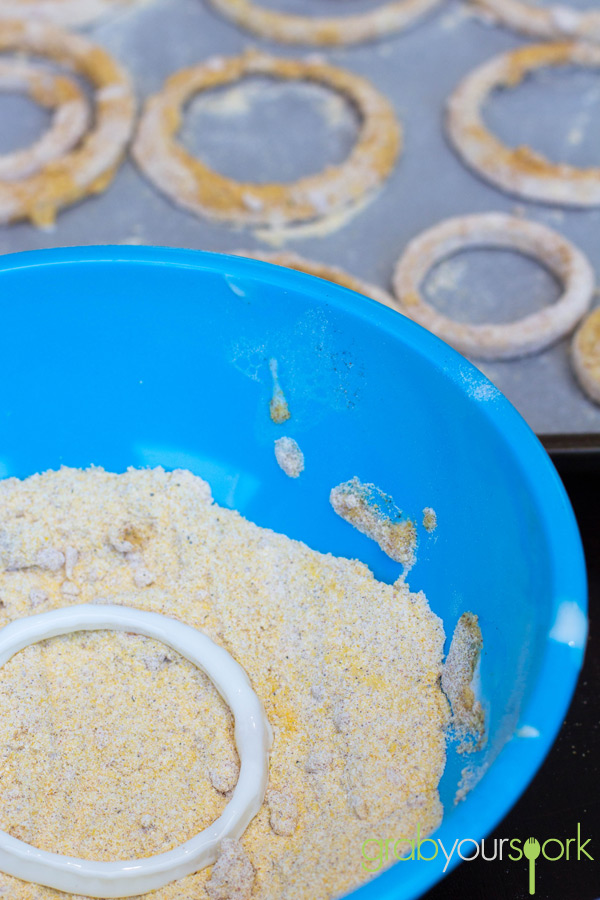
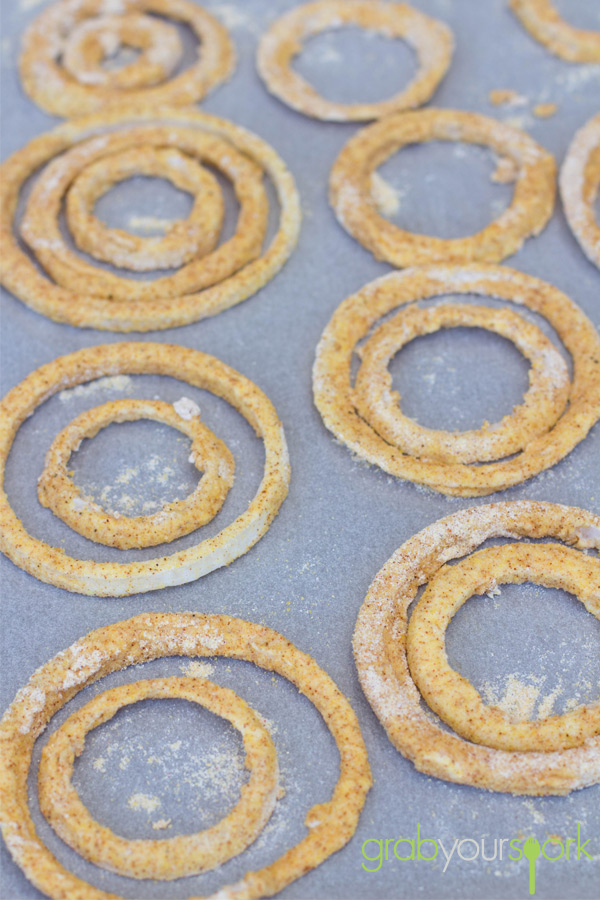
To make our onion rings, you need to soak the rings ahead of time. Anywhere from 2 hours onwards is enough if you ask me. You need to make sure the onions are somewhat submerged in the buttermilk, and occasionally stir. Leave in the refrigerator covered tightly. To coat, simply dip the rings in the coating and place on a lined oven tray. Spray the rings with canola oil and bake in the oven, flipping and rotating till golden brown.

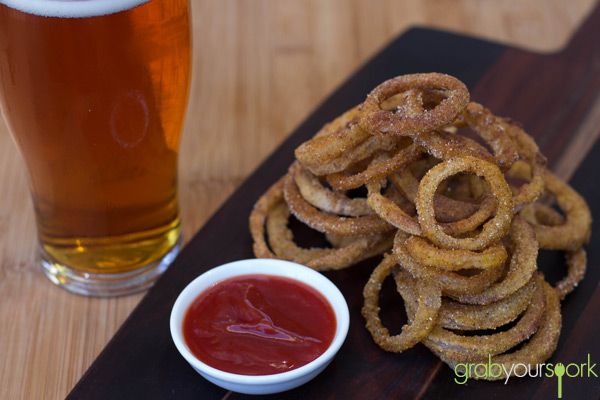
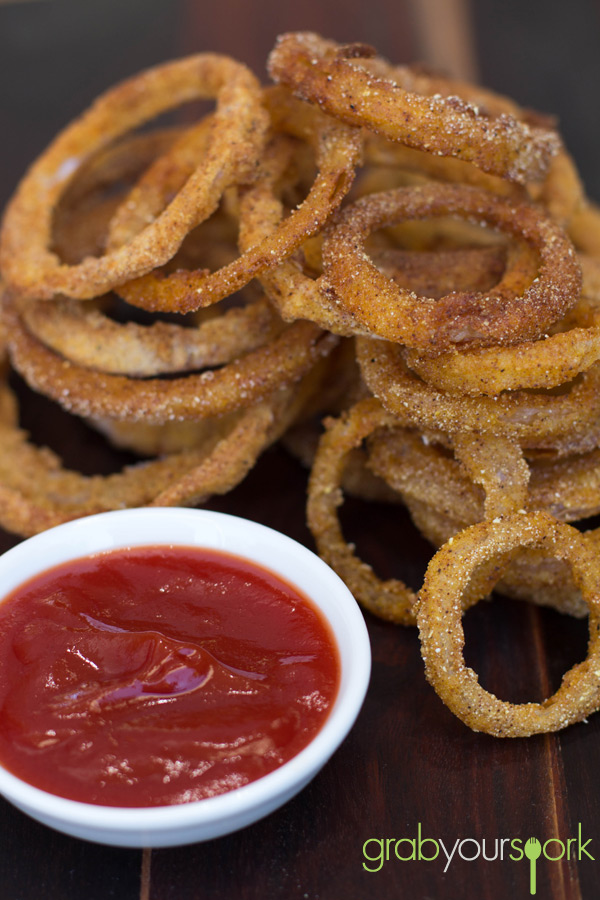
Once the rings are cooked you should end up with a crisp outside and soft onion on the inside. Serve with burgers, barbeque or like we did a as a late afternoon snack and a beer.

Baked Onion Rings IngredientsOnion Ring SlicesBaked Onion Rings with ButtermilkBaked Onion Rings with PolentaBaked Onion Rings in BatterBaked Onion Rings with BeerBaked Onion Rings

5.0 from 1 reviews
Baked Onion Rings
 
Prep time
Cook time
Total time
 
These polenta coated Baked Onion Rings are a whole lot healthier than your typical deep fried onion rings yet they still taste amazing.
Author:
Recipe type: Snack
Cuisine: American
Serves: 12
Ingredients
  • 300 ml buttermilk
  • 2 large onions, thickly sliced into rings
  • ½ cup plain flour
  • 100 g polenta
  • 1 tsp salt
  • ½ tsp ground pepper
  • 1 tsp smoked paprika
Instructions
  1. Slice onions into rings.
  2. Soak onion rings in buttermilk. Cover tightly and refrigerate for at least 2 hours or more.
  3. Combine remaining ingredients in a bowl. Dip onion rings into coating and place on a lines baking tray. Spray with canola oil.
  4. Bake in a 180°C preheated oven, flipping and rotating till golden brown.