Classic Meatballs

Last Updated on February 2, 2014 by Grab Your Spork

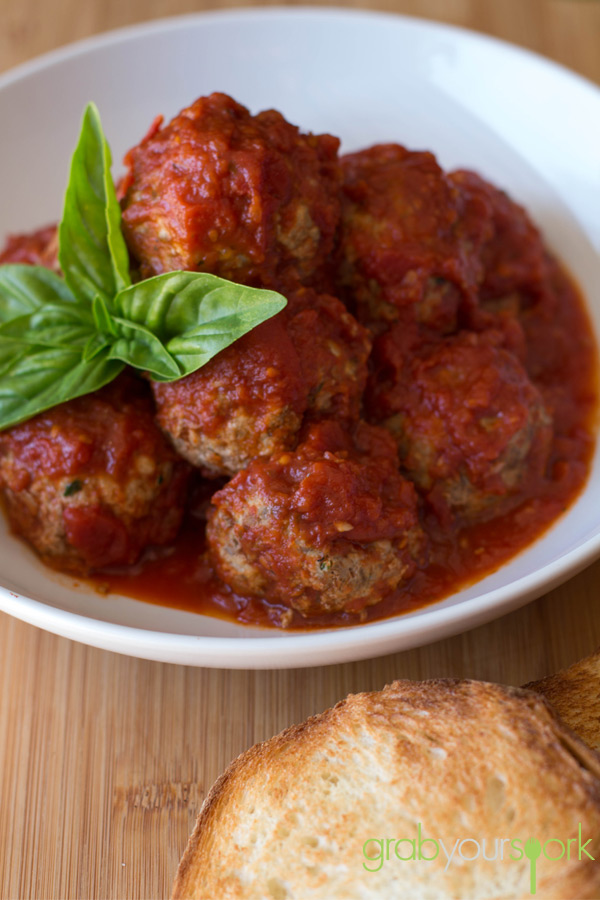
Everyone has their own take on making the perfect meatballs. To make our classic meatballs this recipe uses a few tricks Brooke has picked up from a cookbook she bought after eating at the Meatball Shop in New York.

To make these meatballs you can either use only beef mince with a slight fat content, or like we did combine beef mince with pork mince. Through combining the two minces your meatballs will be full of flavour and have a higher fat content which stops the balls from drying out. The addition of ricotta also helps lock in the moisture. When mixing the ingredients you need to mix the ingredients thoroughly, otherwise your meatballs won’t be consistent in flavour and texture

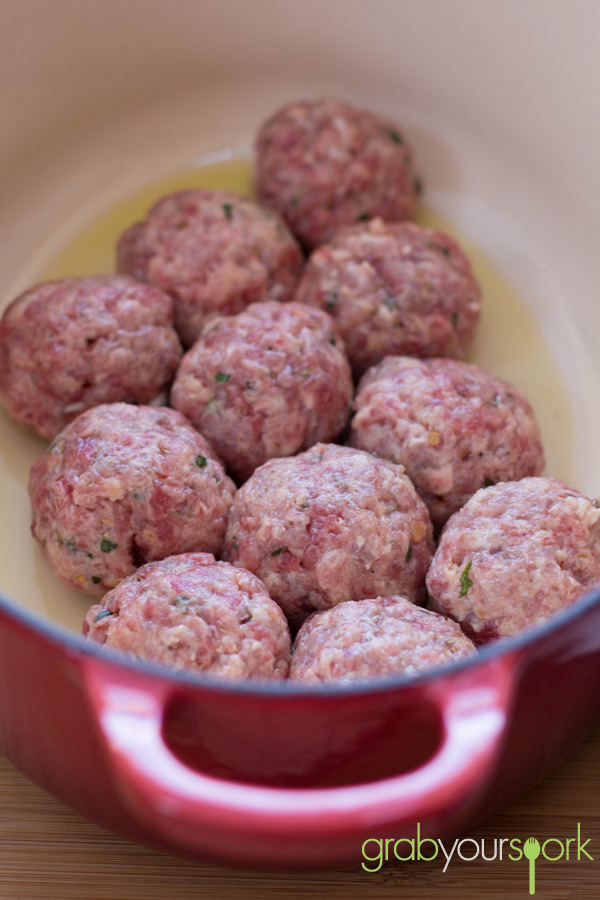
Now, when it comes to cooking there are a few options and everyone has their preference. However, when cooking large amounts and you want to ensure the balls are consistent roasting is a great option. Roasting the meatballs in the oven is an easy, fast and consistent way to cook your meatballs. When roasting it is important to pack the balls tightly in the baking dish. Packing the meatballs tightly will help ensure the balls hold their form and keep the flavour in.

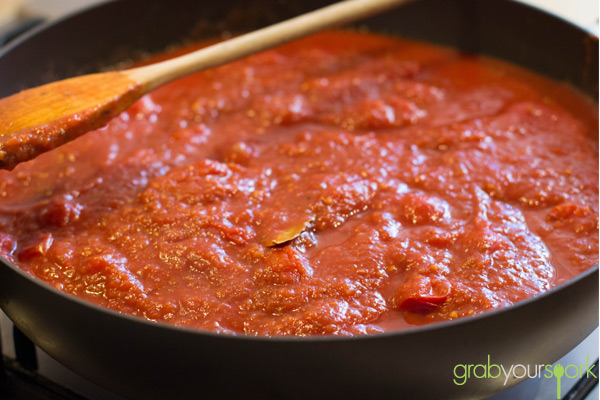
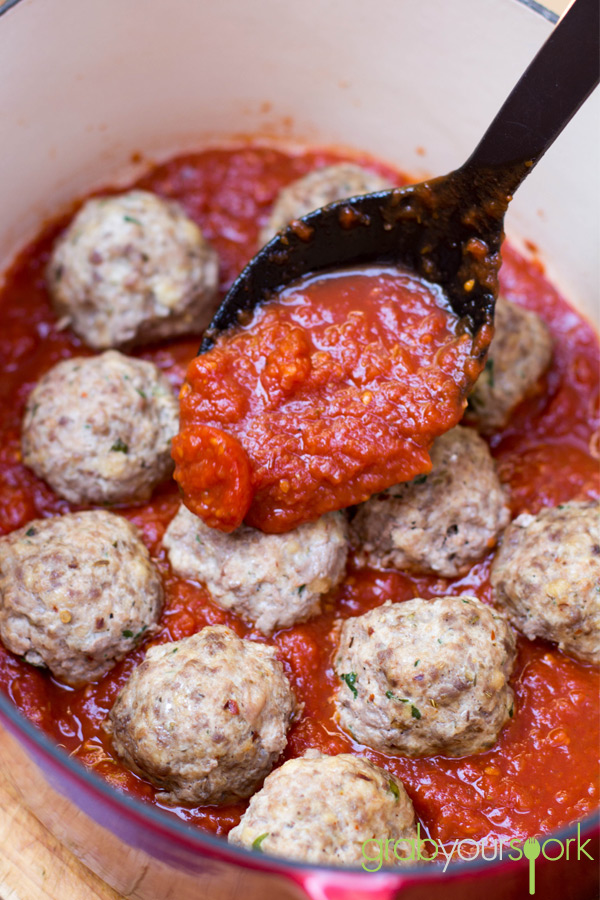
Prepare a simple tomato sauce as per the recipe below to finish off the roasting process. Serve your meatballs on a large platter, or in separate bowls, with the tomato sauce a sprig of fresh basil, some grated Parmesan cheese to taste with some crusty bread.
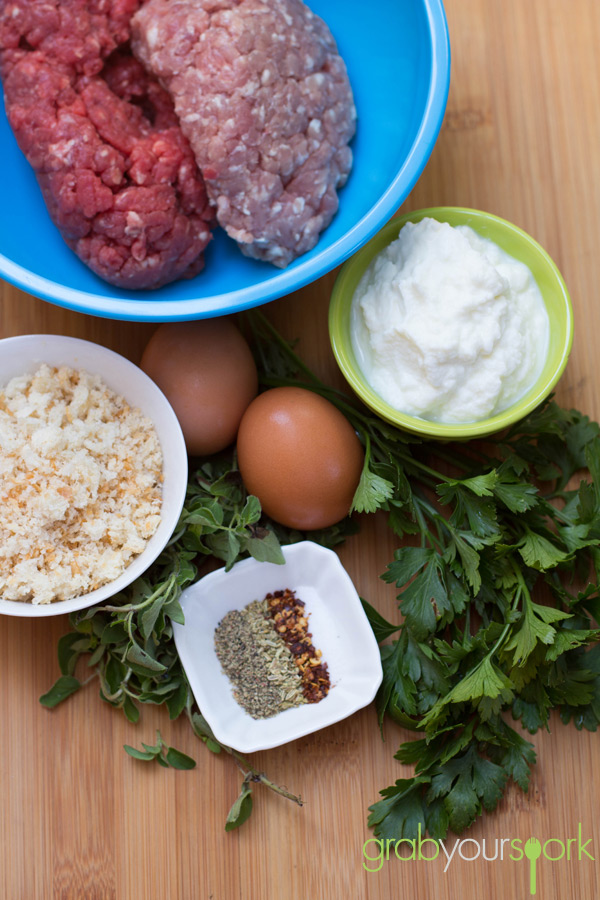
Classic Meatballs Ingredients

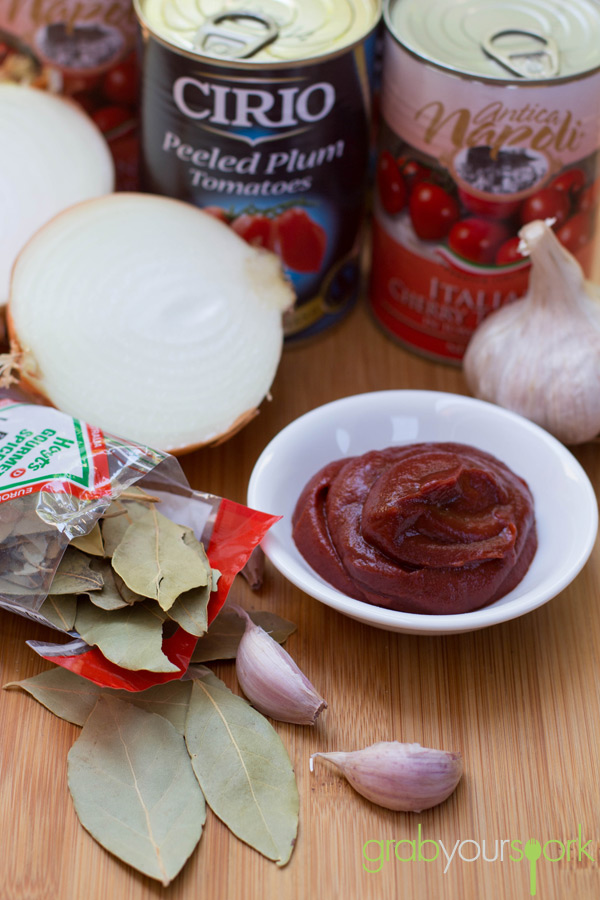
Tomato Sauce Ingredients

Tomato Sauce for Classic Meatballs

Classic Meatballs in Pan

Classic Meatballs in Tomato Sauce

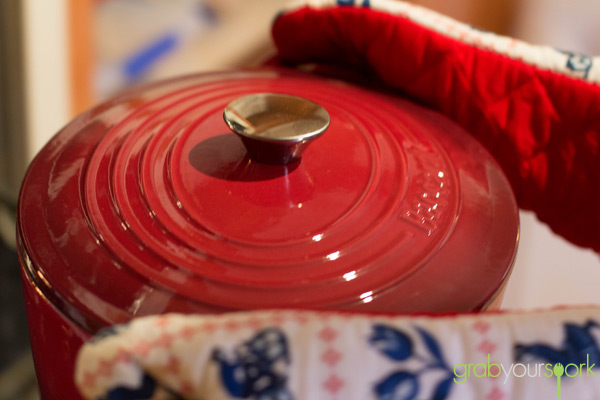
Classic Meatballs in Dutch Oven

Classic Meatballs with Tomato Sauce

5.0 from 1 reviews
Classic Meatballs
 
Prep time
Cook time
Total time
 
Classic meatballs made with beef and pork mince and a combination of spices and fresh herbs. Serve with a simple tomato sauce.
Author:
Recipe type: Beef
Cuisine: Italian
Serves: 4
Ingredients
Ingredients
  • Meatballs
  • 1 tblsp olive oil
  • 300 g beef mince
  • 200 g pork mince
  • ½ cup ricotta
  • 2 eggs, or 1 large egg
  • ½ bread crumbs
  • 2 tblsp fresh parsley, chopped
  • 1 tblsp fresh oregano, chopped, or 1 tsp dried oregano
  • 1 tsp salt
  • ½ tsp red chilli flakes
  • ½ tsp ground fennel
  • Freshly ground black pepper
Sauce
  • 2 tblsp olive oil
  • 1 onion, diced
  • 1 bay leaf
  • 1 tsp fresh oregano or ½ tspn dried oregano
  • 3 garlic cloves, crushed
  • 1 tsp salt
  • 2 tblsp tomato paste
  • 3 x 400 g tinned tomatoes
Instructions
Meatballs
  1. Preheat over to 220C (430 F). Drizzle olive oil into a baking dish and use your hand to evenly coat the entire surface. Set aside.
  2. Combine the mince, ricotta, eggs, bread crumbs, fresh and dried herbs in a mixing bowl. Mix by hand until thoroughly combined.
  3. Roll the mixture into round, 1 ½ inch sized balls, making sure to pack the meat firmly. Place the balls into the prepared baking dish, being careful to line them snugly. The meatballs should be touching one another.
  4. Roast in the preheated over for 20 minutes, or until the meatballs re firm and cooked through Meatballs should read 70C (165 F) with a meat thermometer.
  5. While the meatballs are roasting, heat the tomato sauce over a medium heat, stirring often.
  6. When the meatballs are firm and fully cook, remove them from the oven and drain the excess grease from the pan. Pour the tomato sauce over them. Return the meatballs to the oven and continue roasting for another 10 – 15 minutes.
Sauce
  1. Heat the olive oil in a deep pan or large pot, over a medium heat.
  2. Add the onions, bay leaf, oregano, garlic, and salt and cook, stirring often. Cook until the onions are soft and translucent, about 10 minutes.
  3. Add the tomato pasta and continue cooking or 5 minutes.
  4. Add the tomatoes and stir constantly until the sauce begins to boul. Lower the heat and simmer for 1 hour, stirring every 5 minutes or so to prevent the sauce on the bottom of the pot/pan from burning.
  5. Taste and season with additional salt, or oregano if desired.
  6. Remove the bay leaf before serving.
 

MYO Bruschetta

Last Updated on April 8, 2016 by Grab Your Spork

As you know I love anything snack related and bruschetta has to be one of the most simple and flavour packed snacks (or antipasto) you can make. Normally Brooke and I would make traditional bruschetta recipe with tomato, onion, basil and drizzled with olive oil. However on this lazy weekend in winter it wasn’t the best time for buying basil.

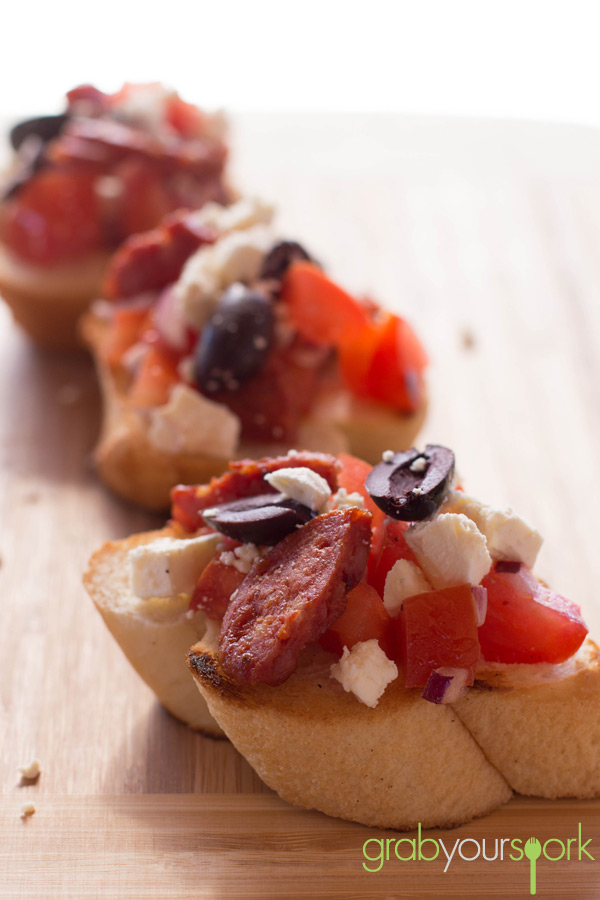
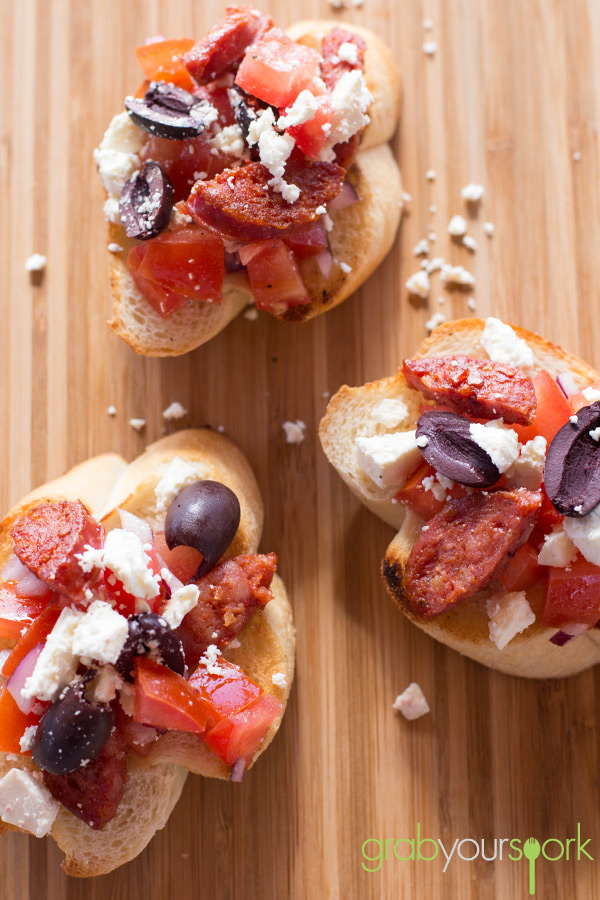
As a result, we started looking for ingredients and opted for non traditional options including chorizo, feta and kalamata olives to add with some fresh tomato and onion for a make your own bruschetta station. Now some of you may be thinking this doesn’t have any resemblance of bruschetta, however there are no rules to say what you can’t use as your toppings. However, I am sure if you love chorizo as much as me you will not doubt the flavour combinations.

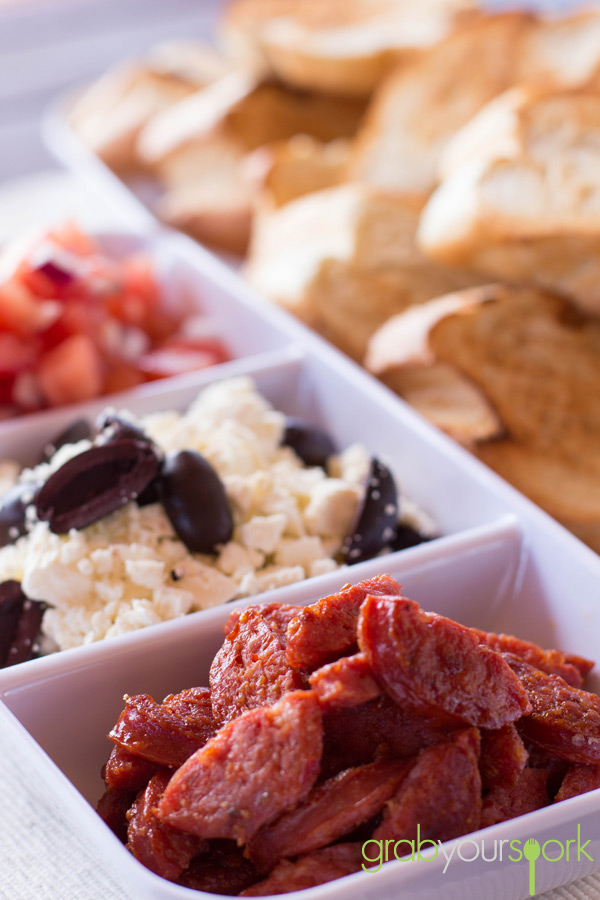
Now unfortunately Brooke isn’t the hugest fan of chorizo (weirdo), so to have a bit of fun with it we created a make your own bruschetta. This meant keeping some of the ingredients separate then, each of us could top ours with more of our favourite toppings.

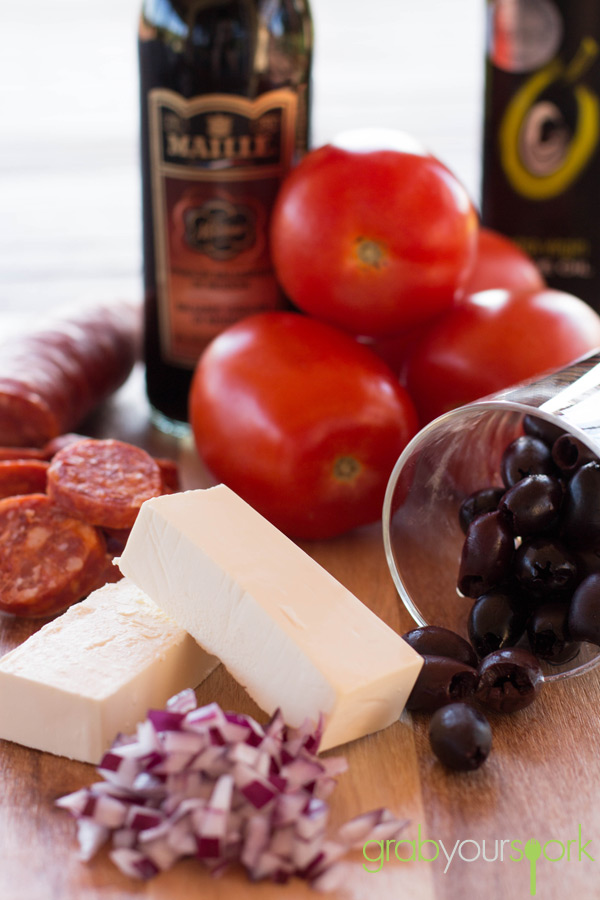
To start we diced the tomatoes, removing the seeds and mixed with some diced onion. To season we used olive oil and a dash of balsamic for a nice tang. Next we simply crumbled the feta and combined this with some kalamata olives. Lastly we cooked off some chorizo. You want to make sure you cut this small enough so it stays on the bread.

To serve we lightly grilled some bread in the pan to crisp it up a little to act as the perfect carrier for this flavour packed combination.

Looking for other great snack recipes then try savoury muffins recipe or baked feta with chilli recipe.

Bruschetta Ingredients

Make Your Own Bruschetta

Bruschetta with Olives, Feta and chorizo

Bruschetta with chorizo, feta and kalamata olives

Clint eating Bruschetta

MYO Bruschetta – Recipe Instructions

MYO Bruschetta
 
Prep time
Cook time
Total time
 
Make Your Own Bruschetta with chorizo, feta and kalamata olives.
Author:
Recipe type: Snack
Cuisine: Italian
Serves: 10
Ingredients
  • 100 g Feta
  • 4 Tomatoes, diced with seeds removed
  • ¼ red onion, diced
  • 1 chorizo sausage
  • ¼ cup pitted kalamata olives (in half)
  • 1 Tbsp Olive Oil
  • ½ Tbsp balsamic
  • 1 French stick / baguette
Instructions
  1. Dice the tomatoes and onion, ensuring you remove the seeds from the tomatoes.
  2. Drizzle the olive oil and balsamic over the tomato and onion in a small bowl.
  3. Crumble the feta into another bowl, and add in the olives. Be careful not to crumble the feta too much.
  4. Cut the chrizo into pieces, then cook in a preheated fry pan.
  5. To crisp the bread slightly. Toast off in a pan, or cook under the grill till golden brown.
  6. To serve keep elements separate and allow guests to build their own bruschetta.


Creamy Chicken Linguine

Last Updated on April 8, 2016 by Grab Your Spork

On a relaxing weekend down south Brooke and I had some time to make ourselves a proper meal. After stopping in the small town of Kirrup, on our way to Bridgetown. We picked up some quality produce at a small grocer which sells all locally grown fruit and vegetables. With the ingredients we picked up, and a couple of other things we bought in town. We decided to make our own version of a classic creamy chicken linguine.

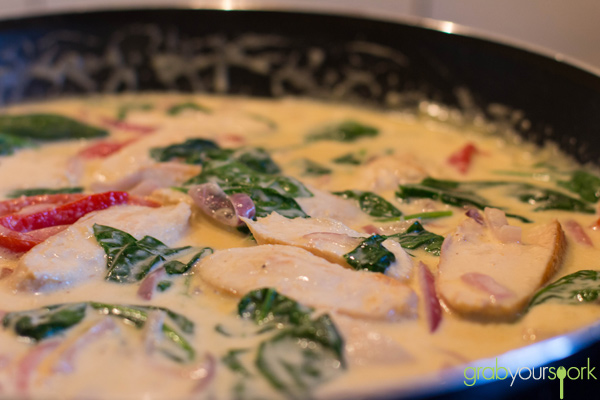
To enhance the flavours some more, Brooke roasted off the vine ripened tomatoes and capsicum. While the vegetables were in the oven, you need to also brown the chicken before adding to the pasta later as it seals in the juices and keeps the chicken moist. If we were making this dish during the week, we wouldn’t roast the veggies first. However, with the luxury of a little extra time we decided to oven roast the tomatoes and capsicum which definitely took the recipe to another level in terms of flavour.

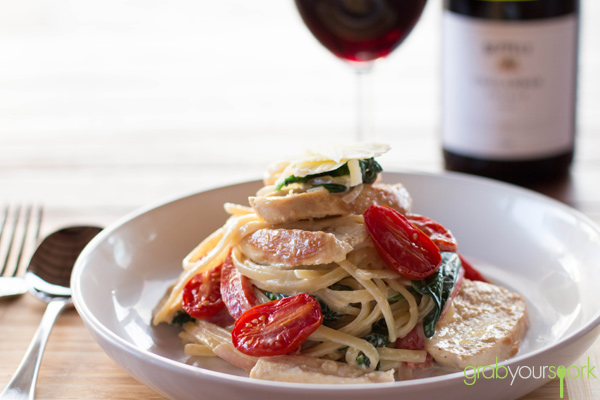
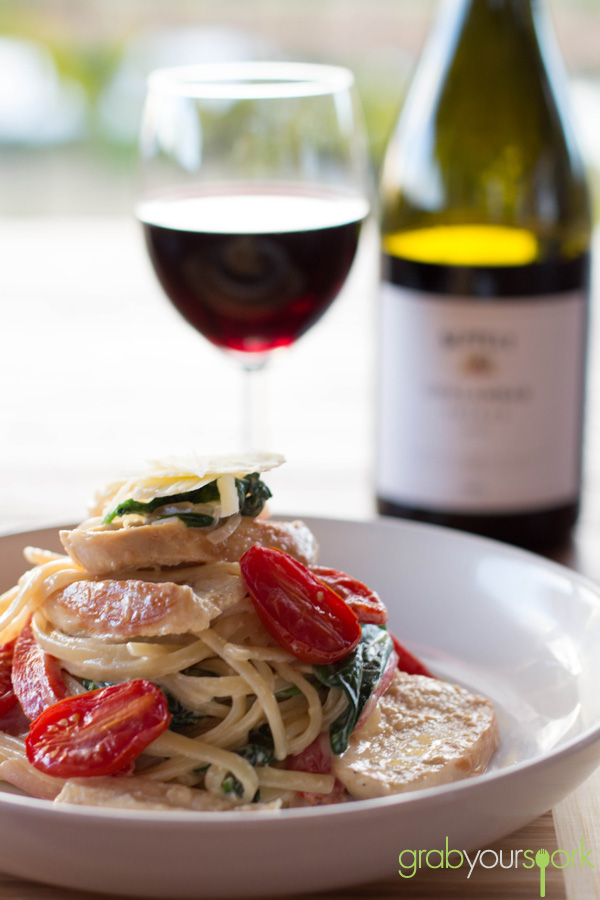
Not only is this dish full of colour, there is something about a creamy pasta dish that is so comforting – it’s a perfect dish to have on a cold winters day. This creamy chicken linguine paired with a glass of Shiraz, was definitely a great way to finish off a relaxing day down south!

If you love your chicken like I do then try these recipes for chicken, bacon and leek pies or chicken pakora.

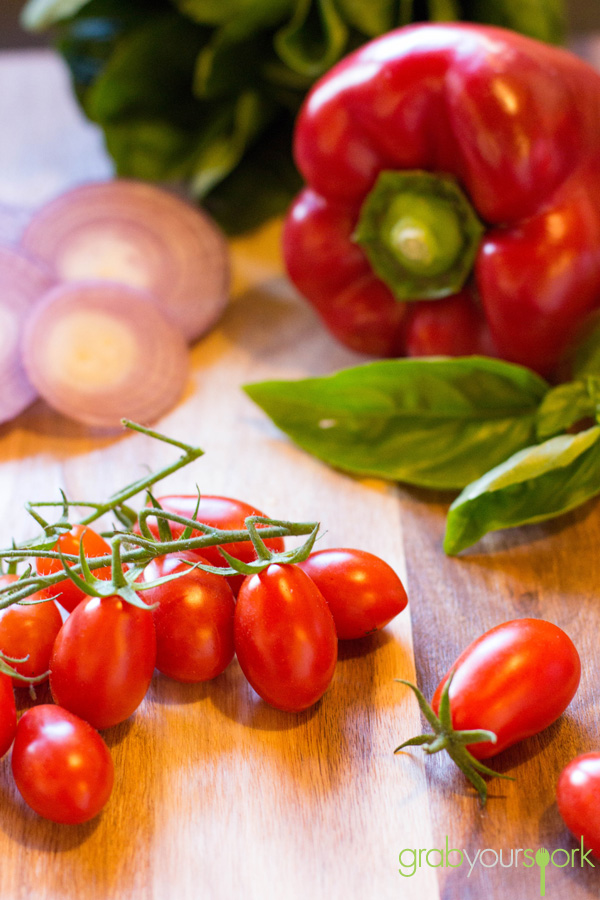
Fresh Ingredients for Linguine

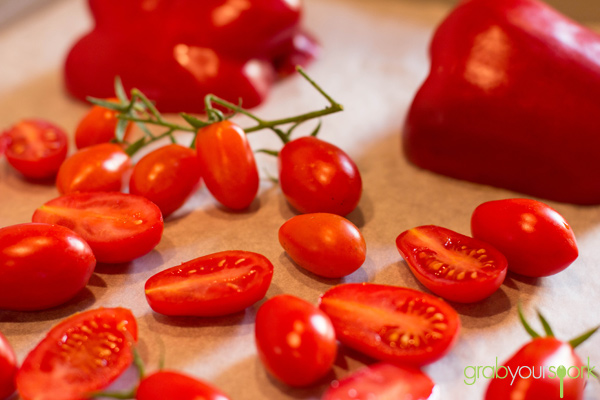
Fresh baby Roma tomatoes and capsicum

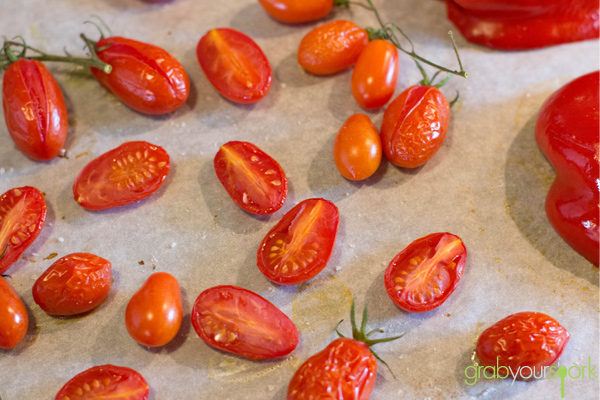
Oven roasted baby Roma tomatoes and capsicum

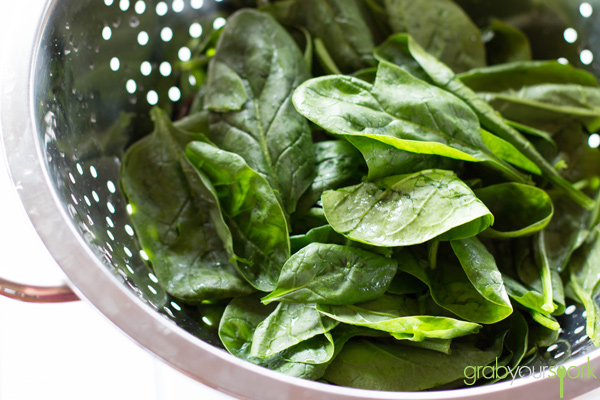
Fresh Spinach

Creamy Chicken Linguine in Frypan

Creamy Chicken Linguine

Creamy Chicken Pasta

Creamy chicken linguine – Recipe Instructions

5.0 from 2 reviews
Creamy Chicken Linguine
 
Prep time
Cook time
Total time
 
Creamy Chicken Linguine made with fresh local ingredients including spinach, baby Roma tomatoes, capsicum and red onion.
Author:
Recipe type: Pasta
Cuisine: Italian
Serves: 4
Ingredients
  • 2 tablespoons extra virgin olive oil
  • 1 Capsicum
  • ½ Red onion, sliced
  • 1 clove garlic, minced
  • 1 large boneless/skinless chicken breast, sliced into strips
  • Bunch of cherry tomatoes (approx 20 tomatoes)
  • Bunch of fresh spinach
  • 250 ml cream
  • ½ cup milk
  • ½ teaspoon salt
  • Handful of fresh basil leaves
  • Freshly ground black pepper
  • Parmesan cheese, grated
  • 200 grams linguini or pasta of choice, cooked al dente according to package directions
Instructions
  1. Preheat oven to 180 degrees Celsius.
  2. Wash tomatoes,capsicum and spinach well.
  3. Cut the capsicum in half. Scatter the tomatoes and capsicum on a baking tray. Cook for approximately 15 minutes. Allow to cool before removing the skin off the capsicum and slice into long strips.
  4. Prepare the pasta according to package directions.
  5. While the pasta is cooking, heat the oil over medium-high heat in a large pan and sauté the onion until tender and translucent, about 5 minutes. Add the garlic and cook for another minute.
  6. Add the chicken and cook until it has a nice brown colour and is no longer pink.
  7. Add the cream, milk and garlic to the chicken and onions.
  8. Once the cream/milk is simmering, add the fresh spinach, capsicum strips and some of the roasted tomatoes.
  9. Drain the pasta and add it to the pan. Toss in the sauce to coat. Add the fresh basil leaves and toss to combine.
  10. Serve immediately, with the remaining tomatoes, some freshly ground black pepper and grated Parmesan cheese.
Notes
The combination of cream and milk makes the pasta dish a little lighter, however this can be substituted with carnation milk also.


Cranberry and Pistachio Biscotti Recipe

Last Updated on April 4, 2016 by Grab Your Spork

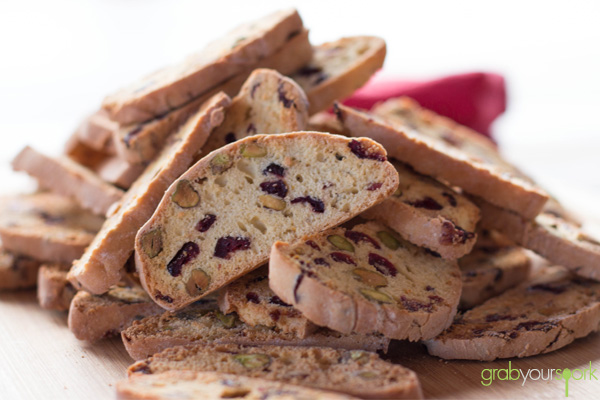
Where to start my ramblings on how much I love this cranberry and pistachio biscotti recipe? The first time I tried this biscotti was at Christmas time last year when Brooke made it and put it in little gift bags to give to the family. Thankfully, Brooke made two batches because I found myself eating piece after piece without realising just how many I had eaten.

There are many variations available, but I’m reliably informed that this is a Donna Hay recipe. One of the things I like most about this cranberry and pistachio biscotti recipe is that it’s crisp, but not tooth-breaking like some other biscotti recipes.

If you’ve never made biscotti before because you thought it is too complicated? Then you’re all wrong! It’s actually fairly straight-forward. The word biscotti (or biscotto) translates to “twice baked”, which is basically all you are doing. After baking the dough once in a log shape, then slicing the logs, you bake the biscotti again on a higher heat to dry them out giving them a nice crisp texture.

The only tricky part is getting the timing of the second bake right so the biscotti are crisp enough. You don’t want chewy biscotti, but you don’t want to break a tooth either. Mind you the process is much easier when you are just observing it and taking photos like I was.

Cranberry and pistachio biscotti make for a quick breakfast bite with your morning coffee, or if you’re like me a snack after lunch, or even a nibble before bed. I swear I have will power (no, I really don’t. None at all). But don’t let this deter you from making them. Just be sure to give at least half away to friends (or at the very least hide away from judging eyes while you scoff the lot).

If your like our cranberry and pistachio biscotti recipe then try our melting moments with jam or ginger nut biscuits.

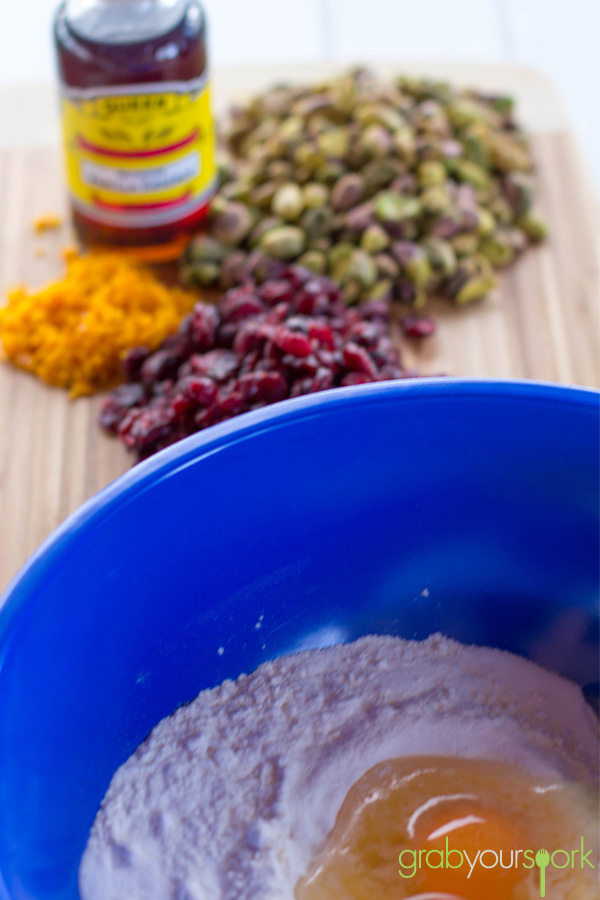
Cranberry and Pistachio Biscotti Recipe Ingredients

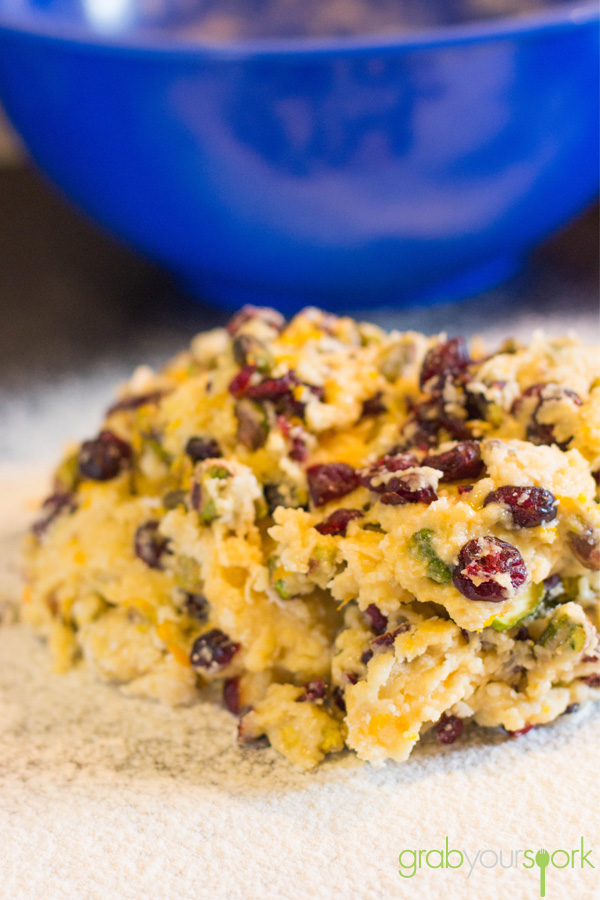
Cranberry and Pistachio Biscotti Dough

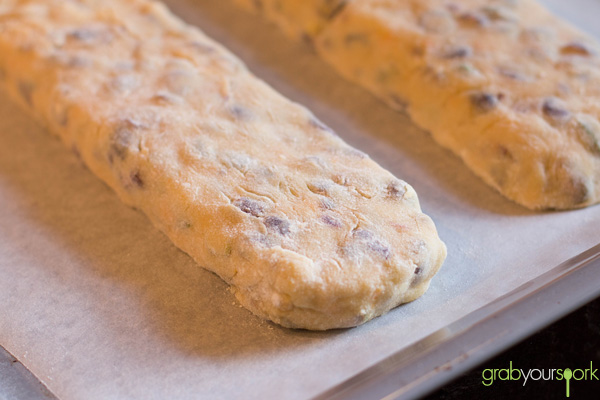
Cranberry and Pistachio Biscotti Before Baking

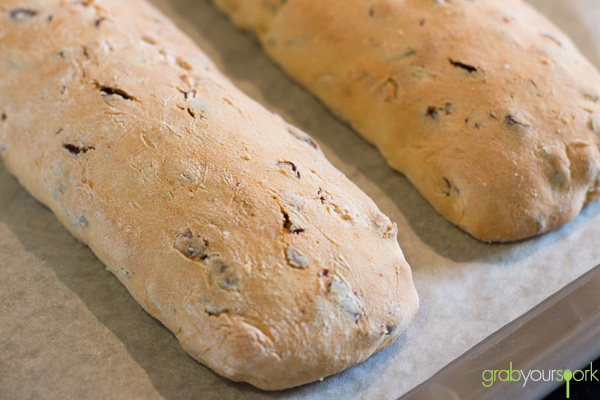
Cranberry and Pistachio Biscotti First Bake

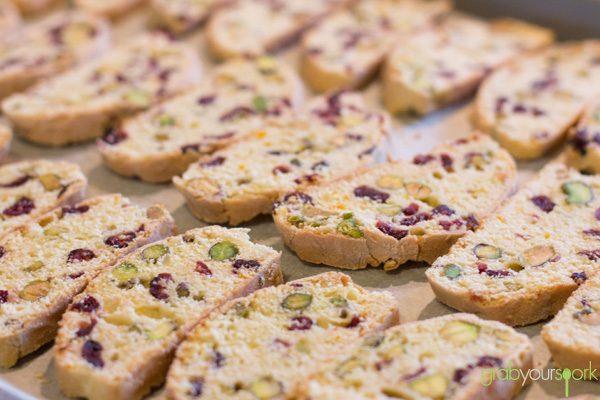
Cranberry and Pistachio Biscotti Second Bake

Cranberry and Pistachio Biscotti

Cranberry and Pistachio Biscotti – Cooking Instructions

5.0 from 2 reviews
Cranberry and Pistachio Biscotti Recipe
 
Prep time
Cook time
Total time
 
The word biscotti (or biscotto) translates to “twice baked”, which is basically all you are doing. After baking the dough once in a log shape, then slicing the logs, you bake the biscotti again on a higher heat to dry them out giving them a nice crisp texture.
Author:
Recipe type: Baked Goods
Cuisine: Italian
Serves: 80
Ingredients
  • 2 cups plain flour, sifted
  • 1½ tsp baking powder sifted
  • ¾ cup caster sugar
  • 3 eggs, lightly beaten
  • 2 tsp vanilla extract
  • 1 tbsp finely grated orange rind
  • 1 cup sweetened, dried cranberries
  • 1 cup shelled unsalted pistachios
Instructions
  1. Preheat oven to 160°C.
  2. Place flour, baking powder and sugar into a bowl and mix to combine.
  3. Add eggs, vanilla, orange rind, cranberries and pistachios and mix until you form a dough.
  4. Turn the dough out onto a table and with some flour, knead until smooth.
  5. Form into two logs and flatten slightly. Bake in oven on lined baking trays for 30-35 minutes or until firm. Allow to cool completely.
  6. Once cooled use a serrated knife to cut thin slices and place them back on baking trays.
  7. Reheat oven and increase temperature to 180°C.
  8. Bake biscotti for a further 8-10 minutes or until crisp. Cool on the tray for a few minutes before sampling.