Zucchini and Bacon Slice

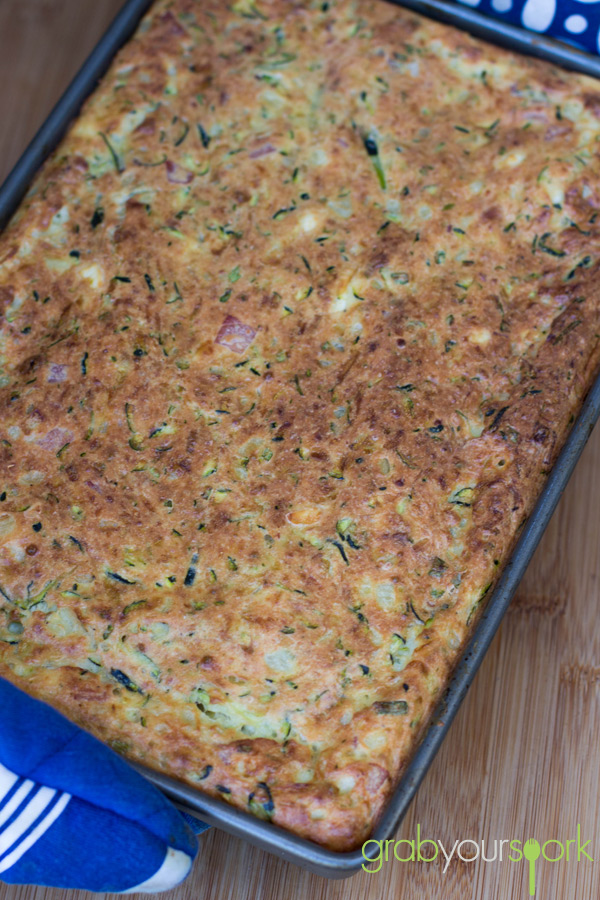
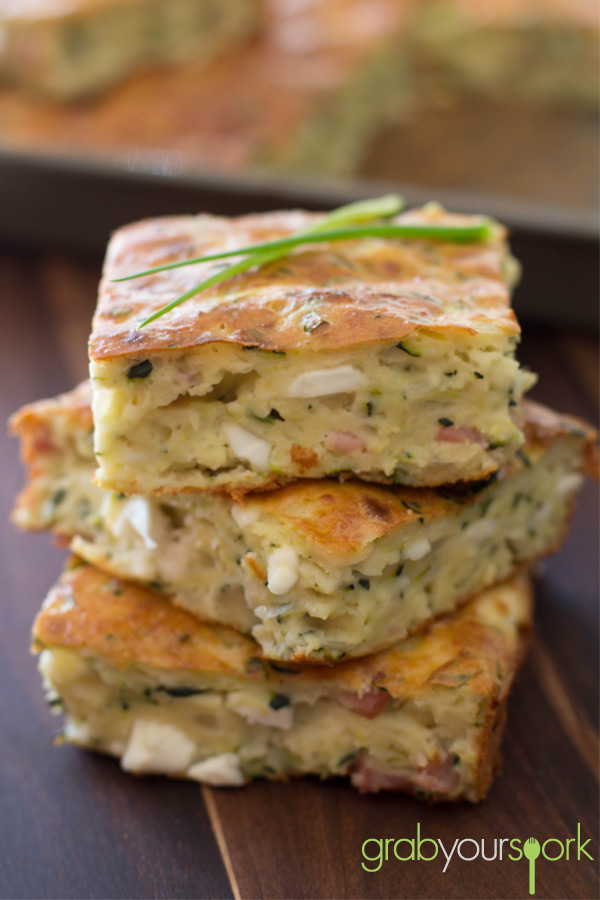
Trying to think of healthy alternative options to take too work during the week can be hard. This recipe for Zucchini and Bacon slice is a great as not only is this slice ridiculously easy to make, it’s really tasty and is quite versatile. This slice can also be eaten hot or cold which is perfect for those who have kids going back to school soon.

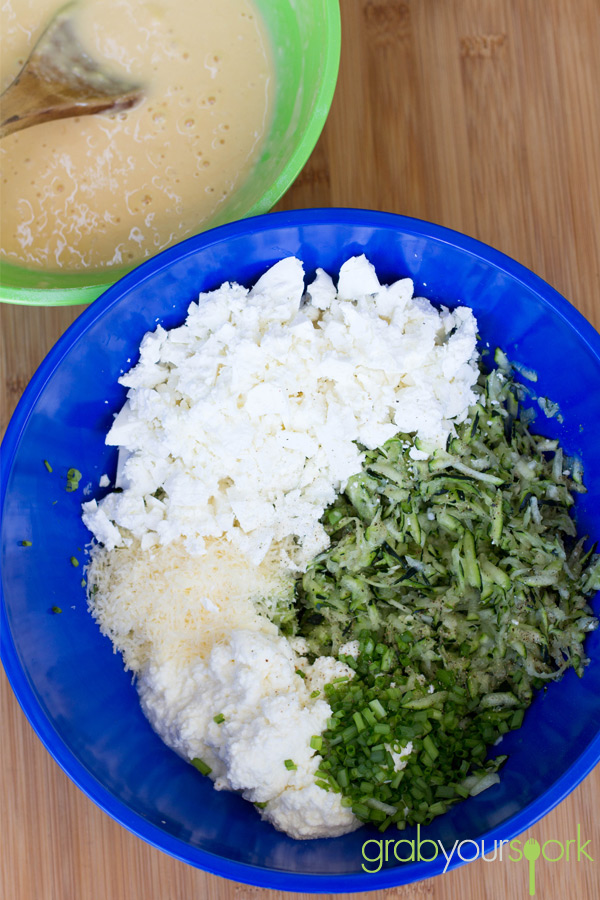
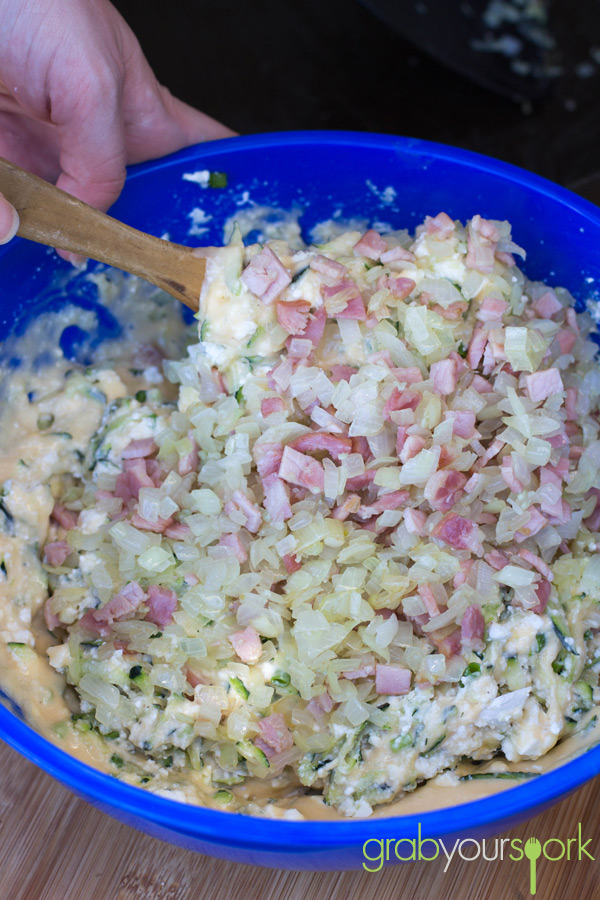
After our weekend ritual to the farmers markets and a new local fresh provisions shop we picked up the extra ingredients we needed that we didn’t have around the house. To start this recipe you need to cook the onion, bacon and garlic in a pan for about 5 minutes. Honestly just this smell alone will have your stomach rumbling! Once this is cooked off you need to add it too the remaining ingredients.

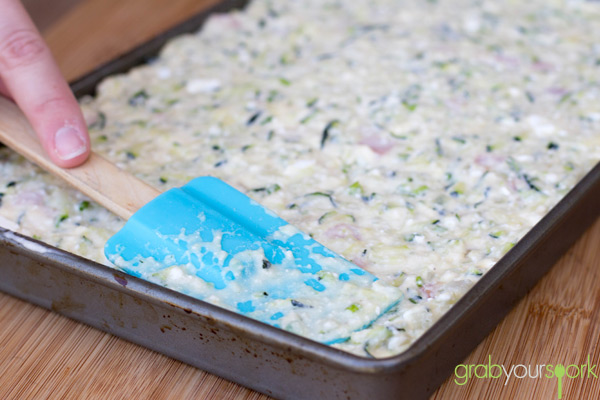
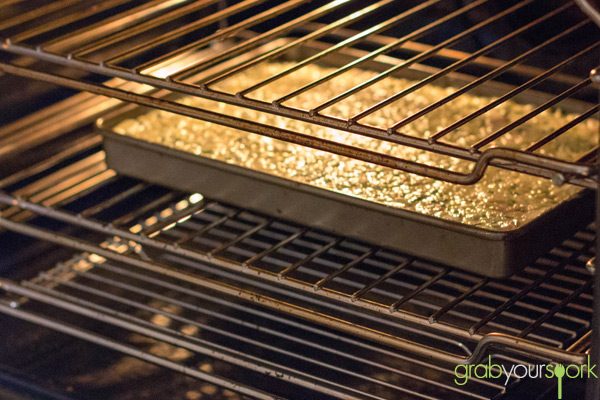
It is really important to drain the excess water from the zucchini, as zucchini holds a lot of water! Once the ingredients are combined simply spread evenly in a prepared (well greased) pan and cook for around 40 minutes.

Serve this slice hot or cold, or even freeze in portions in an airtight container for up to three months!
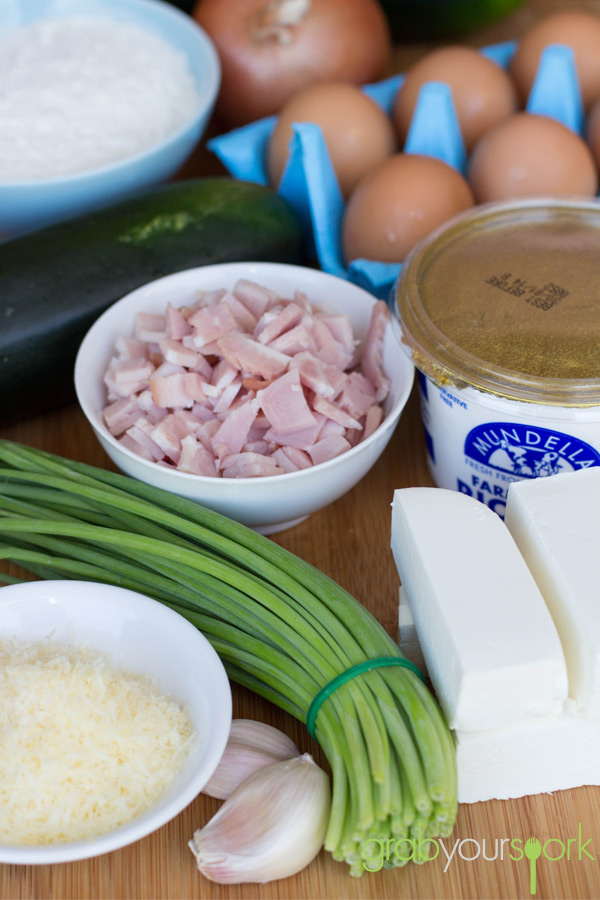
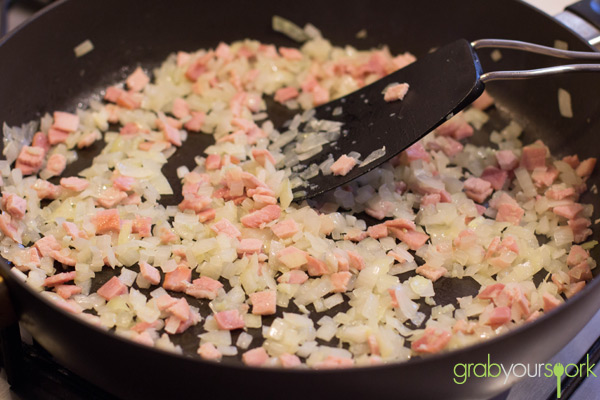
Zucchini and Bacon Slice IngredientsZucchini and Bacon and onion SliceZucchini and Bacon Slice MixtureZucchini and Bacon Slice Combining IngredientsZucchini and Bacon Slice in PanZucchini and Bacon Slice in OvenZucchini and Bacon Slice in baking tinZucchini and Bacon Slice

5.0 from 1 reviews
Zucchini and Bacon Slice
 
Prep time
Cook time
Total time
 
This recipe for Zucchini and Bacon slice is ridiculously easy to make and is perfect for a healthy lunch or snack.
Author:
Recipe type: Baked Goods
Cuisine: Italian
Serves: 8-10
Ingredients
  • 1 tablespoon olive oil
  • 1 onion, finely chopped
  • 2 cloves garlic, crushed
  • 4 rashers bacon, rind removed and chopped
  • 2 zucchinis (courgette), grated
  • 200g feta, crumbled
  • 200g ricotta
  • ½ cup (40g) finely grated parmesan
  • ¼ cup chopped chives
  • sea salt and cracked black pepper
  • 6 eggs
  • 1 cup (150g) self-raising (self-rising) flour, sifted
Instructions
  1. Preheat oven to 180°C (350°F).
  2. Heat the oil in a large non-stick frying pan over high heat. Add the onion, garlic and bacon and cook for 5 minutes or until light golden.
  3. Place in a bowl with the zucchini, feta, ricotta, parmesan, chives, salt and pepper and mix to combine.
  4. Place the eggs and flour in a bowl and mix well to combine. Add to the zucchini and mix to combine.
  5. Spoon into a lightly greased 20cm x 30cm tin lined with non-stick baking paper and smooth.
  6. Bake for 40–45 minutes or until golden and cooked through.
  7. Cut into slices to serve.
 

Vietnamese Rice Paper Rolls

Summer has definitely hit in Perth and when it is this hot, it can be hard to find the motivation to cook something. That’s why I love this recipe for Vietnamese rice paper rolls also known as Vietnamese spring rolls. Not only is Brooke obsessed with all Vietnamese food, these spring rolls are super fresh, healthy and are full of flavour – which after the Christmas and New Year break is exactly what some of us need!

Traditional Vietnamese Spring Rolls are usually made with pork, prawns, rice vermicelli and assortment of fresh vegetables and herbs. For this recipe Brooke uses chicken, however rice paper rolls are extremely versatile and may be made with whatever fresh ingredients you have on hand.

Rice paper rolls are easy to prepare once you have mastered the tuck and roll technique. However, they do take some time to prepare, and if this is your first time making them you may need a little practice wrapping them. Now don’t worry if one bursts open when you are rolling them, I like to consider this the “tester”.

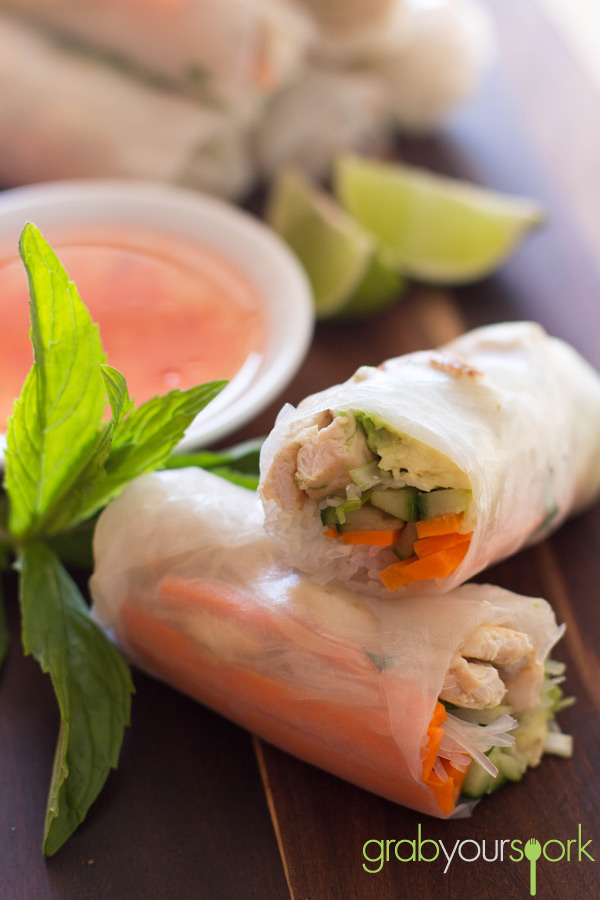
Rice paper rolls should be served after preparation, as the rice paper can dry out, and cause them to stick to one another. To serve, you can either serve whole or sliced in half so you can see all the fresh ingredients. To accompany, I like hoisin sauce, fresh chilli and ground peanuts or you can use any other simple Vietnamese dipping sauce.

If you like these Chicken Vietnamese Rice Paper Rolls then check out our other recipe for Prawn rice paper rolls or our Vegetarian rice paper rolls.

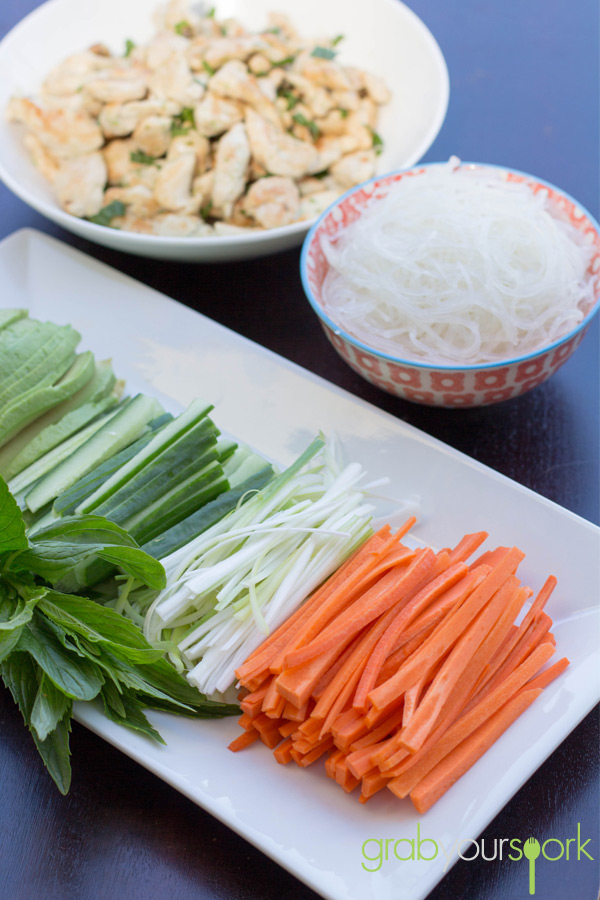
Vietnamese Rice Paper Roll IngredientsVietnamese Rice Paper Rolls FillingsVietnamese Rice Paper Roll ChickenVietnamese Rice Paper Rolls Ingredients StationVietnamese Rice Paper Rolls

Chicken Vietnamese Rice Paper Rolls – Cooking Instructions

5.0 from 2 reviews
Vietnamese Rice Paper Rolls
 
Prep time
Cook time
Total time
 
Vietnamese Rice Paper Rolls made with chicken, rice vermicelli and assortment of fresh vegetables and herbs.
Author:
Recipe type: Chicken
Cuisine: Vietnamese
Serves: 4
Ingredients
  • 500 g chicken breast or tenders, cut into small pieces
  • 1 lime, zested
  • 2 garlic cloves, crushed
  • 1 Tsbp olive oil
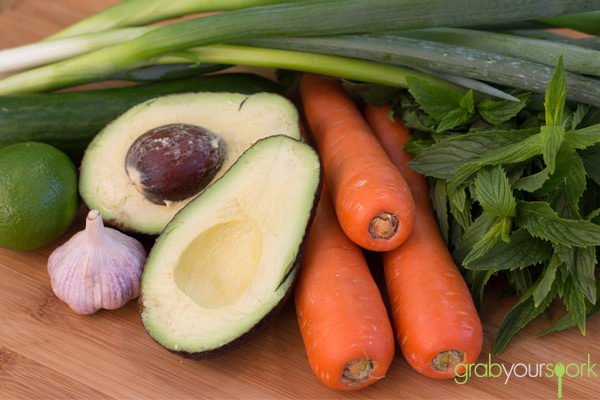
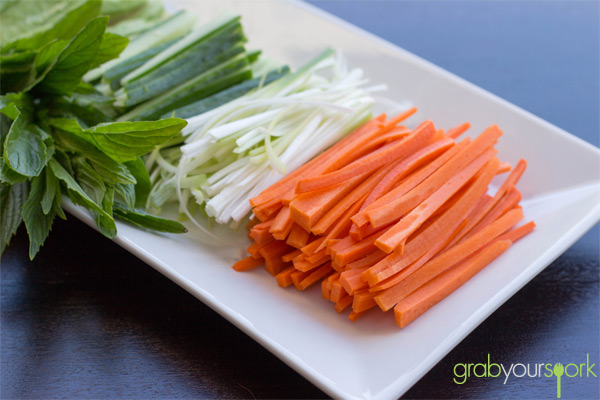
  • 1 lebanese cucumber, core removed and cut into matchsticks
  • 2 carrots, peeled and cut into matchsticks
  • 1 large avocado, cut into slices
  • Spring onions, cleaned and cut into matchsticks
  • ¼ cup mint, chopped
  • Vermicelli noodles
  • Rice paper wrappers
Instructions
  1. Firstly, marinate the chicken. Mix the zest, garlic and oil together in a bowl with chicken. Set aside for marinate for at least one hour or longer.
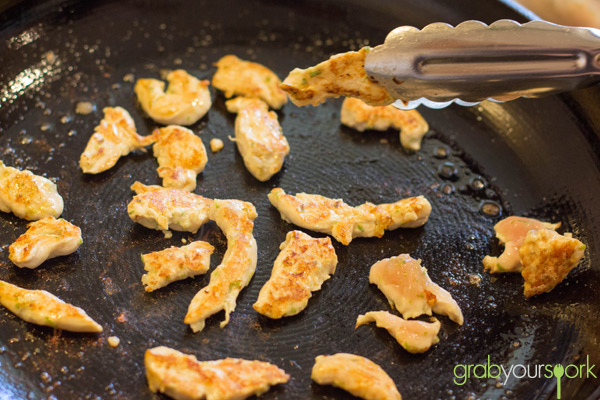
  2. Heat a pan over medium heat and grill the chicken until cooked through. Set the chicken aside to cool
  3. Once the chicken is cool, toss the chopped mint through the chicken.
  4. Cook the dried vermicelli noodles to packet instructions. Drain and cool.
  5. When you’re ready to assemble the rolls, fill a shallow dish with warm water.
  6. Dip one rice paper wrapper into the water for thirty seconds and place on a clean flat surface.
  7. Place a couple of chicken pieces along a third of the wrapper. Top with noodles, and a couple of slices of cucumber, carrot, spring onion and avocado. Roll into a tight spring roll shape, according to the instruction on the packet.
  8. Repeat with the remaining rice paper wrappers and filling.
  9. Serve the spring rolls whole, or sliced in half with a nice dipping sauce.


Classic Meatballs

Everyone has their own take on making the perfect meatballs. To make our classic meatballs this recipe uses a few tricks Brooke has picked up from a cookbook she bought after eating at the Meatball Shop in New York.

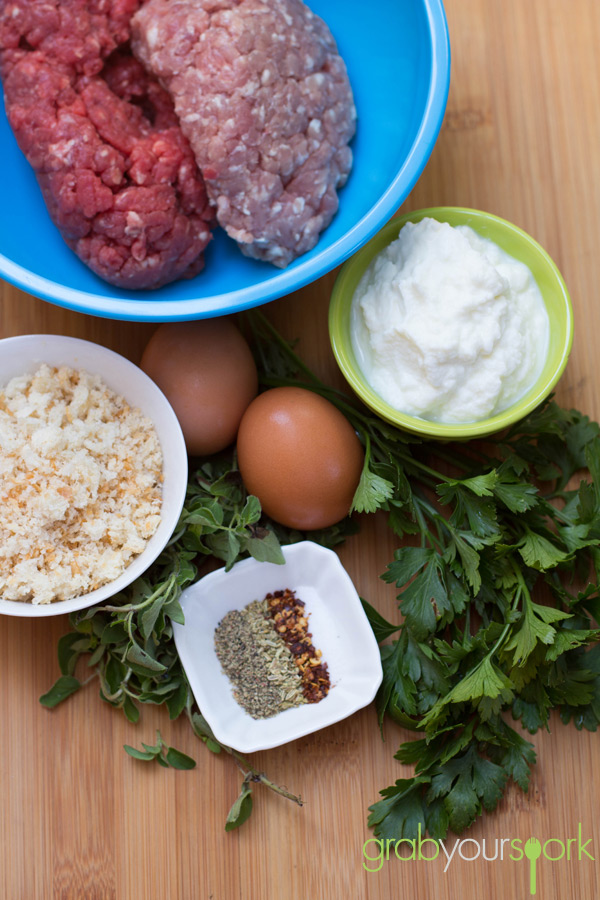
To make these meatballs you can either use only beef mince with a slight fat content, or like we did combine beef mince with pork mince. Through combining the two minces your meatballs will be full of flavour and have a higher fat content which stops the balls from drying out. The addition of ricotta also helps lock in the moisture. When mixing the ingredients you need to mix the ingredients thoroughly, otherwise your meatballs won’t be consistent in flavour and texture

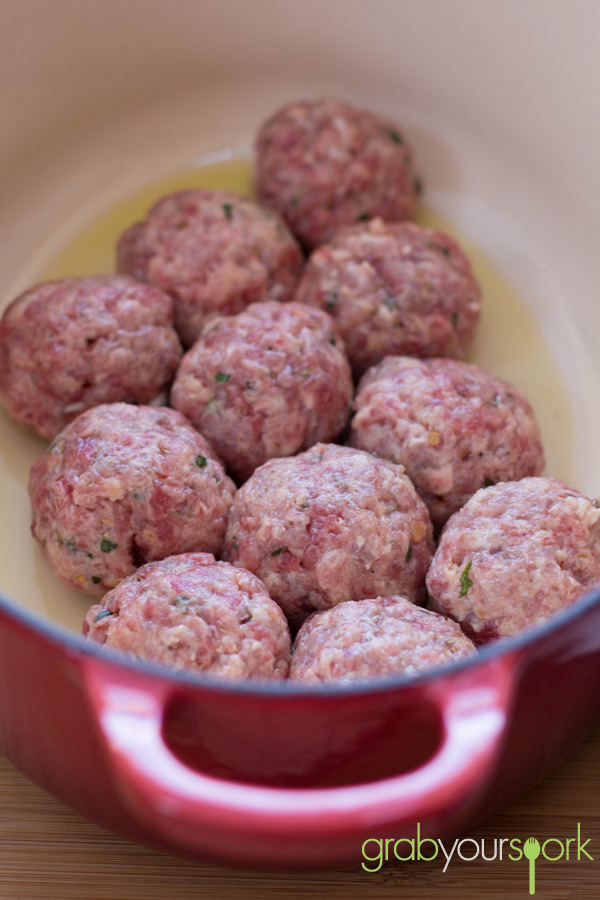
Now, when it comes to cooking there are a few options and everyone has their preference. However, when cooking large amounts and you want to ensure the balls are consistent roasting is a great option. Roasting the meatballs in the oven is an easy, fast and consistent way to cook your meatballs. When roasting it is important to pack the balls tightly in the baking dish. Packing the meatballs tightly will help ensure the balls hold their form and keep the flavour in.

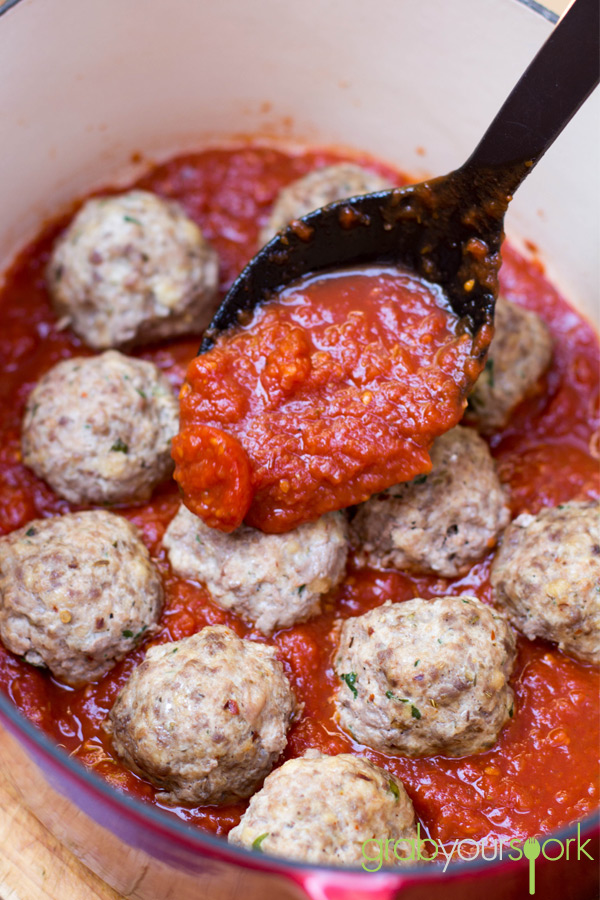
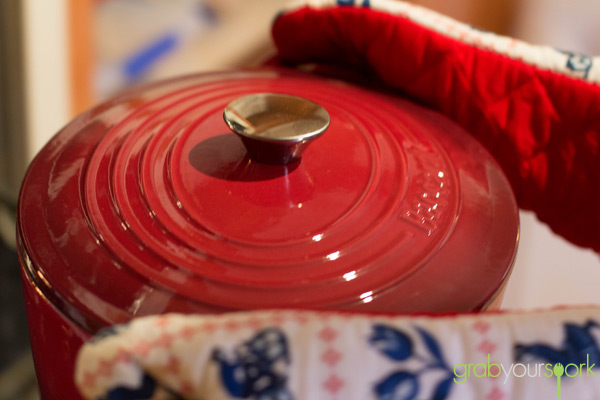
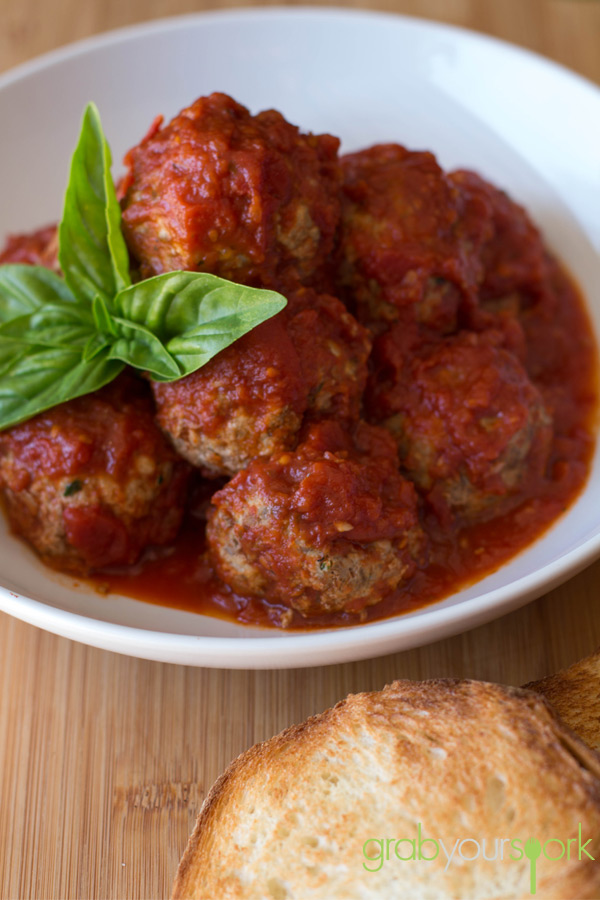
Prepare a simple tomato sauce as per the recipe below to finish off the roasting process. Serve your meatballs on a large platter, or in separate bowls, with the tomato sauce a sprig of fresh basil, some grated Parmesan cheese to taste with some crusty bread.

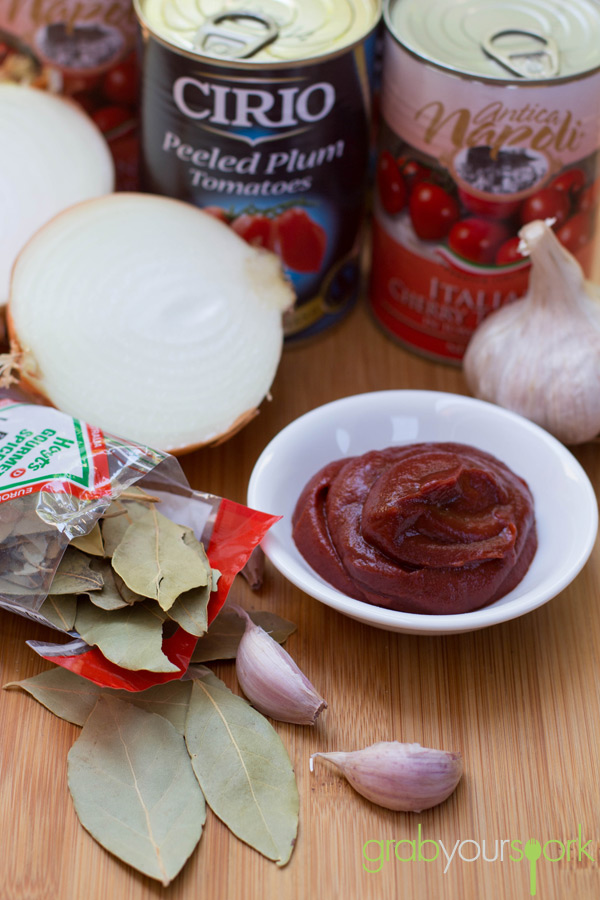
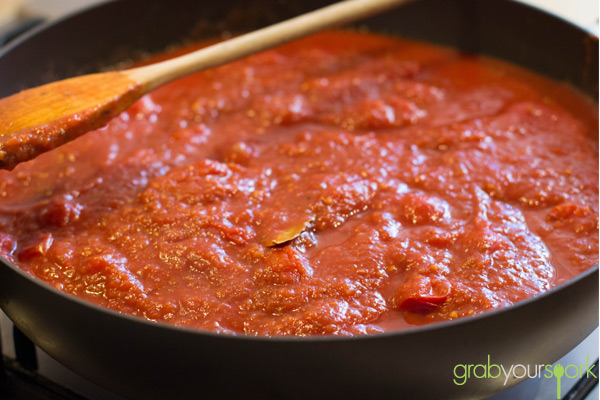
Classic Meatballs IngredientsTomato Sauce IngredientsTomato Sauce for Classic MeatballsClassic Meatballs in PanClassic Meatballs in Tomato SauceClassic Meatballs in Dutch OvenClassic Meatballs with Tomato Sauce

5.0 from 1 reviews
Classic Meatballs
 
Prep time
Cook time
Total time
 
Classic meatballs made with beef and pork mince and a combination of spices and fresh herbs. Serve with a simple tomato sauce.
Author:
Recipe type: Beef
Cuisine: Italian
Serves: 4
Ingredients
Ingredients
  • Meatballs
  • 1 tblsp olive oil
  • 300 g beef mince
  • 200 g pork mince
  • ½ cup ricotta
  • 2 eggs, or 1 large egg
  • ½ bread crumbs
  • 2 tblsp fresh parsley, chopped
  • 1 tblsp fresh oregano, chopped, or 1 tsp dried oregano
  • 1 tsp salt
  • ½ tsp red chilli flakes
  • ½ tsp ground fennel
  • Freshly ground black pepper
Sauce
  • 2 tblsp olive oil
  • 1 onion, diced
  • 1 bay leaf
  • 1 tsp fresh oregano or ½ tspn dried oregano
  • 3 garlic cloves, crushed
  • 1 tsp salt
  • 2 tblsp tomato paste
  • 3 x 400 g tinned tomatoes
Instructions
Meatballs
  1. Preheat over to 220C (430 F). Drizzle olive oil into a baking dish and use your hand to evenly coat the entire surface. Set aside.
  2. Combine the mince, ricotta, eggs, bread crumbs, fresh and dried herbs in a mixing bowl. Mix by hand until thoroughly combined.
  3. Roll the mixture into round, 1 ½ inch sized balls, making sure to pack the meat firmly. Place the balls into the prepared baking dish, being careful to line them snugly. The meatballs should be touching one another.
  4. Roast in the preheated over for 20 minutes, or until the meatballs re firm and cooked through Meatballs should read 70C (165 F) with a meat thermometer.
  5. While the meatballs are roasting, heat the tomato sauce over a medium heat, stirring often.
  6. When the meatballs are firm and fully cook, remove them from the oven and drain the excess grease from the pan. Pour the tomato sauce over them. Return the meatballs to the oven and continue roasting for another 10 – 15 minutes.
Sauce
  1. Heat the olive oil in a deep pan or large pot, over a medium heat.
  2. Add the onions, bay leaf, oregano, garlic, and salt and cook, stirring often. Cook until the onions are soft and translucent, about 10 minutes.
  3. Add the tomato pasta and continue cooking or 5 minutes.
  4. Add the tomatoes and stir constantly until the sauce begins to boul. Lower the heat and simmer for 1 hour, stirring every 5 minutes or so to prevent the sauce on the bottom of the pot/pan from burning.
  5. Taste and season with additional salt, or oregano if desired.
  6. Remove the bay leaf before serving.


Chicken Pakora

On this lazy Saturday Brooke and I were having after recovering from our Christmas activities, we were both starting to get a bit peckish. With Brooke being on holidays she has been feeding her obsession with Pinterest and came across a recipe for Chicken Pakoras.

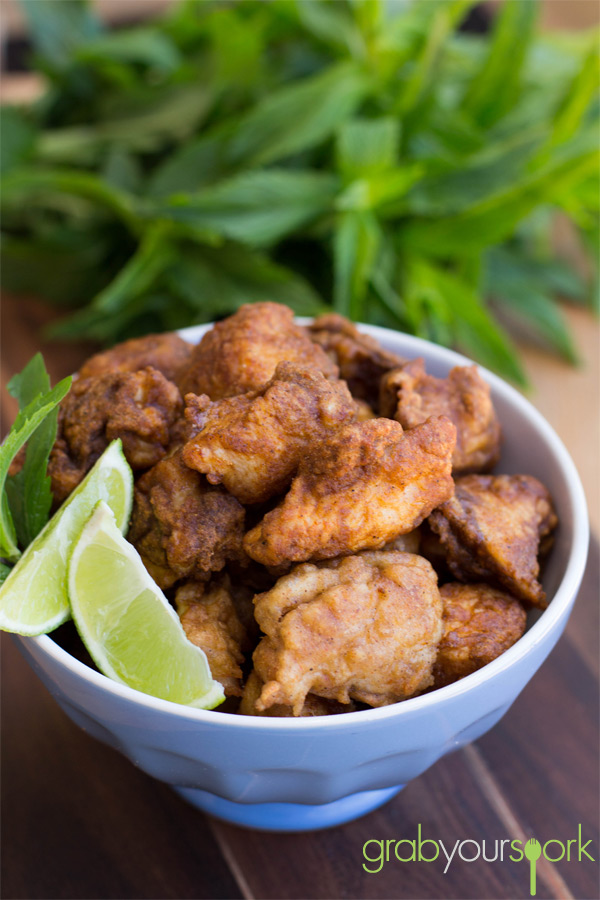
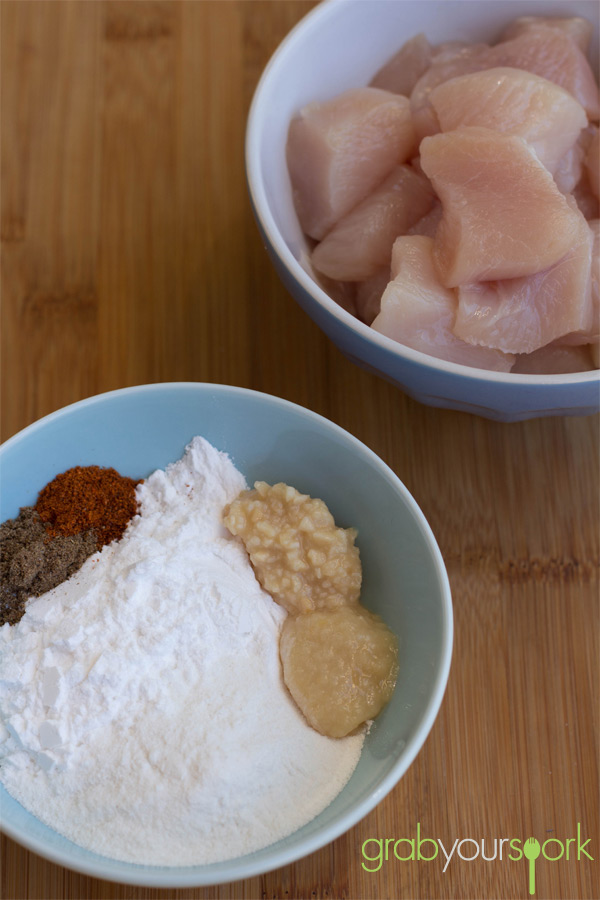
Chicken Pakoras are little deep fried pieces of chicken that are bursting with the flavours of India. The first time I even tried a pakora was at ours friend’s house that had recently travelled to India. They were delicious crispy bites, full of flavour however in lieu of chicken they used prawns. These flavour packed bites can also be made with a variety of vegetables including onion, eggplant, cauliflower, potato or even paneer an Indian cheese.

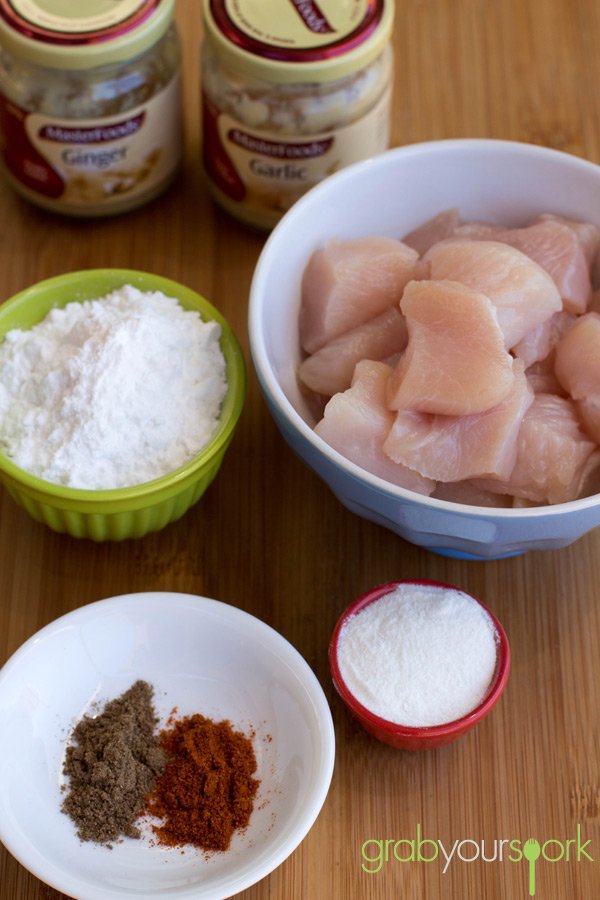
These bites get their flavour punch from the garam masala which is an Indian spice mixture that typically combines; peppercorns, clovers, cinnamon, cumin and cardamom. All amounts are approximate in this recipe however you can adjust spices to suit your own taste. It is important to keep in mind that you may need to adjust the cornflour ratio also to accommodate the spices.

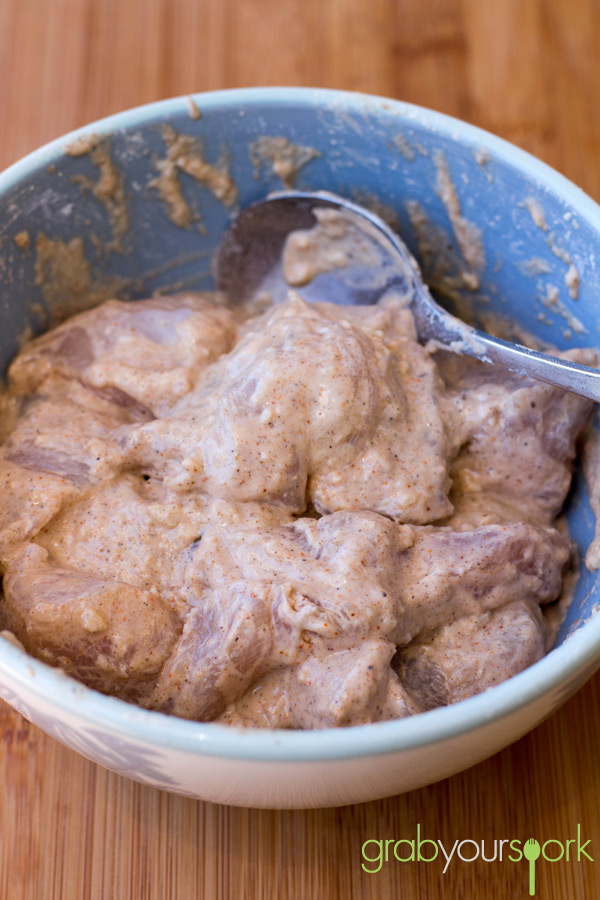
To make the batter you need to mix the garlic, ginger, flours and spices together. The batter will be very dry, and you will need to add water gradually. To ensure a lighter batter, you need to beat the batter well. You want the batter to be semi dry and not watery. The batter will just fall off the chicken when you go to fry it, if it is too watery.

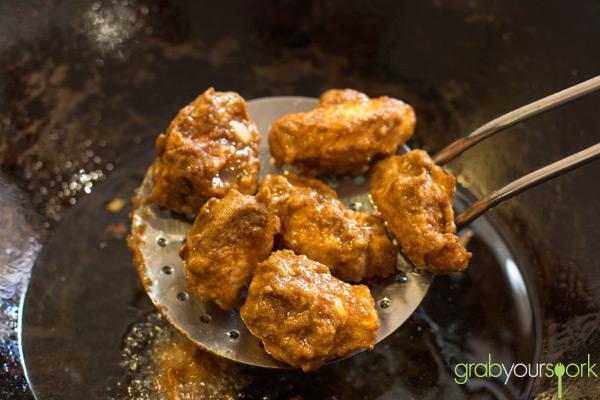
To cook the chicken, cook in hot oil on a medium flame to ensure the chicken gets cooked thoroughly. Cook the chicken in batches and ensure the oil is at temperature each batch to ensure a nice crispy coating.

Pakoras are best served hot and can be served with a mango chutney or good old tomato sauce!

Chicken Pakora IngedientsChicken Pakora MixtureChicken Pakora BatterPakora Chicken FryingBowl of Chicken Pakora

Chicken Pakora
 
Prep time
Cook time
Total time
 
Chicken Pakoras are little deep fried pieces of chicken that are bursting with the flavours of India.
Author:
Recipe type: Chicken
Cuisine: Indian
Serves: 4
Ingredients
  • 250 gms chicken, diced
  • 1 tsp ginger (crushed)
  • 1 tsp garlic (crushed)
  • 1 tsp red chilli powder - according to your taste
  • 2 tsp garam masala
  • 3-4 tbsp cornflour
  • 1 tbsp rice flour
  • salt to taste
  • vegetable oil / canola oil - for deep frying
Instructions
  1. Place the ginger, garlic spices and flours a bowl and mix.
  2. Add chicken pieces, mix well. Gradually add enough water to make a batter of dropping consistency. Beat well. Trapped air in the batter makes pakoras lighter and crisper.
  3. Allow the chicken to marinate for at least 30 minutes or longer.
  4. Heat oil in a wok. Oil is hot enough when a pakora dropped into the oil sizzles and rises to the top.
  5. Deep fry on medium heat, until golden brown.
  6. Lift out with a slotted spoon and place on kitchen paper or old newspaper, to help.
  7. Serve hot with chutney / or sauce or choice.


Blueberry and lemon cupcakes recipe

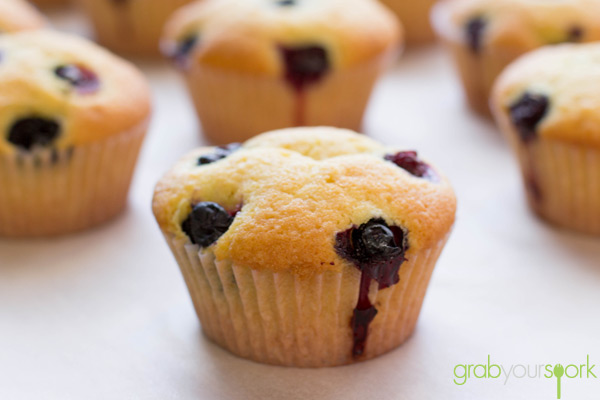
This blueberry and lemon cupcake recipe is just one of those things that is very regular but somehow elevates the day a little bit. It’s low maintenance, highly snackable, and 100% delicious.

The holidays are finally here for some and to start the break off we headed to the markets for a quick breakfast bagel and a look to see what else was available. After a couple of purchases and a jam doughnut – we also ended up with some great blueberries grown in Mt Baker.

With it just being the start of blueberry season here in Western Australia, there are plenty of yummy things to make with them and we paired our blueberries with of course Brooke’s favourite – lemon! Add them together and what you get is a simple blueberry and lemon cupcake recipe which will have you looking for just one more.

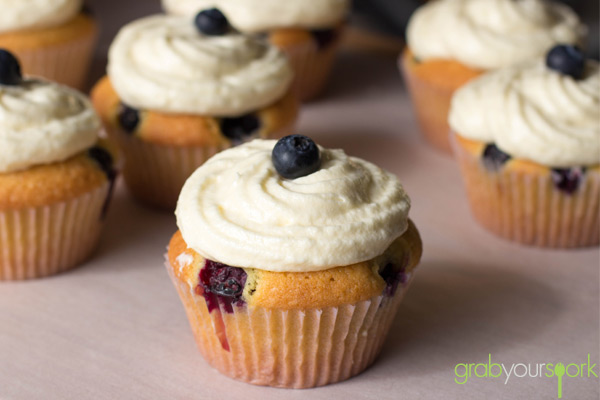
The combination of the two fruits actually works really well. The cake itself isn’t overly sweet and has a nice zesty flavour, combined with the bursting tang of fresh blueberries. Although the decadence of a lemon cream cheese icing isn’t at all unwelcome, the cupcakes are flavourful enough on their own given the delicious combination. If you are making these on a hot day like it was in Perth, I would even recommend skipping the icing and simply giving the cupcakes a simple dusting with icing sugar.

This recipe for blueberry and lemon cupcakes is a great summer treat. So bring a little sunshine to your day with these delicious lemon blueberry cupcakes.

If you like this recipe – then check out our other dessert and sweets recipes – like our recipes for no-bake mars bar sliceginger-nut biscuitseasy raspberry friandsblueberry and lemon loaves or Belgian lemon tea cake.

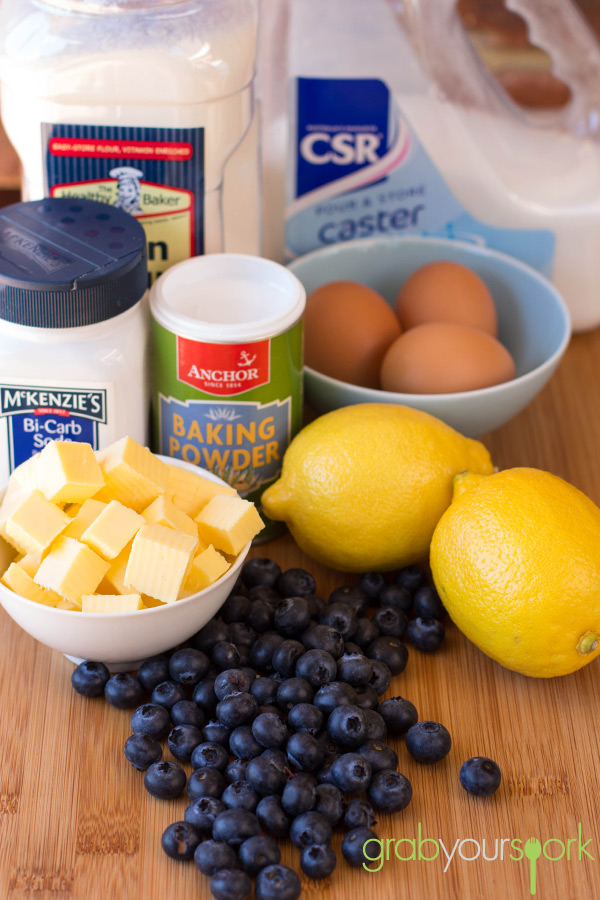
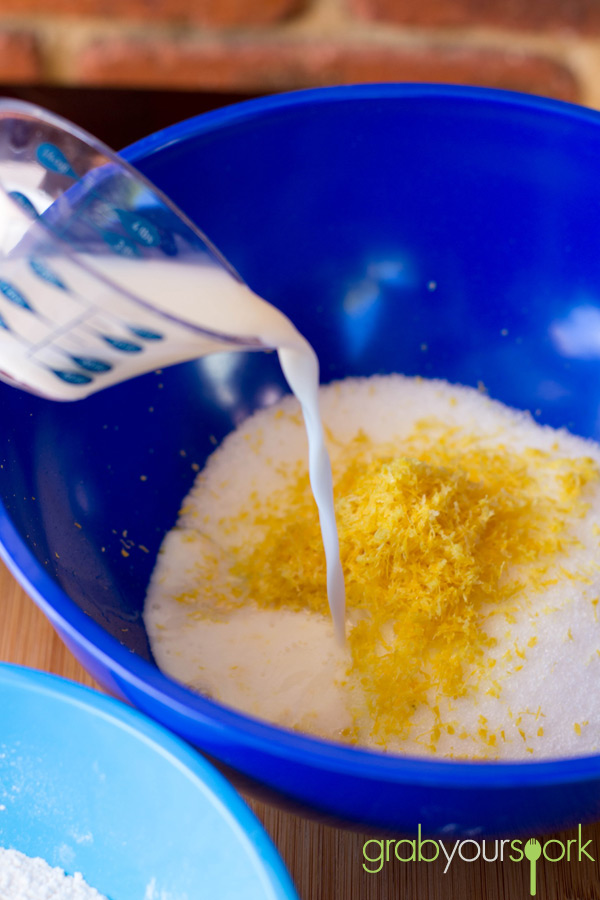
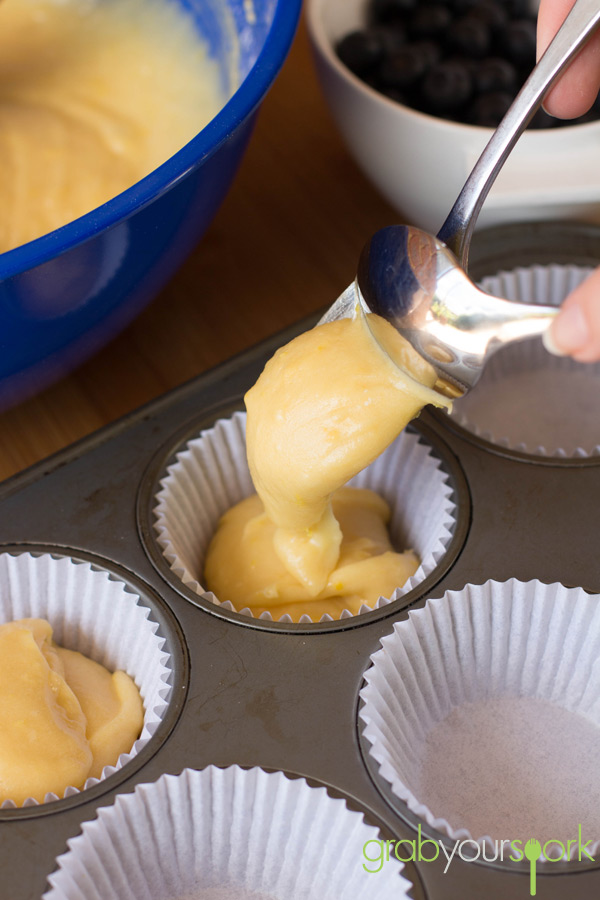
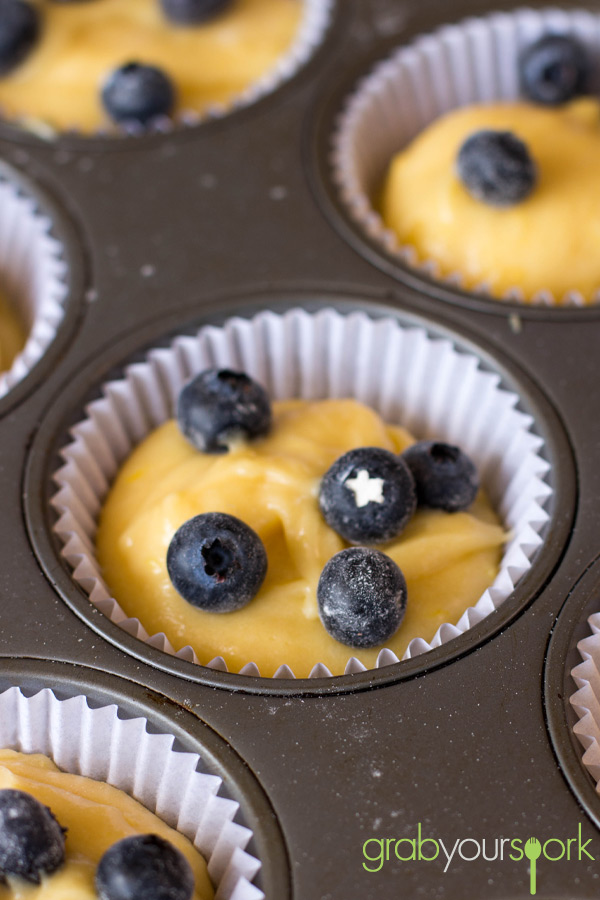
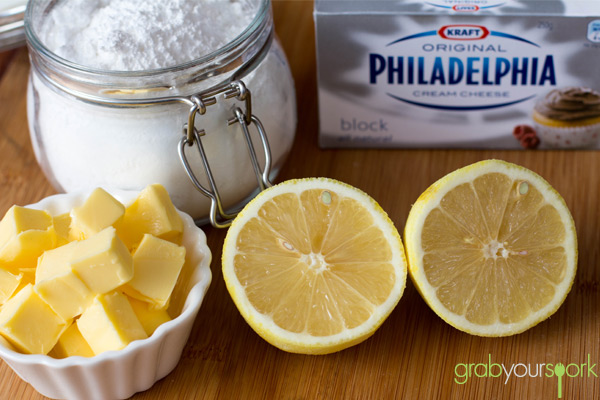
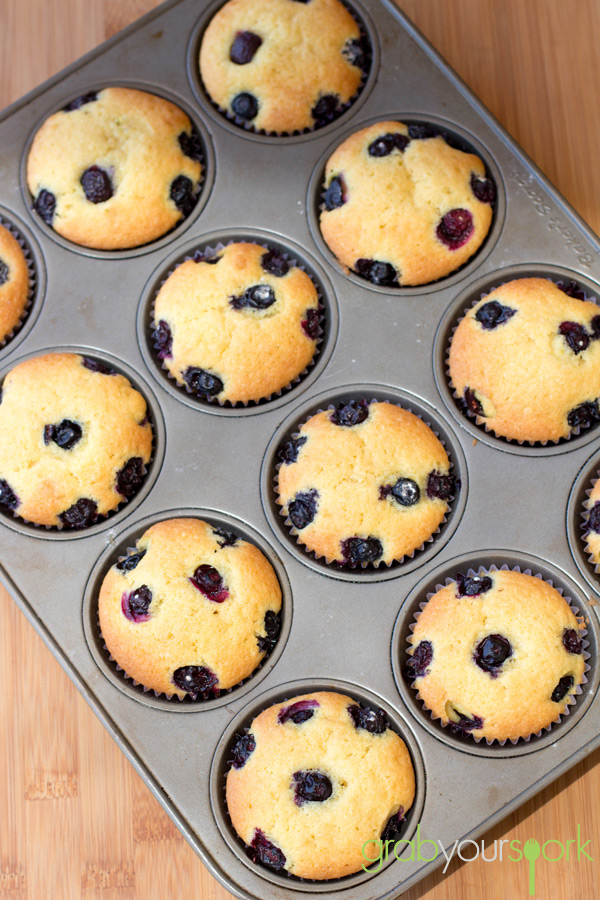
Blueberry and Lemon Cupcakes IngredientsBlueberry and Lemon Cupcakes MixtureBlueberry and Lemon Cupcakes batterBlueberry and Lemon Cupcakes MixtureLemon Cream Cheese IcingTray of Blueberry and Lemon CupcakesBlueberry and Lemon CupcakesBlueberry and Lemon Cupcakes with Lemon Cream Cheese Icing

How to make blueberry and lemon cupcakes

Blueberry and Lemon Cupcakes
 
Prep time
Cook time
Total time
 
These Blueberry and Lemon cupcakes are a great summer treat and have a nice zesty flavour, combined with the bursting tang of fresh blueberries.
Author:
Recipe type: Baked Goods
Cuisine: American
Serves: 12
Ingredients
Cupcake
  • ¾ cup unsalted butter (roomtemp)
  • 3 eggs (let stand at room temp)
  • 1¾ cups all-purpose flour
  • ¼ teaspoon baking powder
  • ¼ teaspoon baking soda
  • ¼ teaspoon salt
  • 1¼ cups granulated sugar
  • ¼ cup milk
  • 2 tablespoons finely shredded lemon peel
  • Blueberries, coated with flour
Icing
  • 1 cup powdered sugar
  • ¼ cup unsalted butter (let stand at room temp)
  • 1 block cream cheese (250g)
  • 2 tablespoons fresh lemon juice
Instructions
Cupcake
  1. Preheat the oven to 180°C and place paper cups into cupcake tins.
  2. Mix the butter and eggs.
  3. In a medium bowl, mix the flour, baking powder, baking soda and salt together.
  4. Mix the granulated sugar, milk and lemon peel together.
  5. Then mix the butter and eggs into the milk and sugar mixture.
  6. Mix the flour into the wet mixture and blend.
  7. Fill each cup three-quarters full with batter. Drop the coated blueberries on top.
  8. Bake for 18 to 20 minutes.
Icing
  1. Combine the powdered sugar, butter, cream cheese, lemon juice and zest together until light and fluffy.
  2. Pipe onto the cupcakes and decorate with lemon peel, blueberries and a mint leaf.
Notes
Decorate your cupcake with extra fresh blueberries, lemon peel or mint leaves.