Toffee Apples

Toffee apples are one of those nostalgic foods, which seem to evoke memories of when you were young. For me I remember getting them from Coles and they came served with a lecture from mum about how they would make my teeth fall out from all the sugar.

When making toffee apples do no be temped to lick the mixture off the spoon as I did, because you will burn your tongue, trust me. You definitely should not make these with kids around, as it might be a little dangerous. The other thing about making toffee apples is that you shouldn’t try and take photo’s along the way as you need to be spot on with your timing or the toffee will set on you early.

Toffee apples can be made any colour you like but we opted to go for traditional red for ours. Don’t be afraid to be more creative than we were with the colour palate for your toffee apples.
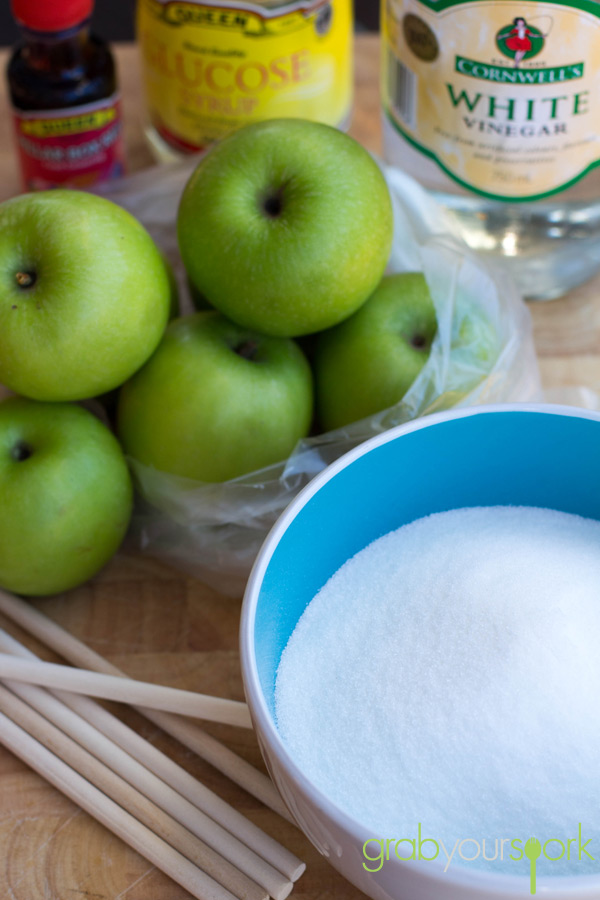
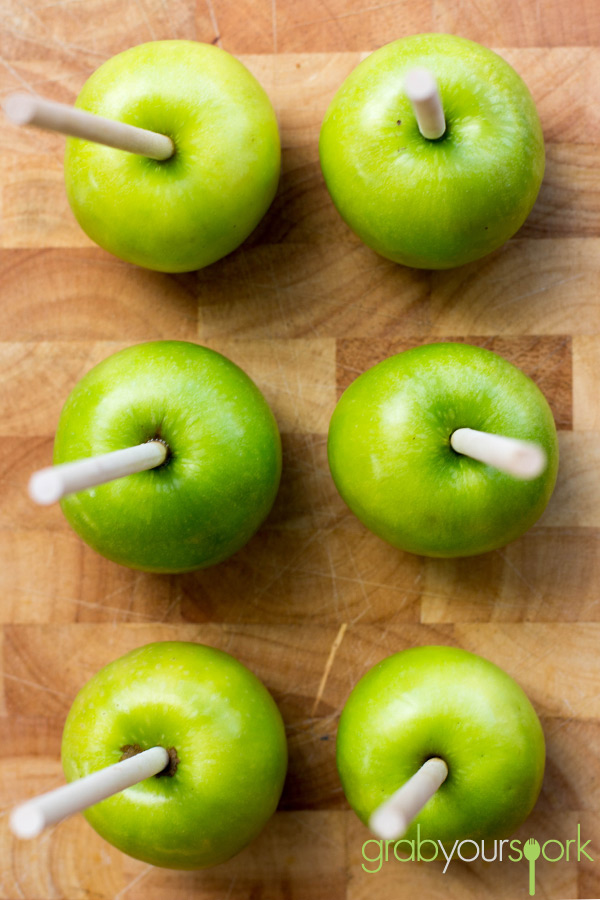
Toffee apples ingredientsToffee apples recipeToffeeToffee apples recipeToffee apples recipeToffee apples

Toffee Apples
 
Prep time
Cook time
Total time
 
Toffee apples recipe with just 5 ingredients. These sweet and sticky toffee apples will bring back childhood memories for sure.
Author:
Recipe type: Dessert
Cuisine: Australian
Serves: 6
Ingredients
  • 6 medium green apples, stalks removed
  • 3 cups caster sugar
  • ¼ cup liquid glucose
  • ¾ warm water
  • 1 teaspoon white vinegar
  • ½ teaspoon red food colouring
Instructions
  1. Line 2 large baking trays with baking paper.
  2. Wash apples in thoroughly in hot water to remove wax coating. Drying the apples thoroughly.
  3. Push 1 stick in top of each apple slowly avoid pushing all the way through.
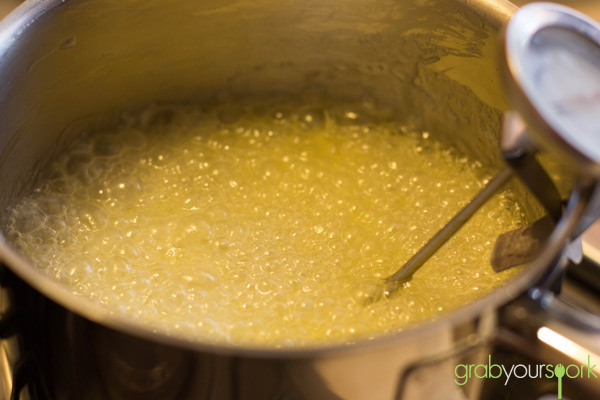
  4. Place sugar, warm water, glucose and vinegar in a heavy-based saucepan over a low heat. Cook, stirring, for 5 to 6 minutes or until sugar has dissolved.
  5. Increase heat to medium-high and bring to the boil. Cook, without stirring, for 15 to 20 minutes or until toffee reaches hard crack stage, brushing sides of pan with a brush dipped in water to avoid crystallisation.
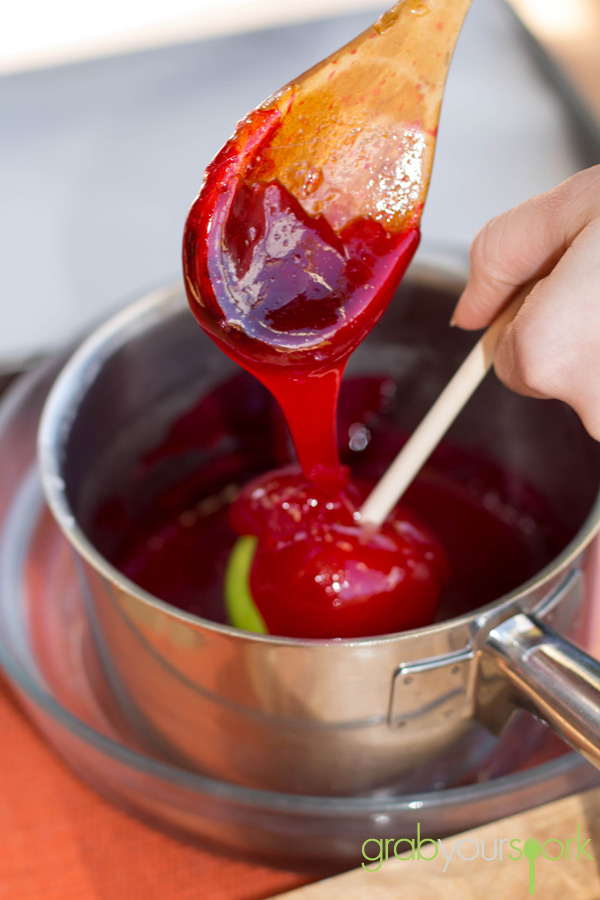
  6. Remove from heat. Tint with food colouring. Stand for 30 seconds for bubbles to subside slightly.
  7. Working quickly, dip apples one at a time into toffee, tilting pan to coat. Turn apple above pan to drain excess toffee.
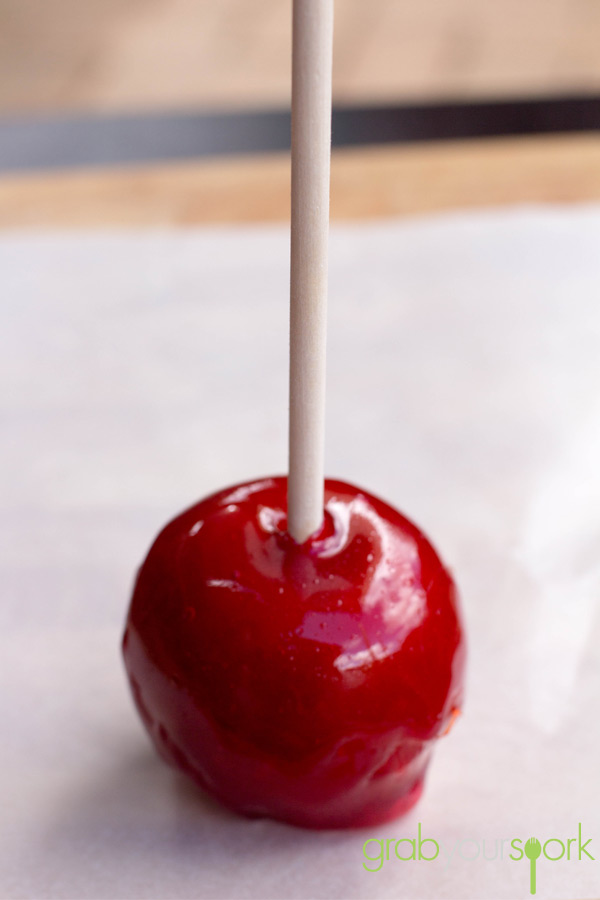
  8. Stand apple on prepared tray.
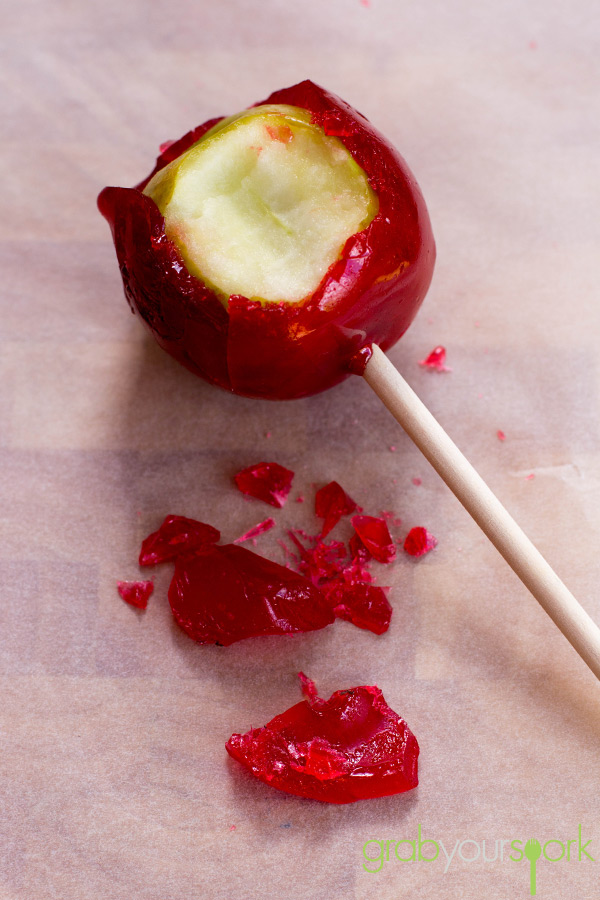
  9. Repeat with remaining apples and toffee. Stand for 20 minutes or until set.
 

Easy stuffed mushrooms recipe

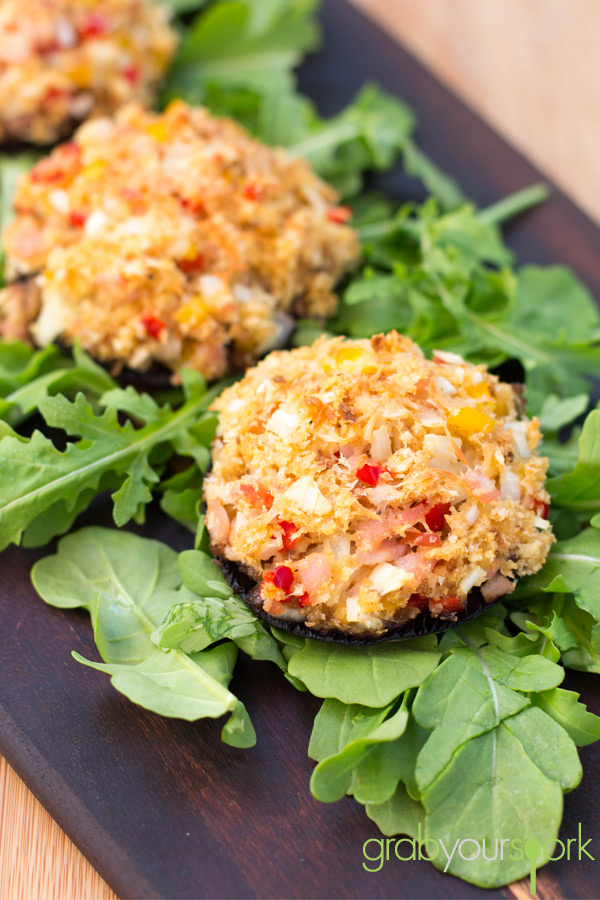
As a child I never cared much for mushrooms. However over the years I have grown to enjoy their robust flavour and meaty texture and this easy stuffed mushrooms recipe is one I thoroughly enjoy.

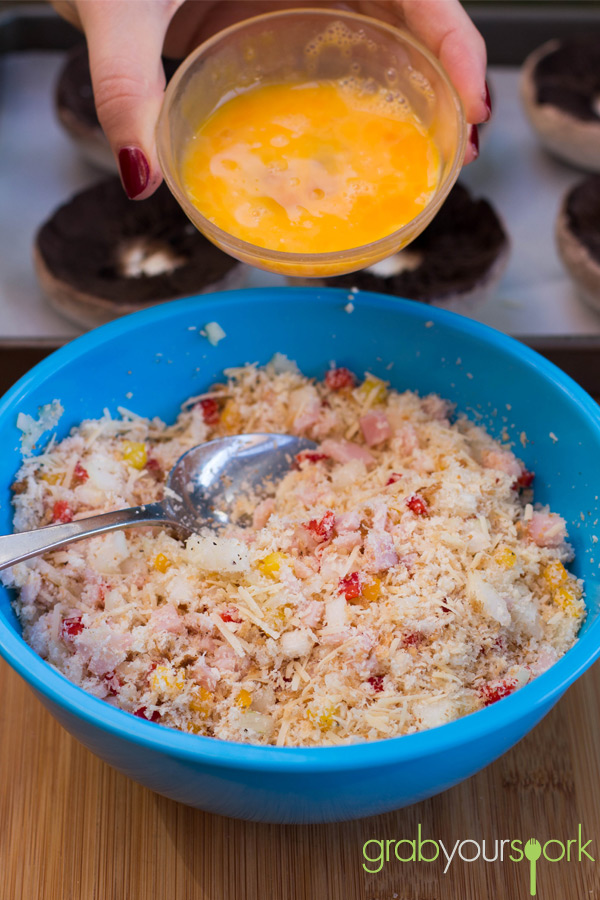
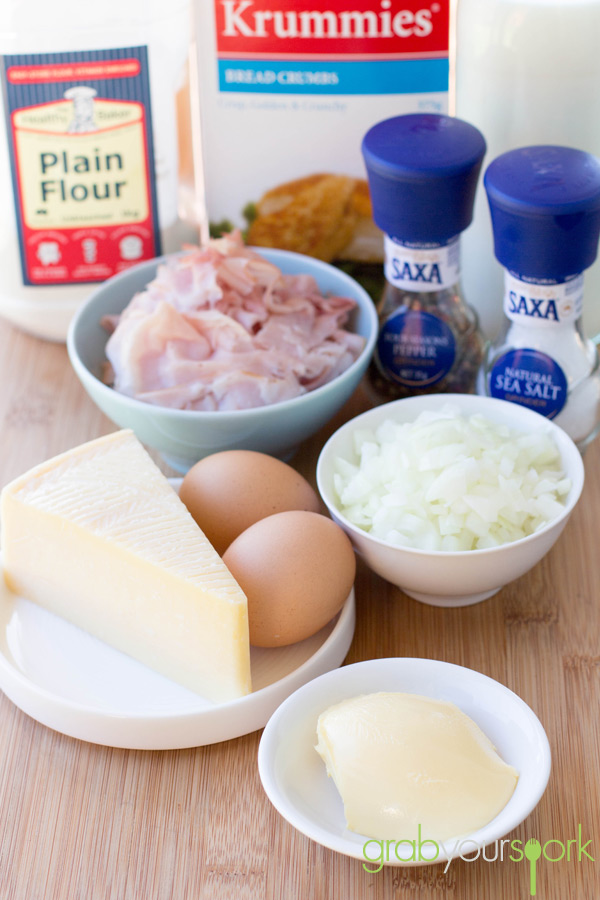
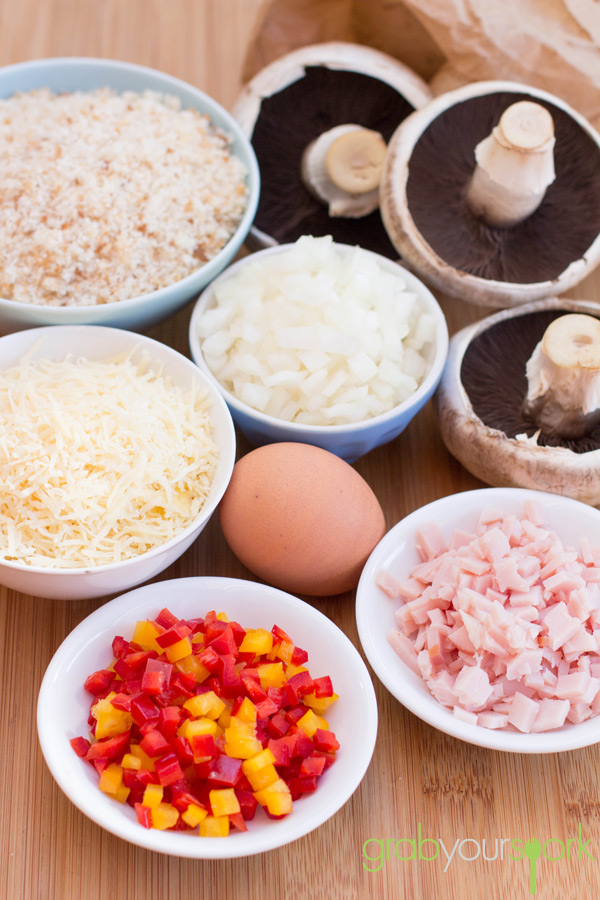
Stuffed mushrooms are extremely easy to make and you can almost combine any ingredients you want. To make our recipe Brooke uses fresh breadcrumbs as the base, then adds diced onion, capsicum, pecorino cheese, bacon and an egg. Through adding an egg not only helps bring the ingredients together it gives the stuffing a light fluffy texture. As mushrooms are a great option for vegetarians these can easily be made without bacon. You could even play around with the flavour combinations using sundried tomatoes, spinach or cream cheese.

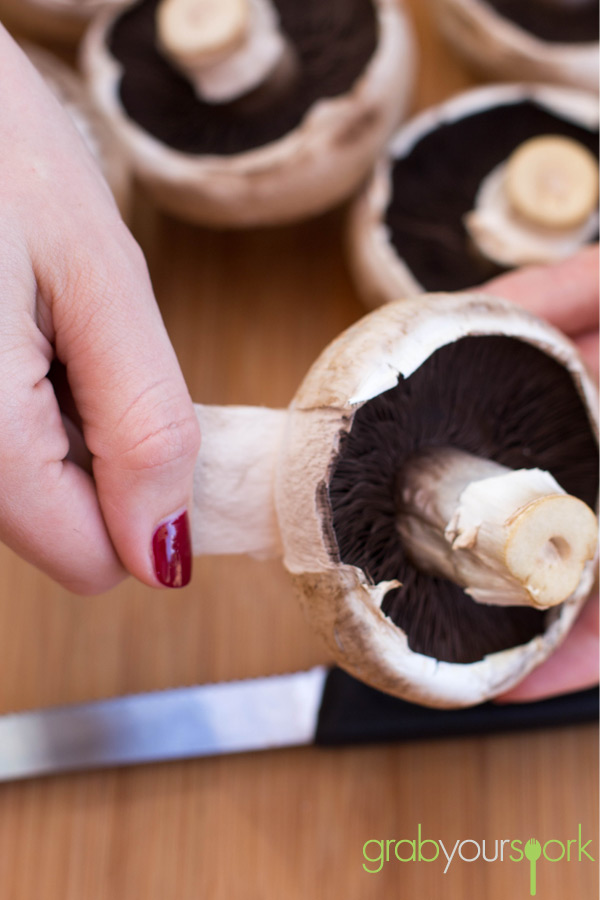
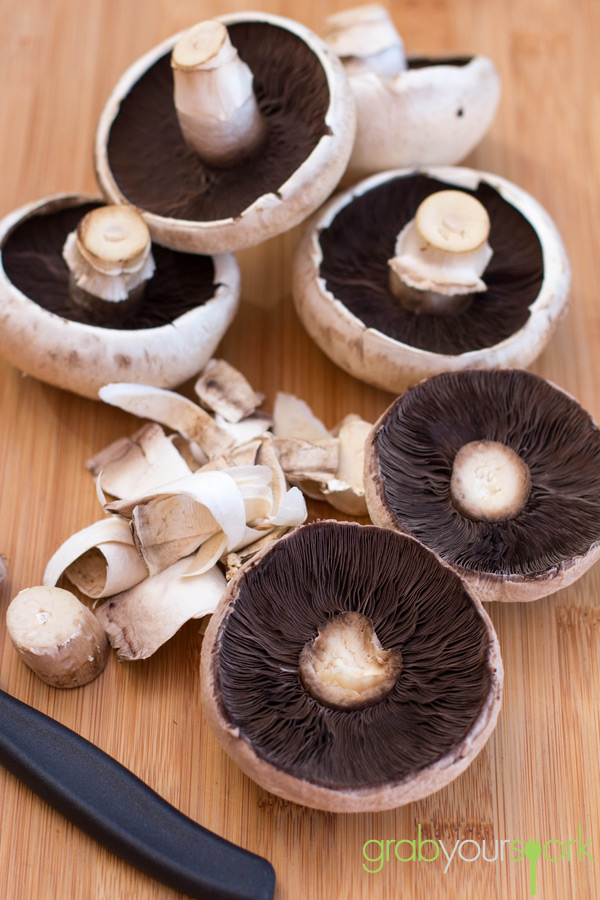
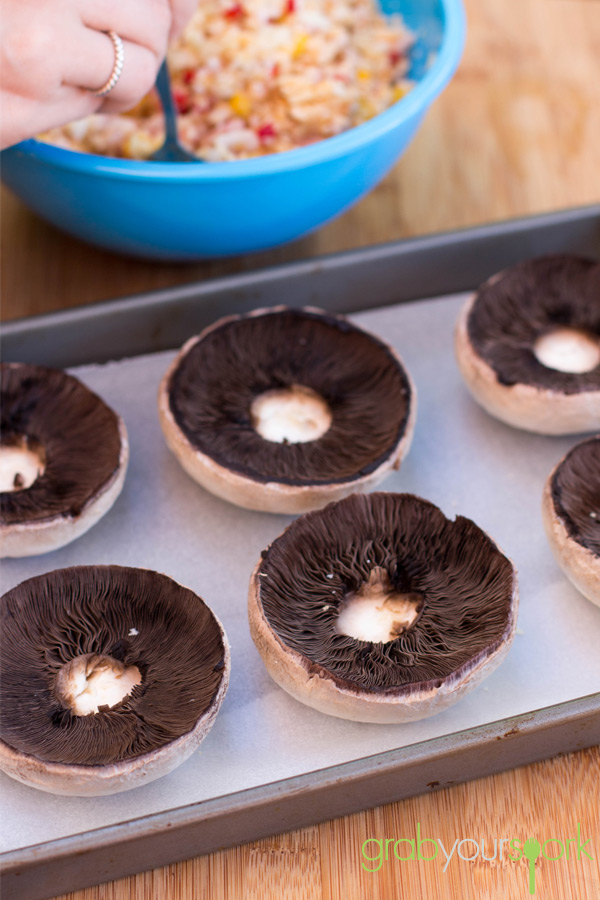
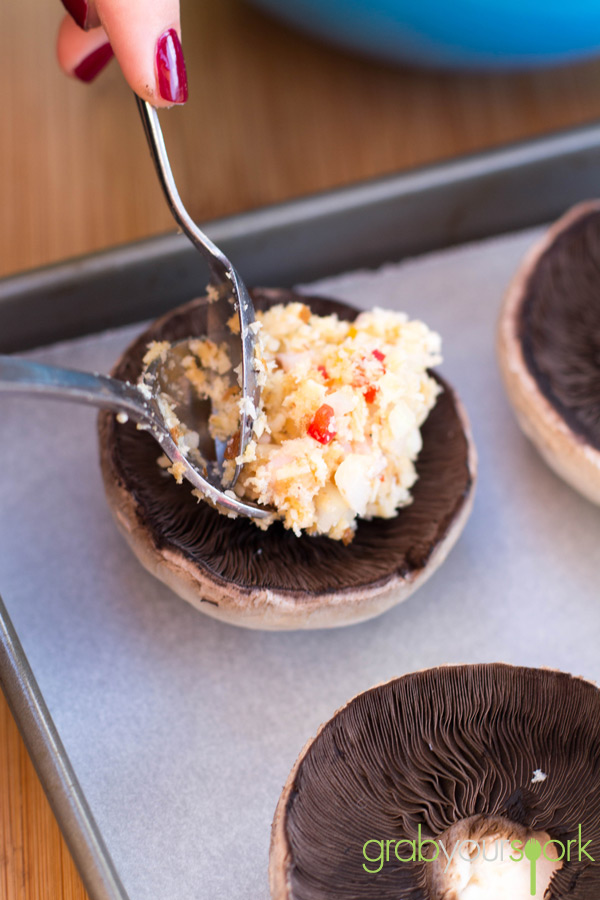
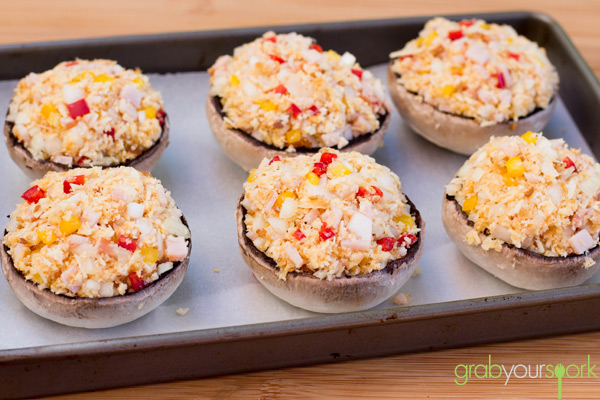
To make this recipe, firstly you need to clean your mushrooms well ensuring there is no soil or dirt. After removing the stalks so you have room for your filling. Place the mushrooms on a baking tray while you combine your stuffing. Simply mix the ingredients together in a bowl then fill the mushrooms until they are well packed. Sprinkle with a bit of extra cheese then bake in a moderate oven for 10 to 15 minutes.

We had these for brunch, however they are great as a light starter, lunch or even as a side to a main meal that’s the beauty of this easy stuffed mushrooms recipe.

This is definitely one of my new favourite mushroom recipes, but if you are looking for other appetiser recipes, then you should check out our easy savoury muffin recipe or vegetarian rice paper rolls.

Easy stuffed mushrooms recipe IngredientsStuffed MushroomsStuffed Mushroom CupsStuffed Mushrooms RecipeStuffed Mushrooms RecipeStuffed Mushroom CupsStuffed Mushroom Cups RecipeStuffed Mushrooms Recipe

Stuffed Mushrooms
 
Prep time
Cook time
Total time
 
Stuffed Mushrooms with fresh breadcrumbs, diced onion, capsicum, pecorino cheese, bacon and an egg.
Author:
Recipe type: Sides
Cuisine: Australian
Serves: 6
Ingredients
  • 6 field mushrooms
  • 1 cup fresh breadcrumbs
  • ¼ bacon, diced
  • ¼ capsicum, diced
  • ½ onion, diced
  • ½ cup pecorino cheese, grated. Plus extra tablespoon
  • 1 egg, lightly beaten
  • salt and pepper to season
Instructions
  1. Preheat oven to 180 °C
  2. Wash the mushrooms, drying thoroughly and remove stalks.
  3. Combine the breadcrumbs, onion, bacon, cheese and capsicum. Add the beaten egg and mix until well combined.
  4. Fill the mushrooms until well packed. Sprinkle with extra cheese.
  5. Bake in oven for 10 to 15 minutes. Serve warm.


Ham and cheese croquettes recipe

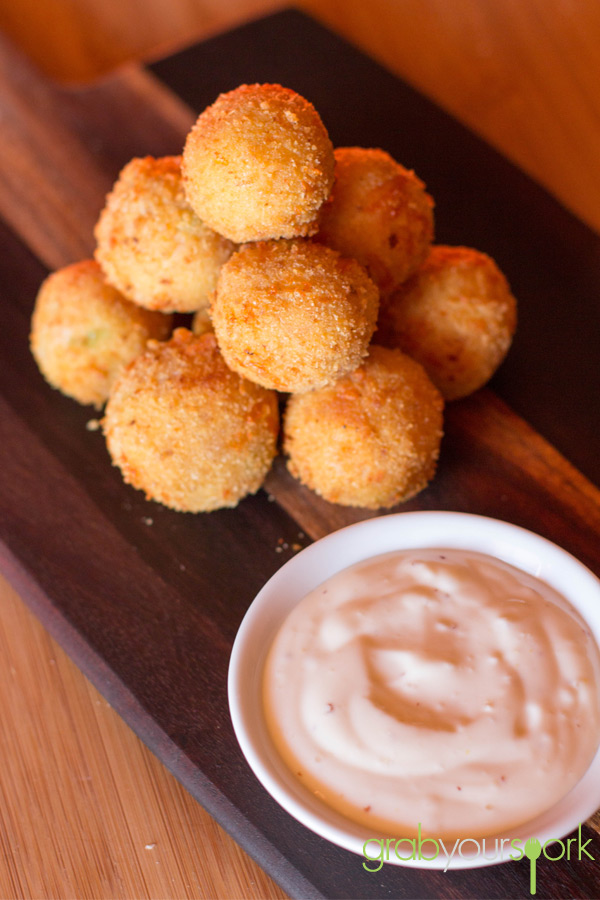
Today we have a ham and cheese croquettes recipe to share, these delish small bread-crumbed fried delights originate from France. However the first time I had these was when I was travelling around Spain and the same goes for Brooke. To make croquettes the main ingredient starts with either mashed potato or with a béchamel sauce (which is what we used). These are then flavoured with meat, fish, cheese, and vegetables before being coated and fried off giving them their name croquer, which means “to crunch”.

I love these little snacks and they are definitely a crowd pleaser. You can simply make them ahead of time, and fry when ready to be served. Or cook them then simply reheat in the oven to crisp and warm through.

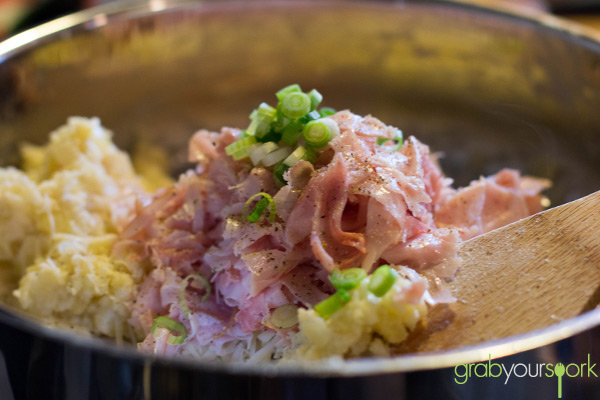
To make our croquettes we have used onion, ham, cheese and added a bit of spring onion for freshness and colour. However all these ingredients are interchangeable with other meat, fish or vegetables.

To start, simply saute the onion off in the olive oil and butter until the onions are soft. Gradually add the flour and cook it off before adding the milk. It is very important that you add the milk slowly ensuring there are no lumps. Once this is done add in your grated cheese, ham and spring onions. We have used pecarino cheese for a bit of extra bite, but you can use manchego also. Once this is all combined spread the mixture on a tray to allow too cool. This will leave you with a mixture that is easy to form and shape before crumbing.

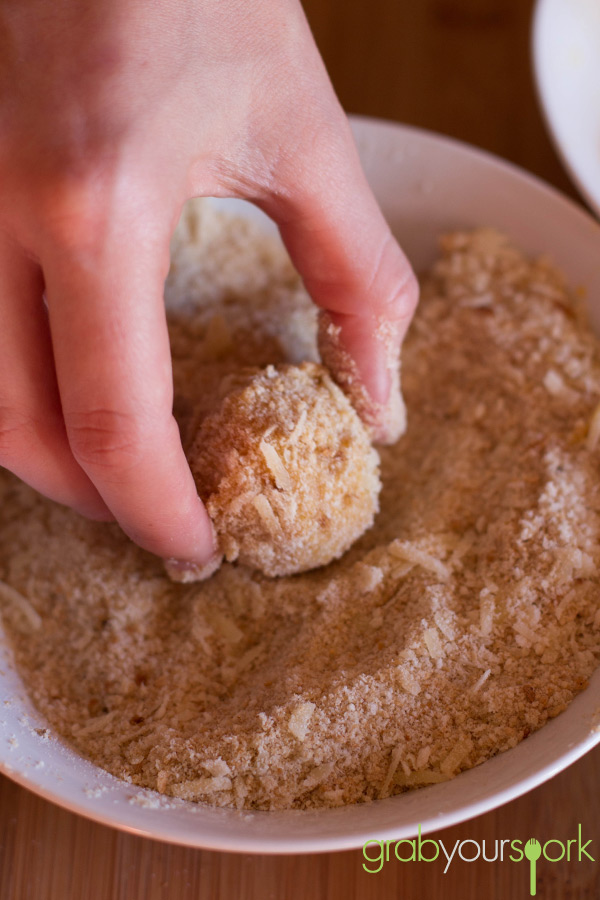
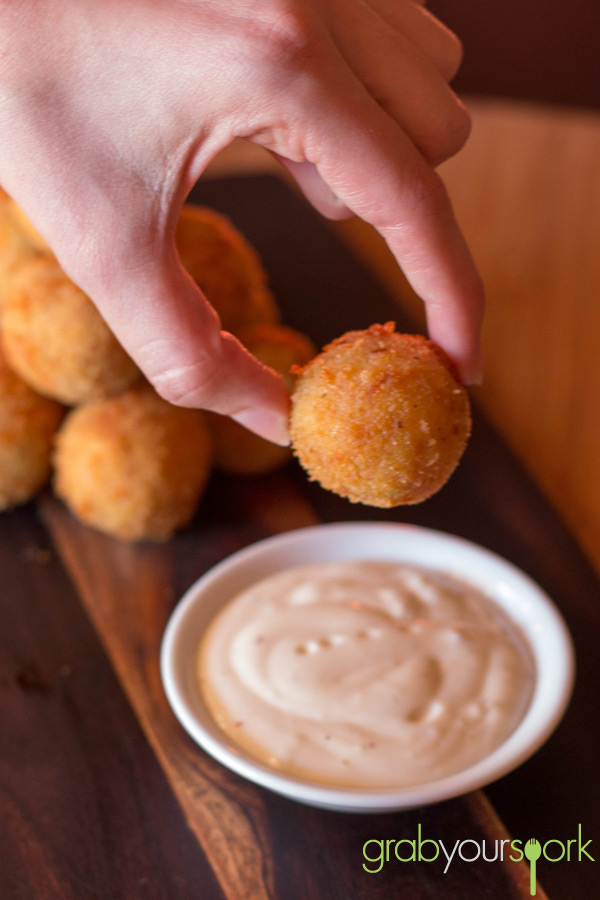
Refining our ham and cheese croquettes recipe we learned it is important to crumb twice, as not only will it help contain your filling, it will give your croquette the necessary crunch. To cook, fry in small batches watching them closely to get a nice golden brown colour. Serve these warm with a simple dipping sauce or on their own!

If you are looking for some alternative snack options then check out our savoury muffin recipe or Vietnamese rice paper rolls recipe.

Ham and Cheese Croquettes IngredientsHam and Cheese CroquettesHam and Cheese Croquettes RecipeHam and Cheese CroquettesHam and cheese croquettes recipe

5.0 from 2 reviews
Ham and Cheese Croquettes
 
Prep time
Cook time
Total time
 
Ham and Cheese Croquettes made with onion, ham, cheese and spring onion for freshness and colour.
Author:
Recipe type: Snack
Cuisine: Spanish
Serves: 12
Ingredients
  • 2 tablespoons unsalted butter
  • 2 tablespoons olive oil
  • 1 small onion, finely chopped
  • Coarse salt and freshly ground pepper
  • 7 tablespoons all-purpose flour, plus more for shaping
  • ¾ cup whole milk
  • ½ finely chopped ham of your choice
  • ½ cup plus ¼ cup grated Pecorino cheese
  • 3 large eggs
  • 1½ cups fresh breadcrumbs
  • Vegetable oil, for frying
  • 2 tablespoons spring onion
Instructions
  1. Heat butter and oil in a medium saucepan over medium heat until butter has melted.
  2. Add onion, and cook until onions are translucent.
  3. Add flour gradually; cook, stirring, 1 minute.
  4. Whisk in milk gradually ensuring no lumps and cook, whisking.
  5. Whisk in ham, ½ cup cheese, and spring onions.Season with salt and pepper as desired.
  6. Spread mixture onto a baking sheet, and let cool completely.
  7. Whisk together eggs in a shallow dish. Stir together breadcrumbs and remaining ¼ cup cheese in another dish.
  8. Scoop tablespoons of cooled mixture, and shape.
  9. Working with 1 ball at a time, coat in beaten egg, then in breadcrumb mixture. Repeat and transfer to a baking sheet lined with parchment paper.
  10. Heat 2½ inches oil in a large, heavy stockpot until it reaches 375 degrees.
  11. Working in batches, fry croquettes, flipping once, until golden brown, 1 to 2 minutes total.
  12. Using a slotted spoon, transfer to paper towels to drain. (Adjust heat between batches as needed to keep oil at a steady temperature.)
  13. Serve warm.


Hot jam doughnuts recipe

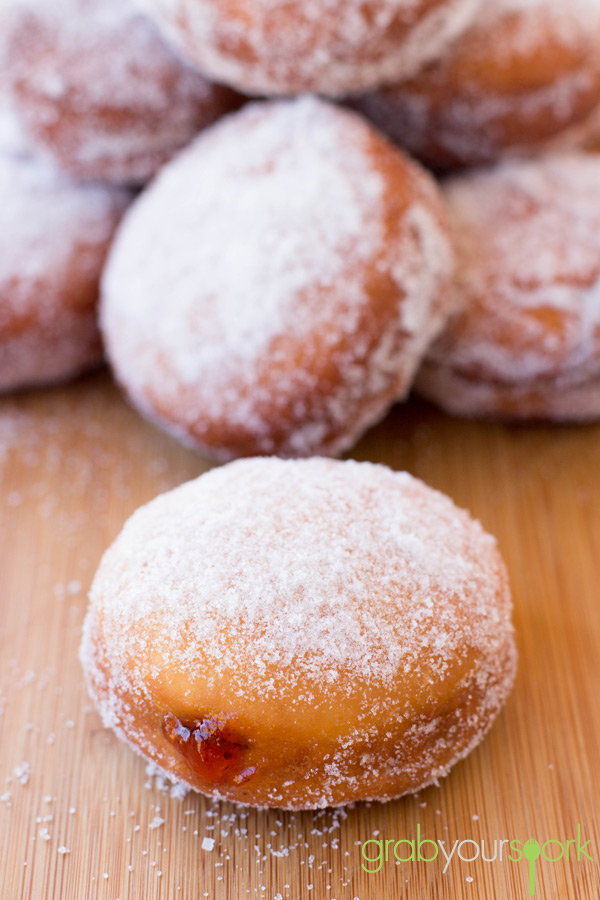
Whenever we are within close proximity to a bakery I must get a hot jam doughnut! Seriously no matter what time of day it is, it is always time for a jam doughnut. What’s not to love about them? They are deep fried balls of sweet doughy goodness, coated in sugar and filled with delicious jam. This homemade hot jam doughnuts recipe will have you making these finger licking sugary treats at home instead of buying them from the bakery!

Last weekend while we were cooking up a storm we added this hot jam doughnuts recipe into the mix. However, is it easier to go out to the shops and buy a doughnut? Yes. Do you end up with sugar throughout the house? Yes. Is it worth making your own doughnuts at home? Definitely yes! Brooke might not be as keen to make them again. As similar to the recent post on hot cross buns, there are a lot of steps and patience is key while letting the dough prove.

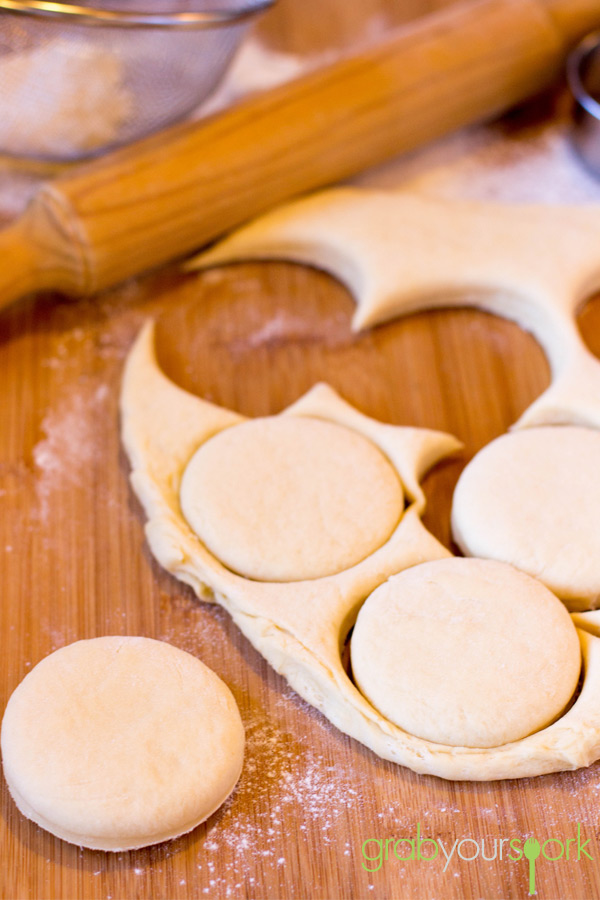
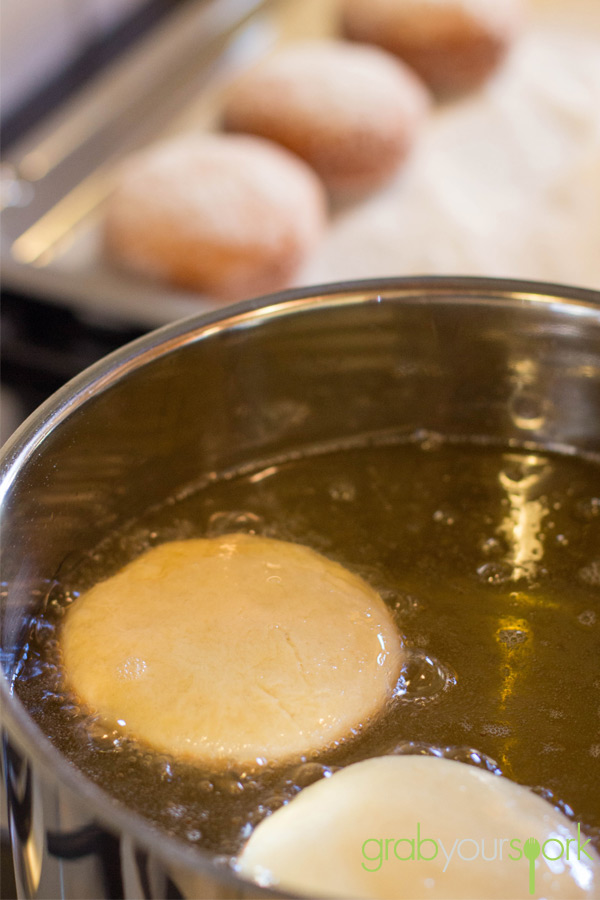
When making this recipe you need to be mindful of how thick you roll your dough. As you let your dough rise again once it is in circles, it will continue to rise and will puff up when you cook it in the oil. I would aim for around 2.5cm thick, as any thicker and your doughnuts won’t cook in the middle and be darker than necessary on the outside.

Once you have cooked your doughnuts evenly on both sides, drain excess oil and immediately roll in sugar. Allow to cool before filling with delicious jam. We used traditional strawberry this time (which needs to be strained before piping). However, you can fill with other flavoured jams, custards, chocolate or just simply add some cinnamon to the sugar and leave them plain.

I think my sugary grin showed how much I liked these!

If you like sweet treats then check out these our recipes for Chocolate mint fudgeNo bake Mars bar sliceor passionfruit marshmallows.

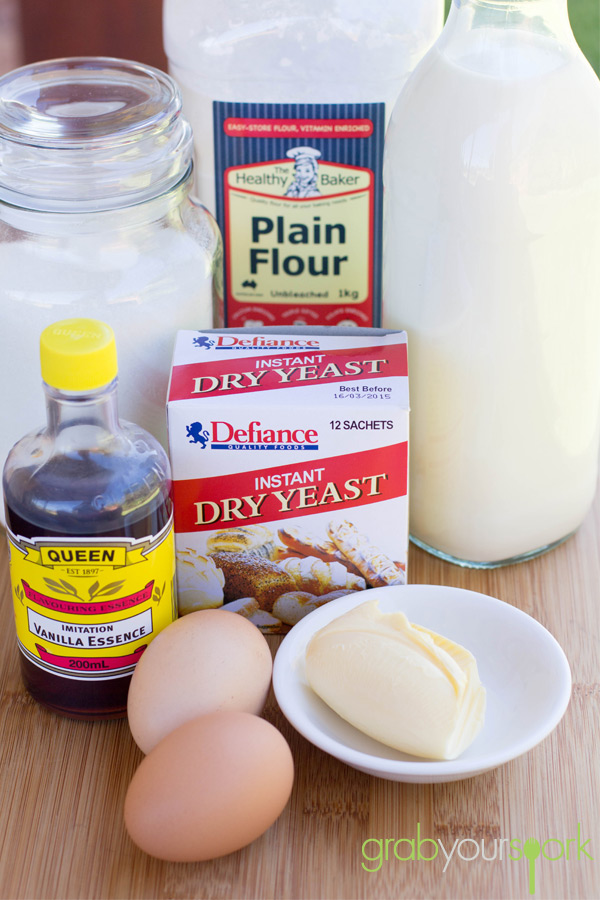
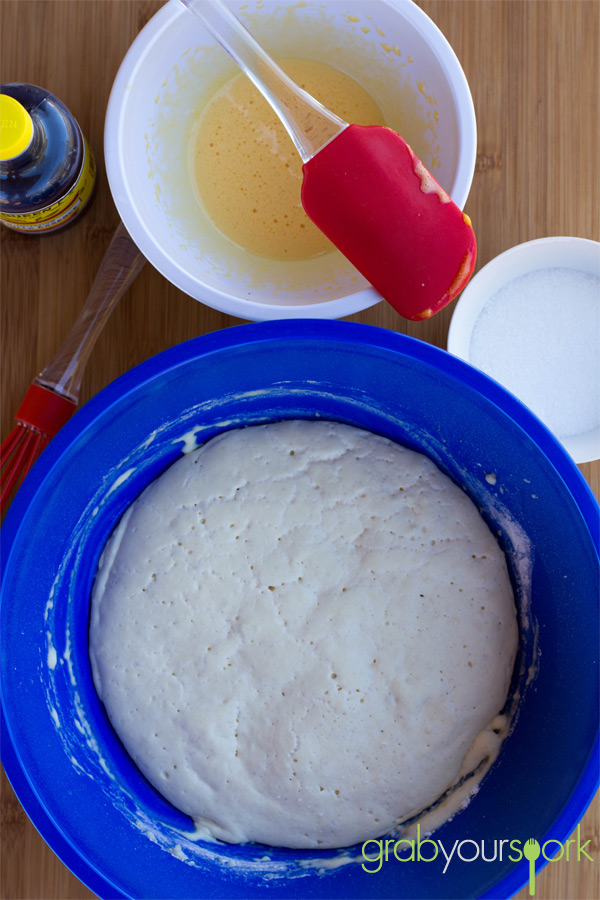
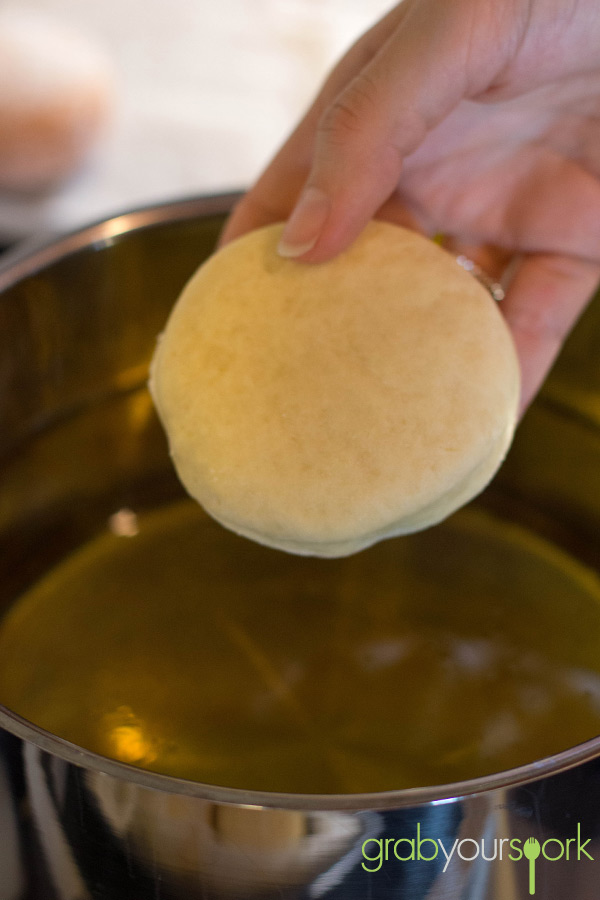
Jam Doughnuts IngredientsJam Doughnuts DoughJam Doughnuts Balls

Fried Jam Doughnuts Recipe Hot jam doughnuts recipe

Jam Doughnuts Recipe

Homemade hot jam doughnuts – recipe instructions

5.0 from 1 reviews
Jam Doughnuts
 
Prep time
Cook time
Total time
 
Jam Doughnuts aka deep fried balls of sweet doughy goodness, coated in sugar and filled with delicious jam.
Author:
Recipe type: Dessert
Cuisine: American
Serves: 12
Ingredients
  • 1 pkg dry yeast 8 grams
  • 1 cup cooled whole milk
  • 2 large egg yolks
  • ¼ cup granulated white sugar
  • 2 Tbsp. melted butter
  • ½ tsp. vanilla
  • ½ tsp. salt
  • Approximately 3½ cups all-purpose flour
  • Vegetable Oil, for frying
  • White Granulated Sugar, for dusting after frying
  • Jam or custard, for filling (be sure to strained seeds from jam)
Instructions
  1. In a small saucepan, heat milk until steaming with small bubbles forming around the edges. Remove from heat and let cool to lukewarm.
  2. To activate the yeast, in a large bowl add the yeast and pour in the lukewarm milk. Let it stand for 5 minutes.
  3. Add 1 cup of flour. Mix together and let stand for 20 – 30 minutes, until really bubbly.
  4. Beat the yolks in a small bowl until they are light and fluffy.
  5. To the proofed yeast mixture, add the melted butter and sugar and mix.
  6. Add salt and vanilla. Add beaten egg yolks.
  7. Slowly add rest of the flour to bowl in ½ cup increments just until a very soft dough form that is moist but not sticky. Knead on the bench to ensure your dough is formed.
  8. Grease a clean bowl and add dough. Cover bowl with plastic wrap and let rise in warm place until doubled.
  9. Deflate dough and pat out onto floured cutting board. With a rolling pin, gently roll into a 2.5cm thick circle. Gently cut out circles with a biscuit cutter. Place onto a parchment lined baking sheet, cover and let rise until doubled (about 30 minutes).
  10. Heat a deep fat fryer to 190°C. Once the balls have doubled in size, carefully place them, one by one, into the fryer. Be mindful not to cook too many at a time as this well reduce the temperature of the oil.
  11. Once the underside is golden brown, use a slotted spoon to gently turn over. Continue to fry until evenly coloured.
  12. Remove doughtnuts to a cooling rack for about 30 seconds, then immediately roll in granulated sugar. Let stand until completely cooled.
  13. Once cooled, using a sharp knife, poke a hole on the side. Use a pastry bag with a large plain tip to pipe the jam or custard filling inside.
  14. These are best when freshly made, but you can freeze any extras.


Asian BBQ Pork Ribs

A couple of months ago you might remember Brooke bought a slow cooker? When Brooke said she wanted one, she said she would use it all the time and it wouldn’t just become another kitchen appliance. I was sold a story that she would use it all the time to make things like casseroles, soups and slow cooked meats. So far I have only seen Pulled Pork Tacos.

However on this lazy weekend, the meat gods answered my prayers and Brooke finally made ribs for me! Asian BBQ Pork Ribs! Again I think I was more impressed how easy slow cookers are to use.

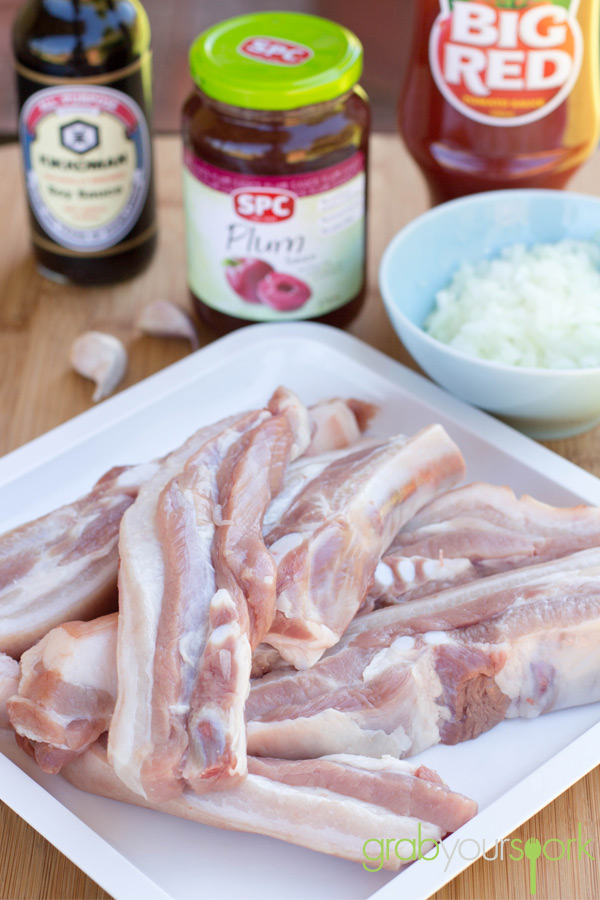
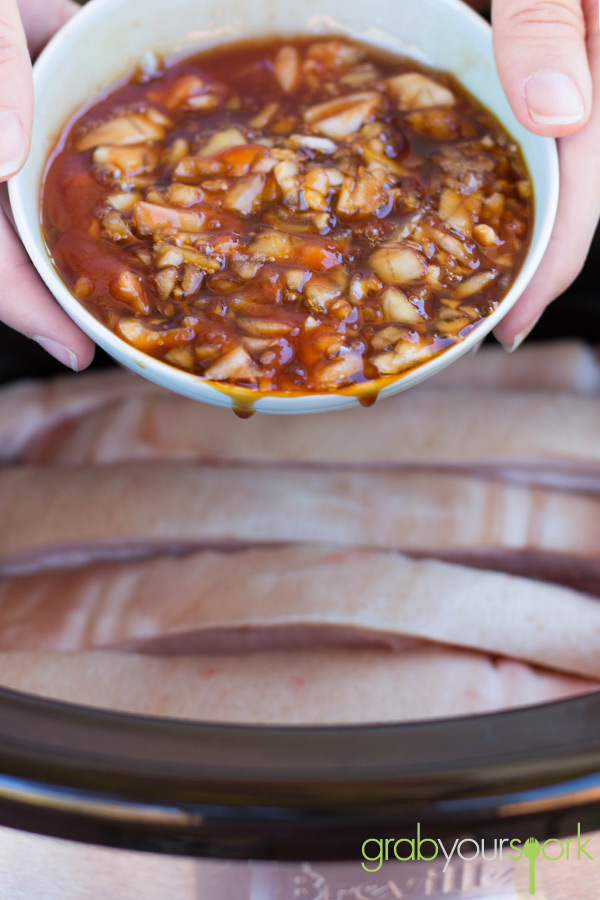
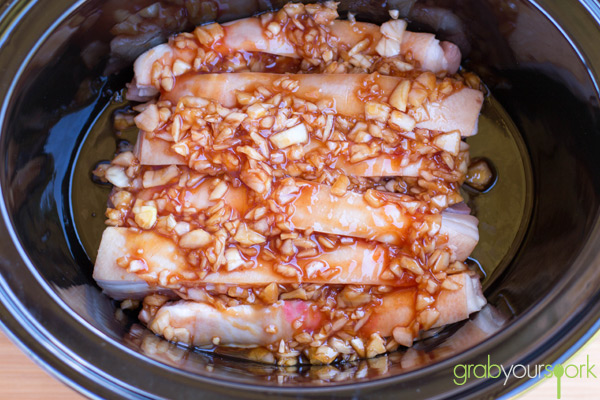
To make this recipe you simply combine all the ingredients (apart from the ribs) together to make a sauce. Then you simply place the ribs meat side up in the slow cooker and pour the sauce over the pork spare ribs. From here leave the ribs to cook for 6 – 8 hours on a low heat and voila! Asian BBQ Pork Ribs!

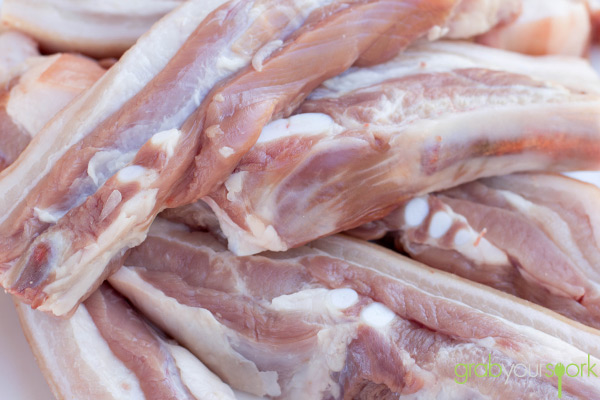
Now the ribs we used were pork spare ribs and they had quite a lot of fat on them. Don’t worry though. Not only will the fat add to the flavour, when the pork cooks the fat will drip down making the pork meat extremely tender. It is also really easy to pull apart from the meat when you’re eating them.

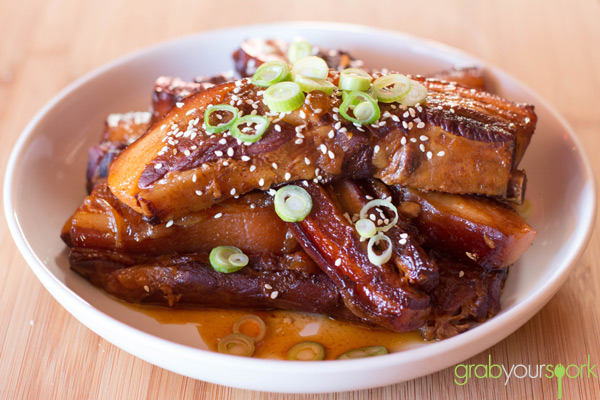
To serve remove the ribs from the slow cooker and dress with some fresh spring onion and sesame seeds.

Asian BBQ Pork Ribs IngredientsPork Spare RibsAsian BBQ Pork Ribs SauceSlow Cooker Asian BBQ Pork RibsSlow Cooker Asian BBQ Pork Ribs

Asian BBQ Pork Ribs
 
Prep time
Cook time
Total time
 
Slow Cooker Asian BBQ Pork Ribs dressed with some fresh spring onion and sesame seeds.
Author:
Recipe type: Asian BBQ Pork Ribs
Cuisine: Asian
Serves: 2
Ingredients
  • 1kg pork spare ribs
  • ¼ cup soy sauce
  • ¼ cup plum sauce
  • 3 tbs tomato sauce
  • 1 small onion, finely chopped
  • 2 cloves garlic, crushed
Instructions
  1. Place the ribs in slow cooker with meat side of ribs facing up.
  2. Mix all the ingredients together and pour over the ribs making sure ribs are completely covered.
  3. Cook on a low heat for 8 hours.
  4. Serve with fresh spring onion and sesame seeds.