Pumpkin and leek tart recipe

Since returning from our holiday we have had a very busy weekend catching up with friends and family. Luckily we managed to find a bit of time yesterday to get back into some humble home cooking and Brooke made this delicious pumpkin and leek tart recipe.

Whilst being away we have definitely eaten our fair share of delicious Vietnamese food, but now that we are home in the middle of Perth’s winter I am craving some simple winter food.

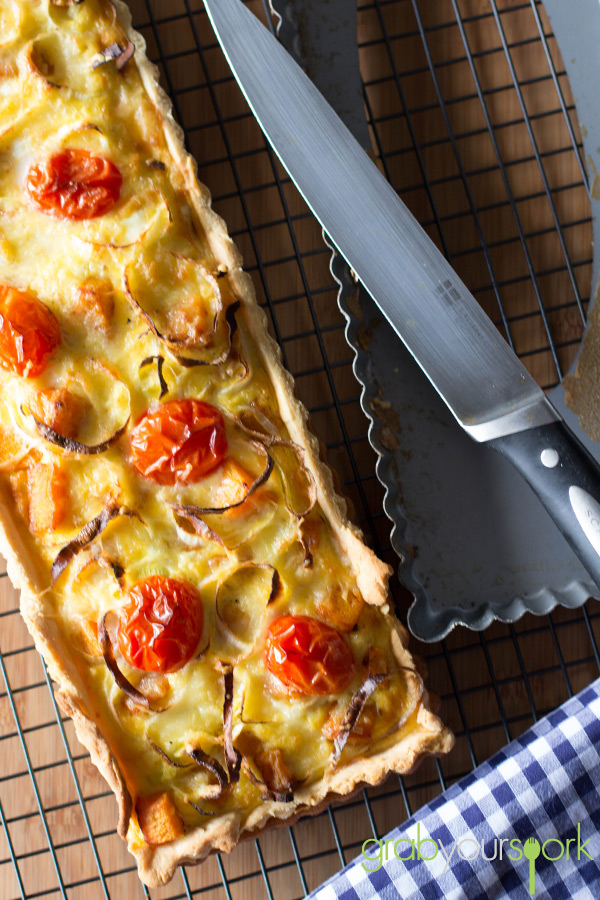
With pumpkin and leek in season, Brooke made one of my favourite recipes, pumpkin and leek tart. This tart is delicious and if Brooke can be bothered tackling homemade short crust pastry is a great winter warmer.

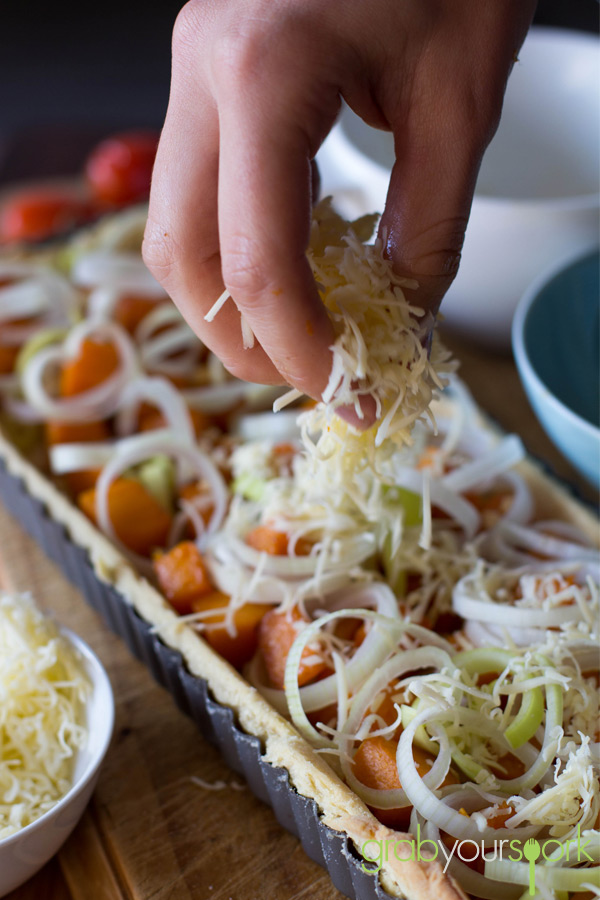
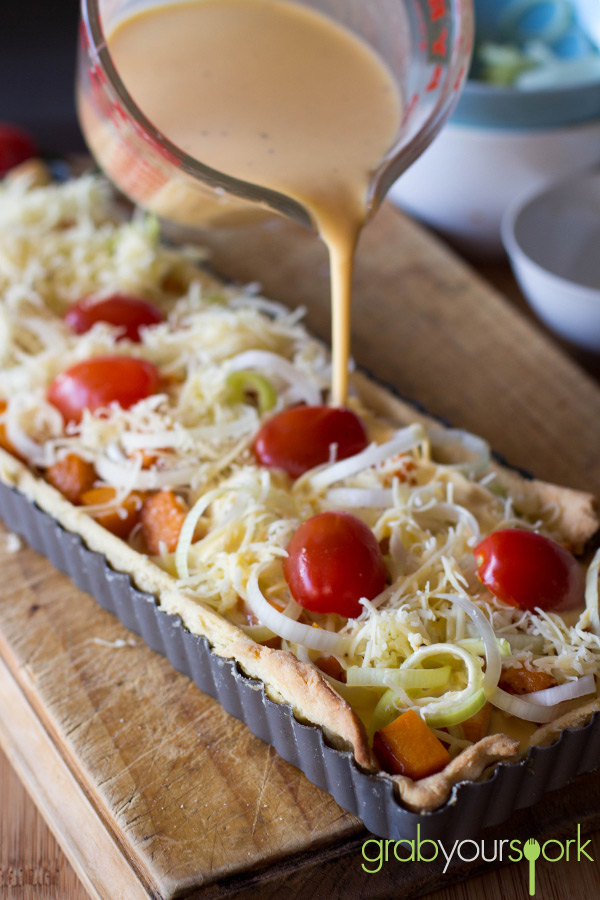
Cook the pumpkin slightly in the pan first with a little butter and garlic for added flavour, then combine with the sliced leeks, some fresh tomatoes for colour, dried onion flakes, cheese and an egg and cream filling. Bake it in the oven for 10 – 15 minutes or until golden brown.

Served with a simple salad this tart is great for a light lunch or dinner or in the warmer months for a picnic!

Looking for some more savoury baked goods then check out our recipe for Ham and Cheese Croquettes or Zucchini and Bacon Slice. I like to pair this pumpkin and leek tart with our Roasted Pumpkin and Sweet Potato Soup recipe.
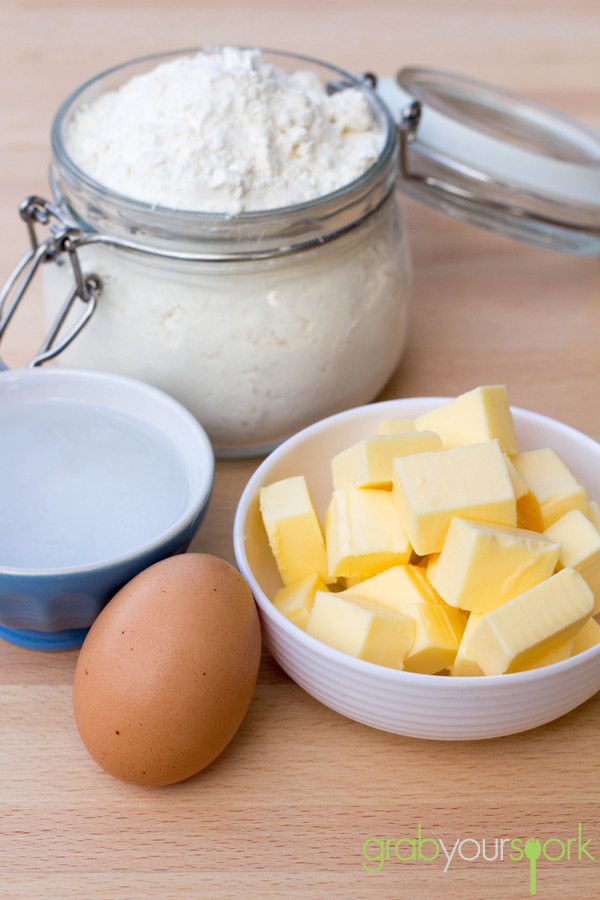
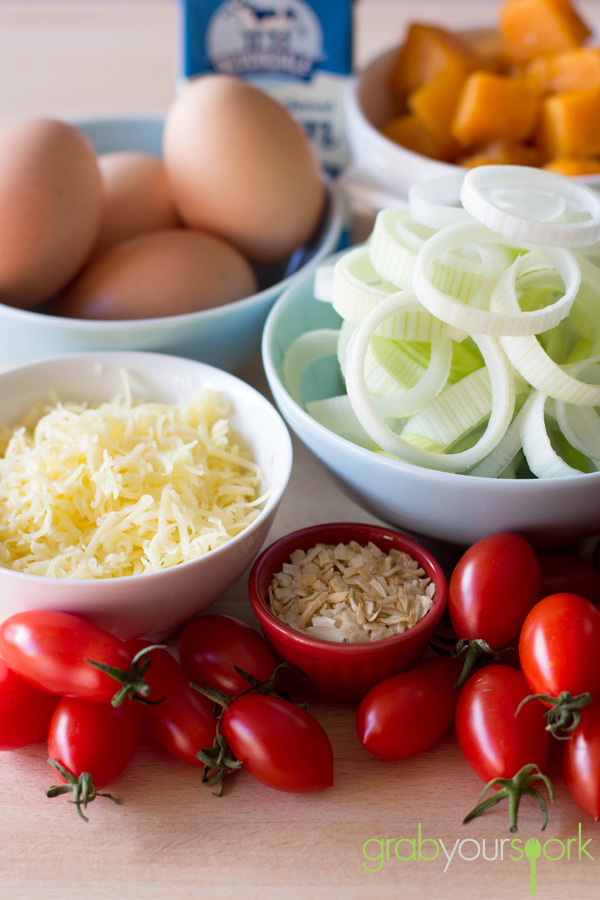
Tart Pastry IngredientsPumpkin and Leek Tart IngredientsPumpkin and leek tart recipePumpkin and leek tartPumpkin and leek tart recipe

Healthy Pumpkin and Leek Tart – Recipe Instructions

Pumpkin and Leek Tart
 
Prep time
Cook time
Total time
 
Pumpkin and Leek Tart great for a light lunch or dinner.
Author:
Recipe type: Baked Goods
Cuisine: French
Serves: 4
Ingredients
Pastry
  • 1⅔ cups (250g) plain flour
  • 125g unsalted butter, chilled, finely chopped
  • 1 egg, chilled
  • 1 Tbsp cold water
Tart Ingredients
  • 300g pumpkin, cubed
  • 1 leek, washed and sliced
  • ½ cup cheese, grated
  • 4 eggs
  • 3 – 4 cherry tomatoes, cut in half
  • 120 ml thickened cream
  • 2 tbsp onion flakes
  • 1 tsbp butter
  • 1 tsp garlic, crushed
  • salt and pepper
Instructions
  1. To make the pastry, place the flour and butter in the bowl of a food processor and process until mixture resembles fine breadcrumbs. Add the egg and water and process until the mixture just comes together. Turn dough onto a lightly floured surface and knead until smooth. Shape into a disc. Wrap in plastic wrap and place in fridge for 15 minutes to rest.
  2. Meanwhile, melt the butter in a frying pan over medium heat. Add the pumpkin and garlic and cook, stirring, for 10 minutes or until soft. Remove from heat.
  3. Preheat oven to 200°C.
  4. Roll out the pastry into a 3mm thick rectangle or disc. Line a round 23cm (base measurement) fluted tart tin or a 33cm x 9cm rectangular tart with removable base with pastry and trim any excess. Place in the fridge for 15 minutes to rest.
  5. Cover pastry with non-stick baking paper and fill with rice or dried beans. Place on a baking tray. Bake in oven for 10 minutes. Remove paper and rice or beans, and bake for a further 8 minutes or until golden. Remove from oven. Reduce oven temperature to 180°C.
  6. Fill pastry base with pumpkin, onion flakes, leeks, cheese and tomatoes.
  7. Whisk cream and eggs together in a jug. Spread over pastry base.
  8. Bake in oven for 10 to 15 minutes until golden brown.


Hoi An Cooking Class

After spending an amazing couple of weeks traveling around Vietnam, Brooke and I thought we would do a slightly different post this week and recap our experience in Hoi An attending the Morning Glory Hoi An Cooking Class.

The Morning Glory cooking school has garnered a well-deserved reputation over the years and was the first cooking school established in Hoi An. Owner and founder Ms Trinh Diem Vy is a third generation chef and native of Hoi An and whose cooking classes have featured in various publications around the world. The cooking school is now located a short stroll away from the Morning Glory restaurant at The Market Restaurant.

The day commenced in the best possible way with an all you can eat buffet breakfast at The Market Restaurant. Next we were taken by boat to the markets for a guided tour, our guide spoke very good English and was able to give great insight. We were then given a tour of The Market Restaurant, before heading upstairs to the classroom to commence the cooking class. It was a large group (approx 30 people) but we had lots of helpers who walked around to offer guidance.
Whilst you don’t cook absolutely every component yourself, some is prepared by the teacher the course is still fantastic.

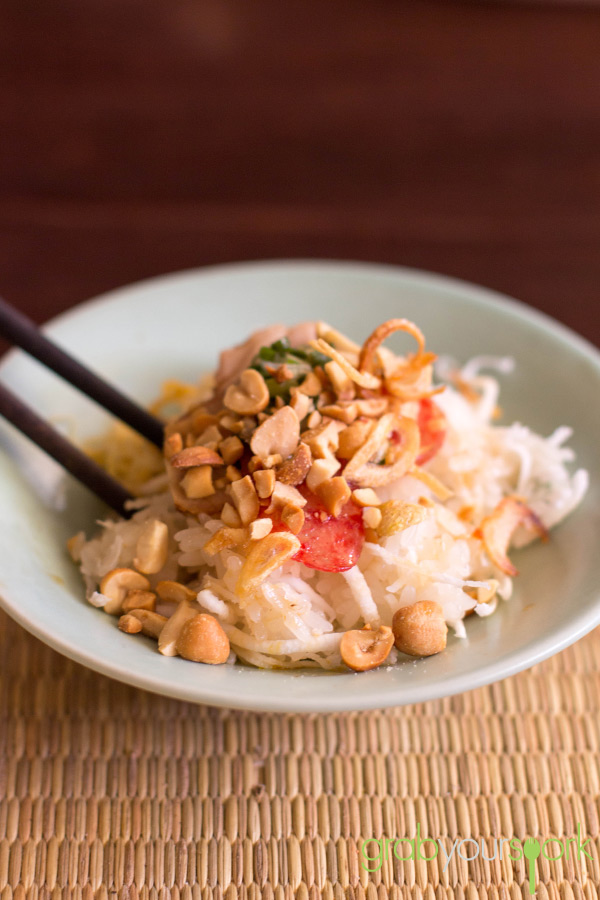
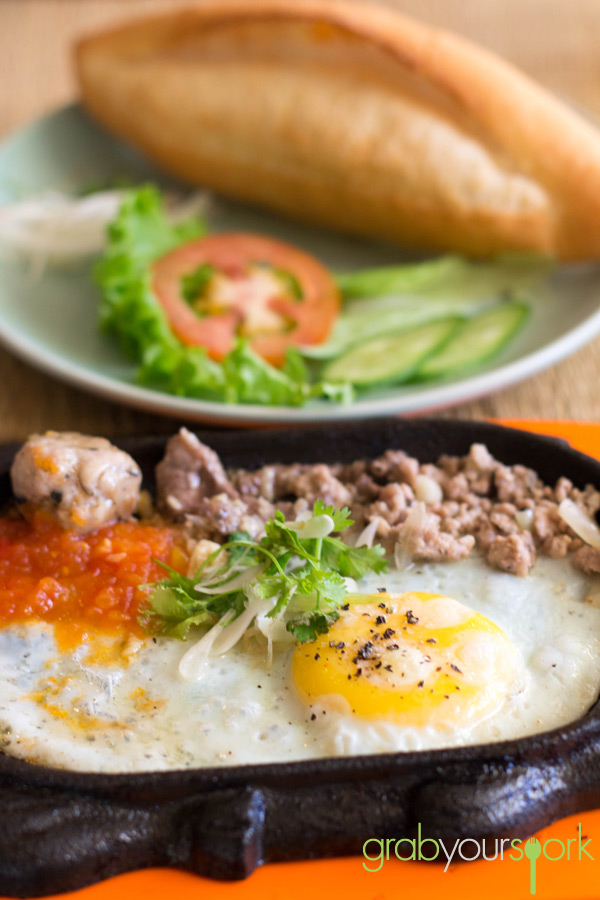
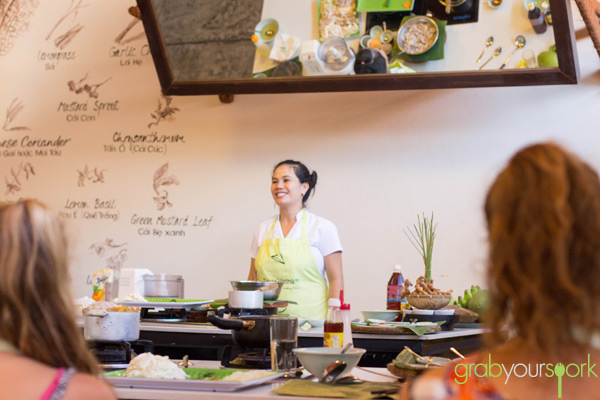
Our class was lead by the extremely talented Ms. Lu, Head Chef of The Market Restaurant. Ms. Lu has worked with Ms. Vy since she was 14 years of age working her way up to Head Chef. During the cooking masterclass menu, we prepared a variety of dishes, which consisted of fresh shrimp and cabbage soup, green mango salad, skewered BBQ chicken and the classic Vietnamese crispy pancake (banh xeo).

This really was a highlight of the trip and we would certainly recommend The Morning Glory Cooking Class!

If you like Vietnamese food as much as we do then check out our recipes for Vietnamese Rice Paper Rolls, Prawn Rice Paper Rolls, or Vegetarian Rice Paper Rolls.

Hoi An Cooking Class

Sticky Rice

The Morning Glory Cooking Class

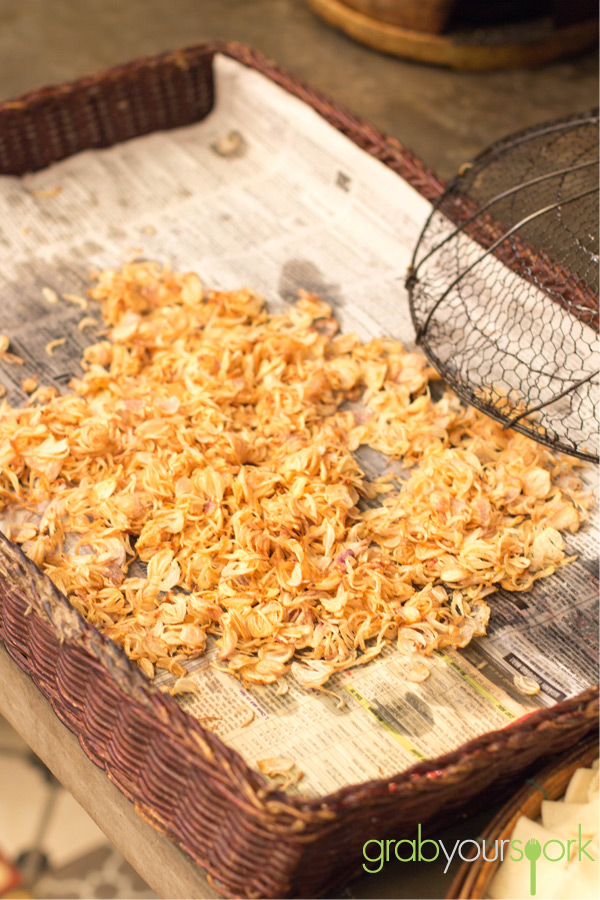
Fried Shallots - Market Restaurant

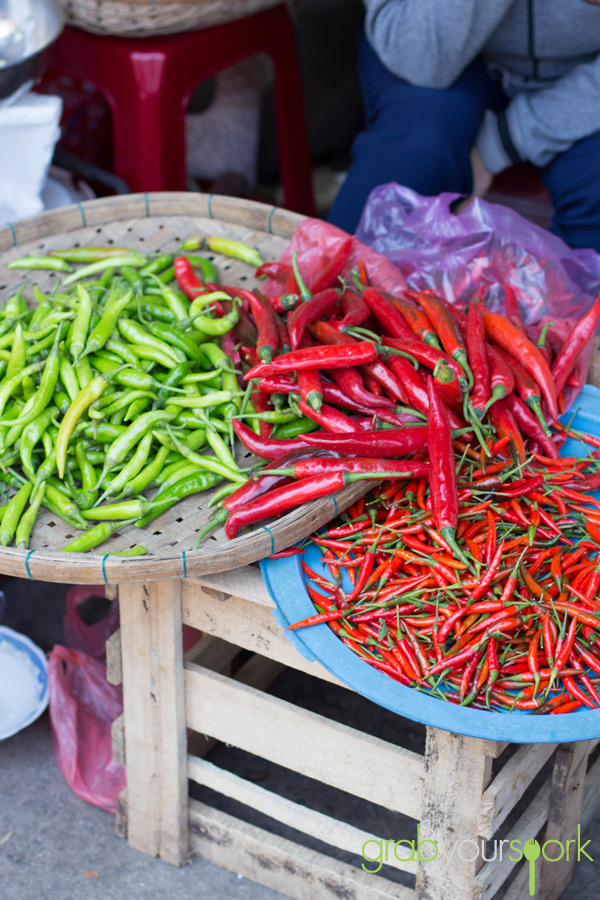
Hoi AN Markets

Ms. Lu The Morning Glory Cooking Class

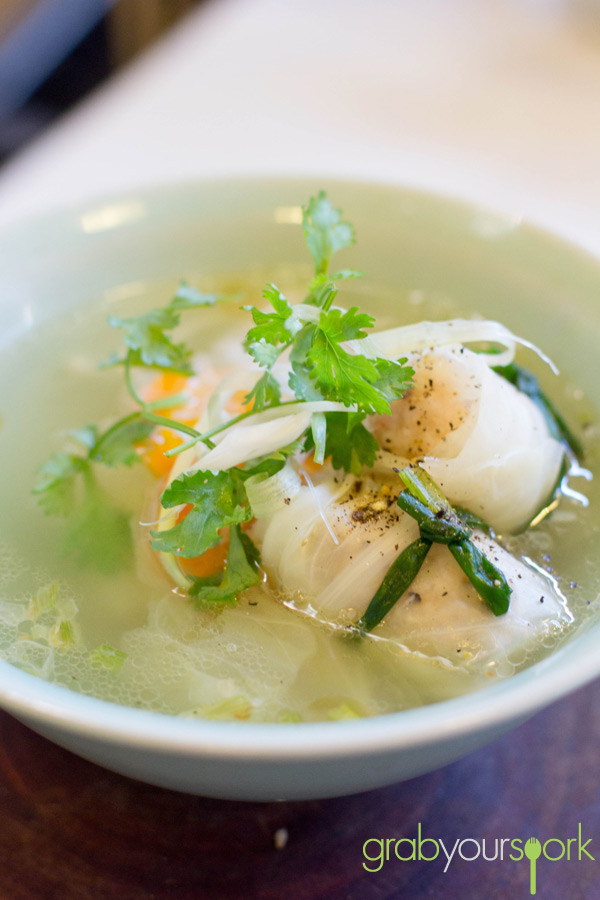
Shrimp and Cabbage Soup

Singapore Sling

Brooke and I are finally overseas on a well deserved holiday in Asia for the next three weeks. However, after a recent accident, I wound up fracturing my elbow a week before we were due to leave resulting in me needing to wear a sling for the next couple of weeks. Not exactly an ideal situation to be in but what are you going to do?

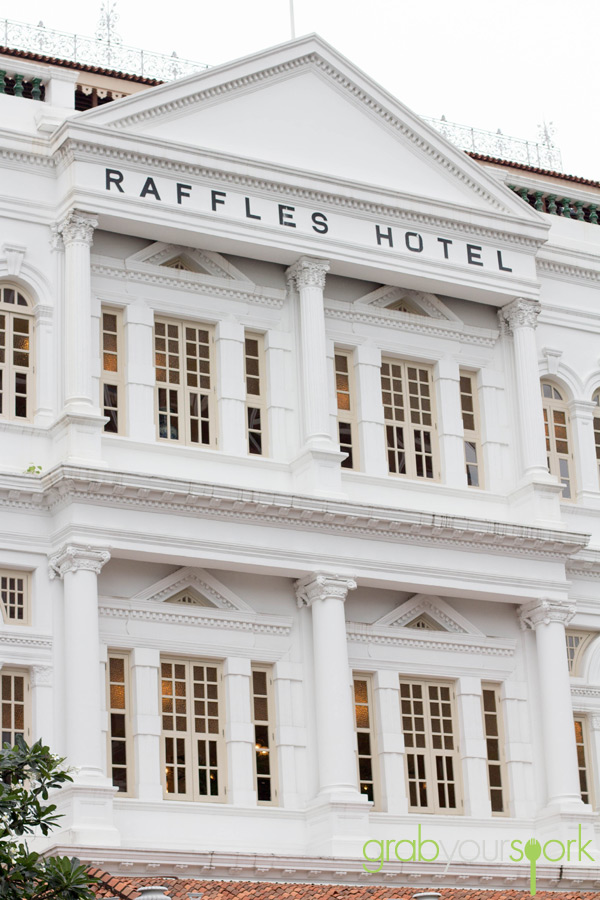
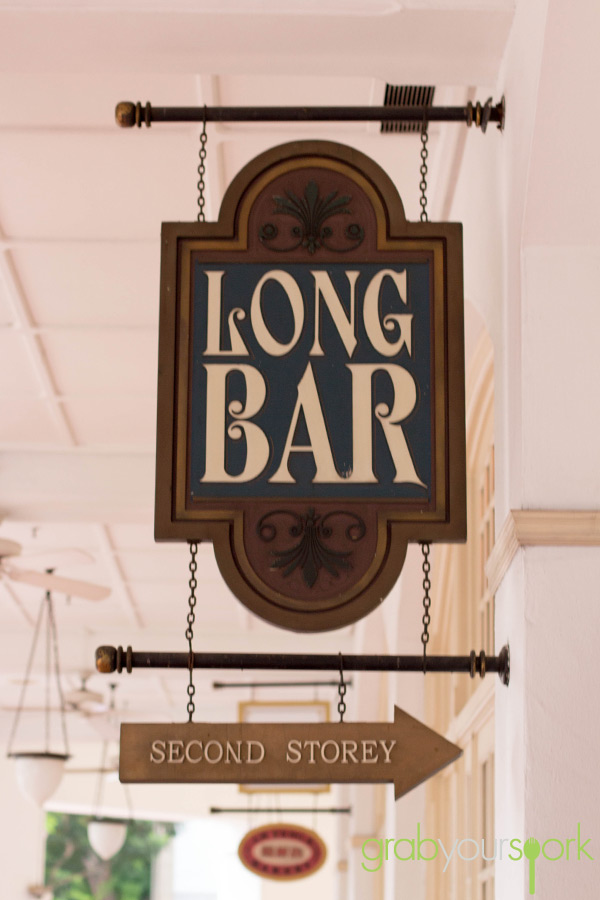
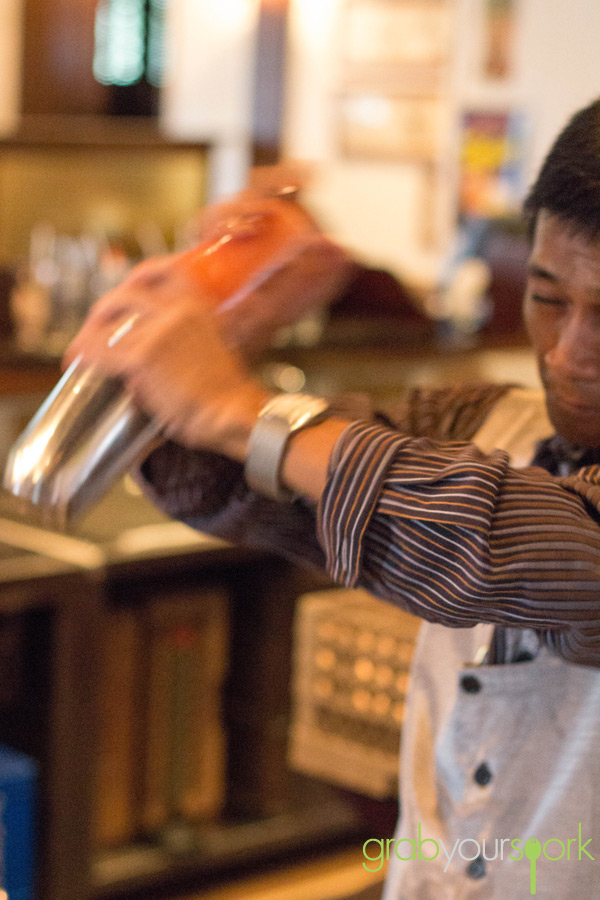
Well if you’re in Singapore like us, you try and find the funny side and head to the Raffles Hotel to enjoy a Singapore Sling in your sling! After a short taxi ride, we pulled up out the front of the beautiful colonial-style hotel where we felt like the ultimate tourist asking where the Long Bar was for the famous cocktail.

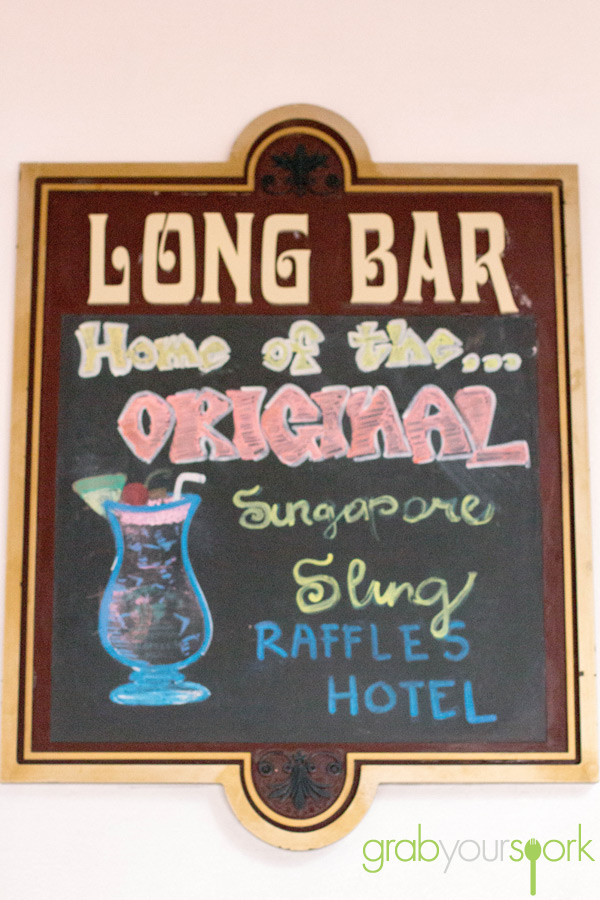
The Singapore Sling was created at the Raffles Hotel at the turn-of-the-century by Hainese-Chinese bartender, Mr. Ngiam Tong Boon. As history says the recipe was originally created for women, given its attractive pink colour and fruitful flavour. Due to the volume of tourists that visit the bar, it is definitely a drink enjoyed by all.

If you do decide to make the special trip for a taste of this historic drink, be sure to eat your value in the free peanuts, as unfortunately, this tourist attraction doesn’t come cheap!

Check out some of our other food adventures including our Hoi An Cooking Class and Timboon Railway Distillery.

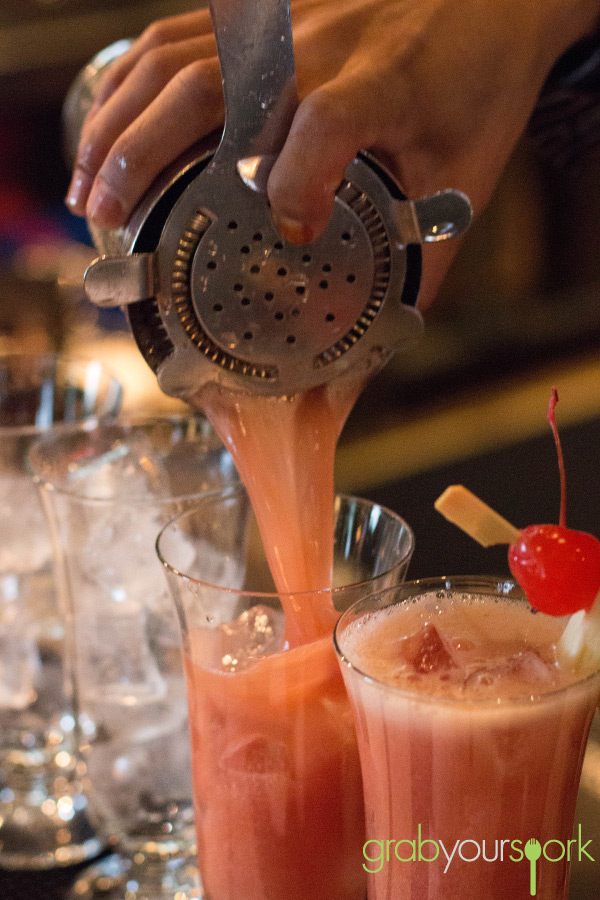
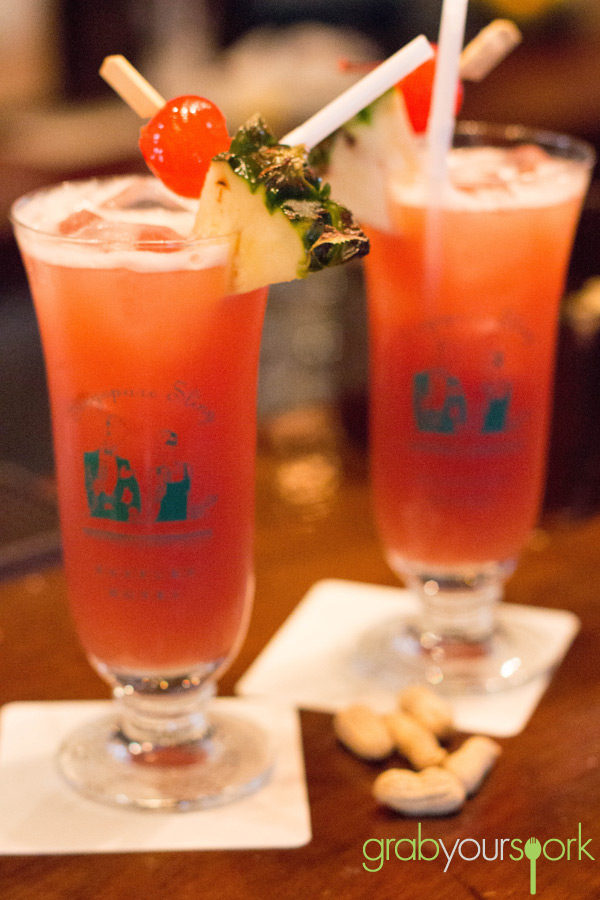
Raffles Hotel SingaporeLong Bar Raffles Hotel SingaporeLong Bar Original Singapore SlingSingapore Sling RecipeSingapore Sling Raffles HotelOriginal Singapore Sling Recipe

Singapore Sling
 
Prep time
Cook time
Total time
 
Singapore Sling made with a combination of Gin, Heering Cherry Liqueur, Pineapple juice, Lime juice, Cointreau, Dom Benedictine, Grenadine a dash of Angostura Bitters and garnished with a slice of pineapple and a cherry.
Author:
Recipe type: Drinks
Cuisine: Asian
Serves: 1
Ingredients
  • 30 ml Gin
  • 15 ml Heering Cherry Liqueur
  • 120ml Pineapple juice
  • 15 ml Lime juice
  • 7.5 ml Cointreau
  • 7.5 ml Dom Benedictine
  • 10 ml Grenadine
  • A dash of Angostura Bitters
  • Garnish with a slice of Pineapple and a Cherry
Instructions
  1. Combine all ingredients into a shaker with ice.
  2. Shake and strain into an ice filled Collins glass.
  3. Garnish with a cherry and slice of pineapple.


Apple and Rhubarb Crumble

After another cold and wet week here in Perth, I am sure I am not the only one who is wishing for clear blue skies and warm days again. If the Sticky Date and Banana Loaves weren’t enough of a winter indulgence last week, how about a humble Apple and Rhubarb Crumble?

I love apple crumble and when rhubarb is in season, its vibrant colour, and tartness is a great accompaniment to sweet dishes such as tarts, cakes and classic crumbles. After a quick trip to the markets, we managed to nab the last bunch of beautiful rhubarb for our crumble.

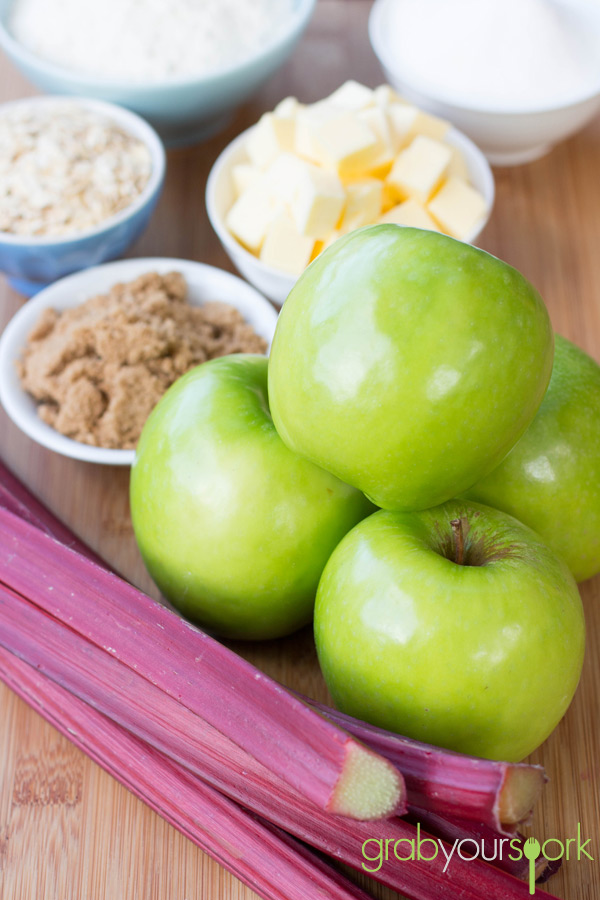
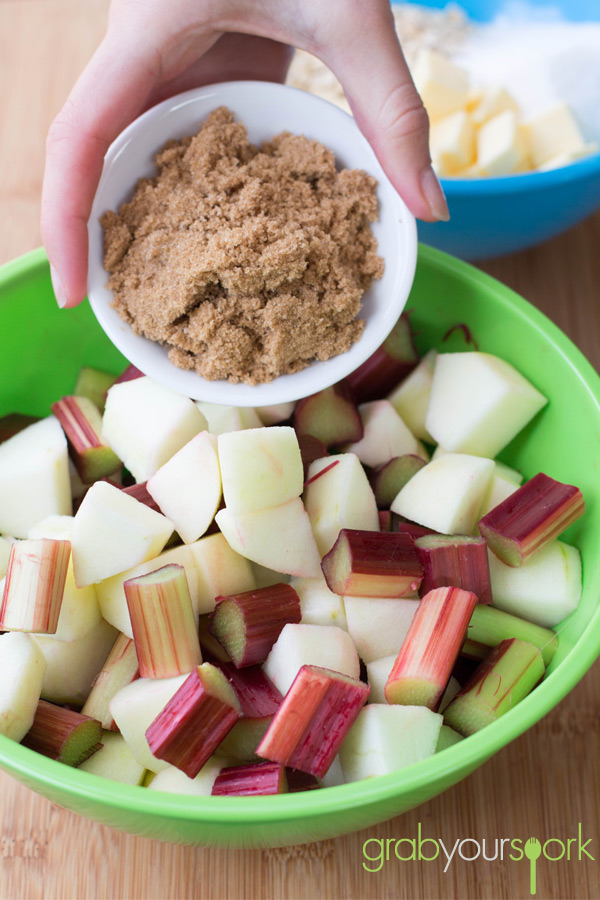
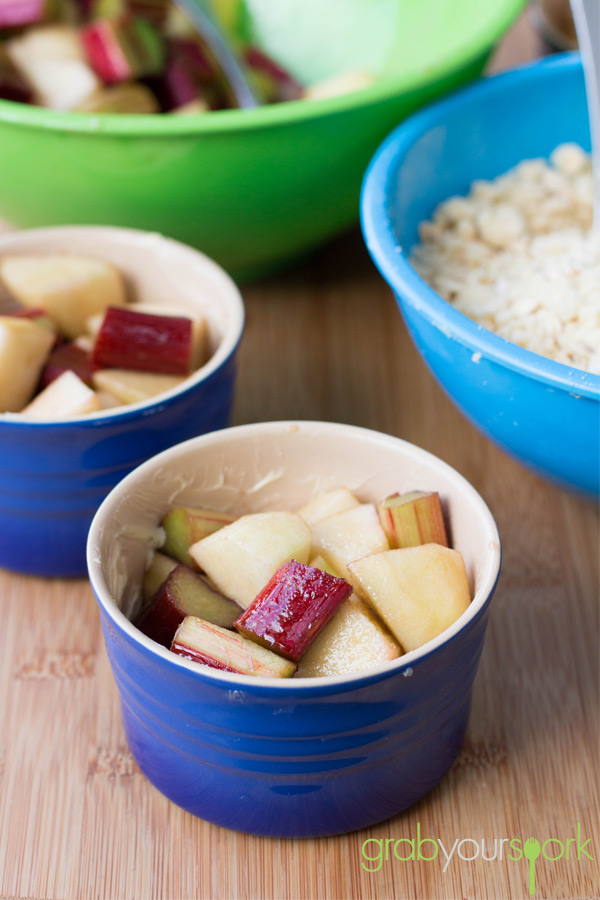
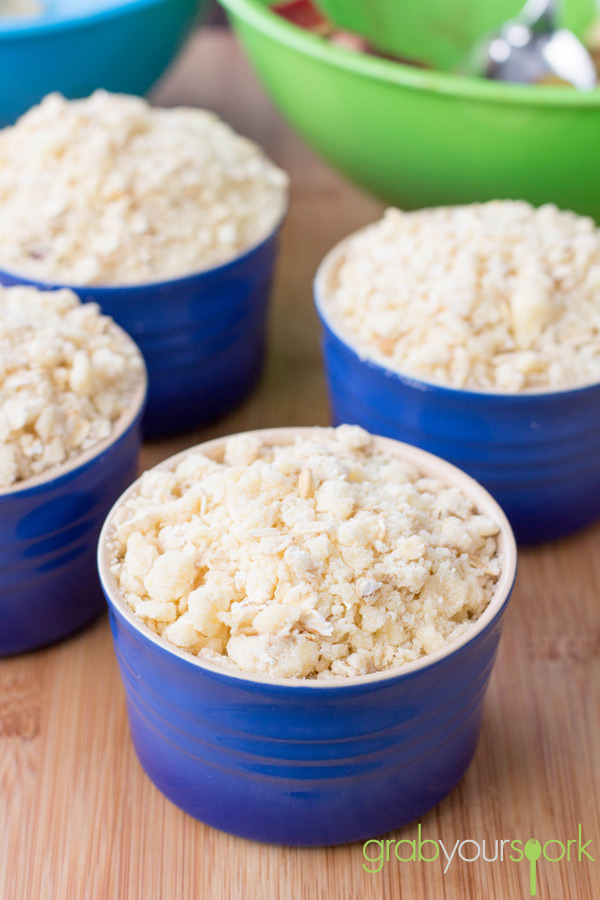
After chopping the apples and rhubarb into rather large chunks, Brooke simply added a little brown sugar to the fruit then made a basic crumble using butter, caster sugar, plain flour and some rolled oats. Within a couple of minutes the crumbles are prepared and ready to be cooked in a moderate oven.

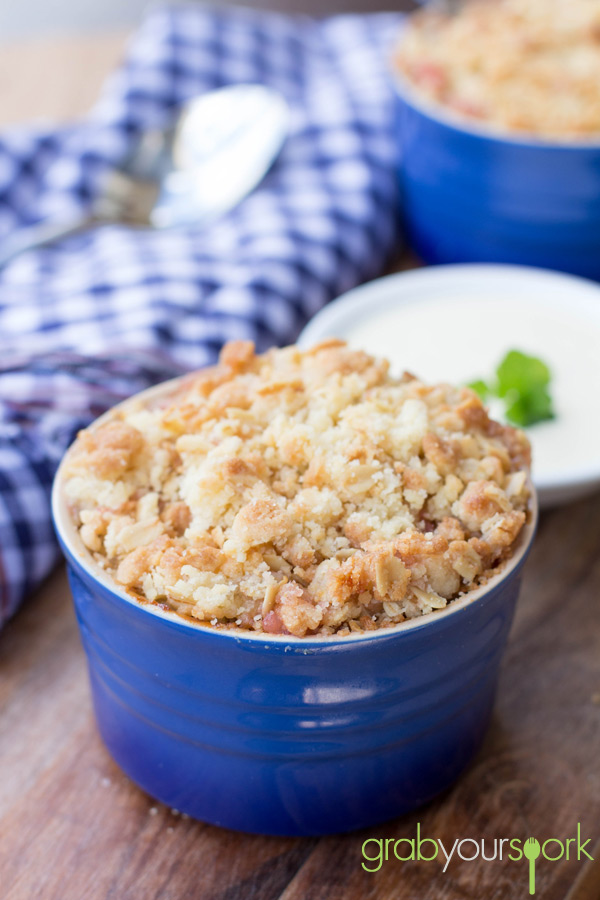
Once the crumbles are golden brown on the top they are ready to be served. Of course these will be very hot when they come out the oven so to serve we had some fresh thickened cream, or some custard or ice cream would definitely be an excellent addition!

Looking for other fruit-based desserts then check out our Fruit and Custard Tart Recipe or Lemon and Blueberry Loaves.

Apple and Rhubarb Crumble IngredientsApple and Rhubarb Crumble MixtureMini Apple and Rhubarb CrumbleApple and Rhubarb Crumble RecipeApple and Rhubarb Crumble Recipe

Tasty Apple and Rhubarb Crumble – Recipe Instructions

Apple and Rhubarb Crumble
 
Prep time
Cook time
Total time
 
The ultimate in winter indulgence. A humble Apple and Rhubarb Crumble served with fresh thickened cream.
Author:
Recipe type: Dessert
Cuisine: British
Serves: 4
Ingredients
  • 4 larges green apples, peeled and chopped
  • 1 bunch of rhubarb, approx. 5 stalks, chopped
  • 2 tbsp brown sugar
  • 1 cup plain flour
  • ½ cup rolled oats
  • 75g caster sugar
  • 125g butter, at room temperature
Instructions
  1. Preheat the oven to 180°C. Lightly grease 4 ramekins or a large baking dish.
  2. Place the prepared apples and rhubarb in a bowl and stir through brown sugar.
  3. Place the flour, butter, caster sugar and oats in a medium bowl. Use your fingers or a fork, rub in the butter until well combined and large crumbs form.
  4. Spoon the fruit into the prepared dishes, sprinkle the crumble topping evenly over the fruit. Bake for 15 to 20 minutes or until golden and bubbling.
  5. Serve with cream, ice cream or custard.


Sticky Date and Banana Loaves

Why is it that as soon as the weather gets cold, we instantly want some yummy comfort food? Well, this last week in Perth the weather during the day has been beautiful, but the temperature has definitely dropped making us crave some serious comfort food. That’s where this recipe for sticky date and banana loaves comes in.

What’s not more comforting than a sticky date pudding? It’s such a rich, fluffy pudding and when topped with some delicious salted caramel sauce hits the nail on the head for ultimate indulgence.

For our recipe, we added some banana for extra texture and flavour to the traditional recipe.  I like this combination as the two flavours really complement one another and I find it breaks up each mouthful – one full of dates one full of banana or both!

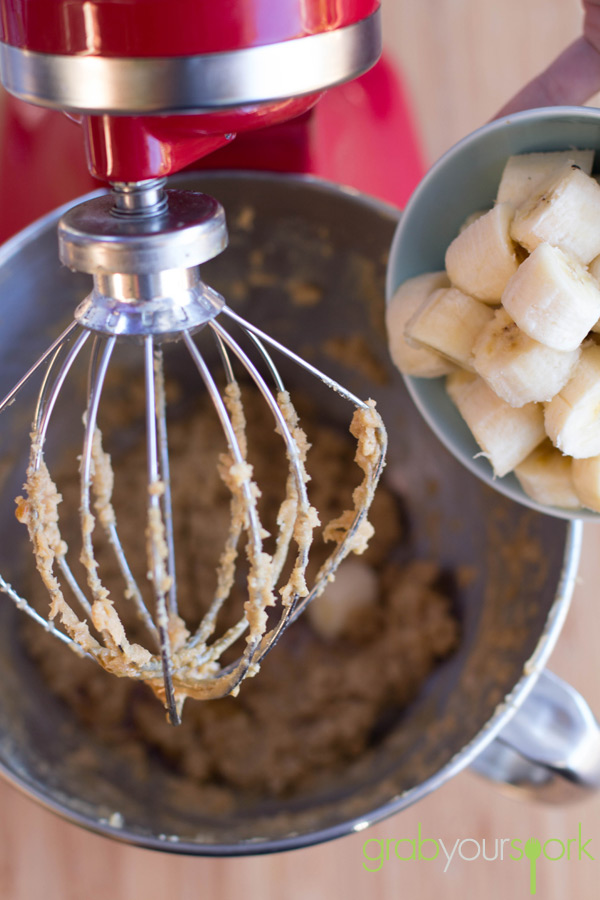
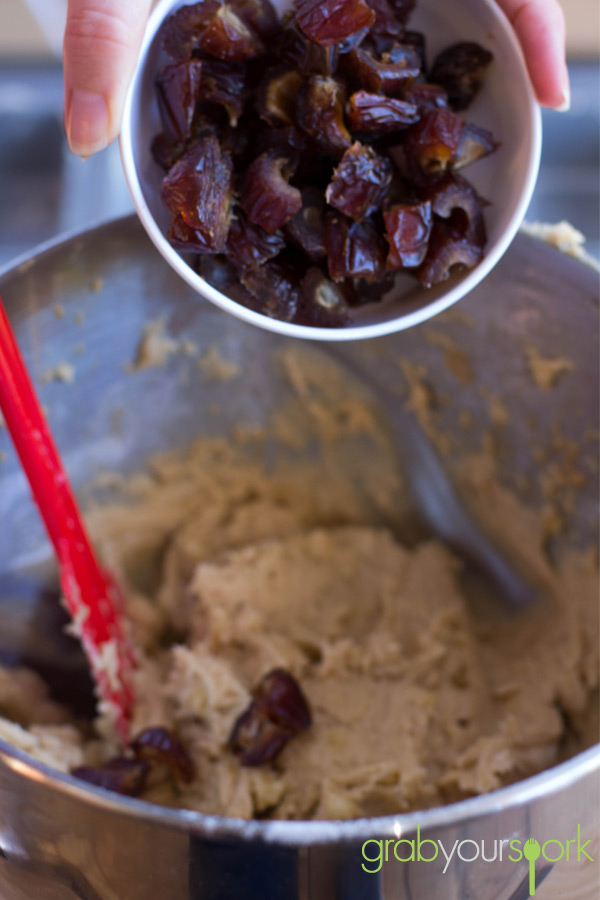
When making the mixture, rather than mashing the banana through the mixture Brooke leaves the banana in chunks to help leave pieces of banana throughout the cake. Then lastly stirs through the chopped dates and you’ve got yourself the perfect mixture for sticky date and banana loaves.

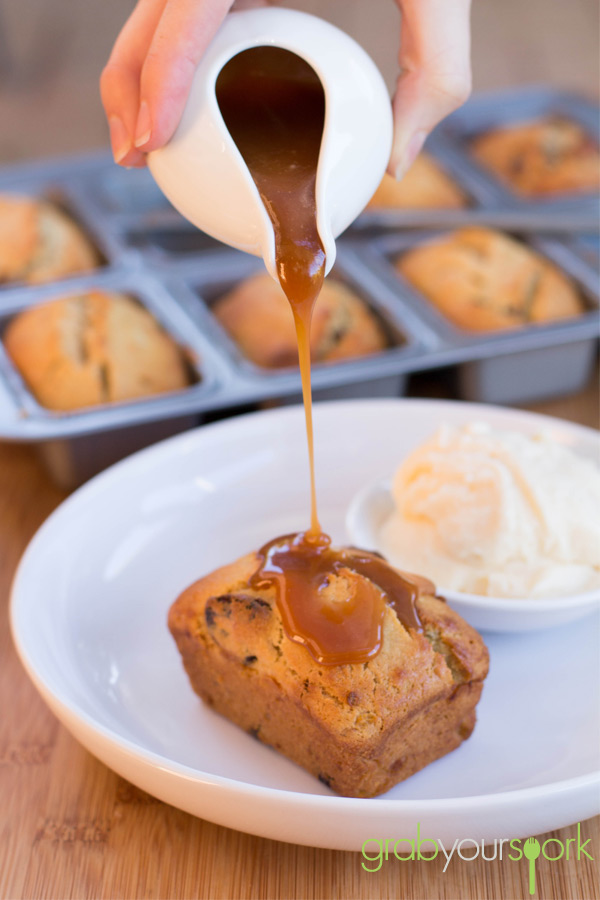
To serve we made a simple salted caramel sauce which was featured with our French Apple Cake. Serve your sticky date and banana loaves warm with some vanilla ice cream and the ooey gooey sauce this recipe will definitely satisfy your cravings this winter.

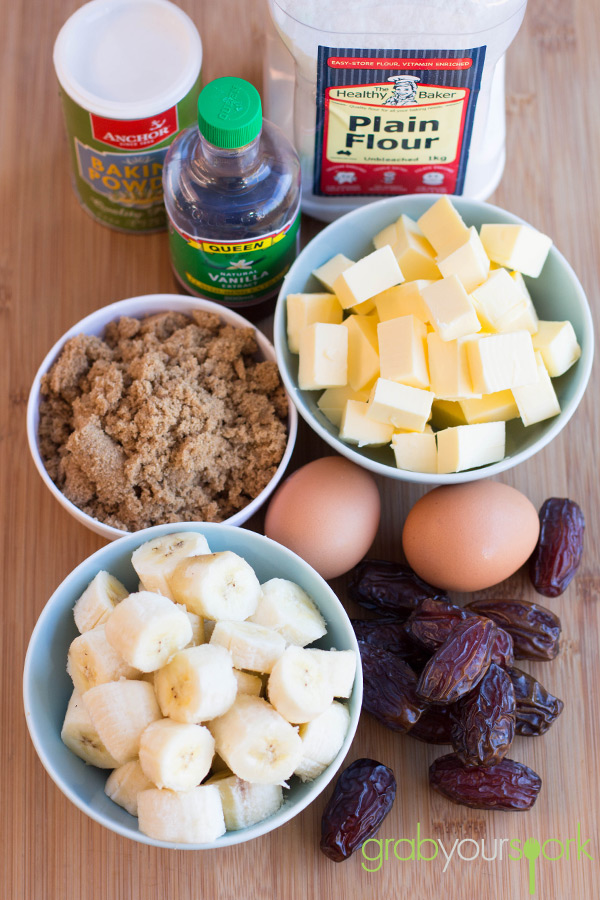
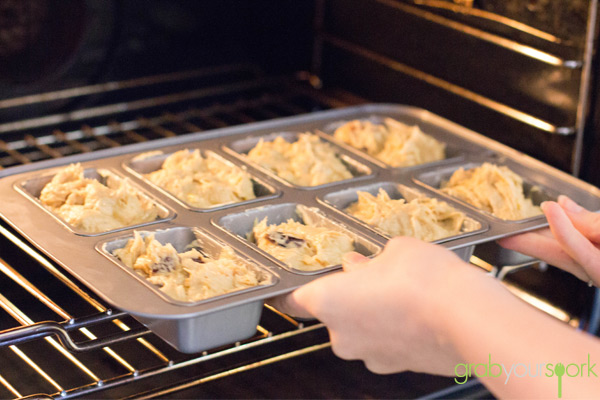
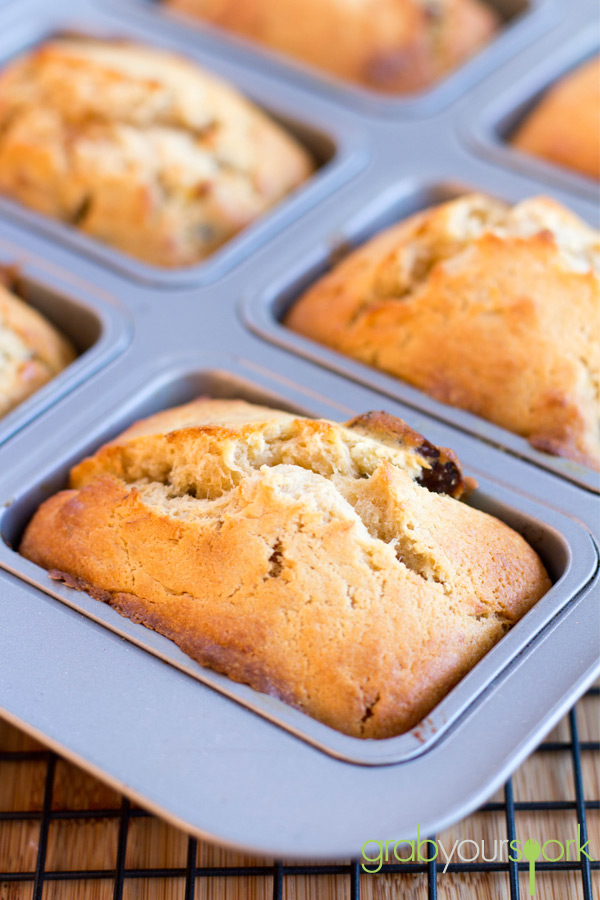
Sticky date and banana loavesSticky date and banana loaves ingredientsSticky date and banana loaves recipeSticky date and banana loavesSticky date and banana loaves in ovenSticky date and banana loavesSticky date and banana loaves recipe

Mini Sticky Date and Banana Loaves – Recipe Instructions

Sticky Date and Banana Loaves
 
Prep time
Cook time
Total time
 
Sticky date and banana loaves topped with some delicious salted caramel sauce.
Author:
Recipe type: Dessert
Cuisine: Australian
Serves: 12
Ingredients
  • 2 Cups Plain Flour, sifted
  • 1 ½ Tsp baking powder, sifted
  • ¾ Cup butter, at room temperature
  • ½ Cup brown sugar
  • 2 Eggs
  • 4 Ripe bananas, chopped
  • 1 ½Ttsp vanilla extract
  • ½ Cup dates, chopped
  • 1 cup salted caramel sauce, or other caramel sauce to top
Instructions
  1. Preheat oven to 175°C. Grease and flour an 8 loaf tin or 12-cake cupcake tin.
  2. Beat butter and brown sugar until fluffy. Add eggs, one at at time. Add bananas and vanilla and mix until blended.
  3. Slowly mix in flour and baking powder, until just incorporated. Stir in chopped dates.
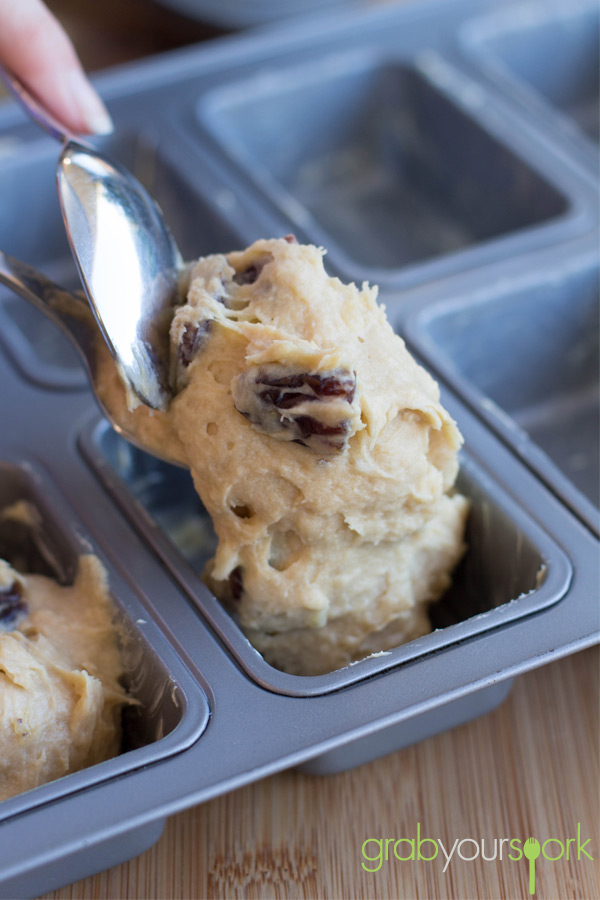
  4. Divide batter equally among cups and bake for 20-22 mins, or until lightly golden on top. While cakes are baking, prepare caramel sauce.
  5. Serve cakes warm with ice cream and salted caramel sauce.