Blueberry and Lemon Loaves

Last Updated on June 8, 2017 by Grab Your Spork

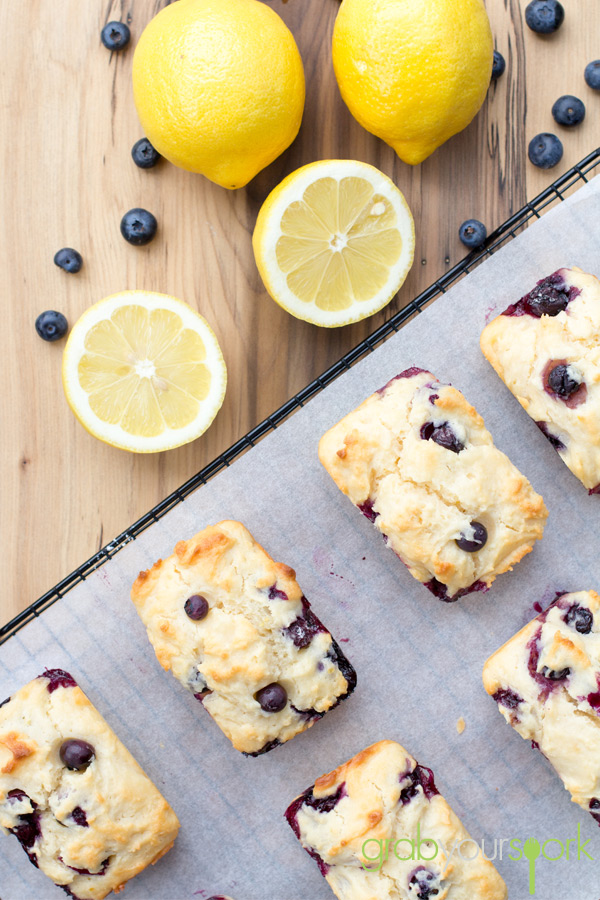
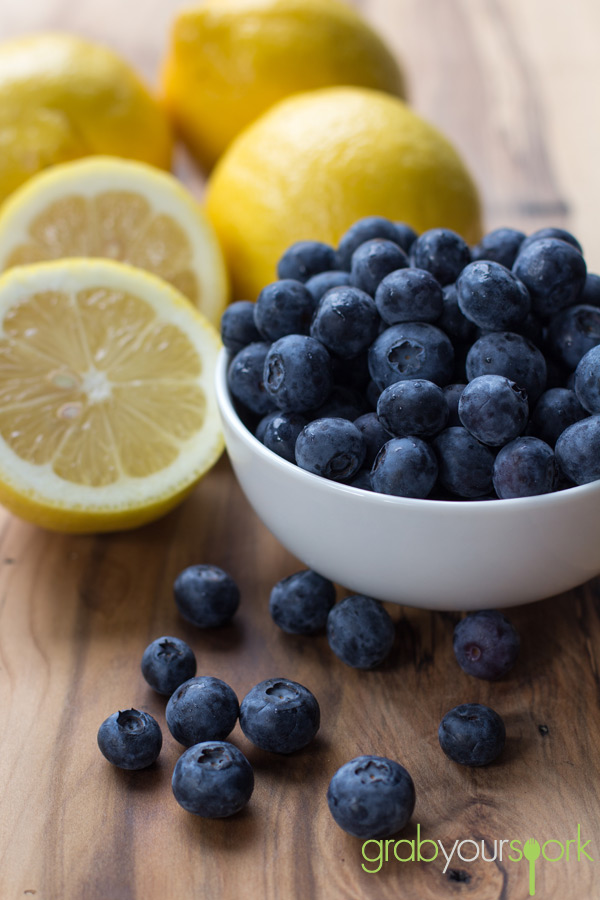
Now for those of you who have seen our recipe for Blueberry and Lemon cupcakes, this is not a repost. It is just a fact we love the combination of blueberries and lemon together! We love them so much we bought a dwarf lemon tree and also a blueberry bush the other weekend. These Blueberry and Lemon Loaves are just so easy and tasty you have to give them a try.

It is currently blueberry season in Australia and at the moment and we cannot resist the punnets when we are at the shops or markets. As a result, we have ended up with an abundance of blueberries in the fridge! For those of you who know Brooke is a fan of all things lemon, there are always a couple of lemons in the fruit bowl as well making this simple recipe a perfect treat to make on a lazy weekend.

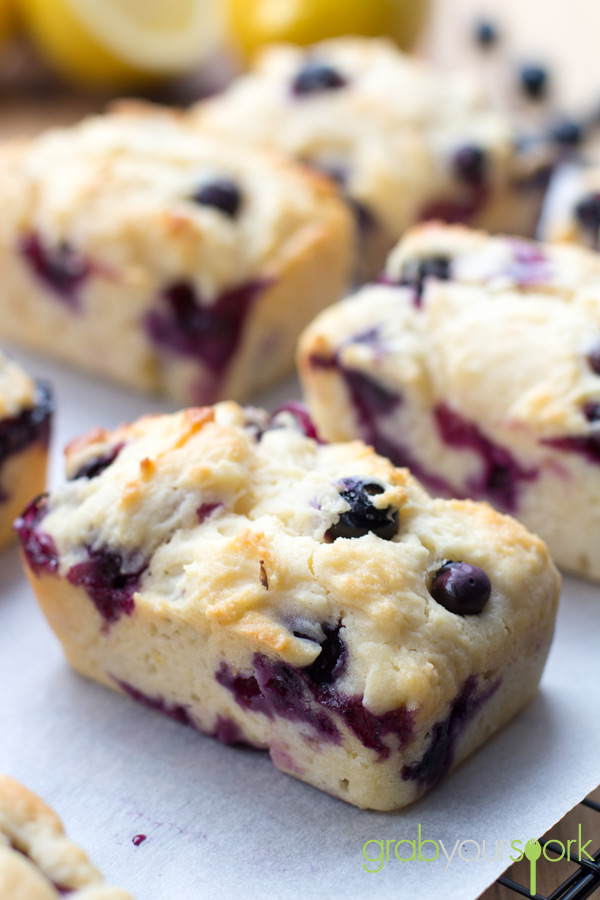
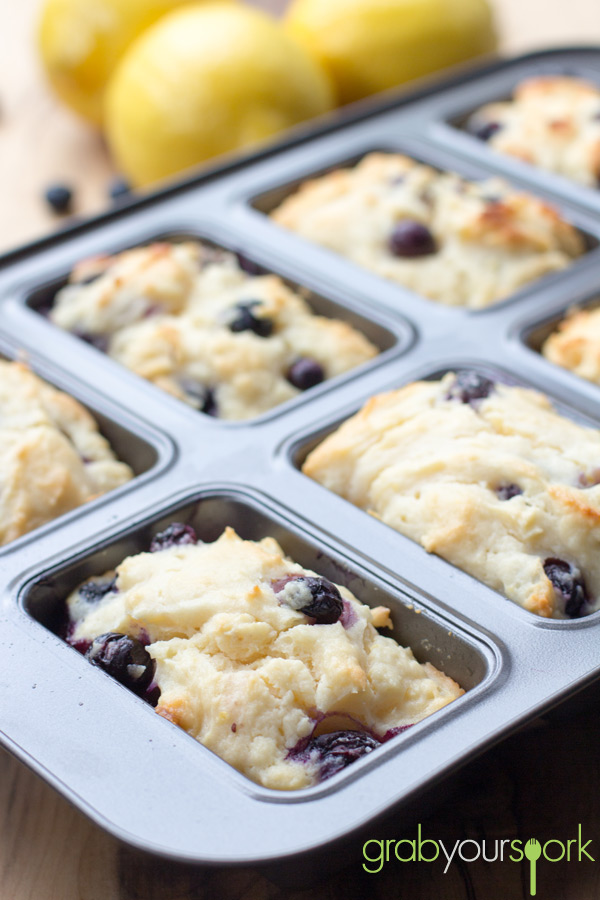
This recipe is courtesy of Live Well Bake Often and is made as one loaf. However, due to time restrictions, we decided to make this into 8 small loaves, which for the two of us works perfectly for a snack to take to work during the week.
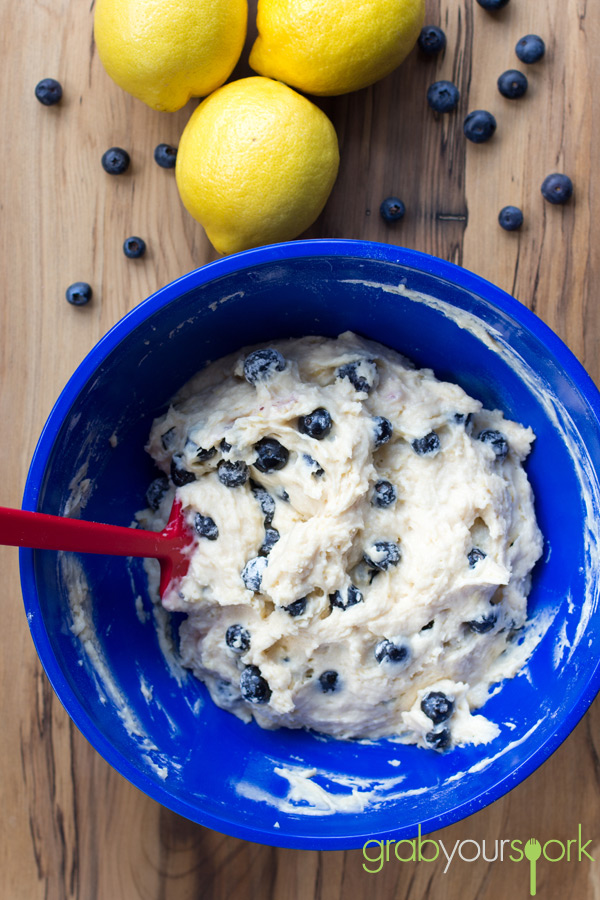
Blueberry and lemon loaves

Blueberry and lemon loaves recipes

Blueberry and lemon loaves

Blueberry and lemon cake recipe

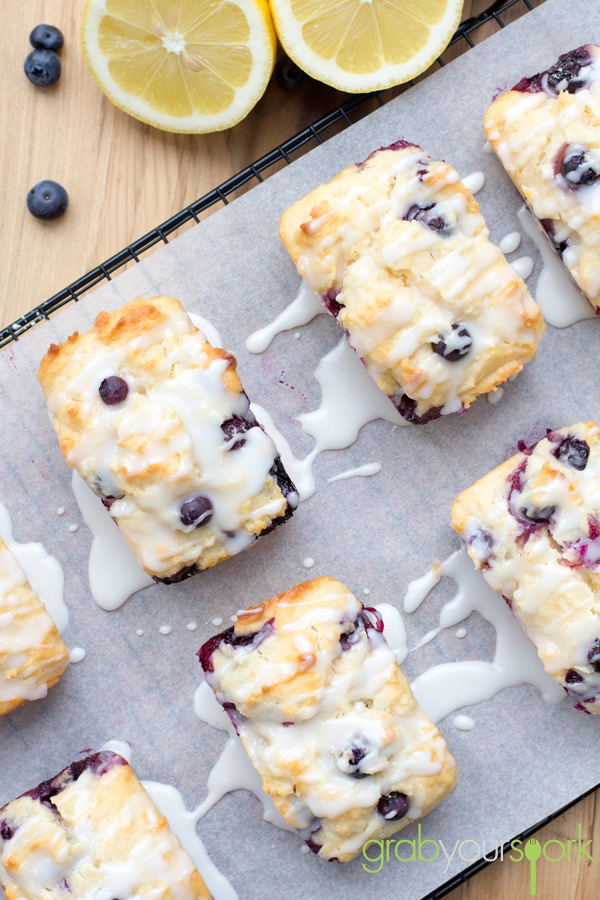
Blueberry and lemon loaves

Blueberry and lemon loaves recipe

Tasty Blueberry and Lemon Loaves – Recipe Instructions

Blueberry and Lemon Loaves
 
Prep time
Cook time
Total time
 
Blueberry and Lemon Loaves perfect for a snack to take to work during the week.
Author:
Recipe type: Dessert
Cuisine: American
Serves: 8
Ingredients
  • 2 cups all-purpose flour + 1 tablespoon, divided
  • 2 tsp. baking powder
  • ½ tsp. salt
  • ½ cup. vegetable oil
  • 2 tsp. vanilla extract
  • 2 eggs
  • 1 cup granulated sugar
  • 1 cup plain greek yogurt (or sour cream)
  • Zest & juice of 1 lemon
  • 1 cup blueberries
  • Lemon Glaze
  • ¾ cup icing sugar
  • 1-2 tablespoons fresh lemon juice
Instructions
  1. Preheat oven to 180°C. Spray a 9x5 loaf pan or small 8 loaf tin with cooking spray and set aside.
  2. In a small bowl, toss the blueberries with 1 tablespoon of the flour and set aside (this helps to prevent the blueberries from sinking).
  3. In a large bowl, whisk together 2 cups of flour, baking powder, and salt. Set aside.
  4. In a separate bowl, mix together the oil, vanilla, eggs, sugar, greek yogurt, lemon zest, and lemon juice.
  5. Combine the wet and dry ingredients, just until smooth. Do not overmix or your bread will come out tough.
  6. Lightly fold the blueberries into the batter.
  7. Pour batter into prepared loaf pan and bake for 15- 20 minutes. The loaves will be finished when a skewer inserted into the center comes out clean.
  8. Once loaves are finished, remove from oven and allow to cool for about 10 minutes in the baking tin. Remove from baking tin and transfer to a wire rack to cool completely.
  9. Once loaves are cool, whisk together the icing sugar and lemon juice. Start with half the lemon juice and whisk well. If your mixture is too thick, slowly add the rest of the juice.
  10. Using a spoon, drizzle the glaze on top of your loaves. The glaze should harden up a little more after about 15-20 minutes
 

Oatmeal and Raisin Cookies

Last Updated on June 9, 2017 by Grab Your Spork

I don’t know why, but this weekend I had a sudden urge for oatmeal and raisin cookies. I know these aren’t exactly the most exciting cookies, mainly because they don’t contain delicious chocolate bars like tasty snickers cookies. However, these thick and chewy old fashioned goodies are delicious and perfect with a cup of tea or coffee.

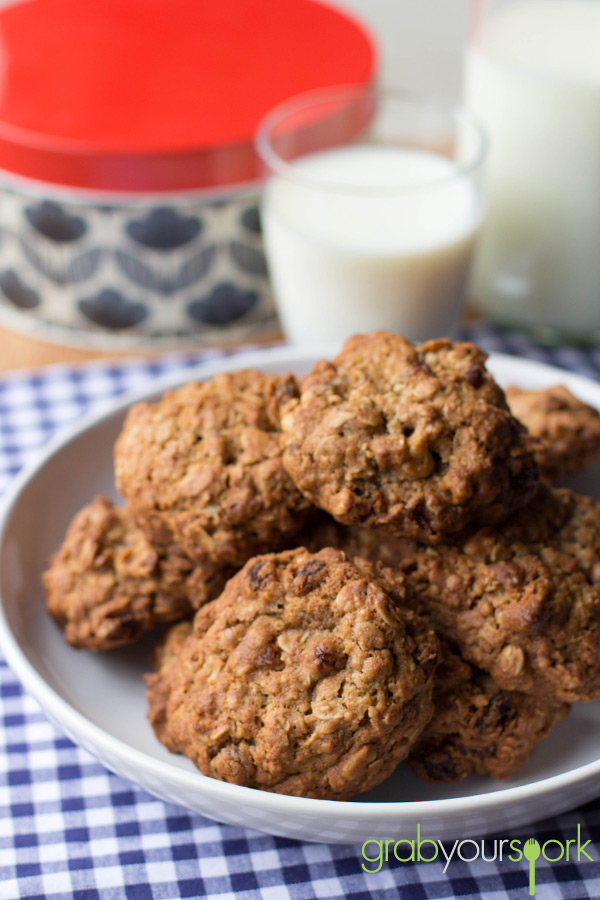
Whilst writing this post I was trying to find the right words to describe these cookies, so I thought some extra taste testing would help – these cookies are thick and chewy from the traditional oats, spicy from the cinnamon, crunchy from the walnuts and sweet from the brown sugar and raisins.

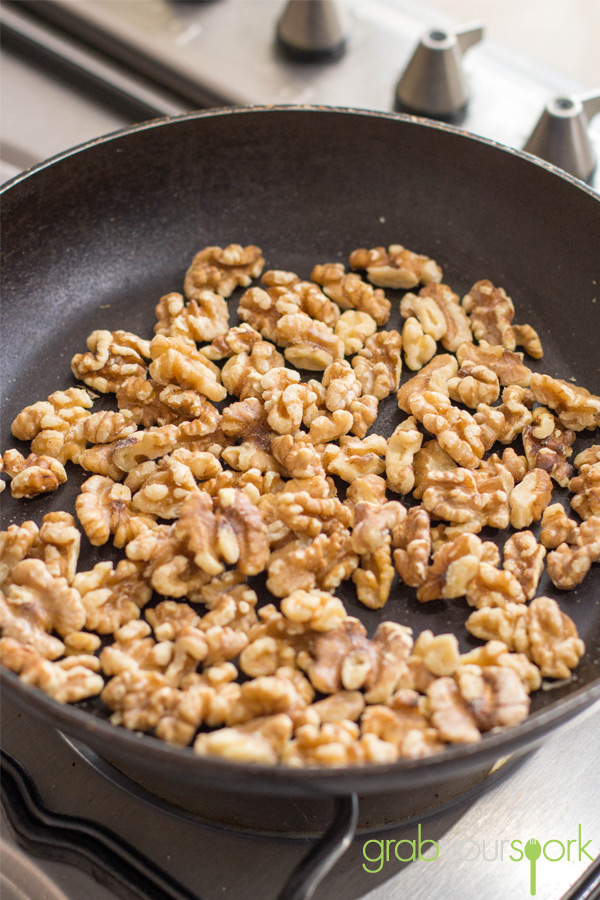
To add an extra crunch to these cookies, Brooke added some chopped walnuts, which she quickly toasted before adding to the mixture. However, you could easily substitute the walnuts with some choc chips or dried apple for anyone who doesn’t like walnuts or has an allergy.

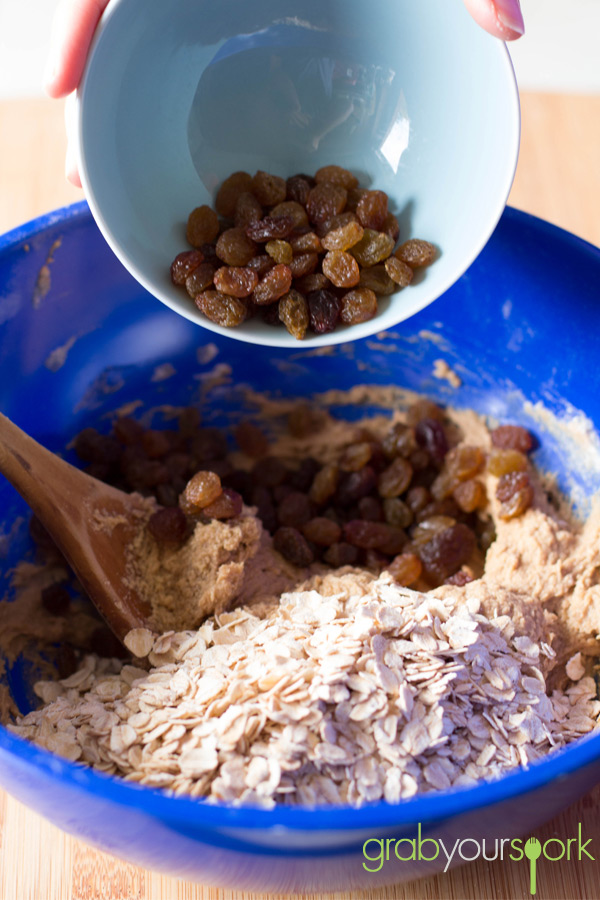
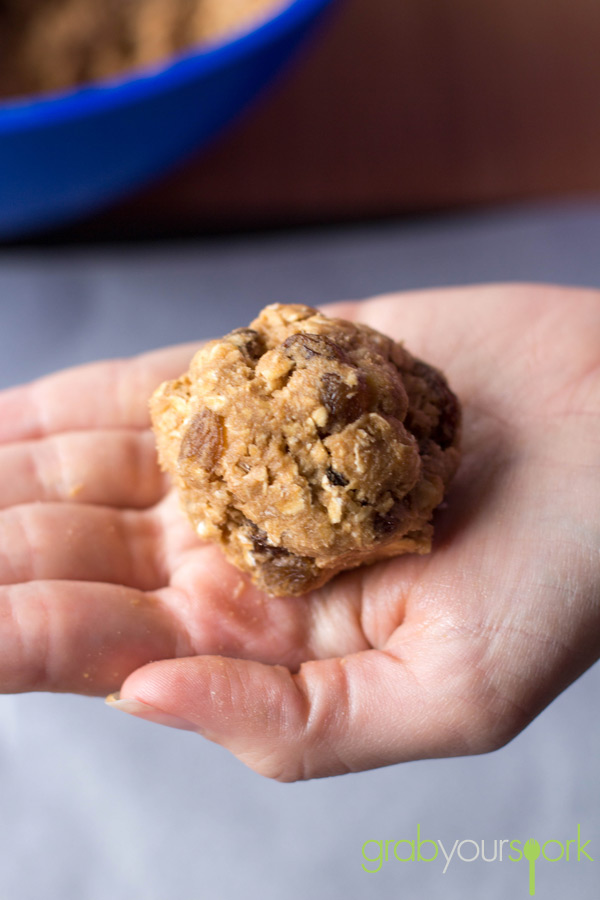
To ensure you have nice thick and chewy cookies you need to use traditional rolled oats, not quick oats and also leave your dough to chill for around one hour. Once your dough has chilled, you can bake your cookies for 13 to 15 minutes in a moderate oven till your house has filled with delicious cinnamon aromas! Be careful not to over bake your cookies as they will end up more crunchy then chewy!

Looking for other recipes for cookies and biscuits Easy Afghan Biscuit Recipe, Florentine Biscuits, Ginger Nut Biscuits, Melting Moments with Jam, Choc Chip Snickers Cookies.

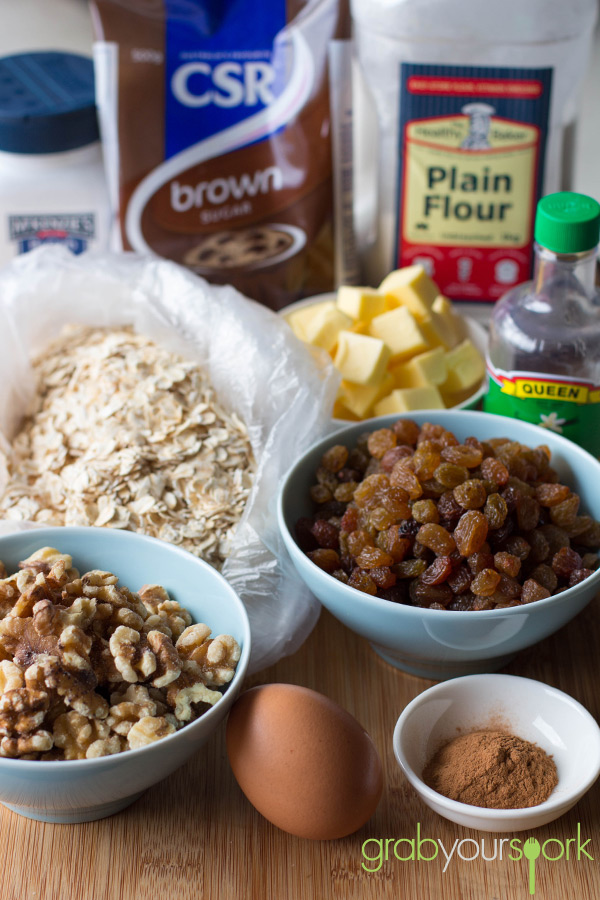
Oatmeal and raisin cookie ingredients

Oatmeal and Raisin Cookies

Oatmeal and Raisin Cookie Ingredients

Oatmeal and Raisin Cookies Recipes

Oatmeal and Raisin Cookies

Tasty Oatmeal and Raisin Cookies – Recipe Instructions

Oatmeal and Raisin Cookies
 
Prep time
Cook time
Total time
 
These oatmeal and raisin cookies are thick and chewy from the traditional oats, spicy from the cinnamon, crunchy from the walnuts and sweet from the brown sugar and raisins.
Author:
Recipe type: Cookies
Cuisine: American
Serves: 18
Ingredients
  • 115 g butter
  • 125 g brown sugar
  • 
1 egg
  • ½ tsp vanilla
  • 95 g plain flour
  • ½ tsp baking soda
  • 1 tsp ground cinnamon
  • 
1/2 tsp salt
  • 120 g rolled oats
  • 120 g raisins
  • 65 g walnuts, chopped (toasted optional)
Instructions
  1. Cream butter and brown sugar. Mix in egg, and vanilla.
  2. In another bowl, mix together flour, baking soda, cinnamon, and salt.
  3. Stir butter mixture into the dry ingredients. Stir in the oats, raisins and walnuts. Allow dough to chill for around an hour.
  4. Preheat oven to 180°C. Scoop large tablespoons of dough, and portion onto lined baking trays. Roll dough with your hand and flatten a little bit.
  5. Bake for 13-15 minutes or until the edges are golden, but the centers look a bit underdone. Overbaking them will result in less chewy cookies.


Simple Potato Salad

Last Updated on June 22, 2014 by Grab Your Spork

Potato salad is a great accompaniment to most barbeques, family gatherings and a great general “go to” recipe. Potato salad is super easy to put together, hard to mess up and is a general crowd pleaser. What’s not to love about a creamy carb and bacon salad?

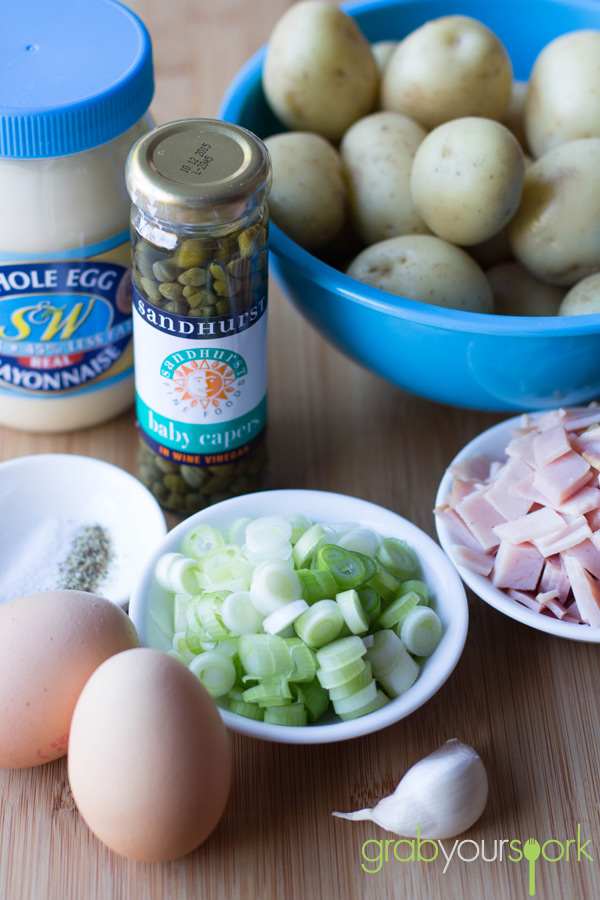
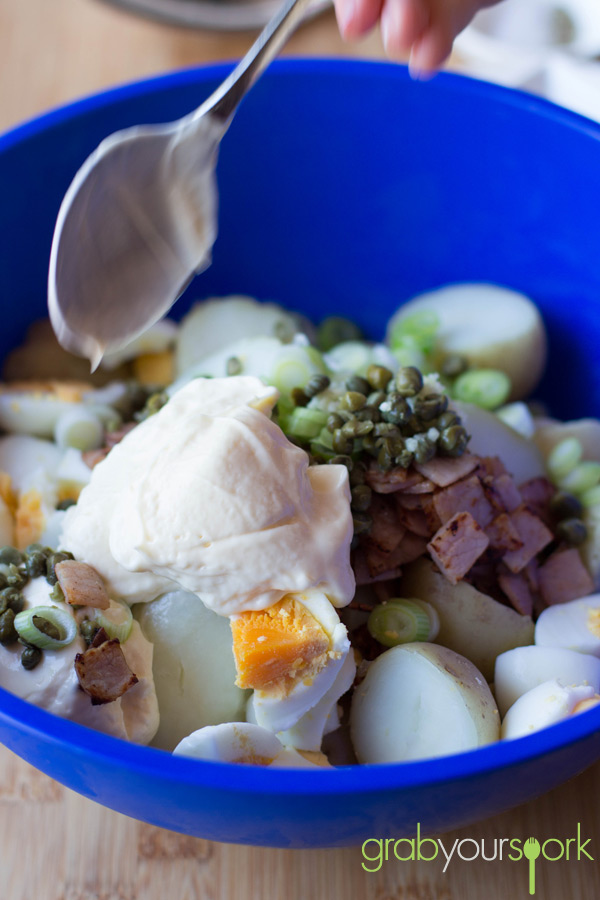
Everyone has their own variation of potato salad, usually a recipe passed on from one family member to another but this is our favourite simple potato salad recipe. With a simple combination of capers, spring onion, garlic, boiled eggs, bacon and of course whole egg mayonnaise. Some people may use just onion however the addition of capers gives the salad a slight tangy flavour which I like.

When making your potato salad be careful not to over boil your potatoes. Brooke starts here potatoes off in cold water to ensure a more even cook to ensure the inside of the potato is cooked and the outside isn’t too mushy.

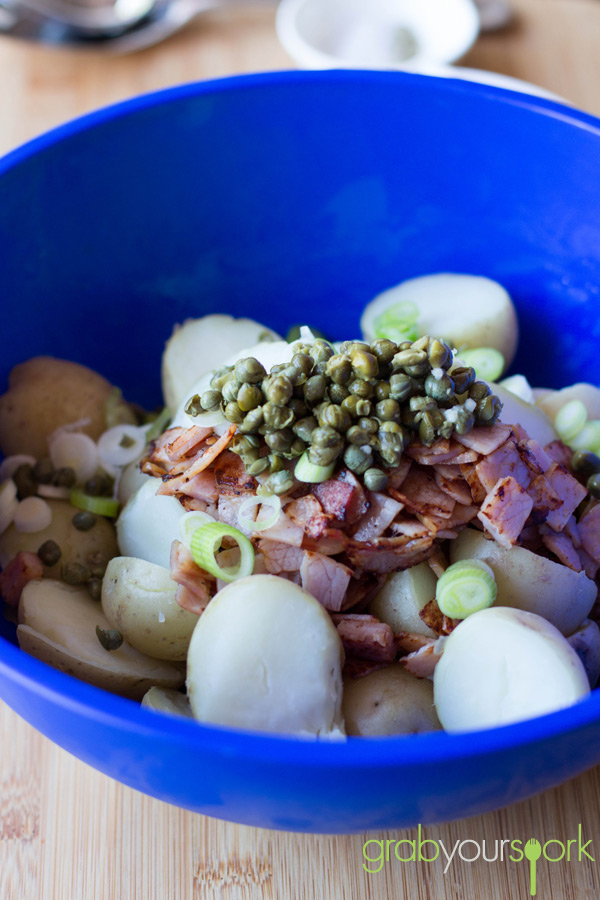
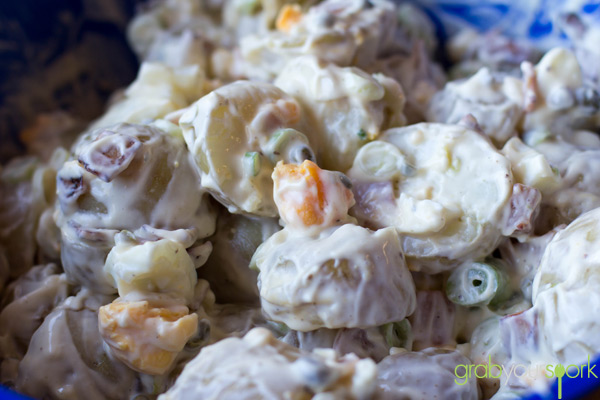
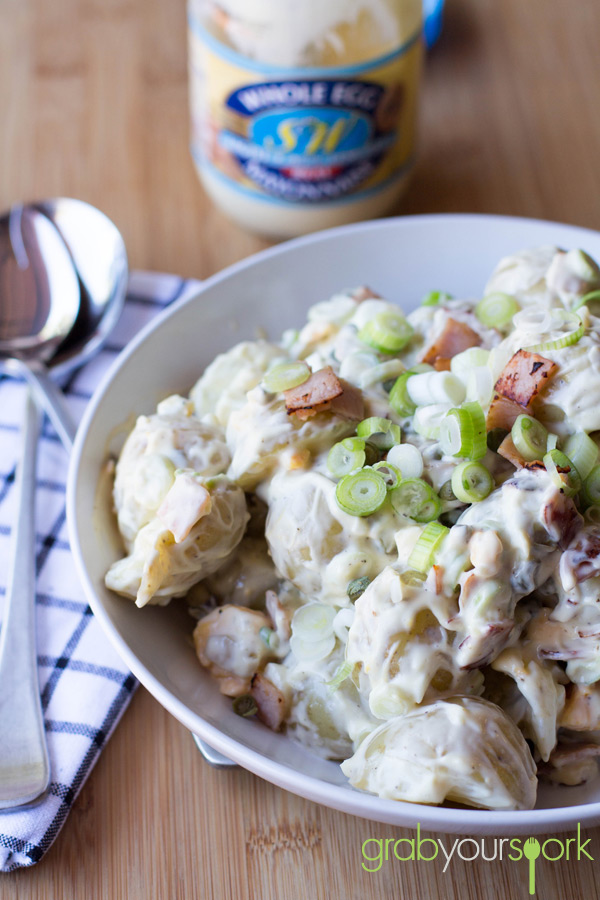
Once you potatoes are boiled and cooled, simply add the remaining ingredients and mix until the potatoes are well coated. Serve in a bowl and enjoy this delicious creamy goodness!

Simple Potato salad Ingredients

Simple Potato salad recipe

Simple potato salad

Simple Potato salad recipe

Potato salad recipe

Simple Potato Salad

Simple Potato Salad
 
Prep time
Cook time
Total time
 
Simple potato salad made with a combination of capers, spring onion, garlic, boiled eggs, bacon and of course whole egg mayonnaise.
Author:
Recipe type: Salad
Cuisine: American
Serves: 8
Ingredients
  • 15 even-sized chat potatoes
  • 4 rashers of bacon, finely chopped
  • 1 clove garlic, crushed
  • 4 green spring onions, finely sliced
  • 2 tblsp capers, chopped
  • 2 eggs, boiled and broken
  • ⅓ cup whole-egg mayonnaise
  • Salt and freshly ground black pepper
Instructions
  1. Place the potatoes in a large saucepan and cover with cold water. Bring to the boil over high heat. Boil, uncovered, for 10 minutes or until tender when pierced with a skewer. Drain, then set aside for 30 minutes to cool completely. Cut in half and place in a large serving bowl.
  2. Meanwhile, place the egg in a small saucepan of cold water. Bring to the boil over high heat. Reduce heat to medium and gently boil, uncovered, stirring occasionally, for 12 minutes for medium-hard boiled. Drain and cool under cold running water. Peel and set aside.
  3. Heat a small non-stick frying pan over high heat. Add bacon and cook, stirring, for 3 minutes or until crisp. Remove from heat.
  4. To the cooled potatoes, combine the mayonnaise, garlic, capers, spring onion, boiled eggs and bacon.. Gently toss to combine. Season accordingly
  5. Top with extra spring onions and bacon to serve.


Hot jam doughnuts recipe

Last Updated on November 25, 2018 by Grab Your Spork

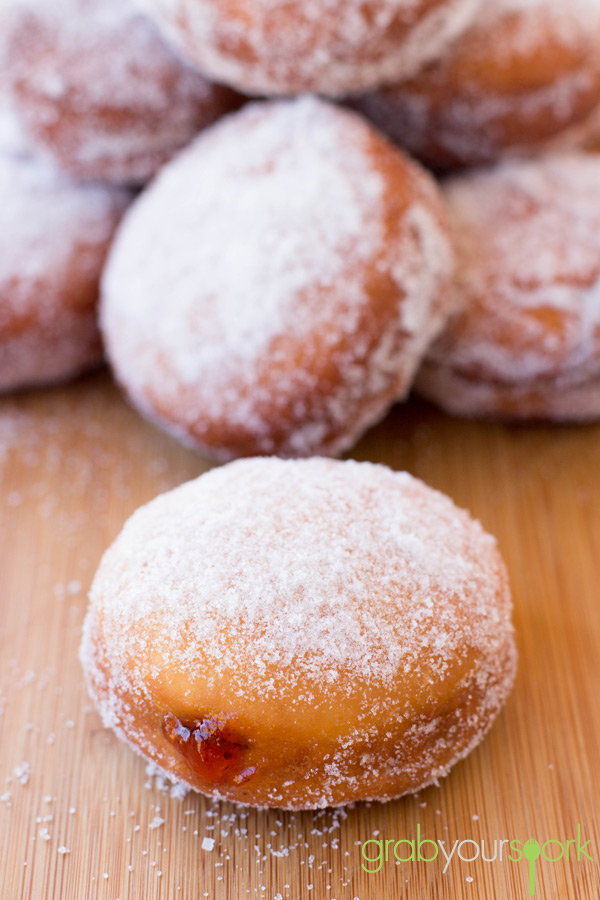
Whenever we are within close proximity to a bakery I must get a hot jam doughnut! Seriously no matter what time of day it is, it is always time for a jam doughnut. What’s not to love about them? They are deep fried balls of sweet doughy goodness, coated in sugar and filled with delicious jam. This homemade hot jam doughnuts recipe will have you making these finger licking sugary treats at home instead of buying them from the bakery!

Last weekend while we were cooking up a storm we added this hot jam doughnuts recipe into the mix. However, is it easier to go out to the shops and buy a doughnut? Yes. Do you end up with sugar throughout the house? Yes. Is it worth making your own doughnuts at home? Definitely yes! Brooke might not be as keen to make them again. As similar to the recent post on hot cross buns, there are a lot of steps and patience is key while letting the dough prove.

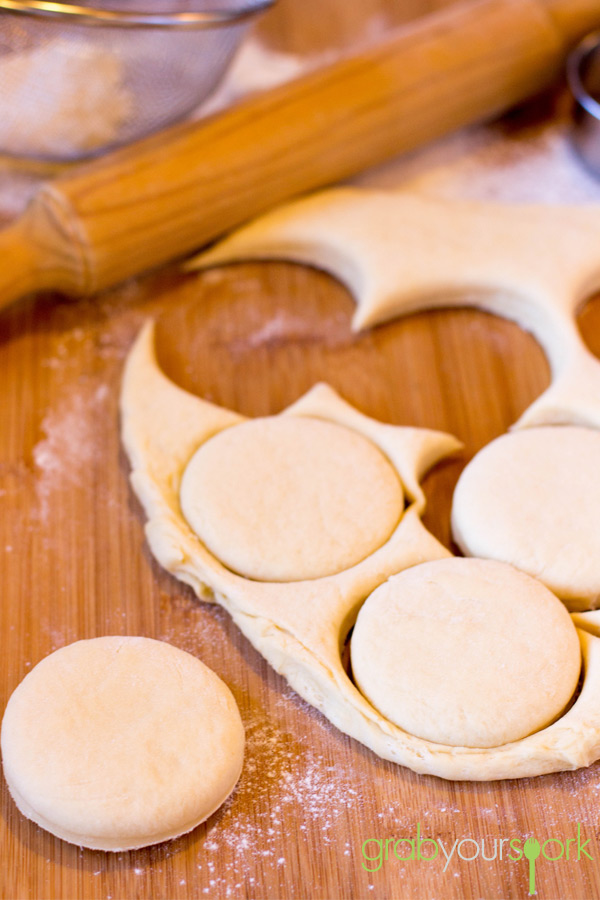
When making this recipe you need to be mindful of how thick you roll your dough. As you let your dough rise again once it is in circles, it will continue to rise and will puff up when you cook it in the oil. I would aim for around 2.5cm thick, as any thicker and your doughnuts won’t cook in the middle and be darker than necessary on the outside.

Once you have cooked your doughnuts evenly on both sides, drain excess oil and immediately roll in sugar. Allow to cool before filling with delicious jam. We used traditional strawberry this time (which needs to be strained before piping). However, you can fill with other flavoured jams, custards, chocolate or just simply add some cinnamon to the sugar and leave them plain.

I think my sugary grin showed how much I liked these!

If you like sweet treats then check out these our recipes for Chocolate mint fudgeNo bake Mars bar sliceor passionfruit marshmallows.

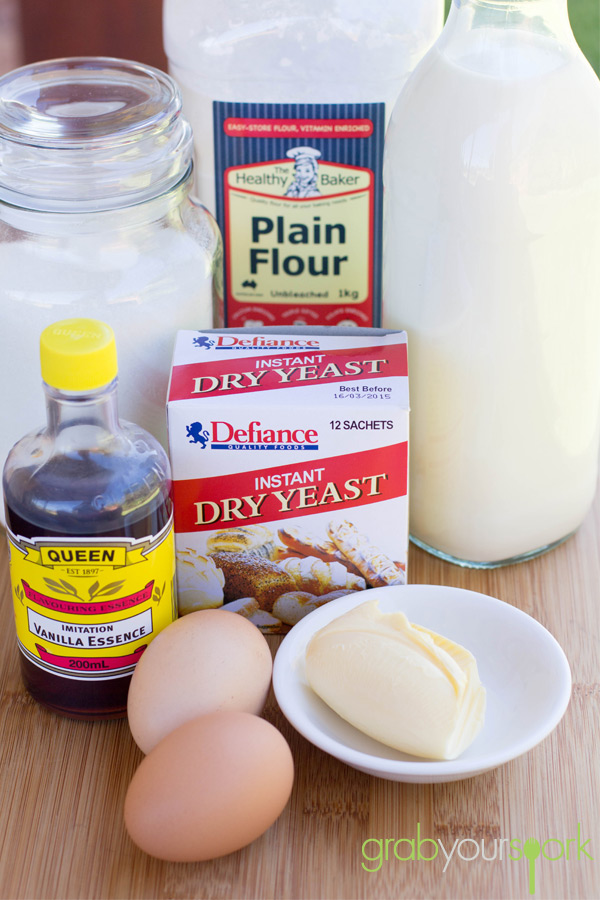
Jam Doughnuts Ingredients

Jam Doughnuts Dough

Jam Doughnuts Balls

Fried Jam Doughnuts Recipe

 Hot jam doughnuts recipe

Jam Doughnuts Recipe

Homemade hot jam doughnuts – recipe instructions

5.0 from 1 reviews
Jam Doughnuts
 
Prep time
Cook time
Total time
 
Jam Doughnuts aka deep fried balls of sweet doughy goodness, coated in sugar and filled with delicious jam.
Author:
Recipe type: Dessert
Cuisine: American
Serves: 12
Ingredients
  • 1 pkg dry yeast 8 grams
  • 1 cup cooled whole milk
  • 2 large egg yolks
  • ¼ cup granulated white sugar
  • 2 Tbsp. melted butter
  • ½ tsp. vanilla
  • ½ tsp. salt
  • Approximately 3½ cups all-purpose flour
  • Vegetable Oil, for frying
  • White Granulated Sugar, for dusting after frying
  • Jam or custard, for filling (be sure to strained seeds from jam)
Instructions
  1. In a small saucepan, heat milk until steaming with small bubbles forming around the edges. Remove from heat and let cool to lukewarm.
  2. To activate the yeast, in a large bowl add the yeast and pour in the lukewarm milk. Let it stand for 5 minutes.
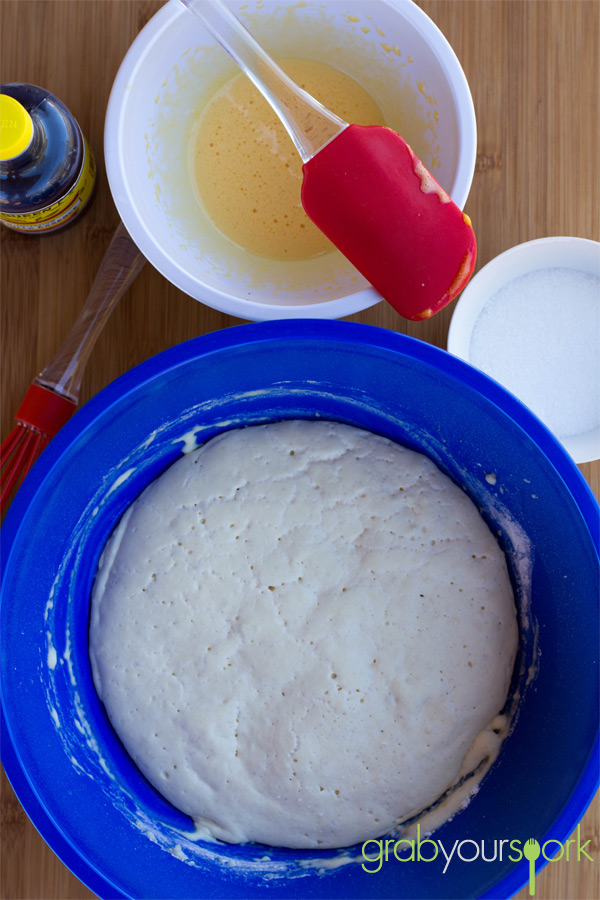
  3. Add 1 cup of flour. Mix together and let stand for 20 – 30 minutes, until really bubbly.
  4. Beat the yolks in a small bowl until they are light and fluffy.
  5. To the proofed yeast mixture, add the melted butter and sugar and mix.
  6. Add salt and vanilla. Add beaten egg yolks.
  7. Slowly add rest of the flour to bowl in ½ cup increments just until a very soft dough form that is moist but not sticky. Knead on the bench to ensure your dough is formed.
  8. Grease a clean bowl and add dough. Cover bowl with plastic wrap and let rise in warm place until doubled.
  9. Deflate dough and pat out onto floured cutting board. With a rolling pin, gently roll into a 2.5cm thick circle. Gently cut out circles with a biscuit cutter. Place onto a parchment lined baking sheet, cover and let rise until doubled (about 30 minutes).
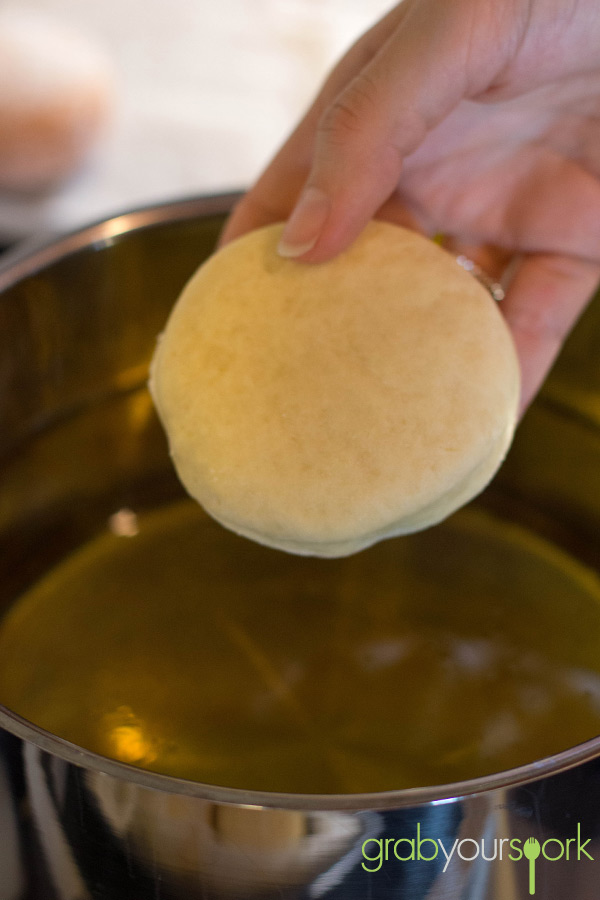
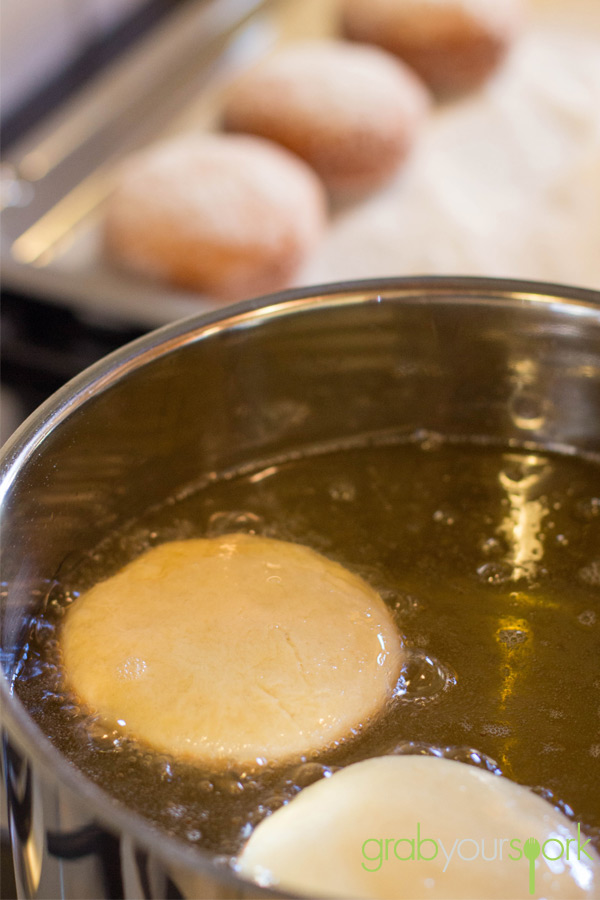
  10. Heat a deep fat fryer to 190°C. Once the balls have doubled in size, carefully place them, one by one, into the fryer. Be mindful not to cook too many at a time as this well reduce the temperature of the oil.
  11. Once the underside is golden brown, use a slotted spoon to gently turn over. Continue to fry until evenly coloured.
  12. Remove doughtnuts to a cooling rack for about 30 seconds, then immediately roll in granulated sugar. Let stand until completely cooled.
  13. Once cooled, using a sharp knife, poke a hole on the side. Use a pastry bag with a large plain tip to pipe the jam or custard filling inside.
  14. These are best when freshly made, but you can freeze any extras.


Chocolate Cupcakes

Last Updated on February 10, 2014 by Grab Your Spork

I am sure it is safe to say there are a few chocoholics out there! If you are like Brooke and I who wouldn’t call ourselves chocoholics, but do enjoy indulging in a chocolaty treat every now and then. This recipe is definitely the one you should be making!

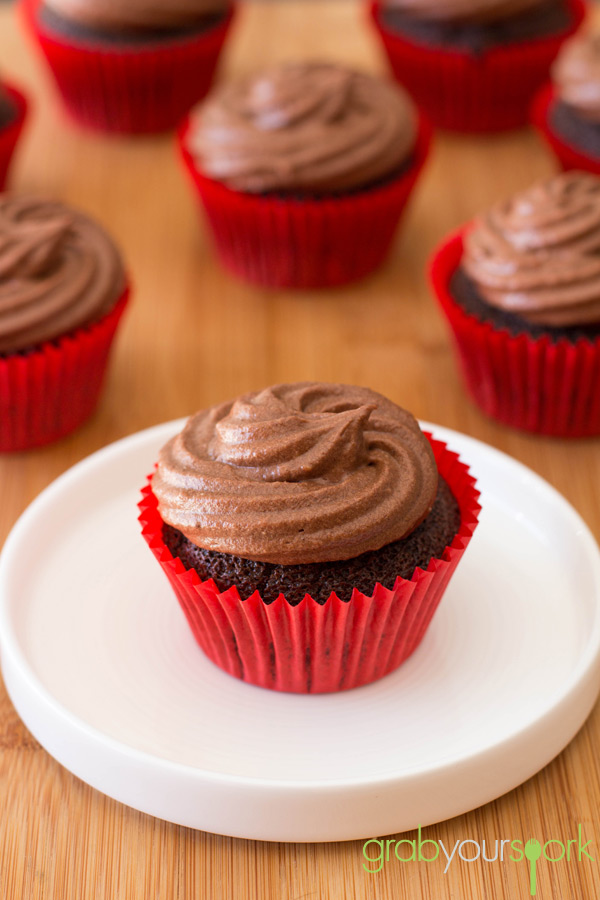
This recipe for Chocolate Cupcakes really is one you will use again and again. A perfect cupcake is all about making sure your base (the cupcake) is light and fluffy (not crumbly and dry)! To top off our cupcakes we used a simple chocolate buttercream icing. However you can easily substitute it with a normal frosting, flavoured icing or decadent chocolate ganache.

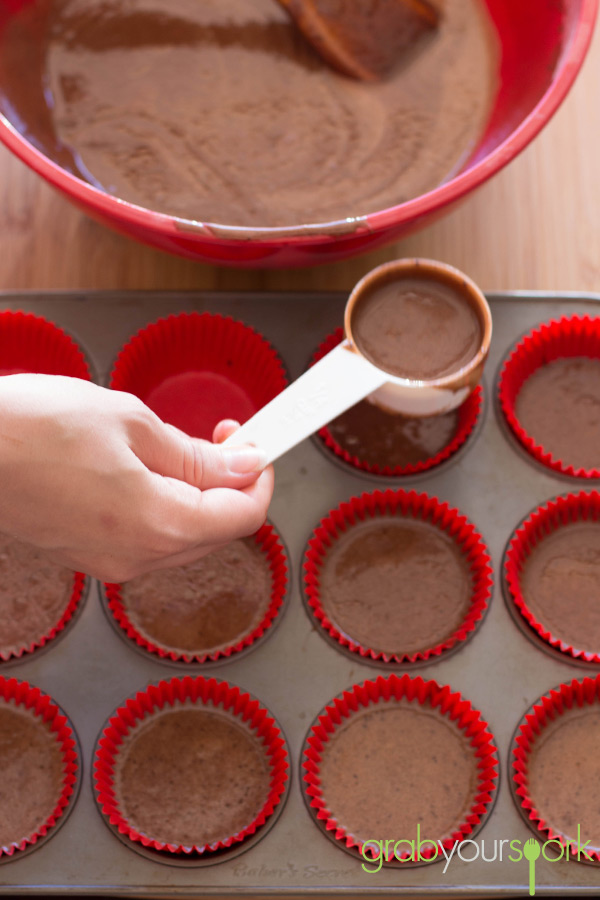
When making your cupcakes you want to use cocoa powder that isn’t overly sweet or bitter. Also adding a couple of teaspoons of vanilla essence or extract will enhance the chocolate flavour (yes it does work), as will substituting the vanilla with a teaspoon of instant coffee. Lastly, when adding the boiling water do not freak out how thin the batter is. This is normal, and your cupcakes will cook! As the mixture is so thin, to make your life easier and avoid getting half the mixture on the tin. Either put the batter in a measuring jug to pour the batter or, use a measuring cup to evenly fill the molds.

Before icing, ensure your cupcakes are completely cool. These chocolate treats sure will makes all chocolate lovers very happy!

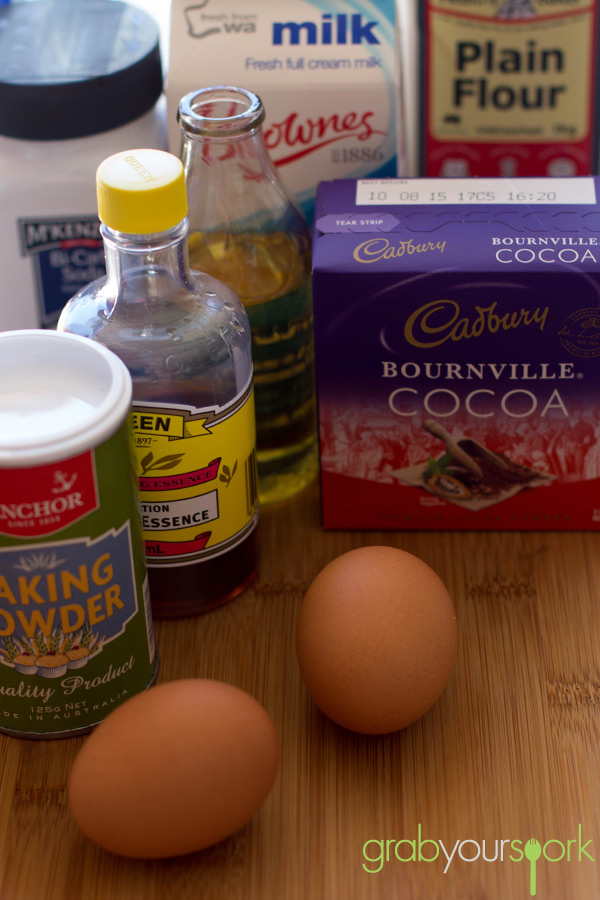
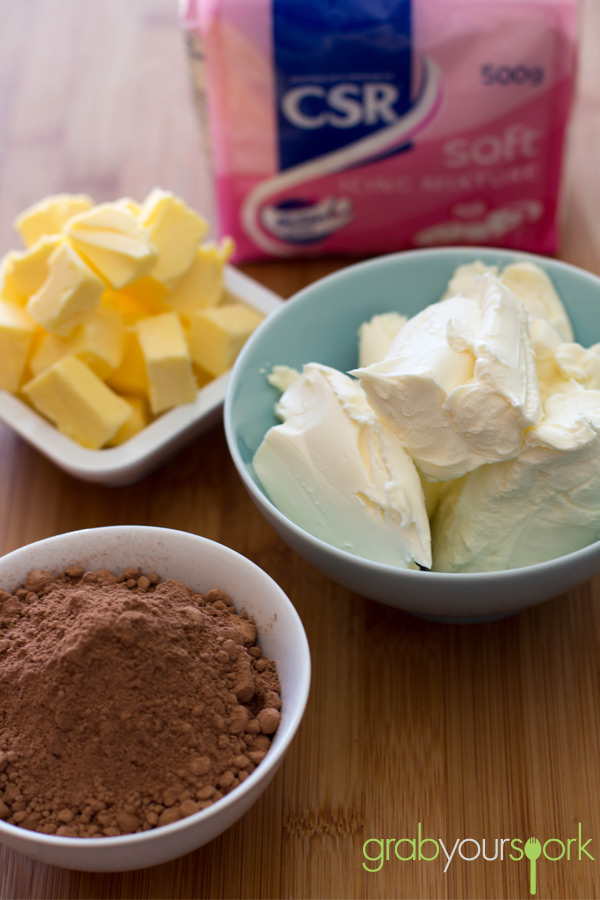
Chocolate Cupcake Ingredients

Chocolate Cupcake Mixture

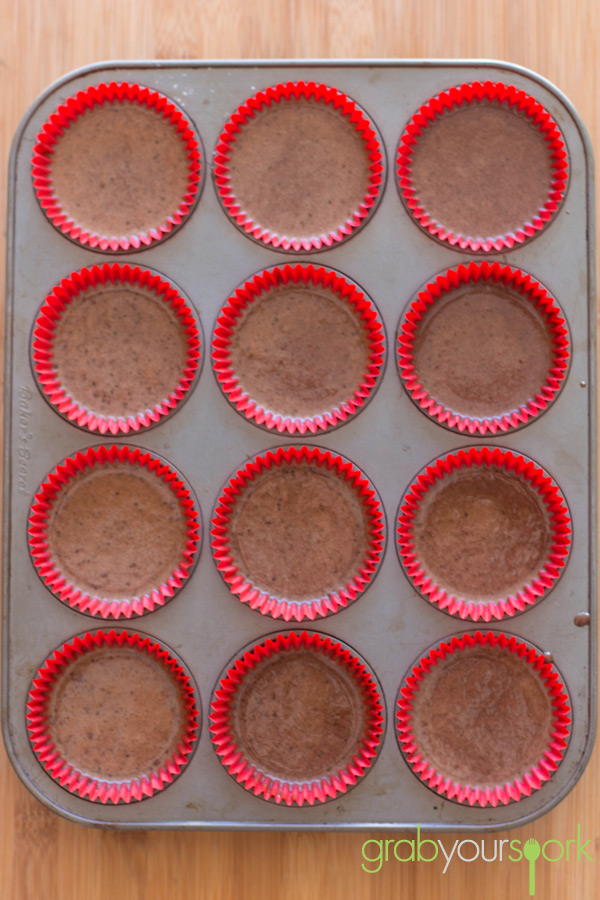
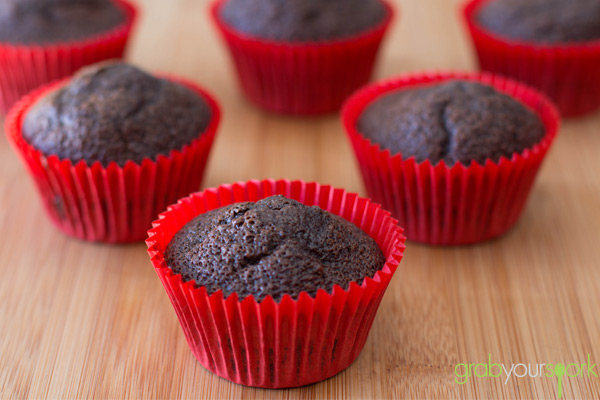
Chocolate Cupcakes in tin

Chocolate Cupcake Icing

Chocolate Cupcakes

Chocolate Cupcakes

5.0 from 1 reviews
Chocolate Cupcakes
 
Prep time
Cook time
Total time
 
A perfect cupcake is all about making sure your base (the cupcake) is light and fluffy (not crumbly and dry)! To top off our cupcakes we used a simple chocolate buttercream icing.
Author:
Recipe type: Baked Goods
Cuisine: American
Serves: 18
Ingredients
Cupcakes
  • 2 cups sugar
  • 1 ¾ cup plain flour, sifted
  • ¾ cup unsweetened cocoa, sifted
  • 1 ½ tsp baking powder
  • 1 ½ tsp baking soda
  • 1 tsp salt
  • 2 eggs
  • 1 cup whole milk
  • ½ cup vegetable oil
  • 2 tsp vanilla extract
  • 1 cup boiling water
Chocolate Icing
  • ½ cup butter, at room temperature
  • 250g cream cheese, at room temperature
  • 2 tsp vanilla extract
  • ½ cup cocoa powder, sifted
  • 2 cups icing sugar, sifted
  • extra milk
Instructions
Cupcakes
  1. Line muffin tin with paper liners. Preheat oven to 180C.
  2. In a large mixing bowl sift in all dry ingredients.
  3. Add eggs, milk, oil and vanilla. Beat on a medium speed for one minute.
  4. Stir in boiling water (the batter will be thin but don’t worry)
  5. Fill liners ⅔ full.
  6. Bake cupcake for 18 to 20 minutes
  7. Complete with frosting.
Icing
  1. Add butter, cream cheese and vanilla to a mixing bowl. Mix until smooth.
  2. Gradually add sifted cocoa powder and icing sugar.
  3. Mix until smooth. Add extra milk if you find the icing a too dry.