Baked Onion Rings

Last Updated on February 3, 2014 by Grab Your Spork

If you have been on Foodgawker or Pinterest lately you will notice all the food people are making for the Superbowl. Although it isn’t a big deal here, it doesn’t mean we don’t appreciate some of the tasty snacks that come from America. This recipe for Baked Onion Rings will make you appreciate the work that goes into making the perfect snack, yet a whole lot healthier given we baked them.

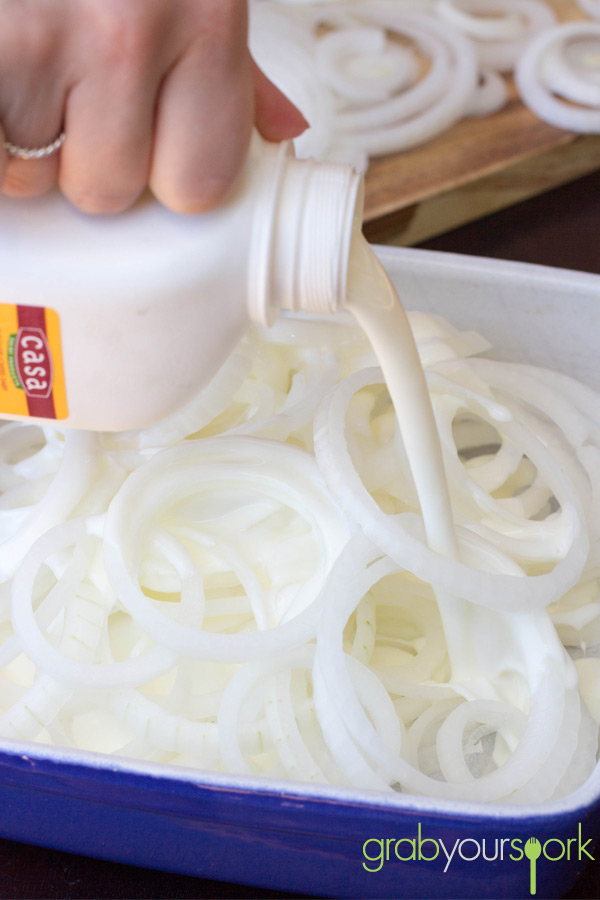
Onion rings are the perfect accompaniment to burgers, barbeques and well any other casual occasion. The trick to making the perfect onion ring however, is ensuring you soak the raw onion rings in buttermilk before coating them. Through soaking the onion first it will not only soften the onion, it also takes away some the heat and acidity onions have. Lastly, soaking the onion rings in buttermilk allows the more coating to adhere to the rings given your that extra crunch.

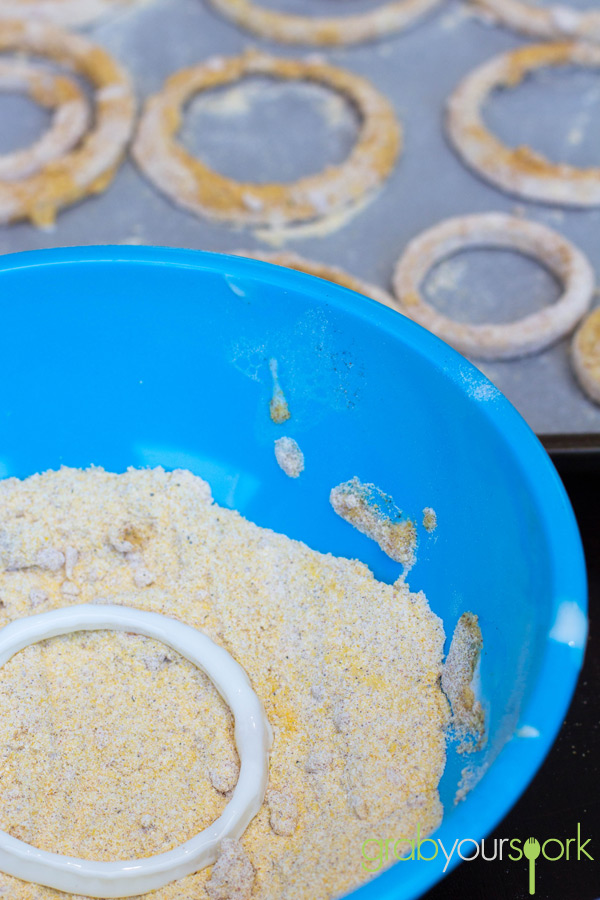
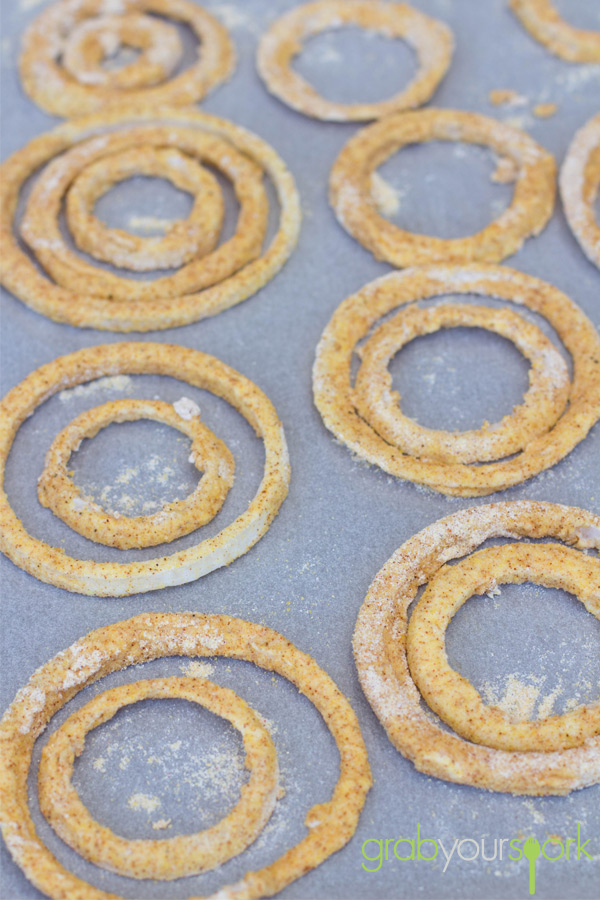
To make our onion rings, you need to soak the rings ahead of time. Anywhere from 2 hours onwards is enough if you ask me. You need to make sure the onions are somewhat submerged in the buttermilk, and occasionally stir. Leave in the refrigerator covered tightly. To coat, simply dip the rings in the coating and place on a lined oven tray. Spray the rings with canola oil and bake in the oven, flipping and rotating till golden brown.

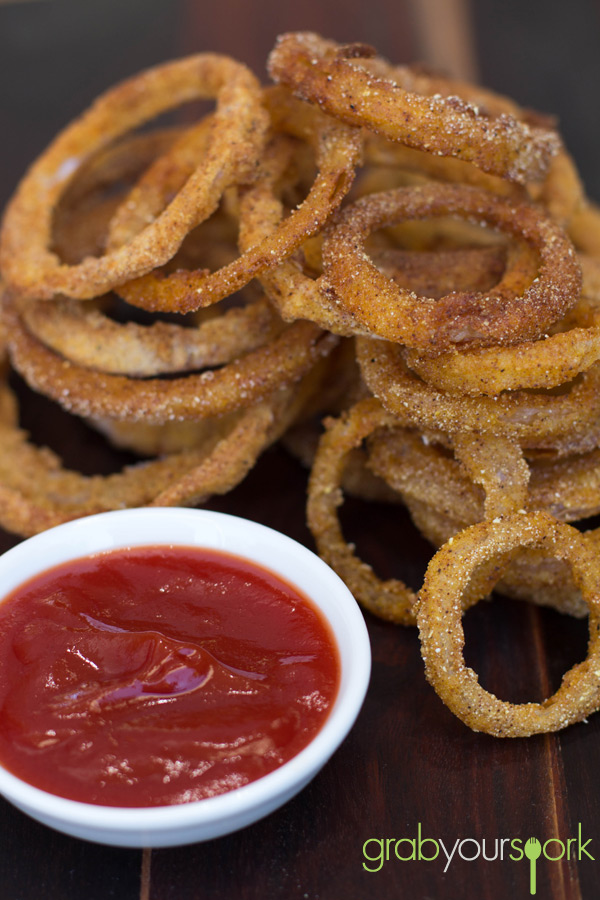
Once the rings are cooked you should end up with a crisp outside and soft onion on the inside. Serve with burgers, barbeque or like we did a as a late afternoon snack and a beer.
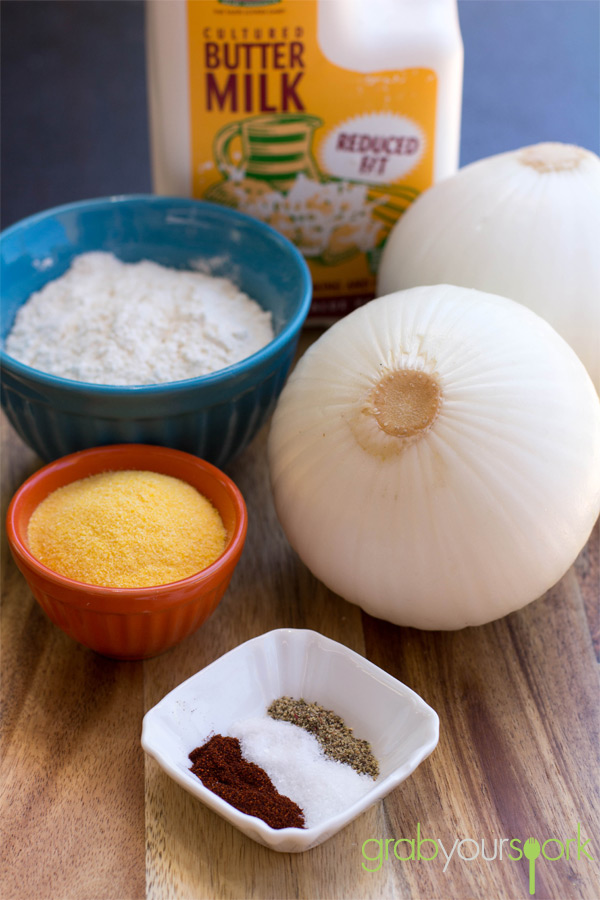
Baked Onion Rings Ingredients

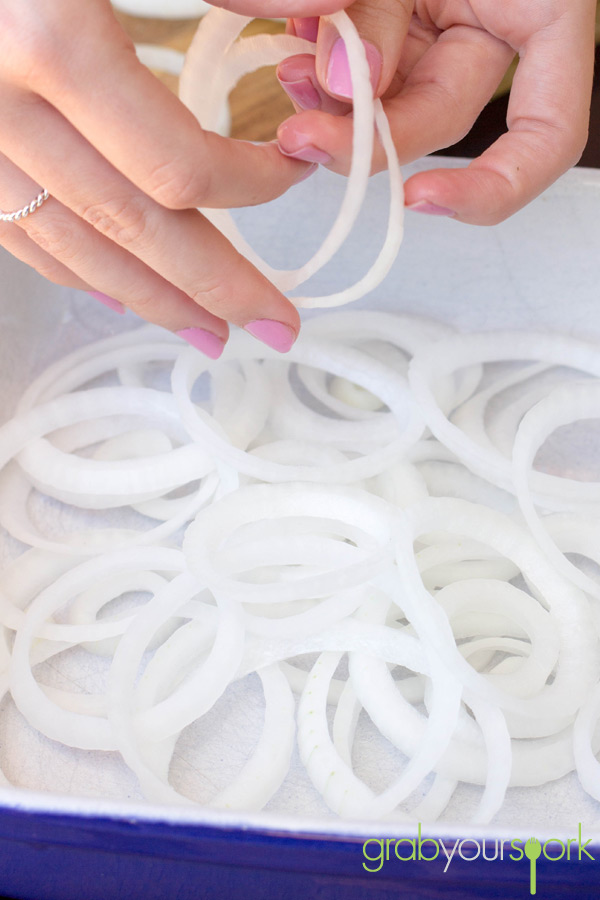
Onion Ring Slices

Baked Onion Rings with Buttermilk

Baked Onion Rings with Polenta

Baked Onion Rings in Batter

Baked Onion Rings with Beer

Baked Onion Rings

5.0 from 1 reviews
Baked Onion Rings
 
Prep time
Cook time
Total time
 
These polenta coated Baked Onion Rings are a whole lot healthier than your typical deep fried onion rings yet they still taste amazing.
Author:
Recipe type: Snack
Cuisine: American
Serves: 12
Ingredients
  • 300 ml buttermilk
  • 2 large onions, thickly sliced into rings
  • ½ cup plain flour
  • 100 g polenta
  • 1 tsp salt
  • ½ tsp ground pepper
  • 1 tsp smoked paprika
Instructions
  1. Slice onions into rings.
  2. Soak onion rings in buttermilk. Cover tightly and refrigerate for at least 2 hours or more.
  3. Combine remaining ingredients in a bowl. Dip onion rings into coating and place on a lines baking tray. Spray with canola oil.
  4. Bake in a 180°C preheated oven, flipping and rotating till golden brown.
 

Pecan Slice

Last Updated on January 27, 2014 by Grab Your Spork

After buying an abundance of pecans at the shops the other week Brooke has been needing to use up the rest and has already made enough Maple Mixed Nut Granola to last her a couple of weeks! As a result she decided to make some deliciously buttery Pecan Slice – no complaining here of course! I don’t know about you but I love the flavour of pecans. Although they are similar to a walnut, they are a bit softer and not quite as bitter.

This recipe is pretty much just a variation of pecan pie. However making it in a square tin makes it easier to cut up, as it can be quite an indulgent treat. Pecan Slice is the perfect combination of chewy gooey pecan filling topped on shortbread crusted base. I find this recipe to be more for the cooler months and can easily be spiced up using cinnamon or even some spiced rum.

To prepare you need to make a very simply shortcrust base, before adding the filling. The filling requires corn syrup; however you can simply substitute with glucose syrup. Glucose syrup tends to be thicker, but do not worry as we have had no issues using either. For those in Australia, you will probably find easier to source in your local convenience store.

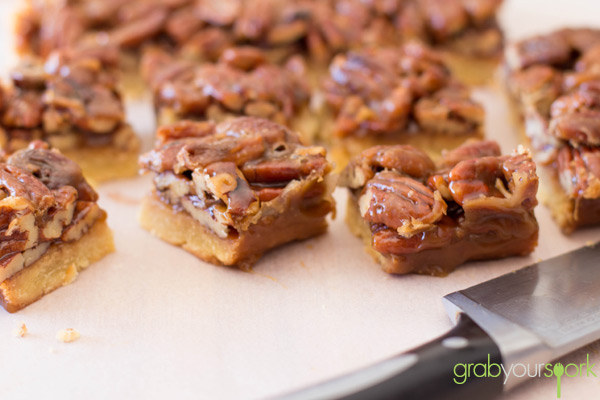
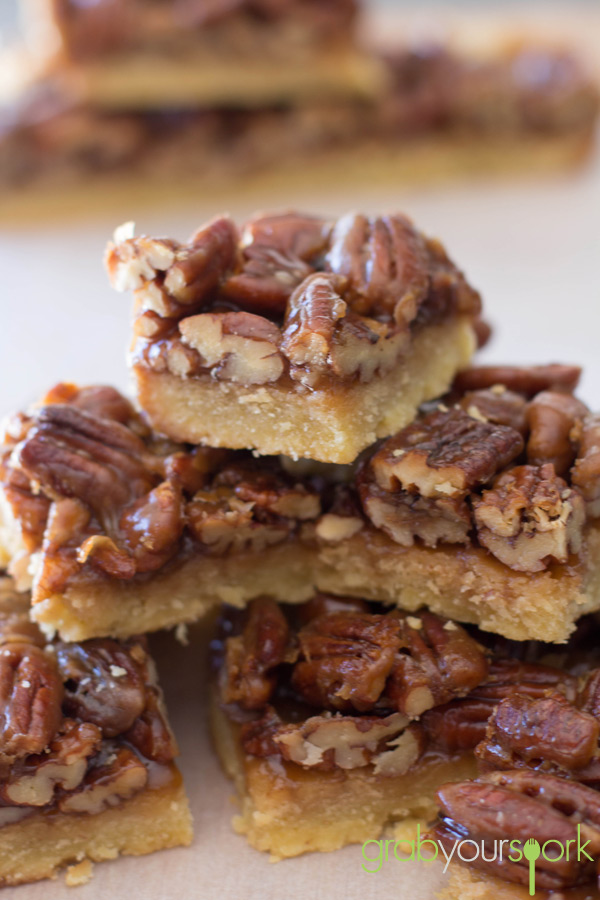
Once you have prepared the slice you need to bake it again until the filling is bubbling away. When this is done, simply remove from the oven and allow to completely cool. Cut into even squares to serve. I am sure you all will be happy with crunchy top bursting with toasted pecan and caramel filling and soft shortbread base. Delish!

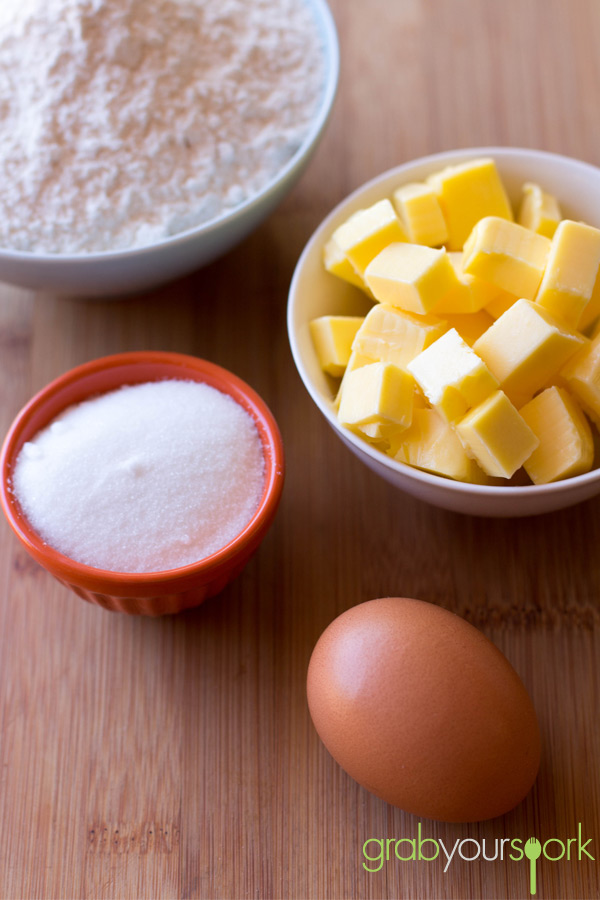
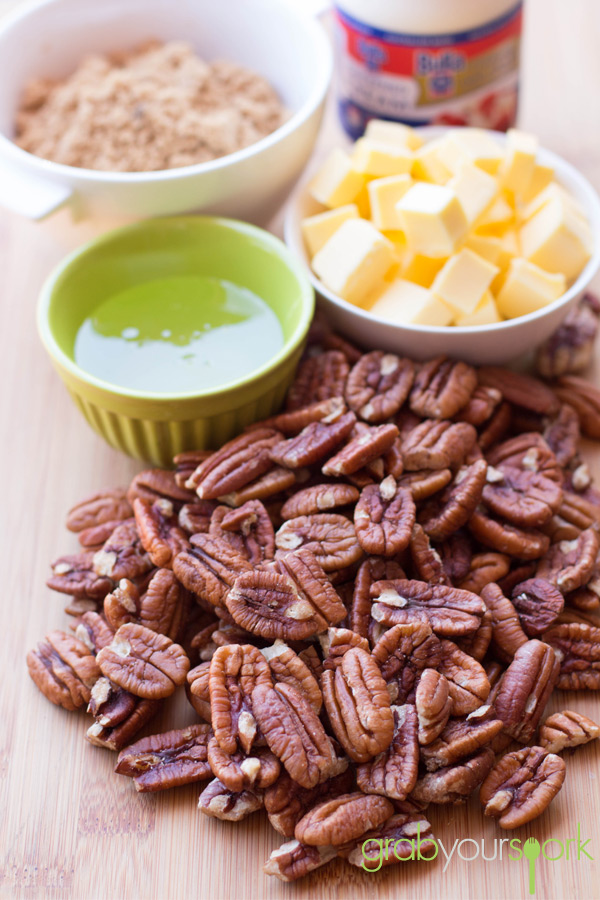
Pecan Slice Ingredients

Pecan Slice Dough

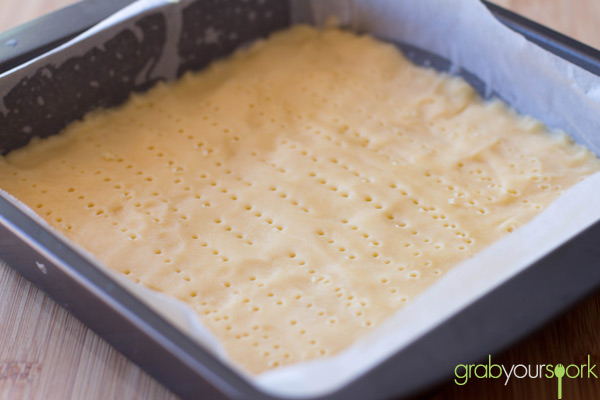
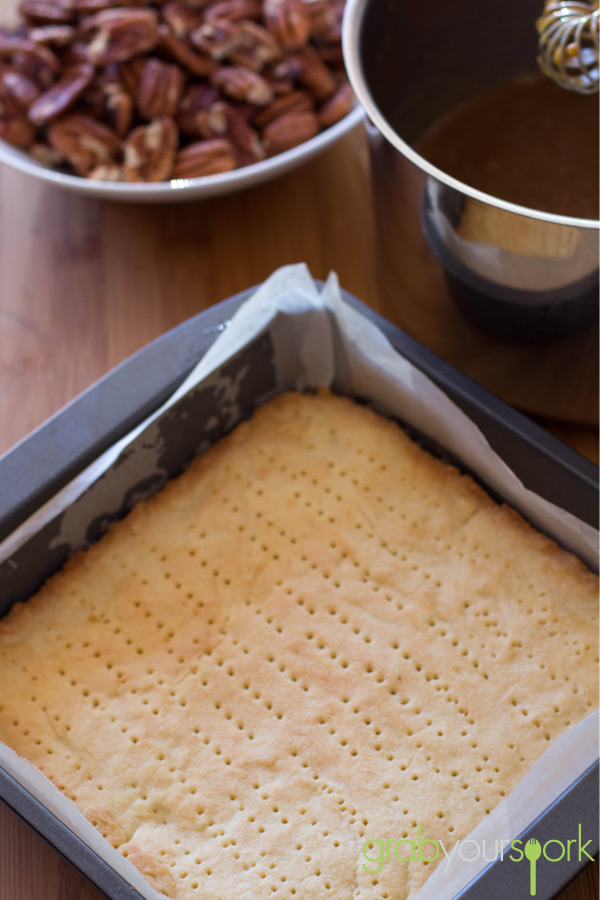
Pecan Slice Base

Pecan Slice Ingredients

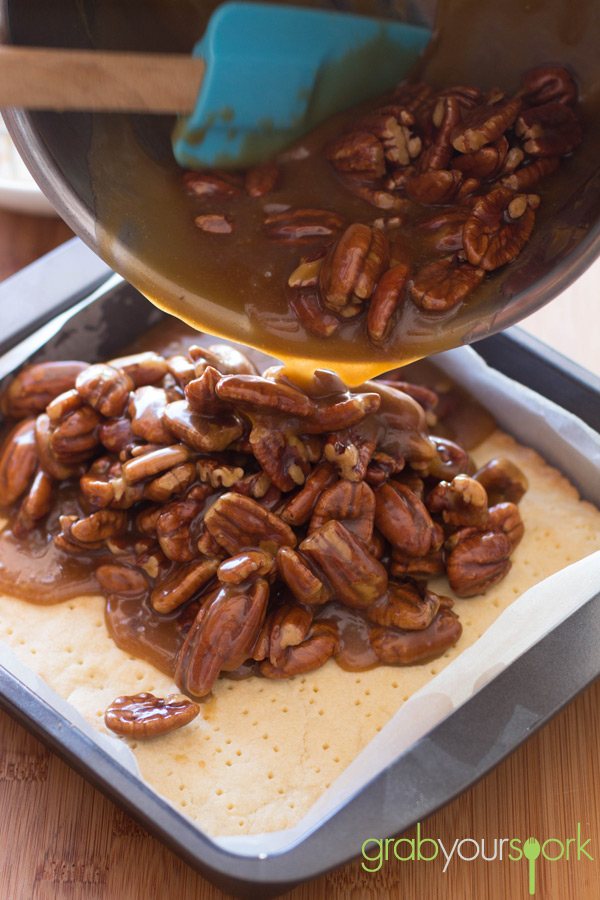
Pecan Slice Mixture

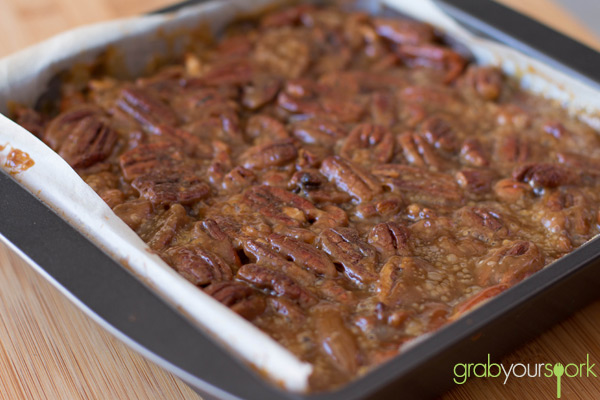
Pecan Slice in Pan

Pecan Slice

Pecan Slice

5.0 from 1 reviews
Pecan Slice
 
Prep time
Cook time
Total time
 
Pecan Slice made with the perfect combination of chewy gooey pecan filling topped on shortbread crusted base.
Author:
Recipe type: Baked Goods
Cuisine: American
Serves: 12
Ingredients
Crust
  • 1 ½ cups all purpose plain flour
  • ½ cup unsalted butter, chilled and cut into small pieces
  • ½ cup sugar
  • ½ tspn salt
  • 1 egg, lightly beaten
Filling
  • ¾ cup packed light-brown sugar
  • ¼ cup corn syrup, or glucose
  • ¼ cup thickened cream
  • ½ tspn salt
  • 2 cups pecans
  • ½ chilled unsalted butter, cut into small pieces
Instructions
  1. Preheat the oven to 190ºC. Line a Line a 9-inch square baking pan.
  2. In a food processor, pulse flour, sugar, and salt to combine. Add butter; pulse until mixture resembles coarse meal. Add egg; pulse just until a dough forms.
  3. Transfer dough to prepared pan; with floured fingers and an offset spatula, press firmly into bottom and ¾ inch up sides. Freeze until firm, about 15 minutes.
  4. Prick bottom of dough; bake until lightly golden, 20 minutes. Let cool while preparing filling.
  5. Make the filling: In a large saucepan, bring butter, brown sugar and corn syrup to a boil over high heat, whisking constantly until smooth. Continue to boil, without stirring, until slight darkened. About 2 minutes.
  6. Remove pan from heat. Whisk in cream and salt. Mix in pecans.
  7. Spoon hot filling evenly over crust, using a spoon or spatula to press in nuts so they fit snugly.
  8. Bake for about 20 minutes. The slice should be bubbling and amber coloured. Cool completely in pan.


Blueberry and lemon cupcakes recipe

Last Updated on October 5, 2019 by Grab Your Spork

This blueberry and lemon cupcake recipe is just one of those things that is very regular but somehow elevates the day a little bit. It’s low maintenance, highly snackable, and 100% delicious.

The holidays are finally here for some and to start the break off we headed to the markets for a quick breakfast bagel and a look to see what else was available. After a couple of purchases and a jam doughnut – we also ended up with some great blueberries grown in Mt Baker.

With it just being the start of blueberry season here in Western Australia, there are plenty of yummy things to make with them and we paired our blueberries with of course Brooke’s favourite – lemon! Add them together and what you get is a simple blueberry and lemon cupcake recipe which will have you looking for just one more.

The combination of the two fruits actually works really well. The cake itself isn’t overly sweet and has a nice zesty flavour, combined with the bursting tang of fresh blueberries. Although the decadence of a lemon cream cheese icing isn’t at all unwelcome, the cupcakes are flavourful enough on their own given the delicious combination. If you are making these on a hot day like it was in Perth, I would even recommend skipping the icing and simply giving the cupcakes a simple dusting with icing sugar.

This recipe for blueberry and lemon cupcakes is a great summer treat. So bring a little sunshine to your day with these delicious lemon blueberry cupcakes.

If you like this recipe – then check out our other dessert and sweets recipes – like our recipes for no-bake mars bar sliceginger-nut biscuitseasy raspberry friandsblueberry and lemon loaves or Belgian lemon tea cake.

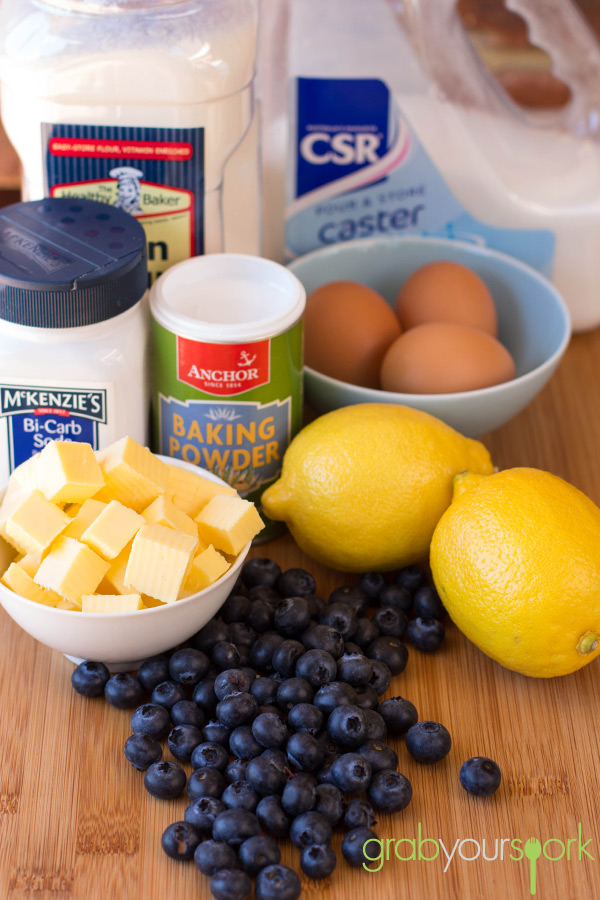
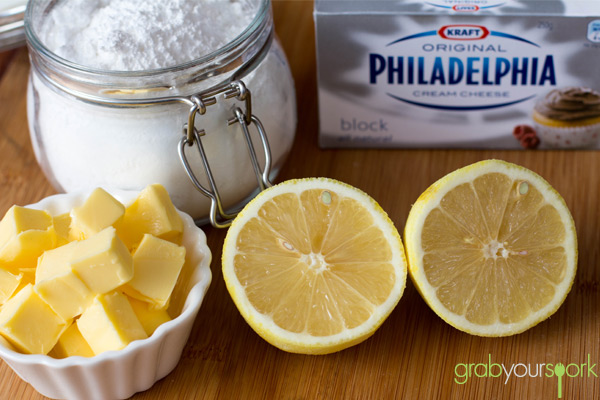
Blueberry and Lemon Cupcakes Ingredients

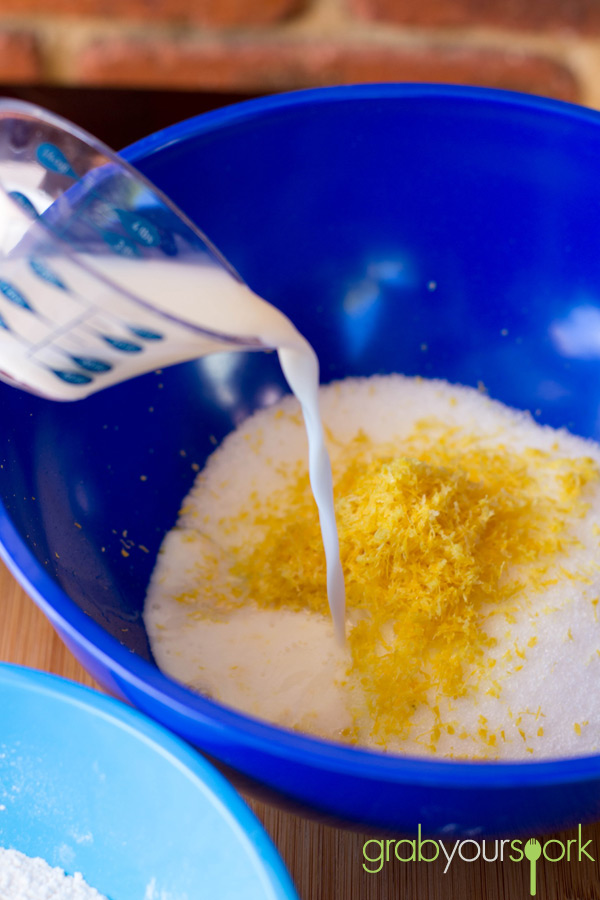
Blueberry and Lemon Cupcakes Mixture

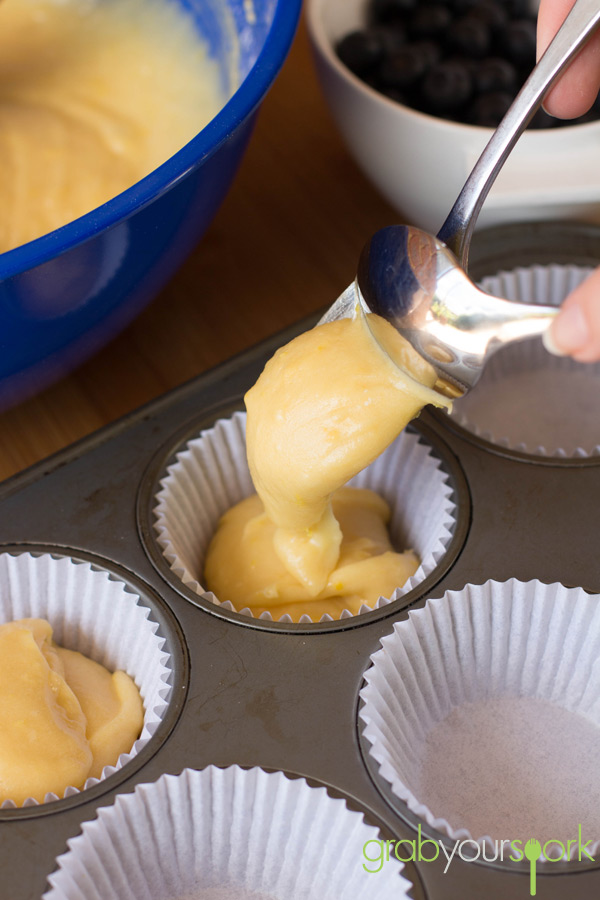
Blueberry and Lemon Cupcakes batter

Blueberry and Lemon Cupcakes Mixture

Lemon Cream Cheese Icing

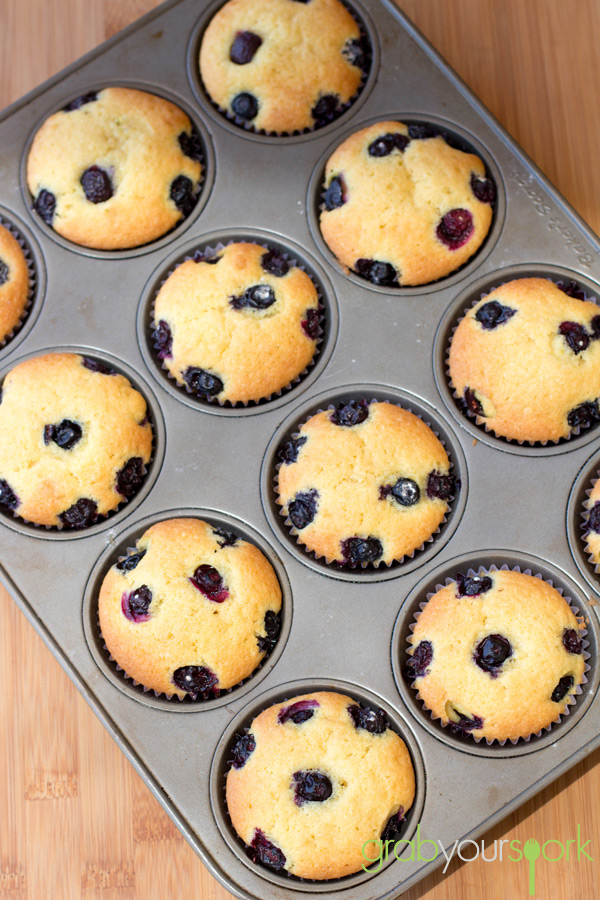
Tray of Blueberry and Lemon Cupcakes

Blueberry and Lemon Cupcakes

Blueberry and Lemon Cupcakes with Lemon Cream Cheese Icing

How to make blueberry and lemon cupcakes

Blueberry and Lemon Cupcakes
 
Prep time
Cook time
Total time
 
These Blueberry and Lemon cupcakes are a great summer treat and have a nice zesty flavour, combined with the bursting tang of fresh blueberries.
Author:
Recipe type: Baked Goods
Cuisine: American
Serves: 12
Ingredients
Cupcake
  • ¾ cup unsalted butter (roomtemp)
  • 3 eggs (let stand at room temp)
  • 1¾ cups all-purpose flour
  • ¼ teaspoon baking powder
  • ¼ teaspoon baking soda
  • ¼ teaspoon salt
  • 1¼ cups granulated sugar
  • ¼ cup milk
  • 2 tablespoons finely shredded lemon peel
  • Blueberries, coated with flour
Icing
  • 1 cup powdered sugar
  • ¼ cup unsalted butter (let stand at room temp)
  • 1 block cream cheese (250g)
  • 2 tablespoons fresh lemon juice
Instructions
Cupcake
  1. Preheat the oven to 180°C and place paper cups into cupcake tins.
  2. Mix the butter and eggs.
  3. In a medium bowl, mix the flour, baking powder, baking soda and salt together.
  4. Mix the granulated sugar, milk and lemon peel together.
  5. Then mix the butter and eggs into the milk and sugar mixture.
  6. Mix the flour into the wet mixture and blend.
  7. Fill each cup three-quarters full with batter. Drop the coated blueberries on top.
  8. Bake for 18 to 20 minutes.
Icing
  1. Combine the powdered sugar, butter, cream cheese, lemon juice and zest together until light and fluffy.
  2. Pipe onto the cupcakes and decorate with lemon peel, blueberries and a mint leaf.
Notes
Decorate your cupcake with extra fresh blueberries, lemon peel or mint leaves.


Prosciutto wrapped asparagus

Last Updated on December 2, 2013 by Grab Your Spork

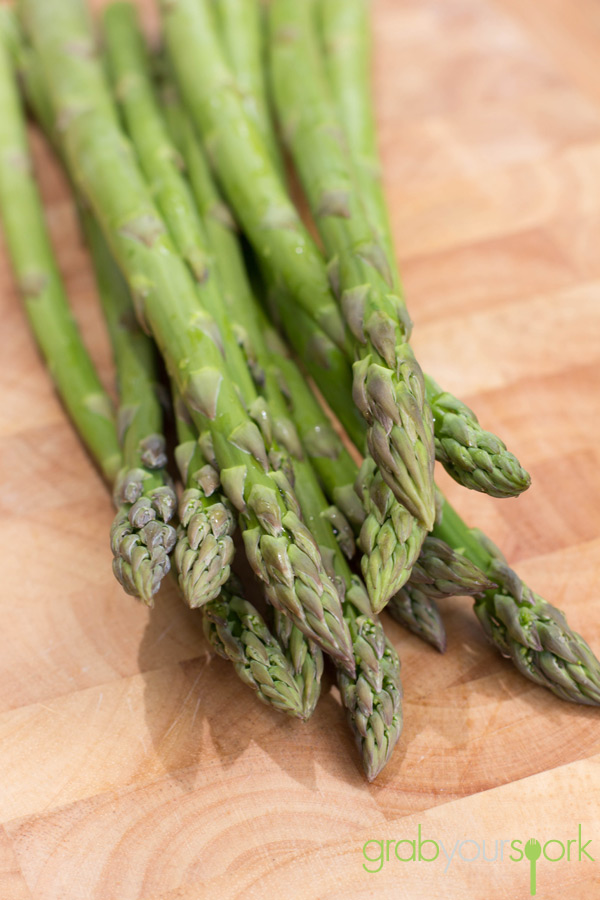
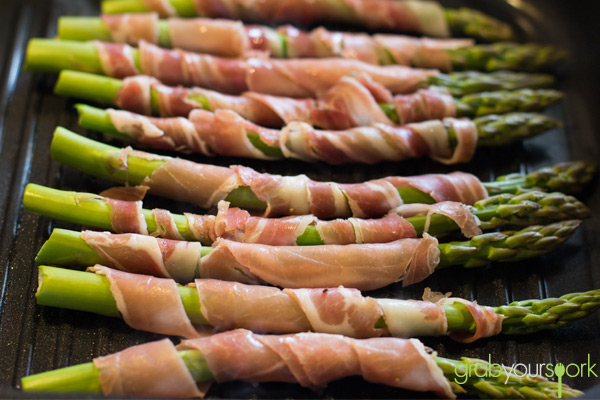
After making a trip to the local shops last weekend we came across some fresh Albany asparagus. Peak production for asparagus is from October to December in WA so these vibrant spears looked too good to walk past.

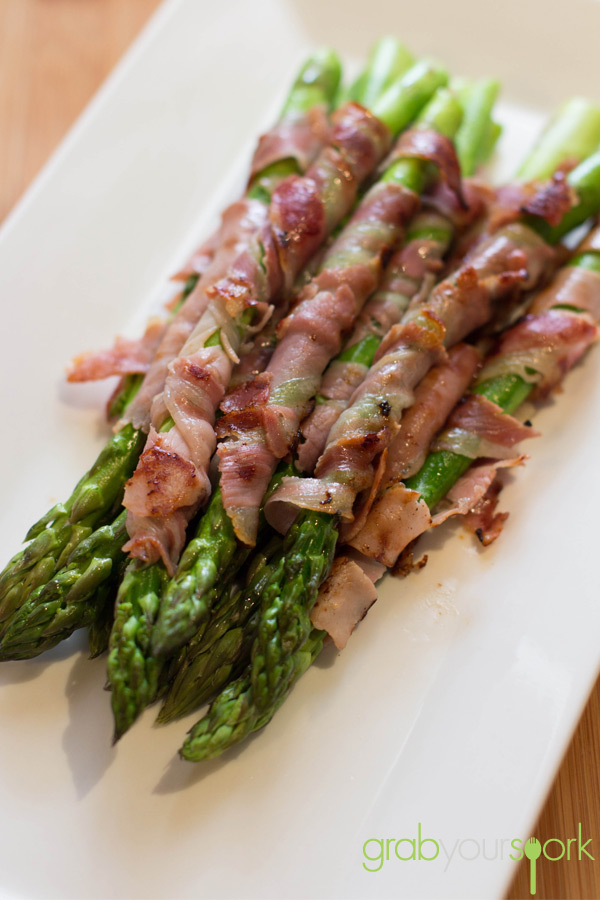
This recipe for prosciutto wrapped asparagus is so simple and only uses two ingredients. This recipe can easily transform any breakfast, accompany a main or easily be served on their own as an entree or finger food when entertaining.

Of course I was immediately won over with the spears being wrapped in salty prosciutto and through grilling the asparagus in the pan gave them a nice charred flavour. Now depending on how thick your asparagus is, some people may wish to quickly black the asparagus first. However I found cooking the asparagus simply in the pan still left asparagus nice and crisp and was cooked through.

I am definitely happy to have this again, and might have the remaining spears for breakfast with some eggs.

Albany asparagus

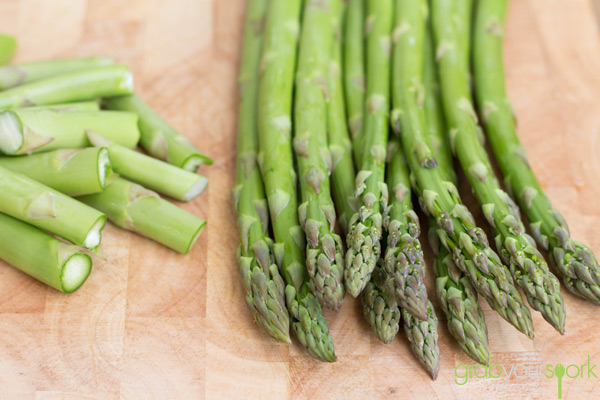
asparagus stalks

Prosciutto wrapped asparagus Grab Your Spork 003

Prosciutto wrapped asparagus

fried prosciutto wrapped asparagus

Prosciutto wrapped asparagus

Prosciutto wrapped asparagus

Prosciutto wrapped asparagus
 
Prep time
Cook time
Total time
 
These prosciutto wrapped asparagus spears can easily transform any breakfast, accompany a main or easily be served on their own as an entree or finger food when entertaining.
Author:
Recipe type: Side Dishes
Cuisine: American
Serves: 12
Ingredients
  • 12 asparagus spears
  • 12 prosciutto slices/ strips
Instructions
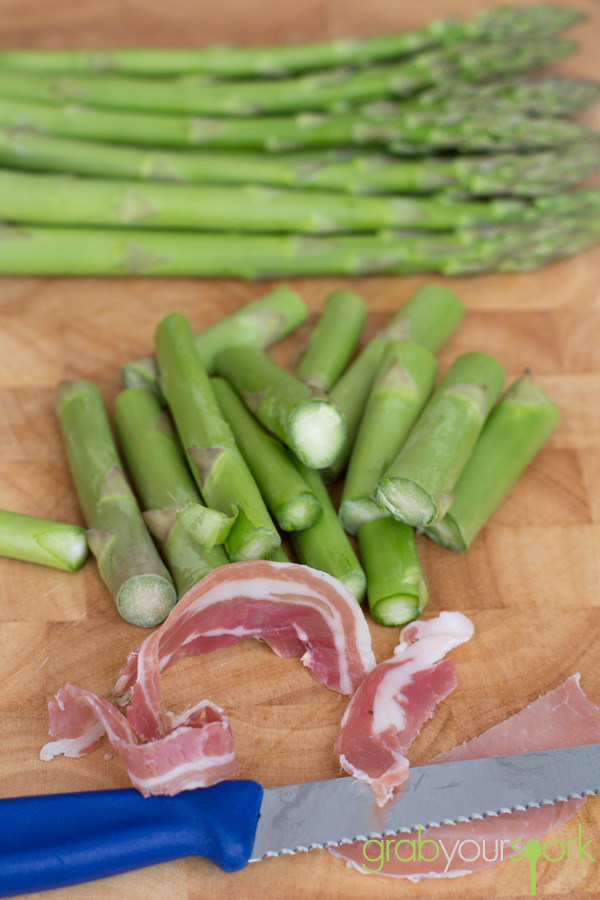
  1. Wash asparagus thoroughly, and break off any tough, white bottoms. (This is done through simply bending the end of the asparagus which will cause the end to break away).
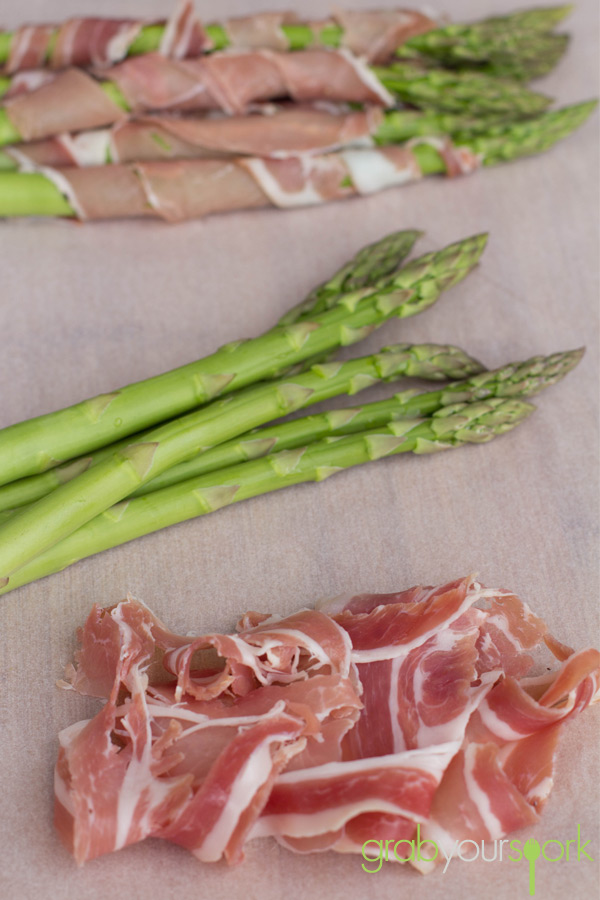
  2. Simply wrap your prosciutto around the asparagus leaving the tips exposed. Don’t worry if parts of the asparagus spears aren’t covered completely.
  3. Heat a non still grill pan on the stove till hot. Cooked the wrapped asparagus spears for 1 -2 minutes on each side until prosciutto is brown and crispy.
Notes
You can pre-wrap the asparagus ahead of time and store in the fridge until it is ready to be cooked.


Choc Mint Fudge

Last Updated on January 1, 2016 by Grab Your Spork

With Christmas just around the corner Brooke has been looking for inspiration for something new to make this year. After scrolling through Foodgawker and Pinterest she came across multiple recipes for choc mint fudge and this one is definitely a great find!

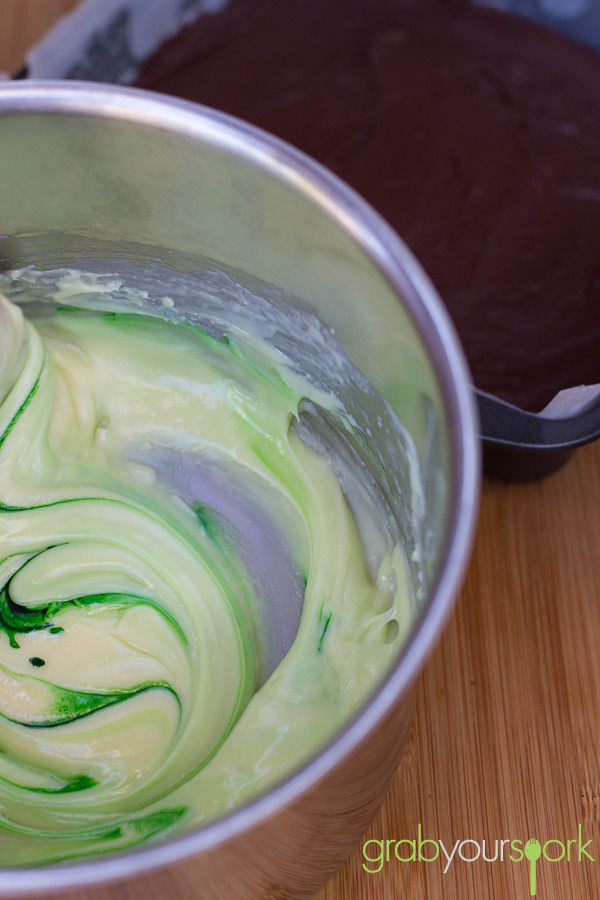
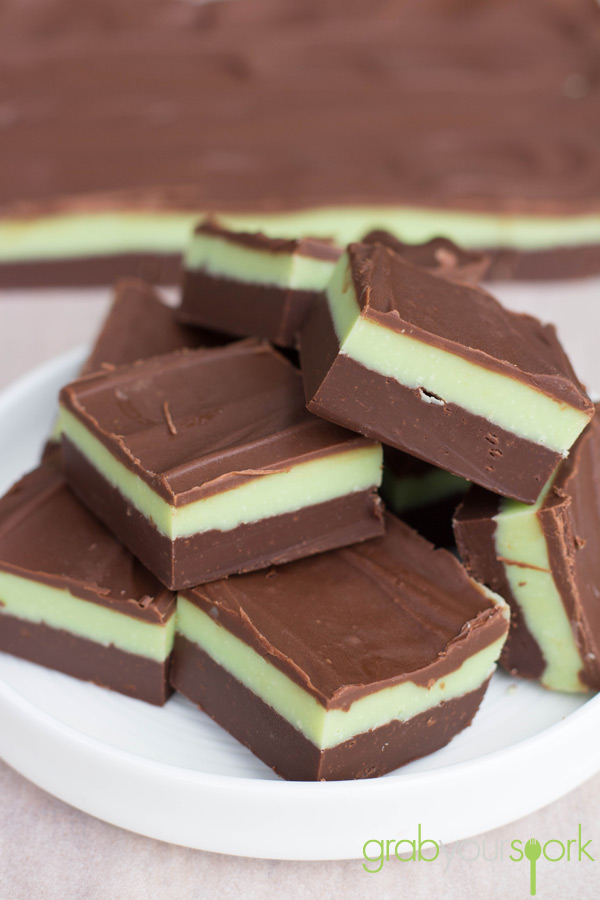
This easy recipe combines two dark chocolate layers encasing a white chocolate later flavoured with peppermint. The beauty of this recipe is that is doesn’t require any candy thermometer and is super quick to make – not taking into account the setting time of course.

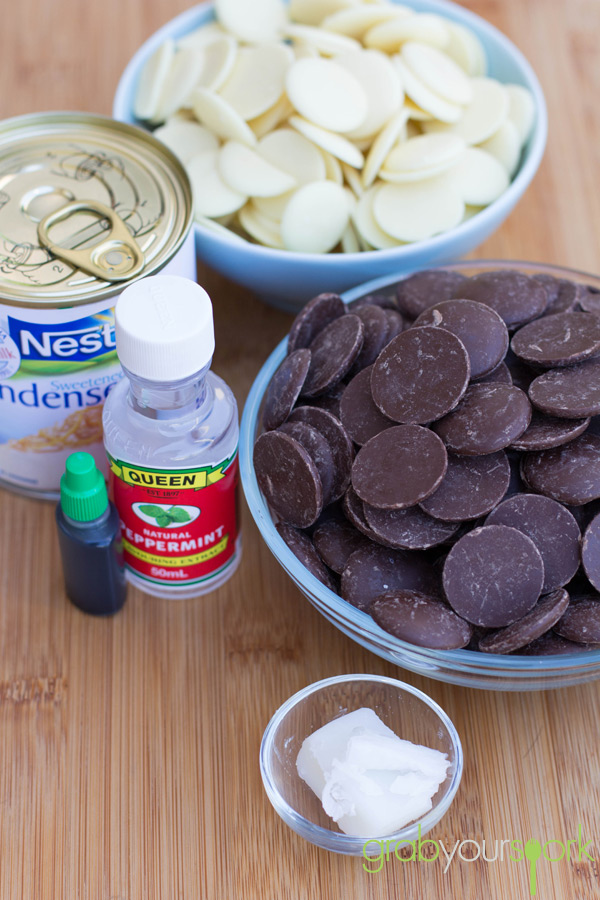
To make this recipe you will require a basketful of not so health ingredients – bitter sweet chocolate, white chocolate and condensed milk. Now normally I am not a huge fan of bitter chocolate, however combining it with the white chocolate layer it balances out the sweetness, so it is definitely worth it. To prepare you need to make each layer individually, and allow it to cool for 5 – 10 minutes before adding the next layer. Once all the layers are done, the fudge needs to be left to set for about 2 hours then it will be ready to devour!

The fudge can be kept in an airtight container in the fridge – however I don’t expect it to last long! This choc mint fudge is a great recipe to bring out after dinner, and definitely as a holiday treat.

If you like this recipe check out our other Dessert and Sweets recipes – like our recipes for Jam Doughnuts, Passionfruit Marshmallows or Apple and Rhubarb Crumble.

Choc Mint Fudge Ingredients

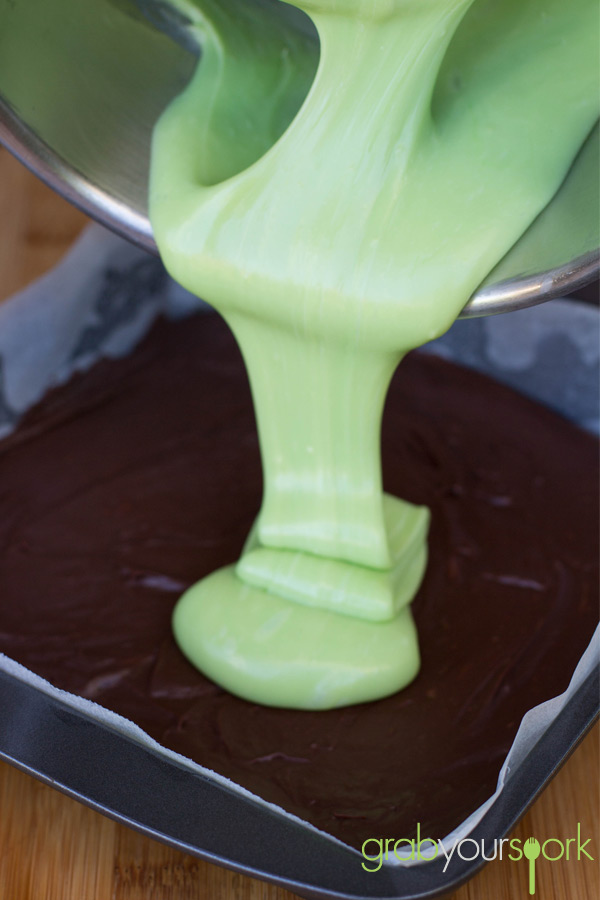
Choc Mint Fudge Green

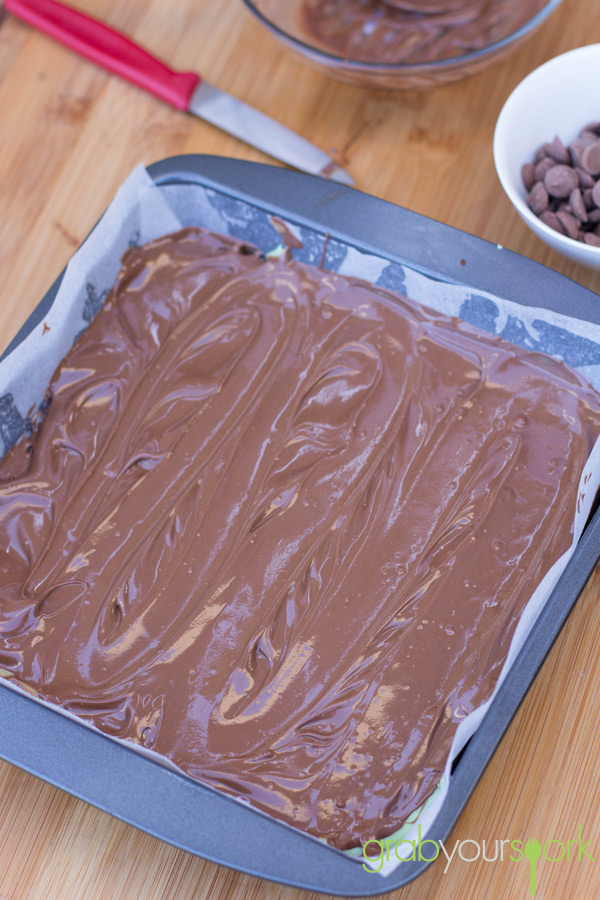
Choc Mint Fudge Layers

Choc Mint Fudge

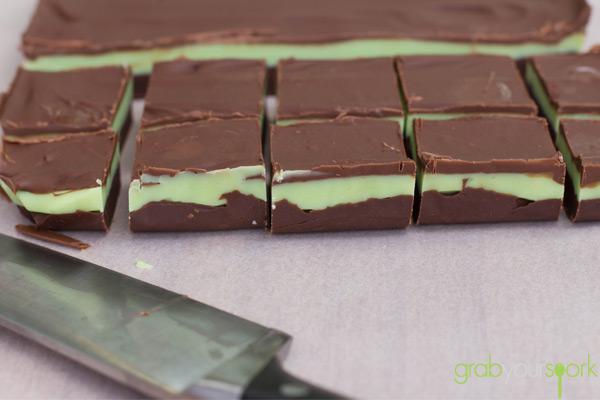
Choc Mint Fudge Slice

Choc Mint Fudge

5.0 from 1 reviews
Choc Mint Fudge
 
Prep time
Cook time
Total time
 
This delicious Choc Mint Fudge recipe combines two dark chocolate layers encasing a white chocolate layer flavoured with peppermint.
Author:
Recipe type: Dessert
Cuisine: American
Serves: 20
Ingredients
  • 2.5 cups semi-sweet chocolate chips (divided)
  • 395ml can sweetened condensed milk (divided)
  • 1.5 cups white baking chocolate chips
  • 1 teaspoon peppermint extract (or more, go by your taste preference)
  • 2 drops green food colouring
  • 1 teaspoon shortening
Instructions
  1. Line an 8x8 baking pan with baking paper.
  2. In a small saucepan over low heat, melt 1.5 cups chocolate with ¾ cup sweetened condensed milk, stirring occasionally. Spread melted chocolate mixture into pan and chill for 5-10 minutes.
  3. In another saucepan, melt white chocolate with remaining condensed milk, stirring until completely smooth. Remove from the heat and add peppermint extract and food colouring. Spread mint layer over chilled chocolate layer. Chill for 5-10 minutes as you make final layer.
  4. Melt remaining 1 cup chocolate with 1 tsp shortening in the microwave in 30 second increments. Stir until completely smooth. Spread over chilled mint layer
  5. Refrigerate for at least 2 hours or until fudge is completely set.
  6. Cut into squares. Store in an airtight container in the fridge up to two weeks.