Banana Cake with cream cheese icing

Last Updated on April 10, 2016 by Grab Your Spork

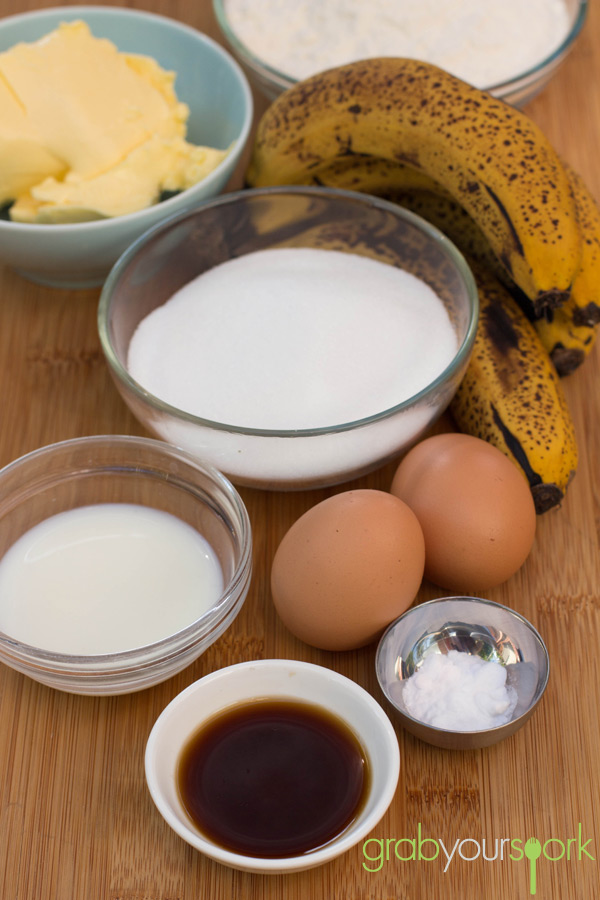
Now we are all guilty of letting bananas ripen in the fruit bowl before getting to enjoy them, and with the warmer months approaching in Perth it even happened to us. Don’t feel guilty though, as overripe bananas make for the best recipes and are what gives every banana recipe the right colour, texture and of course flavour. This banana cake with cream cheese icing is a great way to use up those ripe bananas.

Last week the bananas in the fruit bowl were too far gone to be enjoyed naturally. So by the weekend Brooke was happy to have more than enough overripe bananas to make a cake with. This banana cake is so easy anyone can make it. Through using the overripe bananas you will have a moist and sweet cake and the tangy cream cheese will give it a nice bite to top it off!

You won’t ever feel guilty again for letting the bananas over ripen, and will end up with a simple crowd-pleasing cake!

For other cake recipes check out our recipe for clementine cake.
Banana Cake with cream cheese icing

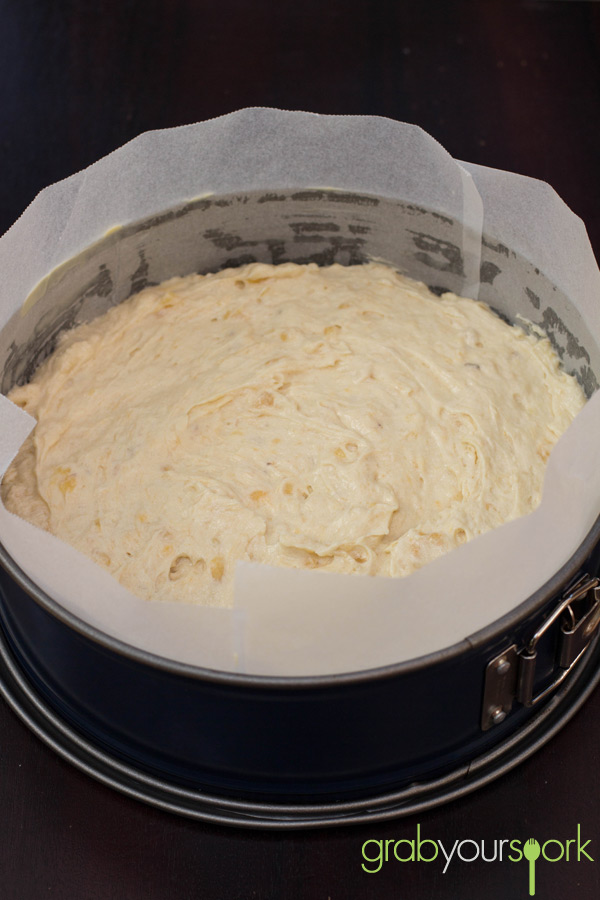
Banana Cake Mixture

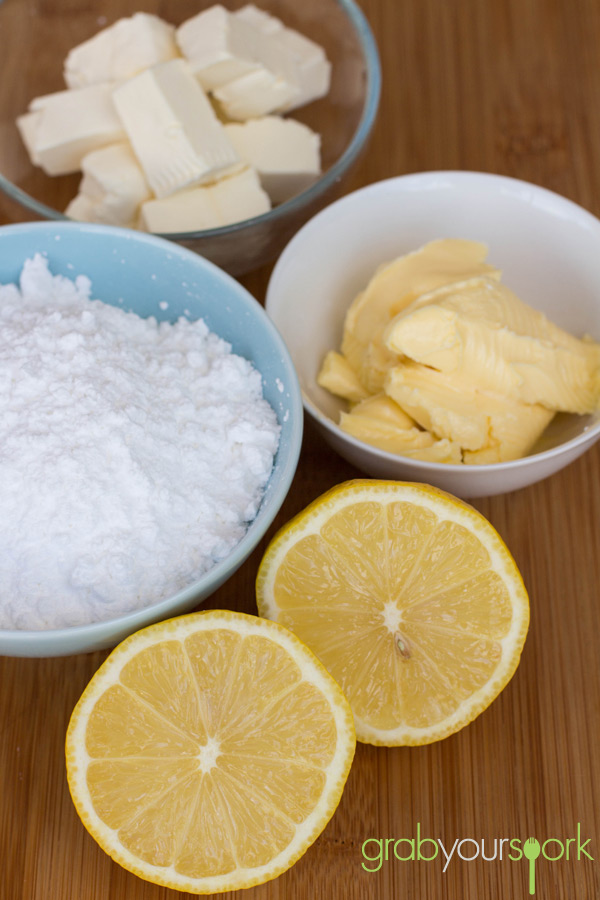
Lemon cream cheese icing

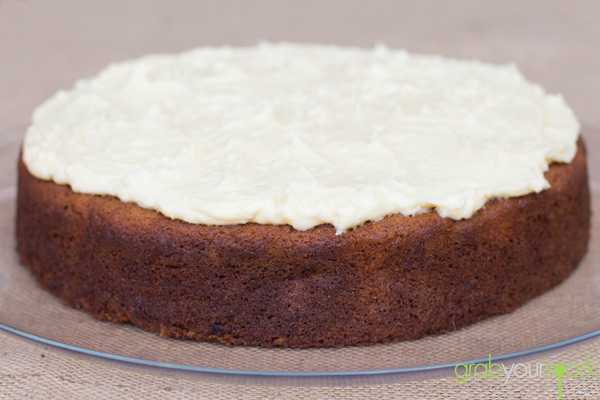
Banana Cake with cream cheese icing

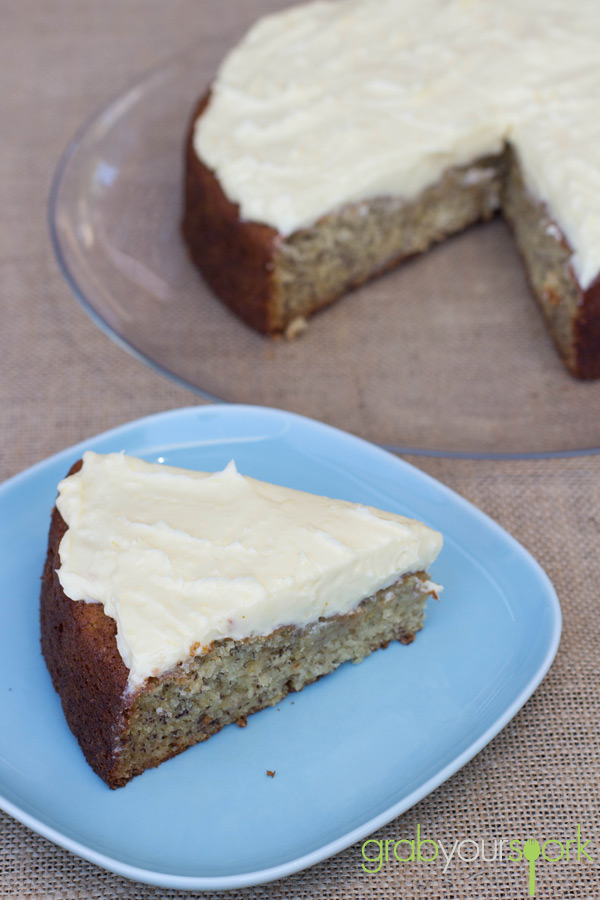
Slice of Banana Cake with cream cheese icing

Banana cake with cream cheese icing – Recipe Instructions

Banana Cake with cream cheese icing
 
Prep time
Cook time
Total time
 
Ever leaving it too late to eat those bananas you bought? This Banana Cake with Cream Cheese icing is a great was to use up those over-ripe bananas and create a crowd-pleasing cake.
Author:
Recipe type: Cake
Cuisine: American
Serves: 8
Ingredients
Banana Cake
  • 150 g butter
  • ¾ cup sugar
  • 2 eggs
  • 3 very ripe bananas mashed together with 1 tsp of vanilla essence
  • 1 ½ cup self raising flour sifter with ½ tsp bicarb soda
  • 2 tbsp milk
Cheese Cheese Icing
  • 60g butter
  • 60g cream cheese
  • 1 tbsp lemon juice
  • 120 g icing sugar
Instructions
Banana Cake
  1. Beat butter and sugar together till light and fluffy
  2. Add eggs gradually, then the mashed bananas
  3. Fold in sifted ingredients and milk
  4. Place in a greased tin and bake in preheated oven for about 35 minutes
  5. Leave the cake to cool in the tin for about 10 minutes before turning it out
  6. Once the cake is cool ice with cream cheese icing
Cheese Cheese Icing
  1. Mix cream cheese and butter
  2. Add lemon juice and icing sugar gradually
  3. Mix until smooth
  4. Spread on cooled cake
  5. Note if you want to cover the whole cake in icing, double the icing mixture
 

Maple Mixed Nut Granola

Last Updated on April 9, 2016 by Grab Your Spork

Over the past few weeks Brooke and I have been busier than ever. Between work, renovations and family commitments we have found ourselves eating whenever or whatever we can (well at least I have). As a result I had been craving something a tad bit healthier. Fortunately when Sunday morning came around Brooke had the perfect solution for us which was to make her maple mixed nut granola. Not only is it healthy but it is quick, easy, & delicious! So it ticks all the boxes.

Once you have a taste of this homemade maple mixed nut granola, you won’t even care whether it’s healthy or not. I mean, seriously, its that yum. The crunchy texture of this granola will have you nibbling at it straight away (As Brooke caught me doing on several occasions).

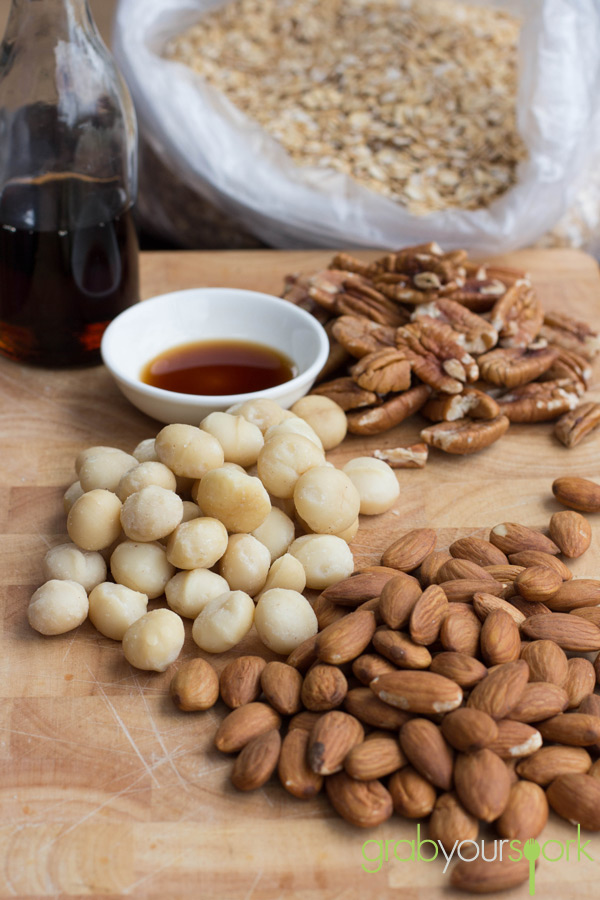
What’s great about this recipe? You can make this granola to your own liking by altering the type of nuts you use. More pecans, less almonds, you can even add dried fruit… it’s up to you. Then just add it to your cereal, yogurt, or some fresh fruit in the morning for a healthy start to the day.

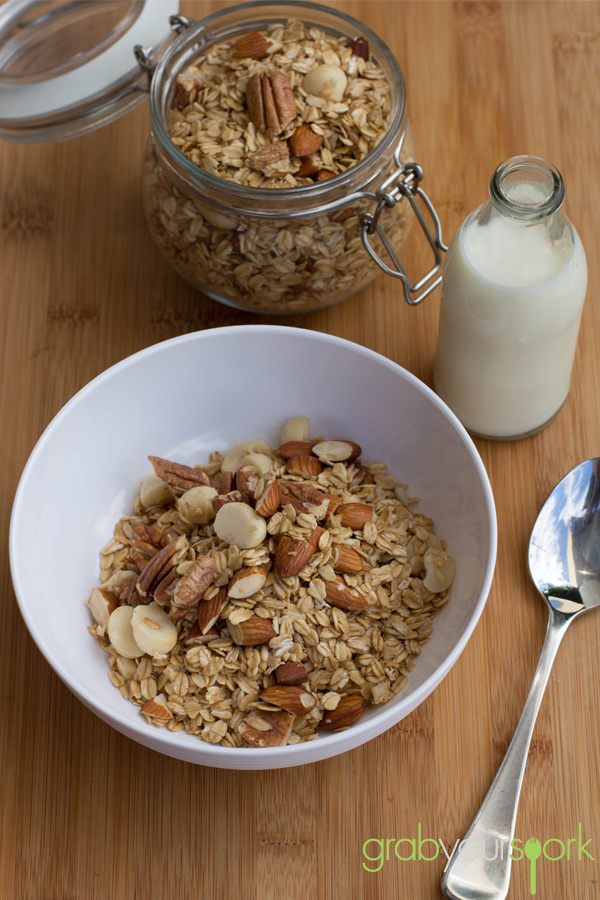
Brooke likes to make granola in large batches as it can be stored in airtight containers – meaning we can snack on it for a few weeks.

If granola is not going to cut it then check out our Spanish baked eggs recipe or Tuscan baked beans recipe.

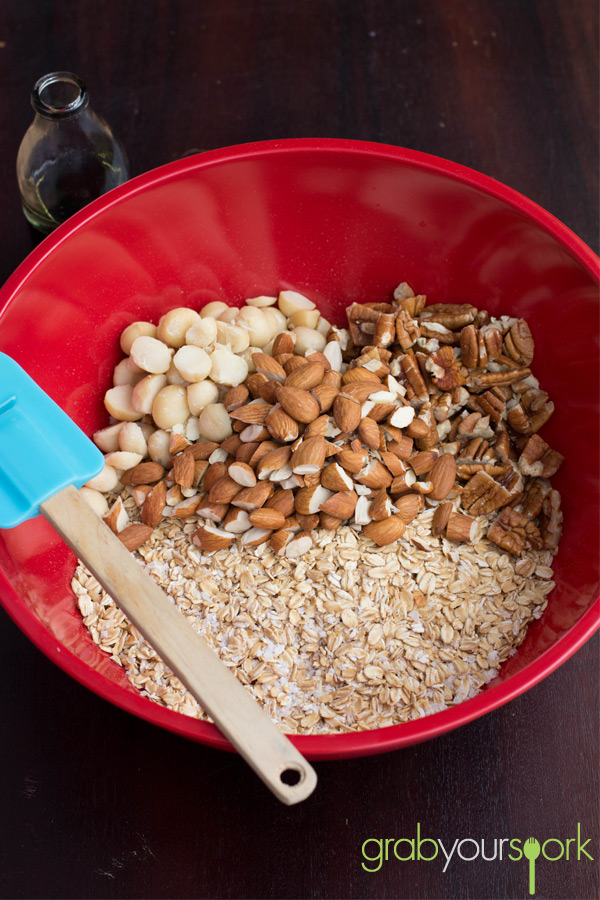
Maple Mixed Nut Granola Ingredients

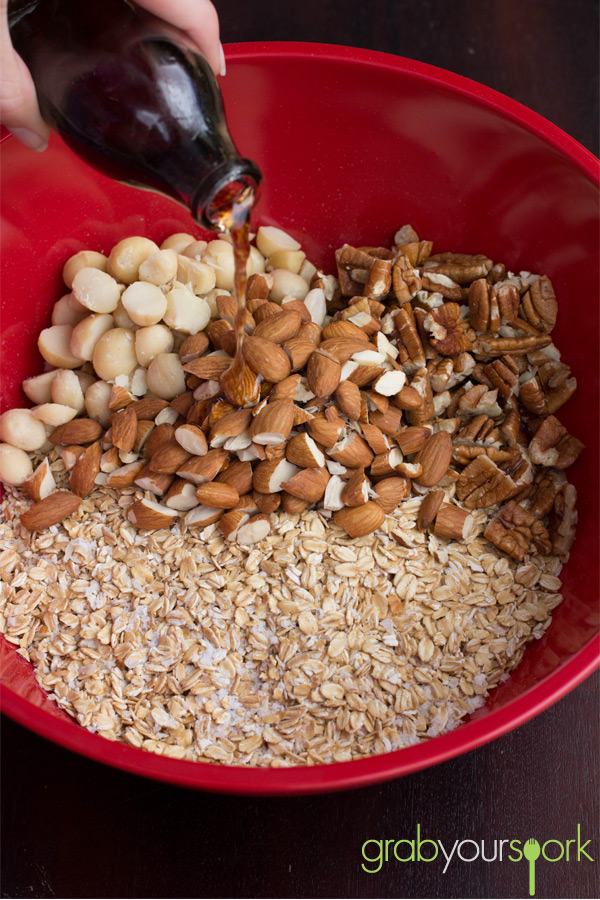
Maple Mixed Nut Granola Bowl

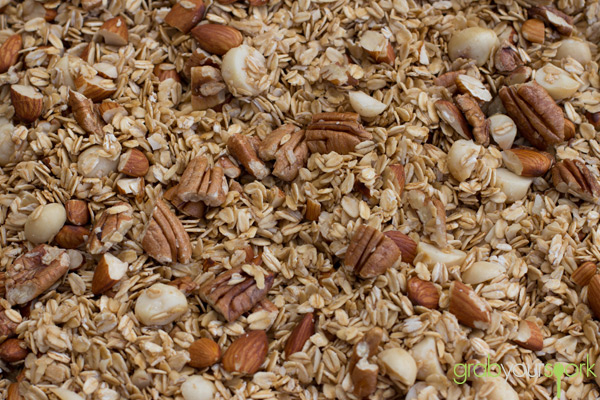
Maple Mixed Nut Granola

Baked Maple Mix Nut Granola

Maple Mixed Nut Granola with Milk

Maple mixed nut granola – Recipe Instructions

5.0 from 1 reviews
Maple Mixed Nut Granola
 
Prep time
Cook time
Total time
 
Maple Mixed Nut Granola. Not only is it healthy but it is quick, easy, & delicious! So it ticks all the boxes.
Author:
Recipe type: Snack
Cuisine: American
Serves: 4
Ingredients
  • 4 cups old-fashioned rolled oats
  • ¼ cup chopped pecans
  • ¼ cup chopped almonds
  • ¼ cup chopped macadamia nuts
  • ¼ teaspoon coarse salt
  • 5 teaspoons vegetable oil
  • 5 tablespoons pure maple syrup
  • ½ teaspoon pure vanilla extract
Instructions
  1. Preheat oven to 160 degrees Celsius. In a large bowl, toss together oats, pecans, almonds, macadamia nuts, salt, vegetable oil, maple syrup, and vanilla extract.
  2. Spread oat mixture on a rimmed baking sheet. Bake until golden brown, 25 to 30 minutes, rotating sheet halfway through. Let cool completely.


Sugar Cookies

Last Updated on April 8, 2016 by Grab Your Spork

This weekend was Brooke’s future sister in-laws Kitchen Tea. I am still not entirely sure what the afternoon entails, but I know there was an array of savoury and sweet treats thanks to the leftovers that got brought home! To contribute to the afternoon Brooke volunteered herself to take on the sweets, which included mini lemon meringue pies, cupcakes and lastly sugar cookies.

Sugar cookies are well known throughout America and are usually made at festive times including Christmas, Valentine’s Day or Halloween as they can be easily cut into various shapes. The other great thing about Sugar Cookies is the recipe is so simple and so are the ingredients! Sugar cookies are made from sugar, flour, butter, eggs, vanilla and either baking powder or baking soda. For this recipe Brooke opted for baking powder. When making these cookies you need to make sure you refrigerate your dough first, as the chilled dough makes it so much easier to roll ( it doesn’t stick as much to the rolling pin).

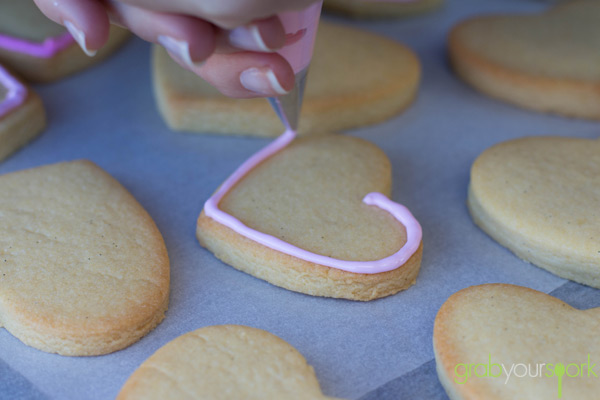
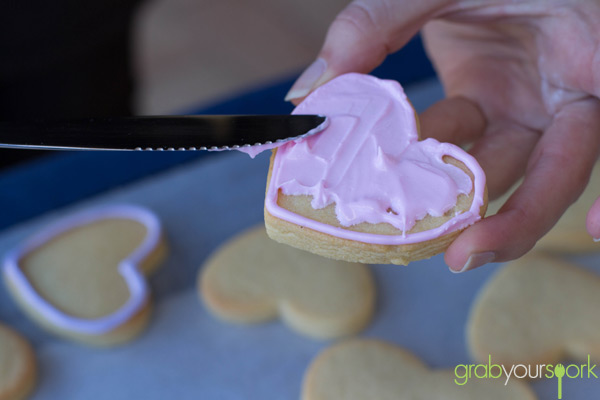
When it comes to decorating the cookies, this is the fun part – although the mess isn’t so much. To decorate it is really your choice whether you wish to decorate with a glaze, royal icing or fondant. For this recipe Brooke opted for a combination of royal icing and a glaze. Royal icing is great for decorating cakes, cupcakes or cookies and is made using egg whites or meringue powder, which is what helps it dry hard. If you want to make a glaze also, I would recommend making a royal icing in addition to pipe around to outside, then put the glaze in the middle as it holds it in place. Remember you will need to work quickly with your royal icing as it does crust quickly.

Brooke’s handy tip if you are using a pipe for the royal icing. Put a damp piece of paper towel in a tall glass and use this to stand your piping bag in. The damp towel will stop your piping nozzle from drying out and blocking the pipe.

For other cookie recipes check out our ginger nut biscuits or florentine biscuits.

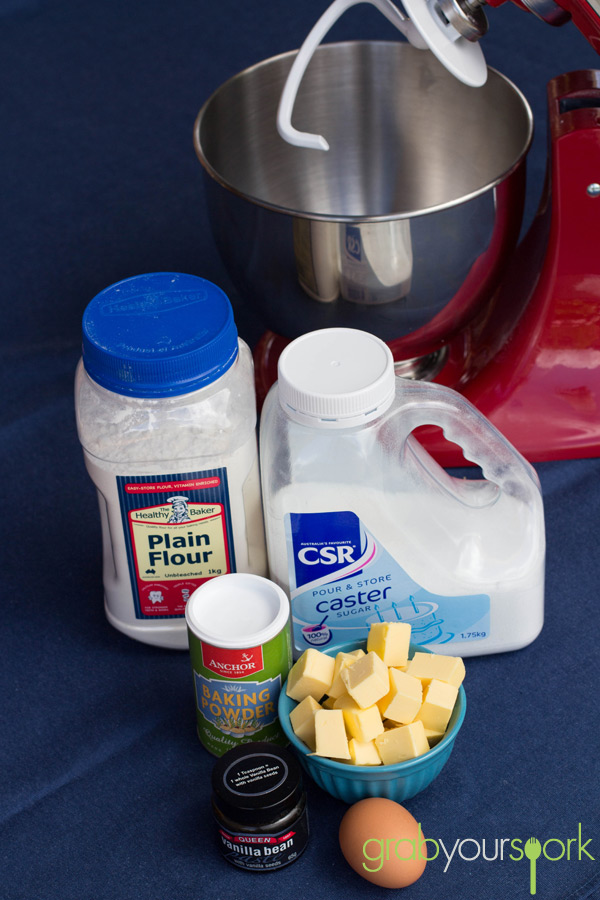
Sugar Cookie Ingredients

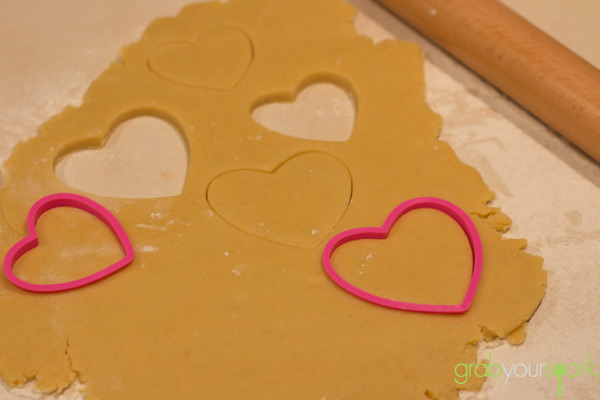
Sugar Cookie Dough

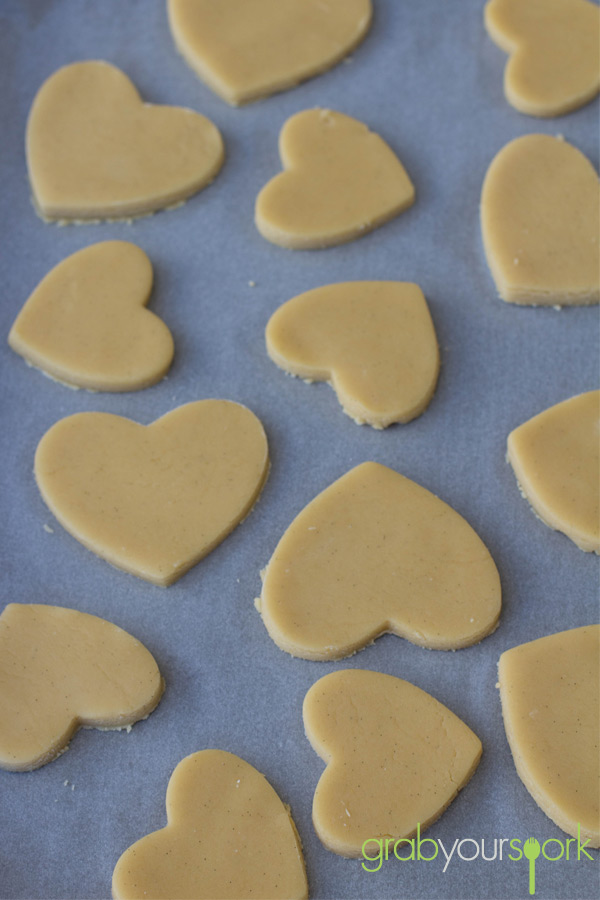
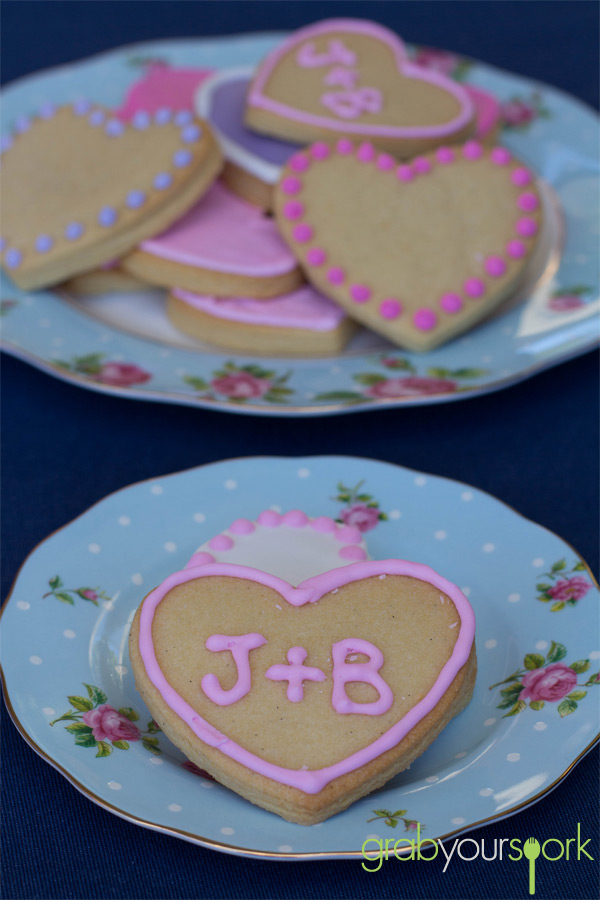
Love Heart Shaped Sugar Cookies

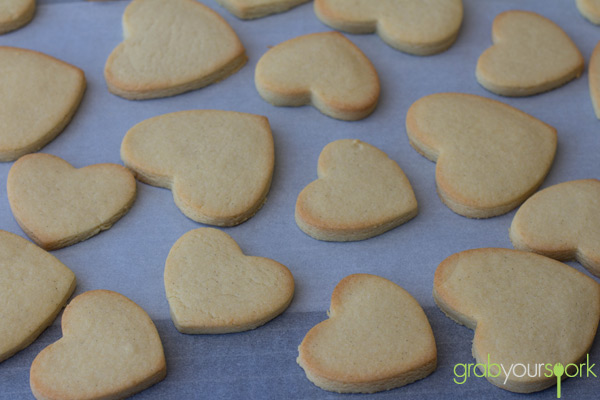
Sugar Cookies

Sugar Cookie Hearts

Icing Sugar Cookies

Sugar Cookies

Sugar cookies – Recipe Instructions

Sugar Cookies
 
Prep time
Cook time
Total time
 
Sugar cookies are great at festive times including Christmas, Valentine’s Day or Halloween as they can be easily cut into various shapes.
Author:
Recipe type: Baked Goods
Cuisine: American
Serves: 30
Ingredients
Sugar Cookies
  • 3 Cups all purpose flours
  • 1 tspn baking powder
  • 1 cup unsalted butter
  • 1 cup white sugar
  • 1 egg (large)
  • 1 tspn vanilla extract
Royal Icing Using Egg Whites
  • 2 large (60 grams) egg whites
  • 2 teaspoons fresh lemon juice
  • 3 cups (330 grams) confectioners (powdered or icing) sugar, sifted
Glaze
  • 1 Cup Powdered Sugar
4 tsp Milk
Instructions
Sugar Cookies
  1. Preheat your over to 180 Degrees celcius
  2. Mix all ingredients together, to form round dough
  3. Refrigerate for 30 mins
  4. Remove the dough from the fridge, and roll the dough flat.
  5. Using your preferred cookie cutter, cut the dough into cookies
  6. Put the cookies on a lined baking tray, and bake in the oven for 8 – 10 minutes, or slightly golden.
Royal Icing
  1. In the bowl of your electric mixer, beat the egg whites with the lemon juice until combined.
  2. Add the sifted powdered sugar and beat on low speed until combined and smooth. (The right consistency is when you lift the beater, the ribbon of icing that falls back into the bowl remains on the surface for a few seconds before disappearing. If the icing runs off the edge, thicken the icing by adding a little more confectioners sugar. Conversely, if the icing is too thick, add a little water.)
  3. The icing needs to be used immediately or transferred to an airtight container as royal icing hardens when exposed to air.
  4. Cover with plastic wrap when not in use
Glaze
  1. Mix with fork. To make it more of a thin glaze, add more milk. To make it a thicker icing, add more powdered sugar.


Choc Chip Snickers Cookies

Last Updated on February 22, 2020 by Grab Your Spork

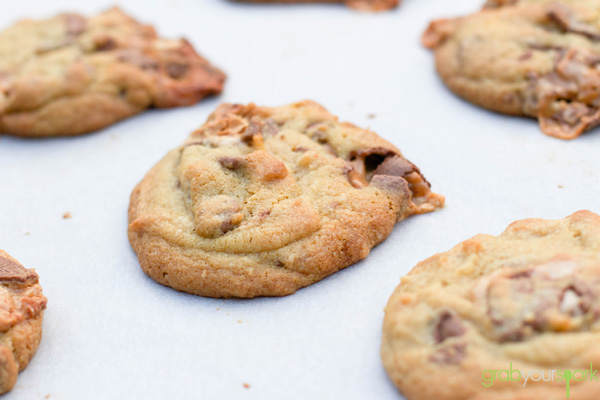
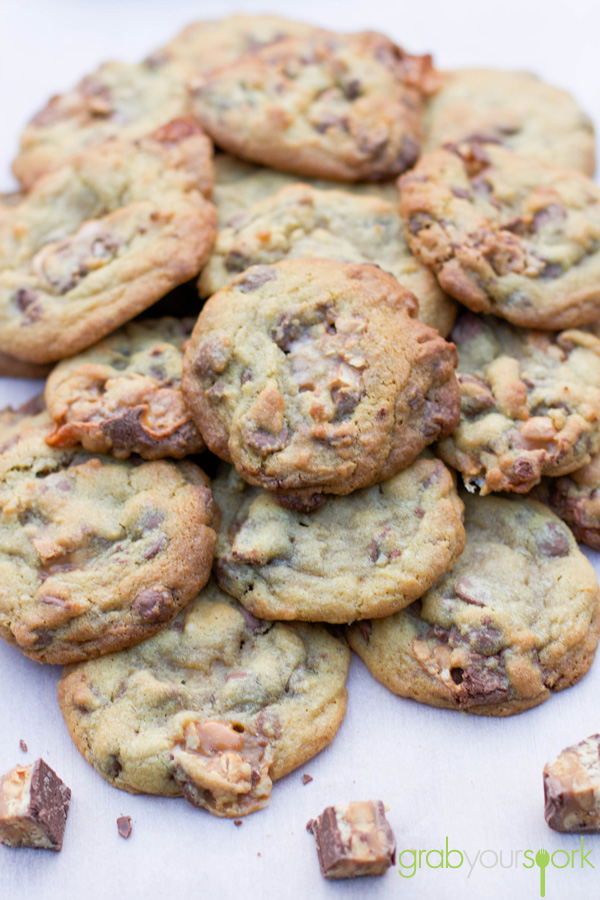
What’s not to love about a snickers chocolate bar? They are the perfect combination of sweet and salty. They have the satisfying crunch of the salty peanuts and then the sweet gooey nougat. Then when added to a classic choc chip cookie recipe, they make for the most addictive cookie ever! Here comes the test of my will power again! These choc chip snickers cookies are too tough to resist.

The base to this recipe is a classic choc chip cookie recipe that is very straight forward. To start you need to cream the butter, eggs, sugars and vanilla well. This kept Brooke happy as it meant she got to use her kitchen-aid again! After beating the ingredients for about 5 minutes. Add the dry ingredients and mix until just combined before adding the snickers and choc chips.

The beauty of this recipe is you can choose to substitute the snickers with any other chocolate (Mars Bar, M’n’Ms, Milky Way etc) however, our personal favourite is making choc chip snickers cookies. The trick to keep in mind though is, before baking add extra snickers pieces to the top and sides of the cookies for extra lava explosions as I like to think of them.

The other thing I love about this recipe, is chewy texture of the cookies that is always a crowd pleaser. Through adding corn flour to this recipe, it helps keep the cookies soft and light. However, the most important thing to remember is not to over bake the cookies. To ensure you have a soft chewy cookie, bake your cookies for 8 or 9 minutes. Do not bake the cookies for more than 10 minutes, even if they don’t look cooked. I guarantee the cookies will crisp when you take them out of the oven an leave to cool.

As I said before, these cookies are extremely addictive. I recommend for those who have no will power like me, that you make the cookies then distribute to friends and family once you have had your fair share.

If you like biscuits and cookies then try some other tasty treats including our melting moments with jam, oatmeal and raisin cookies, ginger nut biscuits, afghan biscuits or florentine biscuits.

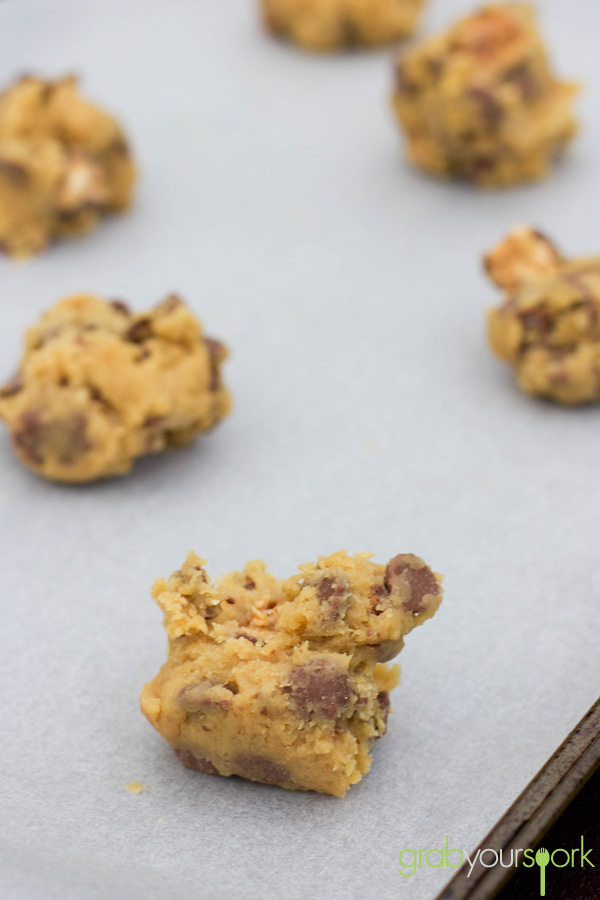
Choc Chip Snickers Cookies Dough

Choc Chip Snickers Cookies

Choc Chip Snickers Cookies

Choc chip snickers cookies – Recipe Instructions

Choc Chip Snickers Cookies
 
Prep time
Cook time
Total time
 
These Choc Chip Snickers Cookies are the perfect combination of sweet and salty. Adding Snickers to a classic choc chip cookie recipe takes indulgence to the next level.
Author:
Recipe type: Baked Goods
Cuisine: American
Serves: 20
Ingredients
  • ¾ cup unsalted butter, softened
  • ¾ cup light brown sugar, packed
  • ¼ cup caster sugar
  • 1 large egg
  • 2 teaspoons vanilla extract
  • 2 cups all-purpose flour
  • 2 teaspoons corn flour
  • 1 teaspoon baking soda
  • pinch salt, optional and to taste
  • 1 heaping cup Snickers, diced small and loosely piled in measuring cup (or any alternative chocolate)
  • 1 cup chocolate chips
Instructions
  1. Preheat oven to a moderate temperature.
  2. Combine the butter, sugars, egg, vanilla, and beat on medium-high speed until well-creamed, light and fluffy, about 5 minutes (or use a hand mixer and beat for at least 7 minutes).
  3. Stop, scrape down the sides of the bowl, and add the flour, cornstarch, baking soda, optional salt, and mix until just combined, about 1 minute.
  4. Add the Snickers, chocolate chips, and beat momentarily to incorporate, or fold in by hand. (Keep extra snickers pieces to add to dough mounds on tops and sides).
  5. Scoop the mixture into heaped tablespoonfuls on a lined baking tray. Flatten mounds slightly.
  6. Bake for 8 to 9 minutes, or until edges have set and tops are just beginning to set, even if slightly undercooked, pale and glossy in the center. Do not bake longer than 10 minutes as cookies will firm up as they cool.
  7. Store cookies in a airtight container at room temperature for up to 1 week. Alternatively, unbaked cookie dough can be stored airtight in the refrigerator for up to 5 days.
Notes
If you have time, refrigerate your dough for 2 hours before baking. If you bake straight away like we did, your cookies will tend to be slightly thinner.