Caramelised Apple and Fennel Pork Sausage Rolls Recipe

Last Updated on June 7, 2017 by Grab Your Spork

There’s nothing better than homemade sausage rolls, and these homemade Caramelised Apple and Fennel Pork Sausage Rolls are so tasty I bet you can’t just eat one! Sausage rolls are popular all year round here in Australia, especially as a casual snack at a party due to their quick and easy to make reputation.

In recent years sausage rolls have got somewhat of a bad name, due to the mass produced versions you find in supermarkets with zero flavour and zero nutrition. As with most things when making your own sausage rolls, using high-quality ingredients returns this classic to their flavoursome best.

The sweet caramelised apple and fennel spice, mixed with pork – combines to give a sweet, juicy, slightly spicy pork filling that’s wrapped in a buttery, flaky puff pastry goodness. It’s the small touches that make this recipe great, caramelising the apple takes these sausage rolls to a whole new level, which is bordering on gourmet.

If you have time you can make these sausage rolls with homemade puff pastry, instead of store bought, but as we were short on time we went with store bought puff pastry.

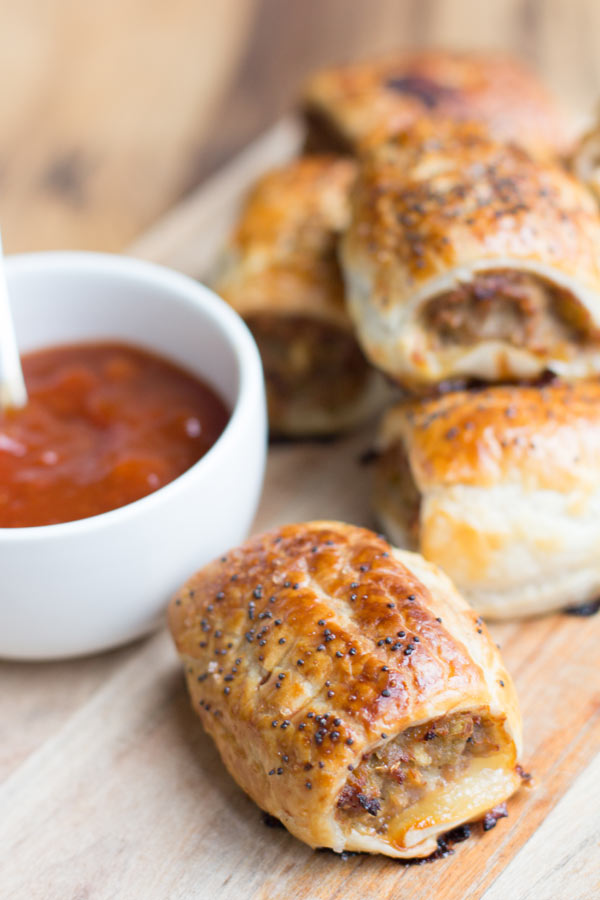
We like to serve our homemade Caramelised Apple and Fennel Pork Sausage Rolls with Beerenberg Tomato Chutney a gourmet chutney we discovered when in South Australia.  If you have time making some from scratch is also an option, but to be honest you can eat them without any kind of dipping sauce. Too much sauce can take away from the delicious apple, fennel and pork filling.

If you’re looking for other pork recipes, then check out our pulled pork tacos recipe or Asian BBQ pork ribs.
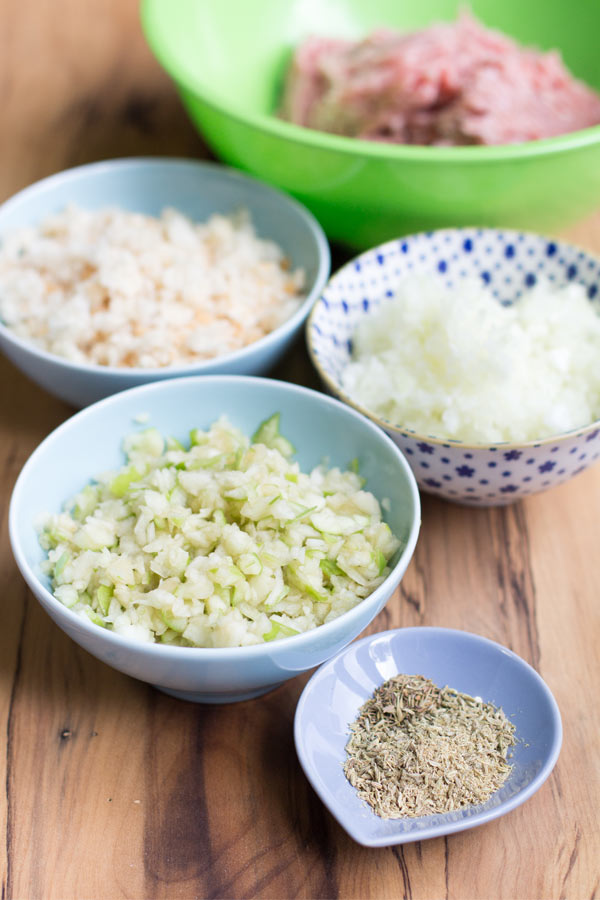
Caramelised Apple and Fennel Pork Sausage Rolls Recipe

Caramelised Apple and Fennel Pork Sausage Rolls Recipe

Caramelised Apple and Fennel Pork Sausage Rolls Recipe

Caramelised Apple and Fennel Pork Sausage Rolls Recipe

Caramelised Apple and Fennel Pork Sausage Rolls Recipe

Caramelised Apple and Fennel Pork Sausage Rolls Recipe

Caramelised Apple and Fennel Pork Sausage Rolls Recipe

Caramelised Apple and Fennel Pork Sausage Rolls Recipe

5.0 from 1 reviews
Caramelised Apple and Fennel Pork Sausage Rolls Recipe
 
Prep time
Cook time
Total time
 
There's nothing better than homemade sausage rolls, and these homemade Caramelised Apple and Fennel Pork Sausage Rolls are so tasty I bet you can’t just eat one!
Author:
Recipe type: Snack
Cuisine: Australian
Serves: 16
Ingredients
Caramelised Apple
  • 2 tbsp butter
  • 1 granny smith apple, finely diced
  • 1 small brown onion, finely diced
  • 2 tbsp brown sugar
  • 2 tbsp apple cider
  • ¼ tsp salt
Sausage Rolls
  • 500g pork mince
  • Caramelised apple
  • 2 large cloves of garlic, chopped finely
  • 1 tsp dried thyme
  • 2 tsp ground fennel seeds
  • 1 cup fresh bread crumbs
  • 1 egg
  • salt and pepper
  • 2 sheets of frozen puff pastry (9 x 9 inches)
To finish
  • 1 egg - for egg wash
  • Sea salt flakes
  • poppy seeds
Instructions
  1. Heat 2 tbsp of butter in a nonstick pan. When melted, add the onions and apple and saute over medium heat until the mixture starts to turn golden brown, about 10 minutes.
  2. Add the brown sugar, apple cider and salt and cook for another 5-10 minutes until the liquid is reduced and the apples have caramelised. Set aside to cool slightly.
  3. Preheat oven to 180°C. Line a baking tray with baking paper.
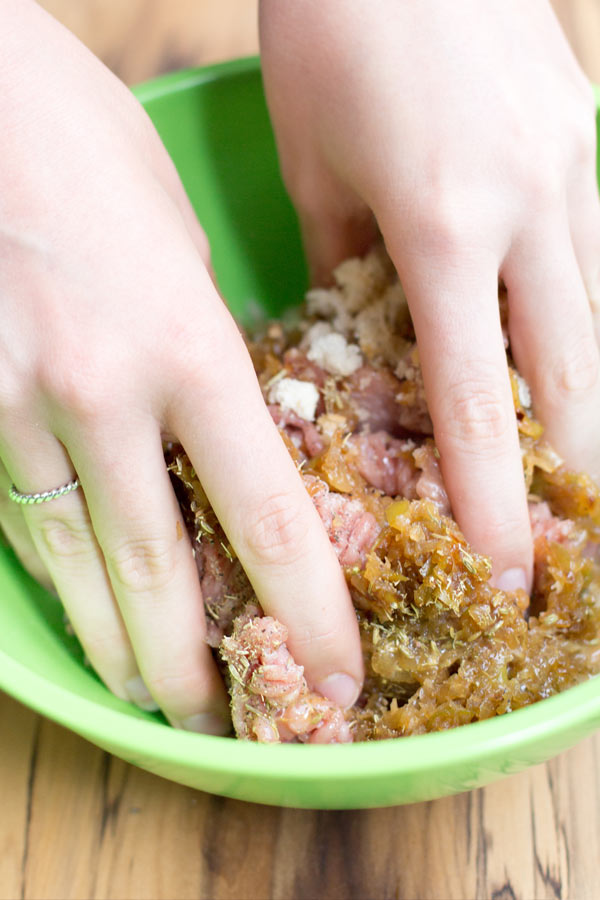
  4. In a bowl, place the pork mince, breadcrumbs, garlic, herbs, egg then add the cooled caramelised apple mixture and salt and pepper to season. Mix with your hands or a spoon, until everything is mixed through well. Divide the mix into four portions.
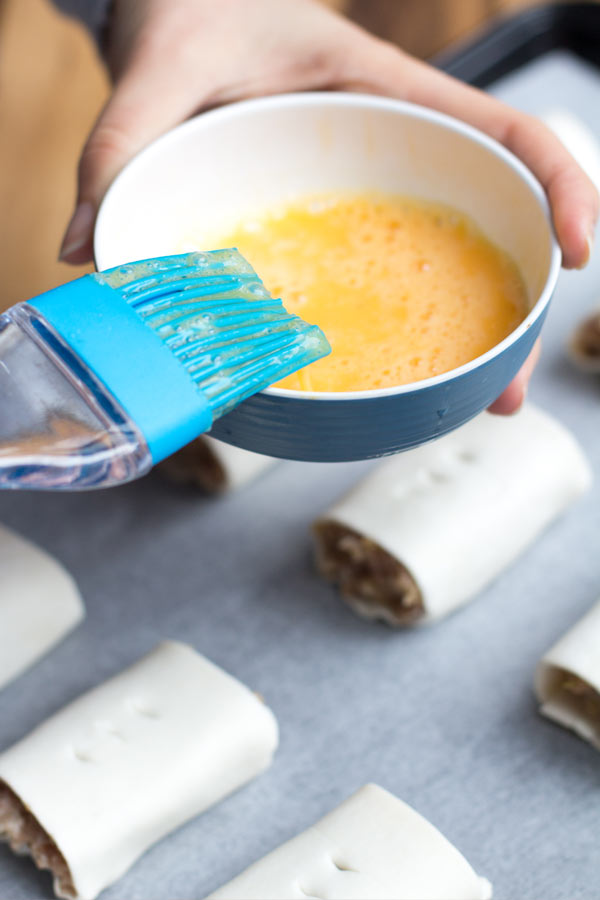
  5. Place one puff pastry sheet on your bench and cut it in half, so you have two 9 x 4.5 inch rectangles. Take a single portion of the sausage filling and while leaving a 1 cm margin, place the filling along one long edge of the puff pastry rectangle, evenly. Brush both long edges with some egg wash, and carefully roll up the pastry sheet with the sausage filling, until the ends overlap by about 1 cm. Gently pinch the two ends together to create a seal. Place the seam side down, and cut this roll into 4 equal parts (with a back and forth motion using a serrated knife so that you cut evenly and smoothly). Place the 4 sausage rolls on the baking tray, slightly apart.
  6. Repeat with the remaining puff pastry sheet to make 16 sausage rolls in total.
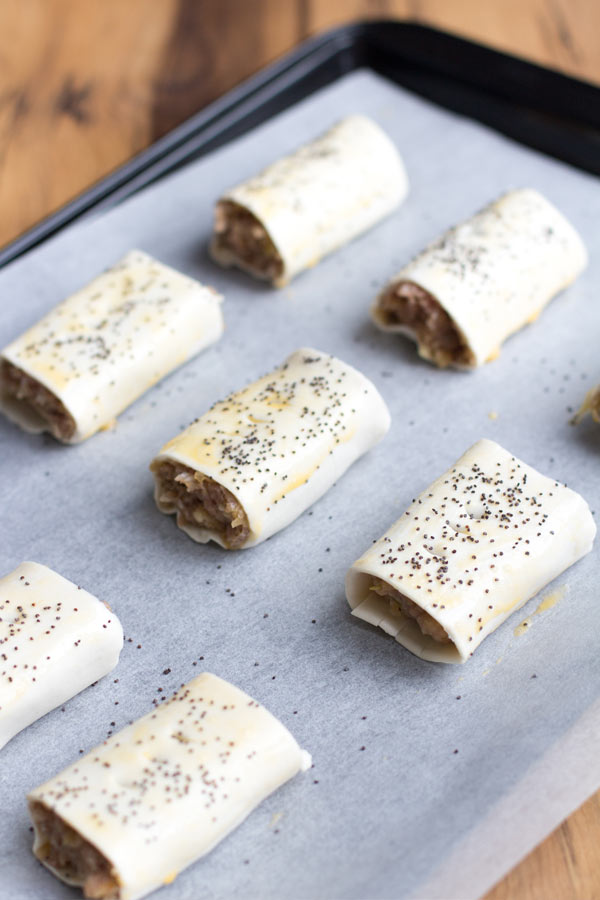
  7. Using a small sharp knife, make two slits on the top of each sausage roll. Brush the tops generously with egg wash and sprinkle some salt and poppy seeds (optional).
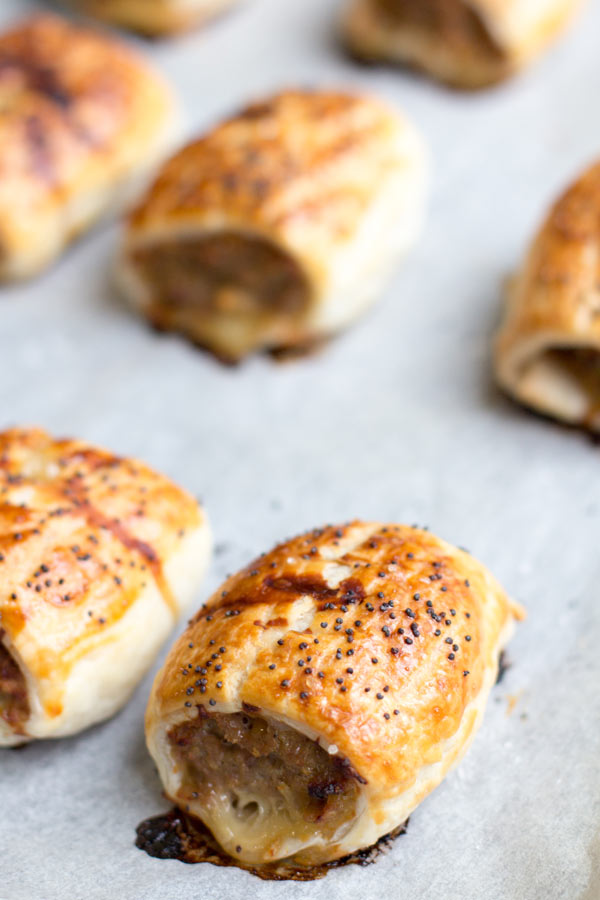
  8. Bake in the oven for 15 minutes, and then increase the heat to 190°C and bake for a further 30 minutes or until they are golden brown.
  9. Take out of the oven, allow them to rest for a few minutes, and serve while warm.
 

Sweet Potato Hummus

Last Updated on June 9, 2017 by Grab Your Spork

I love snacking. It’s one of my favourite past times. If I am watching the footy, a movie, or if friends are coming over, there must be snacks. Chips and dips are always a crowd pleaser and so easy. Now I do love guacamole, but this recipe for healthy sweet potato hummus with its spicy flavour is definitely one of my new favourites.

Hummus is so easy to make and for some reason, it can be an expensive dip in the shops, even though it uses low-cost ingredients. To add a little sweetness and colour to our recipe we use roasted sweet potato. Sweet potatoes are great as they are full of beta-carotene, are low-gi and work great with spices like cumin and ground coriander.

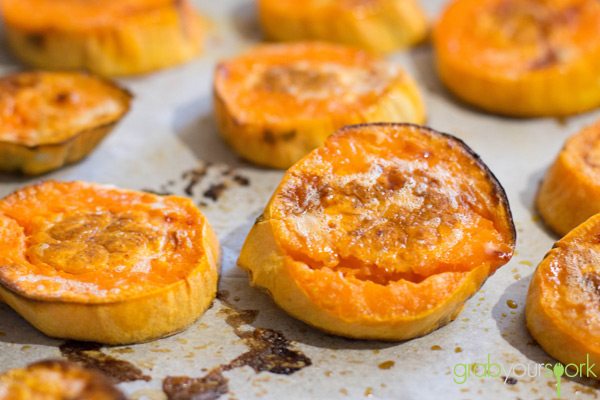
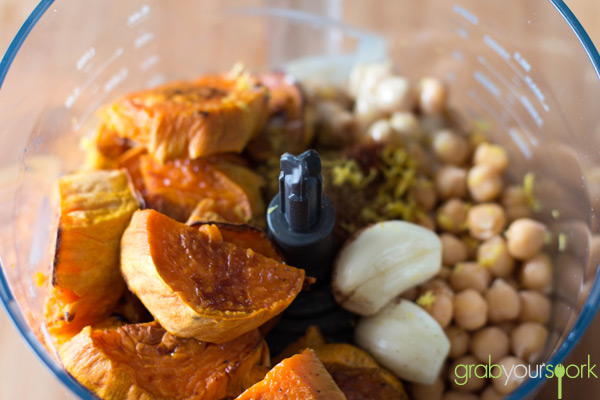
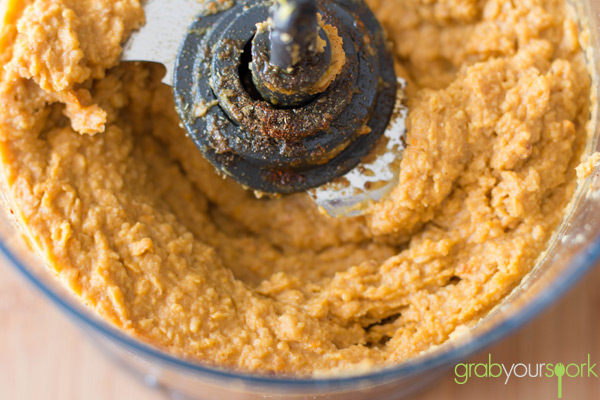
To make this recipe we use a basic hummus recipe and spiced it up using cumin, coriander, and smoked paprika along with the roasted sweet potato. After roasting the sweet potato first, simply add this to the remaining ingredients, blitz in the food processor and voila! Homemade sweet potato hummus!

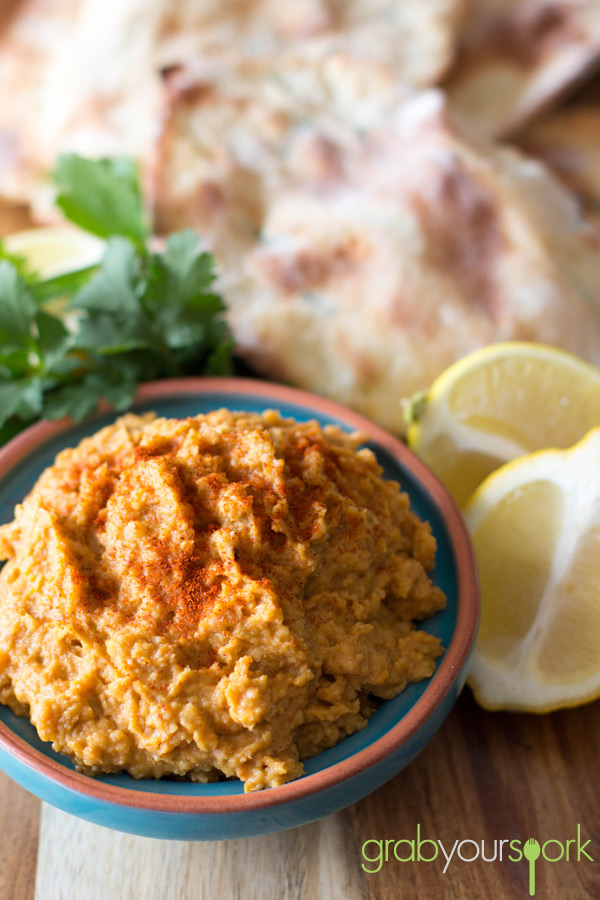
We usually serve the sweet potato hummus with crackers, some fresh vegetables or if we have some time, some of Brooke’s homemade green onion flat bread!

If you are looking for other dips and spreads then check out our Basil Pesto Recipe or Simple Guacamole Recipe.

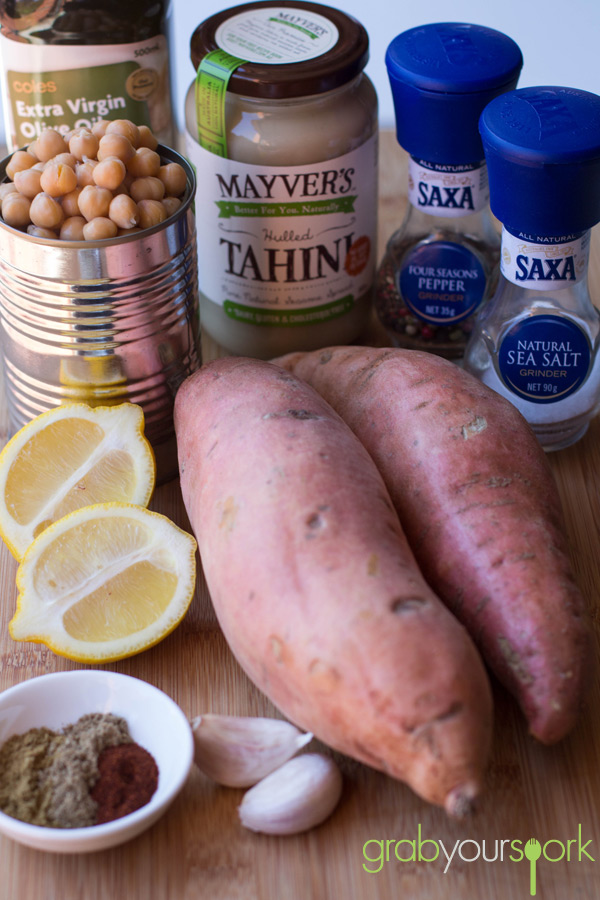
Sweet Potato Hummus Ingredients

Roasted Sweet Potato Hummus

Sweet Potato Hummus Recipe

Sweet Potato Hummus Recipe

Sweet Potato Hummus Recipe

Healthy Sweet Potato Hummus – Recipe Instructions

Sweet Potato Hummus
 
Prep time
Cook time
Total time
 
Sweet potato hummus made with cumin, coriander and smoked paprika along with the hero ingredient roasted sweet potato.
Author:
Recipe type: Snack
Cuisine: Greek
Serves: 10
Ingredients
  • 1 can of chickpeas, washed and drained
  • 400g sweet potato, roasted
  • 3 -4 tbsp olive oil
  • 1 lemon, zest and juice
  • 2 tbsp tahini
  • 2 cloves garlic, peeled
  • 1½ tsp cumin
  • 1 ½ tsp smoked paprika
  • 1 ½ tsp ground coriander
  • ground sea salt, to taste
Instructions
  1. Preheat oven to 180 °C. Bake the sweet potato in the oven for 45 minutes to an hour. Once the sweet potato is golden and soft in the middle it is ready. Allow to cool.
  2. In a food processor, combine remaining ingredients with cooled sweet potato and puree. Scrap down the sides of the food processor as you go. You can thin the hummus with a little water if necessary. If you are sensitive to spice, season gradually.
  3. Serve fresh, or refrigerate in an airtight container, up to 1 week. Serve with crudités or crackers.


Homemade Muesli Bars

Last Updated on May 12, 2014 by Grab Your Spork

Muesli bars are a staple item for most. They are an easy energy snack to take with you to work, on a trip, before the gym or to pack in a school bag. For me they are still a regular mid-morning snack and it is so easy to just buy a box at the shops as they are individually wrapped and ready to go. The only downfall is this “healthy” snack isn’t always so healthy. Typically processed muesli bars tend to contain a high level of butter, sugar and other added fats.

This recipe for homemade muesli bars is a quick and easy solution to the processed ones – and you don’t even need to turn on the oven! Now this recipe still contains butter, sugar and honey to bind the dry ingredients, but given the amount of slice you make it will be far less than any sugar contained in the store bought ones.

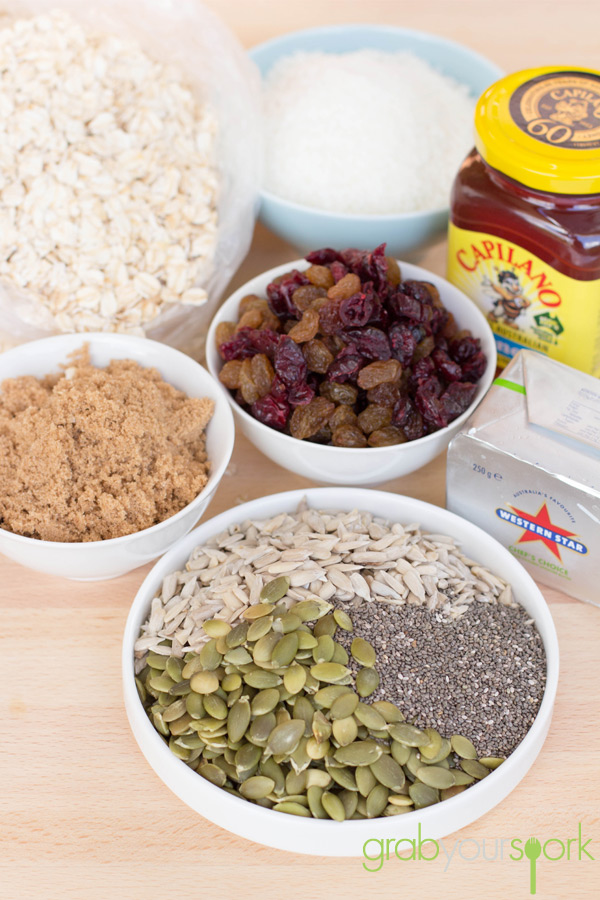
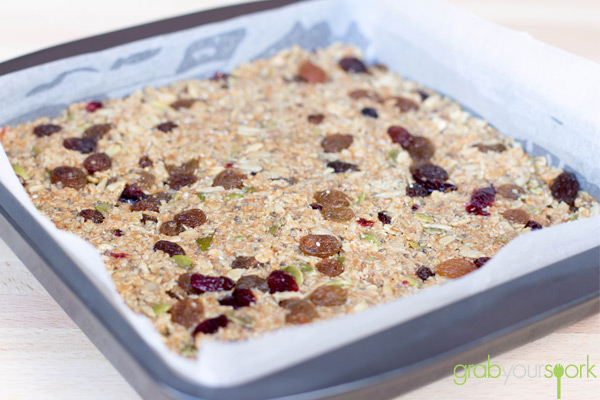
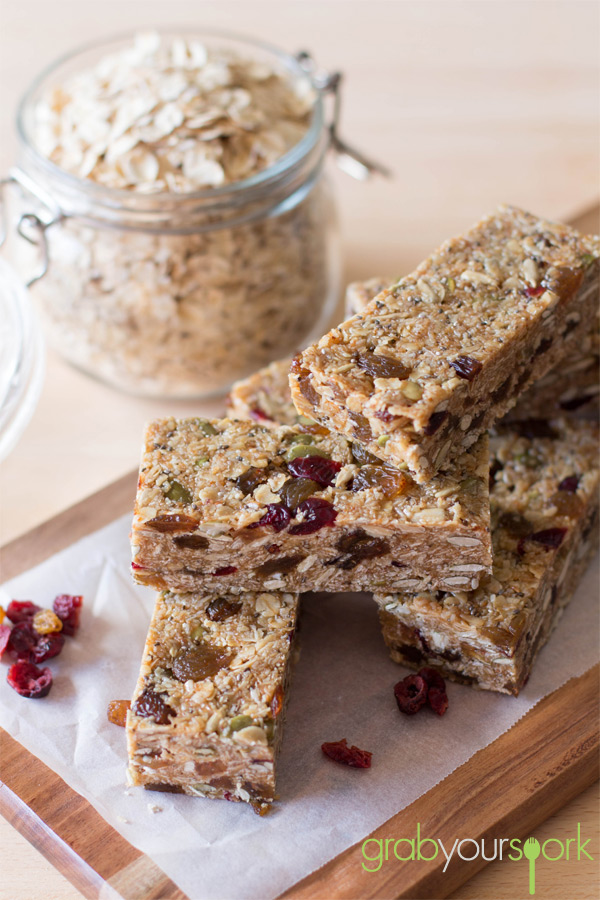
The ingredients we used are very versatile and can be swapped out for your own preferences. However we used a combination of rolled oats, desiccated coconut, dried sultanas and cranberries, pepitas (pumpkin seeds), sunflower seeds and chia seeds.

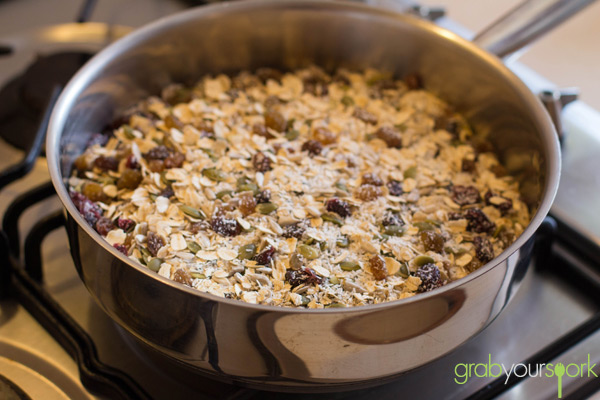
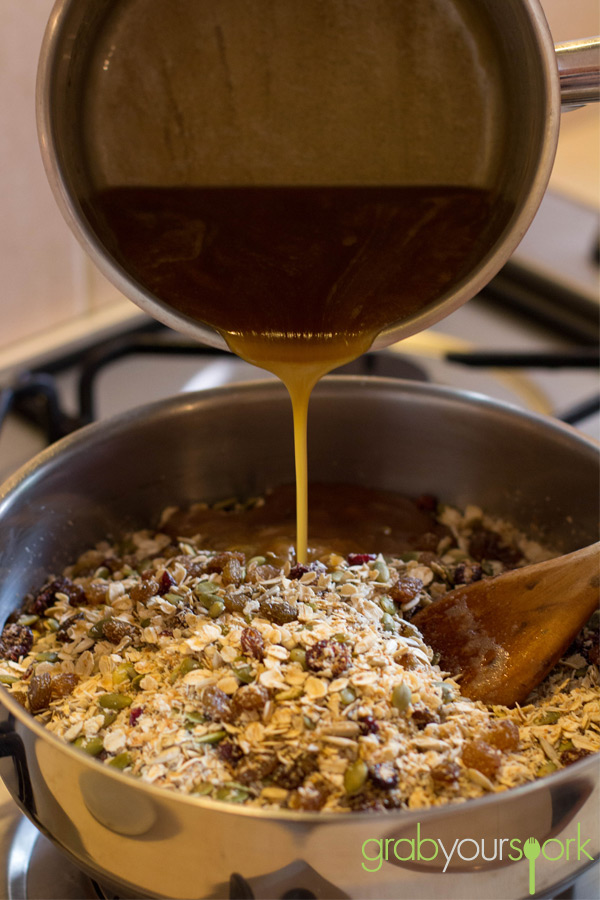
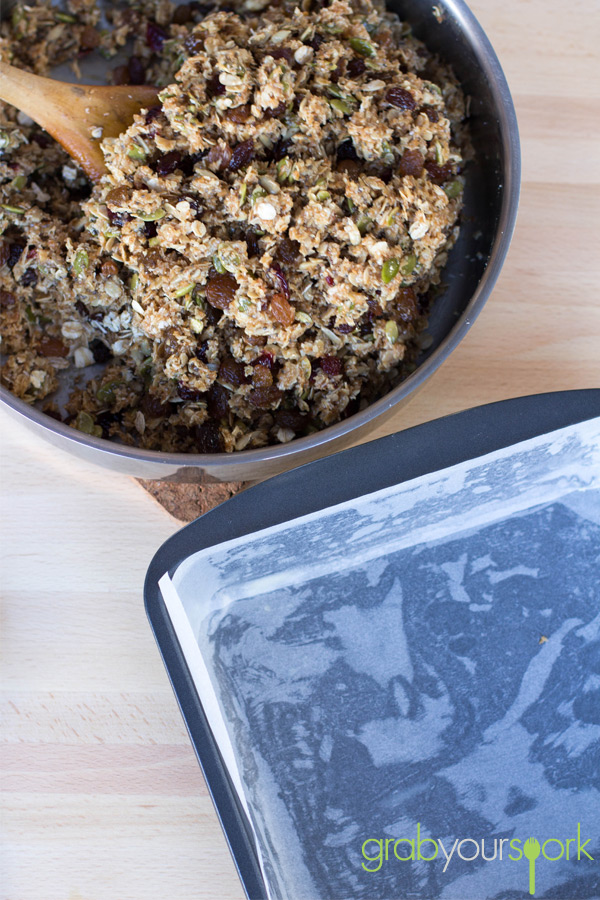
As you don’t bake the bars, simply toast all the dry ingredients till you have a nice golden colour on the oats and coconut. In the meantime melt the butter with some brown sugar and honey till it is almost like caramel. Once the caramel mixture has cooled pour this onto the dry ingredients mixing well. When putting the mixture in the tin ensure you use a metal spoon to compact the mixture firmly in the tray. Allow to completely cool.

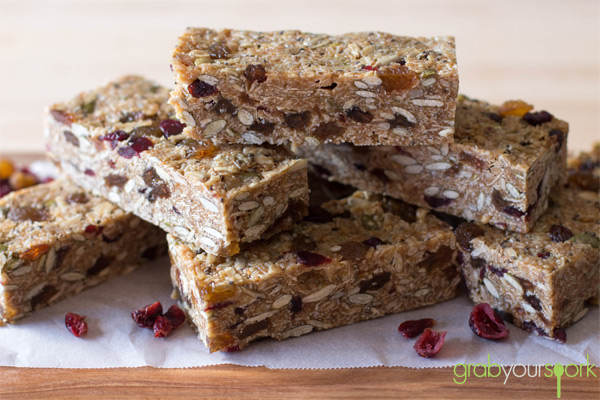
Once the slice has cooled, the slice will be firm and ready to cut into bars or squares. You can keep the bars in an airtight container for a week or as long as it lasts!

Homemade Muesli Bars Ingredients

No Bake Homemade Muesli Bars

Homemade Muesli Bars Recipe

Homemade Muesli Bars with Chia

Homemade Muesli Bars Recipe

Homemade Muesli Bars Recipe

Homemade Muesli Bars

Homemade Muesli Bars
 
Prep time
Cook time
Total time
 
Homemade Muesli Bars made with a combination of rolled oats, desiccated coconut, dried sultanas and cranberries, pepitas (pumpkin seeds), sunflower seeds and chia seeds.
Author:
Recipe type: Snack
Cuisine: Australian
Serves: Makes 10 bars or 20 squares
Ingredients
  • 1 ½ cups rolled oats
  • 1 ½ cups desiccated coconut
  • ½ cup sultanas
  • ½ cup dried cranberries
  • ½ pepitas (pumpkin seeds)
  • ½ sunflower seeds
  • ¼ chia
  • ½ honey
  • ⅓ brown sugar
  • 125 g butter
Instructions
  1. Grease and line a 20cm square baking pan with baking paper.
  2. Add oats, coconut, sultanas, cranberries, pepitas, sunflower seeds and chia to a non stick frying pan over a medium heat, stirring for 5 – 8 minutes or until golden.
  3. In a small pot cook butter, honey and sugar over a medium heat, stirring for 4 – 5 minutes until sugar dissolves. Bring to the boil. Reduce to a low heat and allow to simmer for 1 – 2 minutes. Allow to cool slightly before pouring over dried ingredients. Stir until well combined.
  4. Spoon the mixture into the pan. Using a metal spoon press the mixture down firmly.
  5. Allow to cool and cut into squares or bars.
  6. Store in an airtight container for up to 7 days.


Ham and cheese croquettes recipe

Last Updated on November 25, 2018 by Grab Your Spork

Today we have a ham and cheese croquettes recipe to share, these delish small bread-crumbed fried delights originate from France. However the first time I had these was when I was travelling around Spain and the same goes for Brooke. To make croquettes the main ingredient starts with either mashed potato or with a béchamel sauce (which is what we used). These are then flavoured with meat, fish, cheese, and vegetables before being coated and fried off giving them their name croquer, which means “to crunch”.

I love these little snacks and they are definitely a crowd pleaser. You can simply make them ahead of time, and fry when ready to be served. Or cook them then simply reheat in the oven to crisp and warm through.

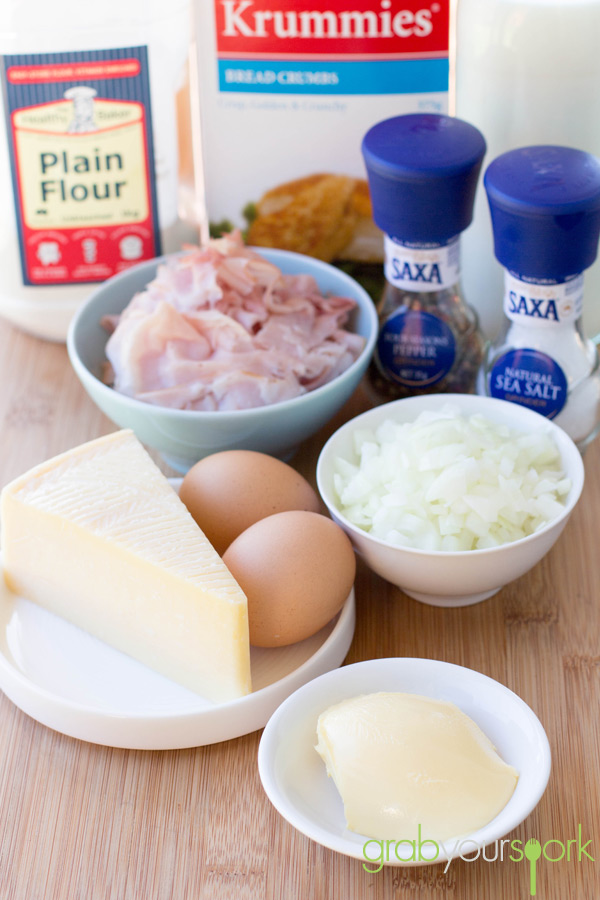
To make our croquettes we have used onion, ham, cheese and added a bit of spring onion for freshness and colour. However all these ingredients are interchangeable with other meat, fish or vegetables.

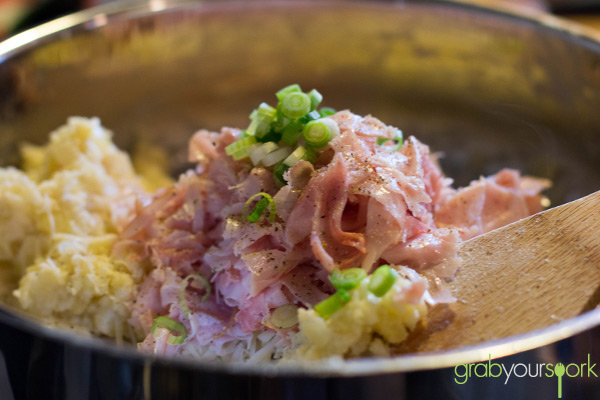
To start, simply saute the onion off in the olive oil and butter until the onions are soft. Gradually add the flour and cook it off before adding the milk. It is very important that you add the milk slowly ensuring there are no lumps. Once this is done add in your grated cheese, ham and spring onions. We have used pecarino cheese for a bit of extra bite, but you can use manchego also. Once this is all combined spread the mixture on a tray to allow too cool. This will leave you with a mixture that is easy to form and shape before crumbing.

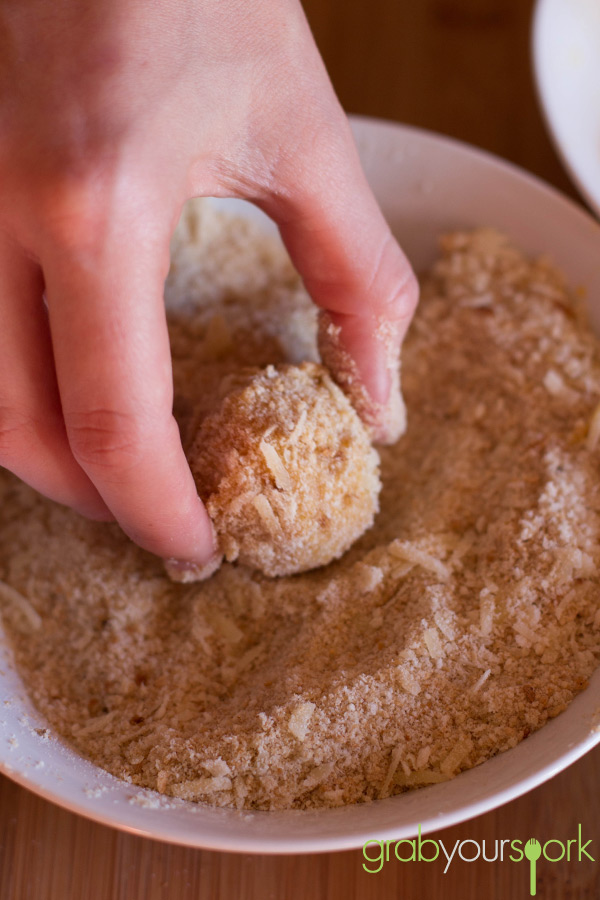
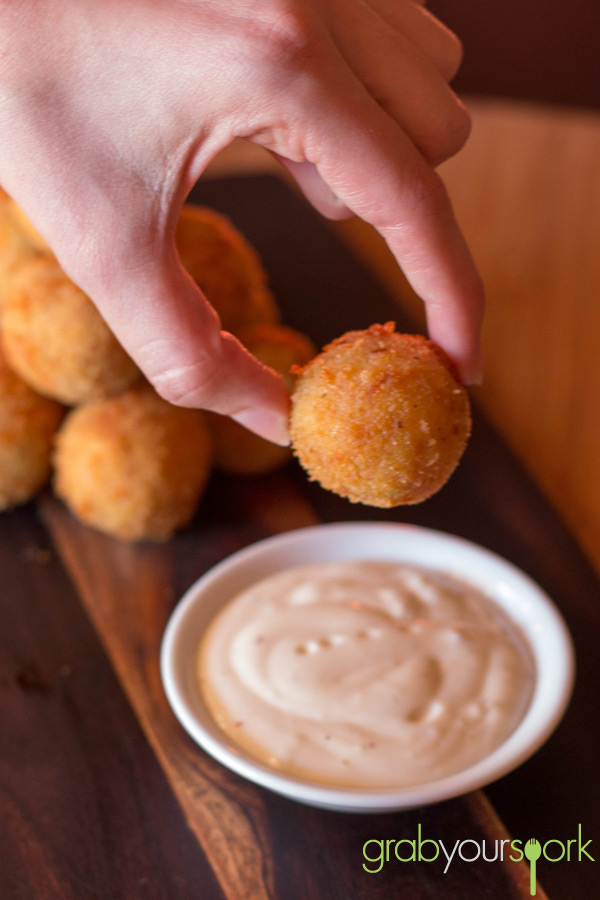
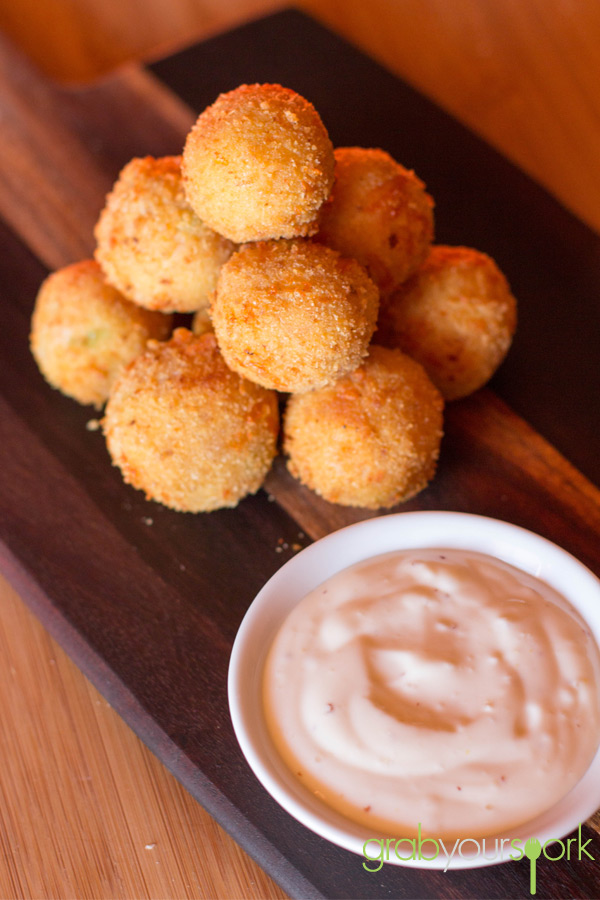
Refining our ham and cheese croquettes recipe we learned it is important to crumb twice, as not only will it help contain your filling, it will give your croquette the necessary crunch. To cook, fry in small batches watching them closely to get a nice golden brown colour. Serve these warm with a simple dipping sauce or on their own!

If you are looking for some alternative snack options then check out our savoury muffin recipe or Vietnamese rice paper rolls recipe.

Ham and Cheese Croquettes Ingredients

Ham and Cheese Croquettes

Ham and Cheese Croquettes Recipe

Ham and Cheese Croquettes

Ham and cheese croquettes recipe

5.0 from 2 reviews
Ham and Cheese Croquettes
 
Prep time
Cook time
Total time
 
Ham and Cheese Croquettes made with onion, ham, cheese and spring onion for freshness and colour.
Author:
Recipe type: Snack
Cuisine: Spanish
Serves: 12
Ingredients
  • 2 tablespoons unsalted butter
  • 2 tablespoons olive oil
  • 1 small onion, finely chopped
  • Coarse salt and freshly ground pepper
  • 7 tablespoons all-purpose flour, plus more for shaping
  • ¾ cup whole milk
  • ½ finely chopped ham of your choice
  • ½ cup plus ¼ cup grated Pecorino cheese
  • 3 large eggs
  • 1½ cups fresh breadcrumbs
  • Vegetable oil, for frying
  • 2 tablespoons spring onion
Instructions
  1. Heat butter and oil in a medium saucepan over medium heat until butter has melted.
  2. Add onion, and cook until onions are translucent.
  3. Add flour gradually; cook, stirring, 1 minute.
  4. Whisk in milk gradually ensuring no lumps and cook, whisking.
  5. Whisk in ham, ½ cup cheese, and spring onions.Season with salt and pepper as desired.
  6. Spread mixture onto a baking sheet, and let cool completely.
  7. Whisk together eggs in a shallow dish. Stir together breadcrumbs and remaining ¼ cup cheese in another dish.
  8. Scoop tablespoons of cooled mixture, and shape.
  9. Working with 1 ball at a time, coat in beaten egg, then in breadcrumb mixture. Repeat and transfer to a baking sheet lined with parchment paper.
  10. Heat 2½ inches oil in a large, heavy stockpot until it reaches 375 degrees.
  11. Working in batches, fry croquettes, flipping once, until golden brown, 1 to 2 minutes total.
  12. Using a slotted spoon, transfer to paper towels to drain. (Adjust heat between batches as needed to keep oil at a steady temperature.)
  13. Serve warm.


Baked Onion Rings

Last Updated on February 3, 2014 by Grab Your Spork

If you have been on Foodgawker or Pinterest lately you will notice all the food people are making for the Superbowl. Although it isn’t a big deal here, it doesn’t mean we don’t appreciate some of the tasty snacks that come from America. This recipe for Baked Onion Rings will make you appreciate the work that goes into making the perfect snack, yet a whole lot healthier given we baked them.

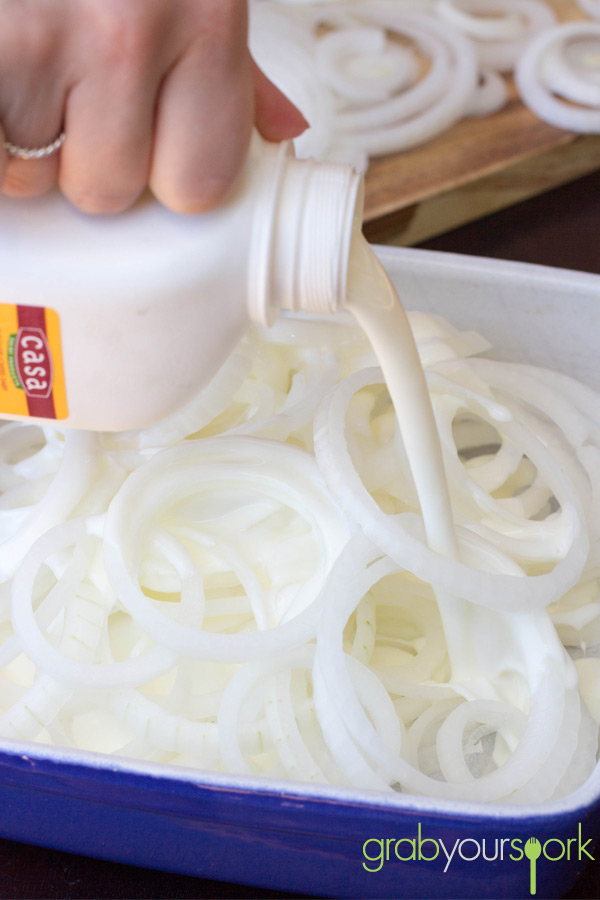
Onion rings are the perfect accompaniment to burgers, barbeques and well any other casual occasion. The trick to making the perfect onion ring however, is ensuring you soak the raw onion rings in buttermilk before coating them. Through soaking the onion first it will not only soften the onion, it also takes away some the heat and acidity onions have. Lastly, soaking the onion rings in buttermilk allows the more coating to adhere to the rings given your that extra crunch.

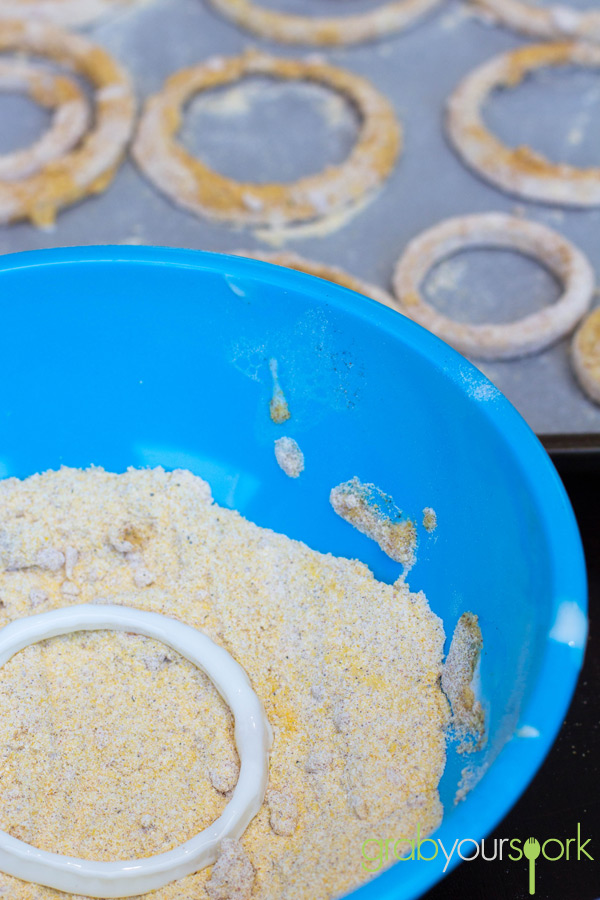
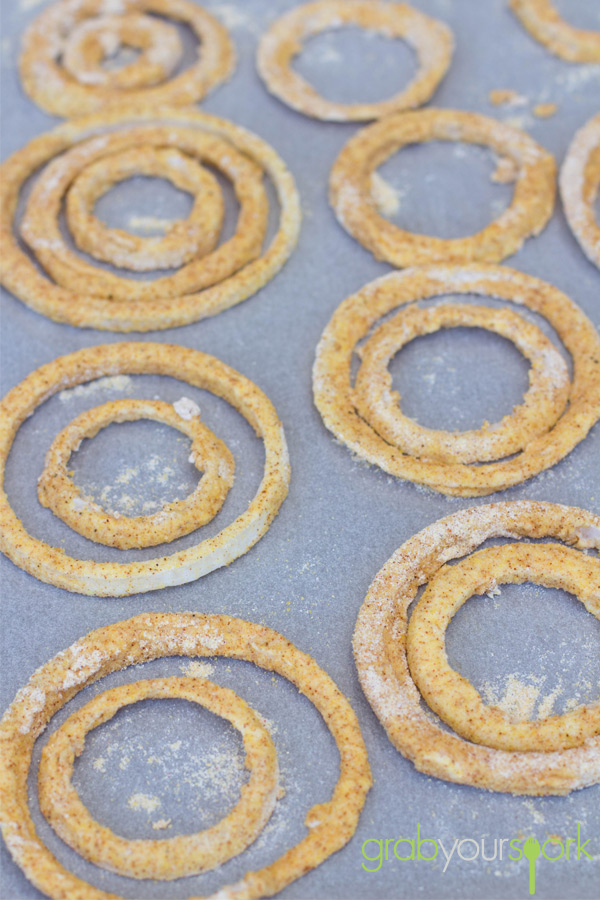
To make our onion rings, you need to soak the rings ahead of time. Anywhere from 2 hours onwards is enough if you ask me. You need to make sure the onions are somewhat submerged in the buttermilk, and occasionally stir. Leave in the refrigerator covered tightly. To coat, simply dip the rings in the coating and place on a lined oven tray. Spray the rings with canola oil and bake in the oven, flipping and rotating till golden brown.

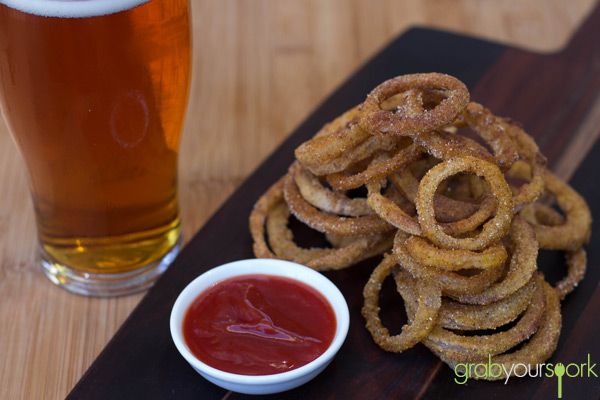
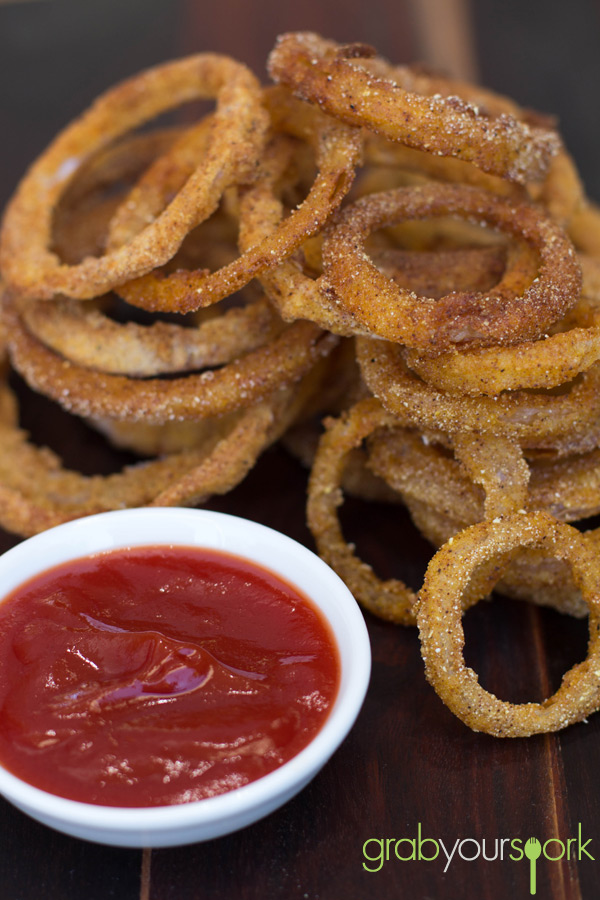
Once the rings are cooked you should end up with a crisp outside and soft onion on the inside. Serve with burgers, barbeque or like we did a as a late afternoon snack and a beer.

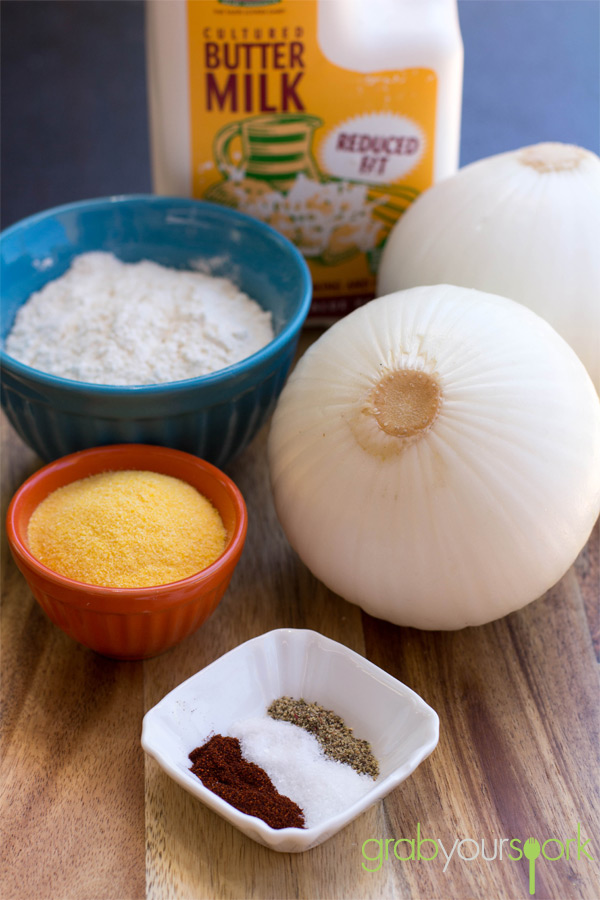
Baked Onion Rings Ingredients

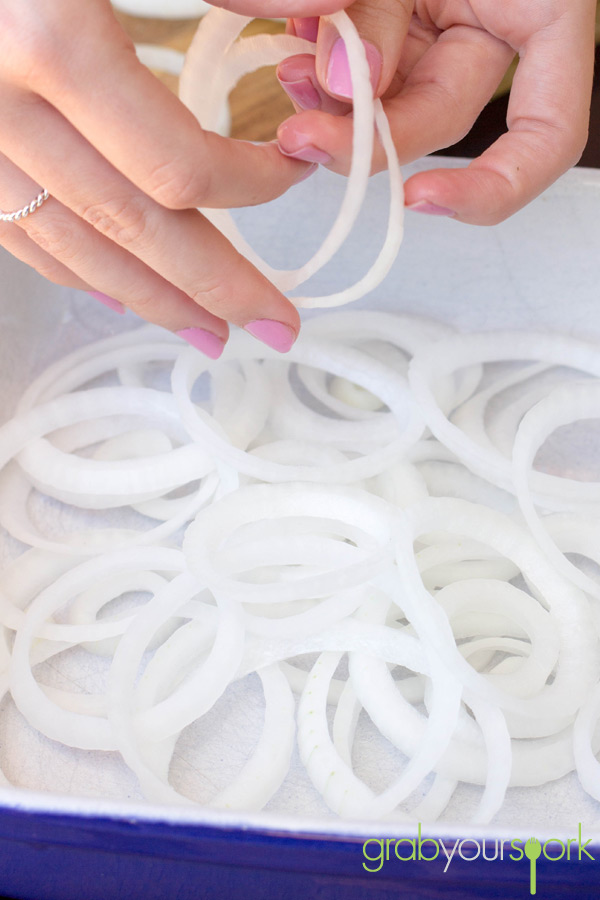
Onion Ring Slices

Baked Onion Rings with Buttermilk

Baked Onion Rings with Polenta

Baked Onion Rings in Batter

Baked Onion Rings with Beer

Baked Onion Rings

5.0 from 1 reviews
Baked Onion Rings
 
Prep time
Cook time
Total time
 
These polenta coated Baked Onion Rings are a whole lot healthier than your typical deep fried onion rings yet they still taste amazing.
Author:
Recipe type: Snack
Cuisine: American
Serves: 12
Ingredients
  • 300 ml buttermilk
  • 2 large onions, thickly sliced into rings
  • ½ cup plain flour
  • 100 g polenta
  • 1 tsp salt
  • ½ tsp ground pepper
  • 1 tsp smoked paprika
Instructions
  1. Slice onions into rings.
  2. Soak onion rings in buttermilk. Cover tightly and refrigerate for at least 2 hours or more.
  3. Combine remaining ingredients in a bowl. Dip onion rings into coating and place on a lines baking tray. Spray with canola oil.
  4. Bake in a 180°C preheated oven, flipping and rotating till golden brown.