Apricot and Coconut Balls

Last Updated on January 1, 2016 by Grab Your Spork

Three ingredients? Dried apricots, coconut and condensed milk. This recipe for Apricot and Coconut Balls really is that simple.

There are a few variations for apricot balls out there, some recipes call for additional things like crushed biscuits or white chocolate but I like this one just the way it is. These bite sized treats are great to make any time of year for a sweet treat and make for a great Christmas recipe.

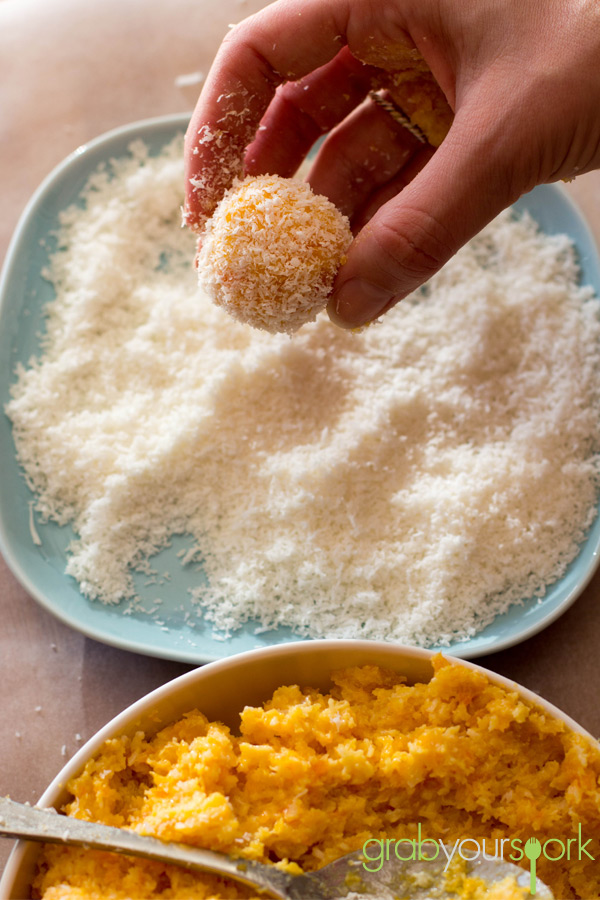
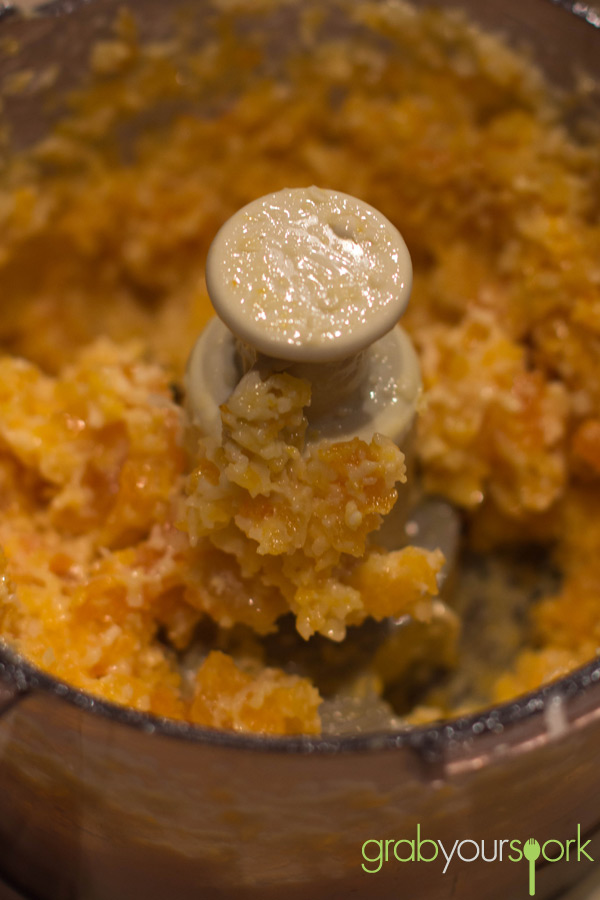
To make these chewy sweet apricot bites, you can either chop the apricots into small pieces or as we did use the food processor. Once you have your mixture, all you need to do is roll the mixture into small balls, then roll through the extra coconut. I encourage you to wet your hands to avoid the mixture sticking as much – but unfortunately if it unavoidable. There will be a mess at the end.

This recipe is simple, yummy and easy to get your kids involved!

If you like this recipe than check out our other great treats like Choc Mint Fudge, Raspberry Friands or Blueberry and Lemon Loaves.
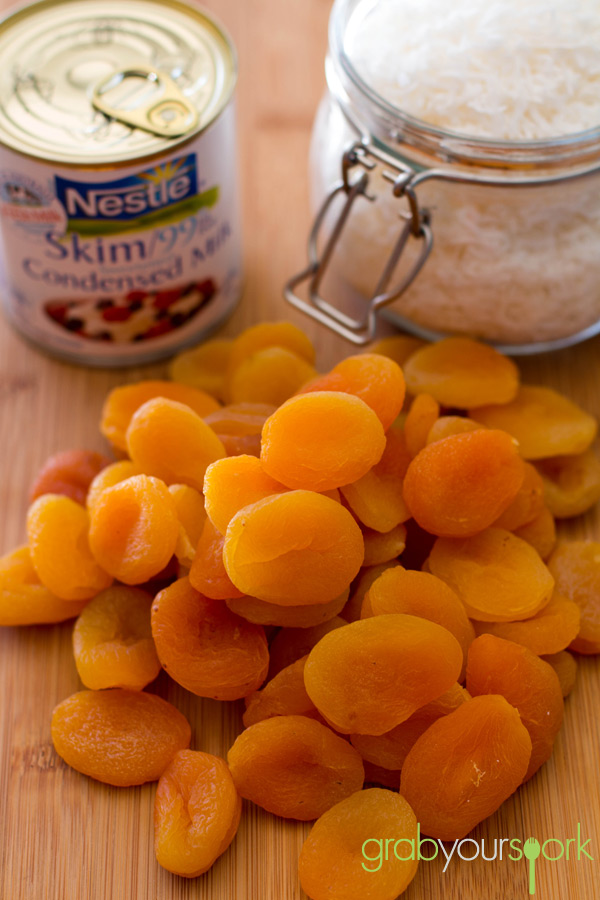
Apricot and coconut balls ingredients

Blended apricots

Rolling apricot and coconut balls

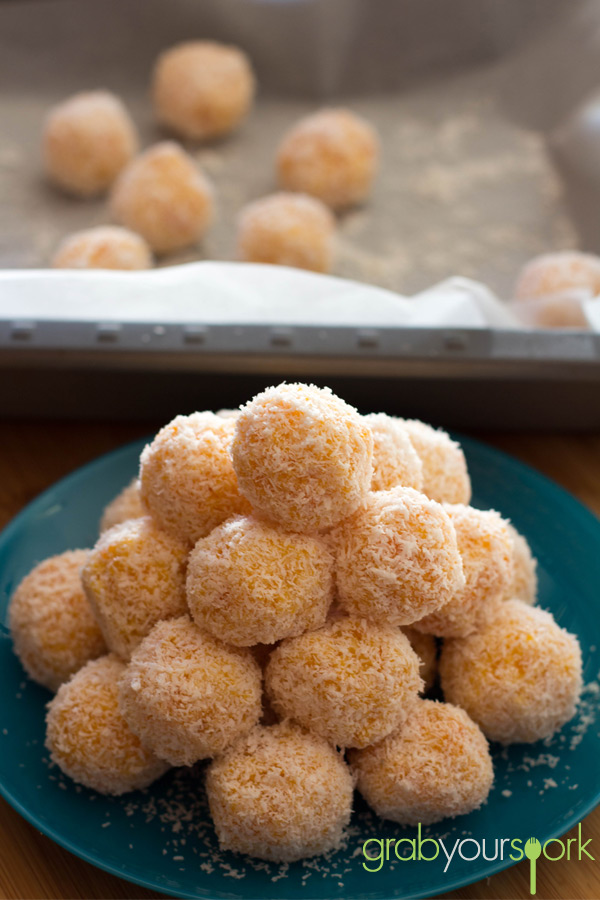
Apricot and coconut balls

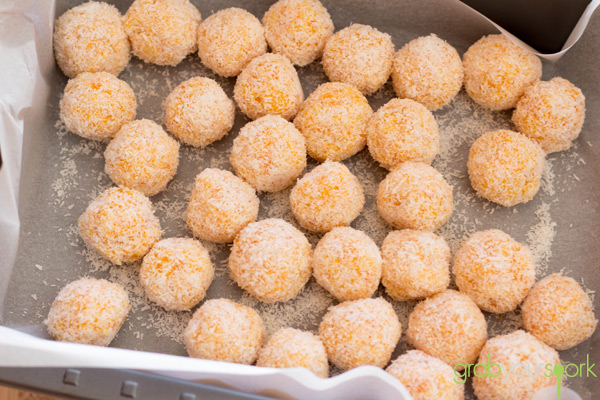
Tray of apricot balls

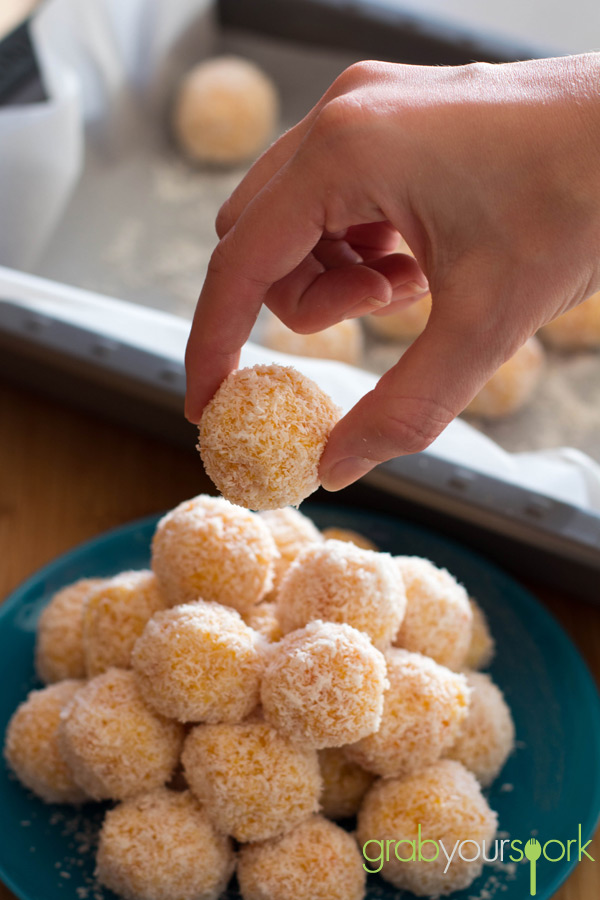
Apricot balls

5.0 from 2 reviews
Apricot and Coconut Balls
 
Prep time
Cook time
Total time
 
Three ingredients? Dried apricots, coconut and condensed milk. This recipe for Apricot and Coconut Balls really is that simple.
Author:
Recipe type: Snack
Cuisine: Australian
Serves: 20
Ingredients
  • 500g dried apricots
  • 1 can condensed milk
  • 2 ½ cups coconut
  • Extra coconut for rolling
Instructions
  1. Combine all ingredients in food processor.
  2. With wet hands, roll mixture into small ball and coat with extra coconut.
  3. Refrigerate or freeze for 1 – 2 hours.
 

Baked Feta with chilli oregano and smoked paprika

Last Updated on April 13, 2017 by Grab Your Spork

If you are ever looking for something easy to take to a friend’s house or have people coming over look no further! This recipe for baked feta with chilli, oregano and smoked paprika is an easy way to prepare a great entrée or finger food dish that is absolutely moreish!

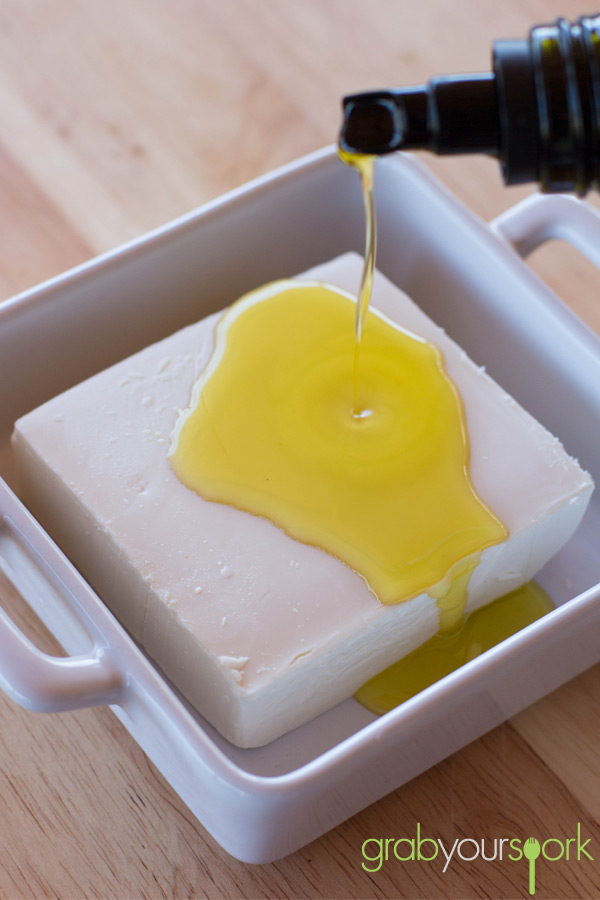
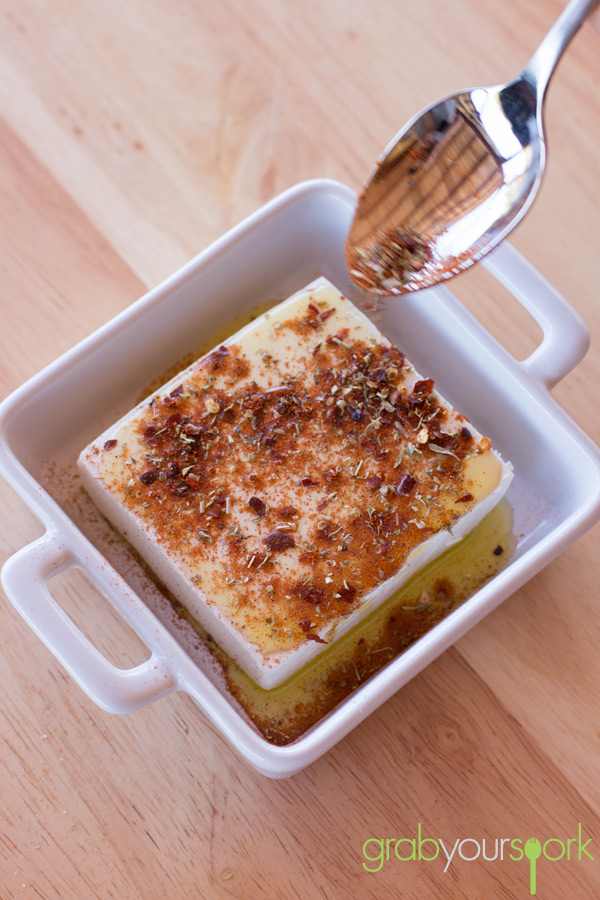
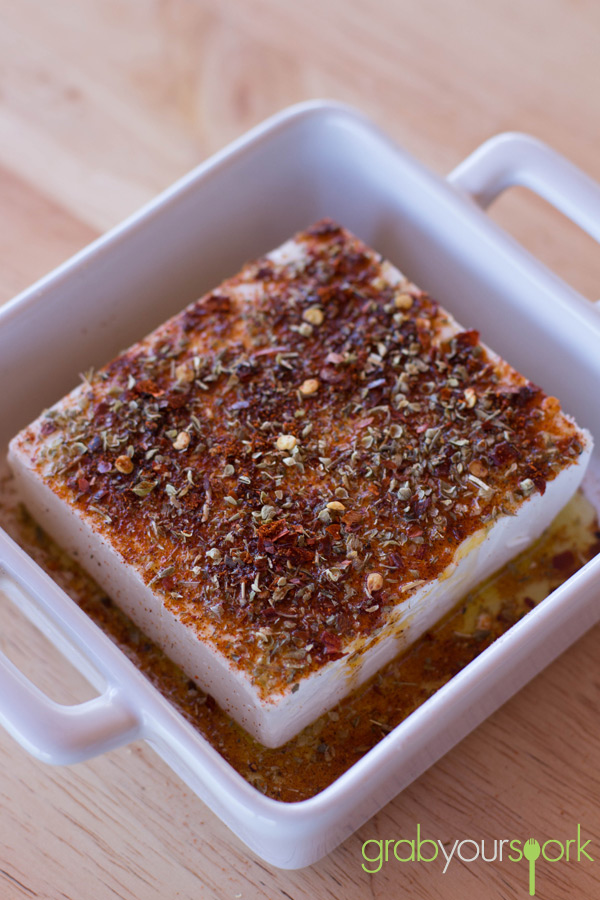
Baked feta is a traditional Greek way of preparing feta, and through adding simple ingredients to the salty cheese it simply enhances the dish. To make baked feta you don’t have to be fancy and buy the cheese over the counter at the deli. You can simply use the one from the cheese counter from your local store. Next all you do is simply place the cheese in a small baking dish and top with olive oil, chilli flakes, oregano and the smoked paprika. Then simply cover the dish with some aluminium foil and place in a pre-heated oven.

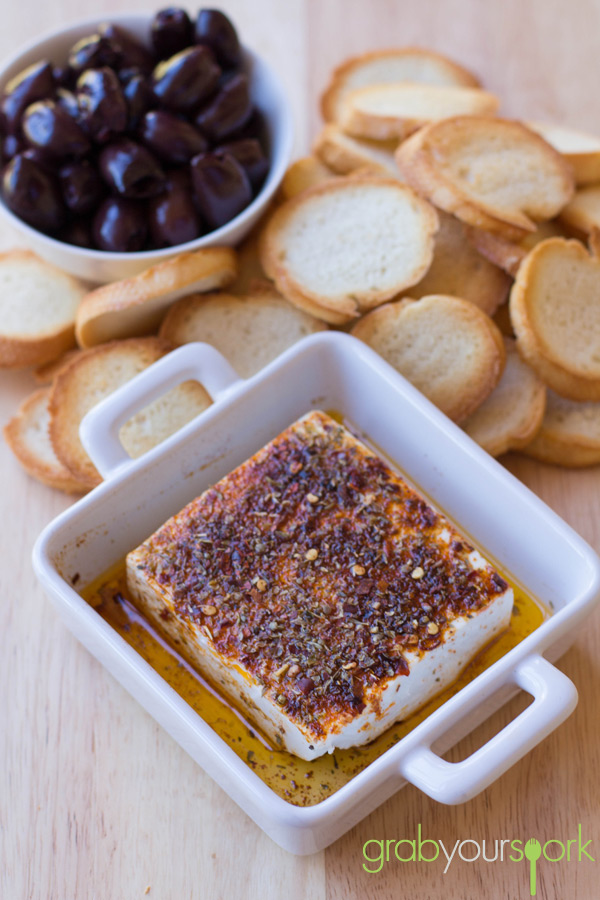
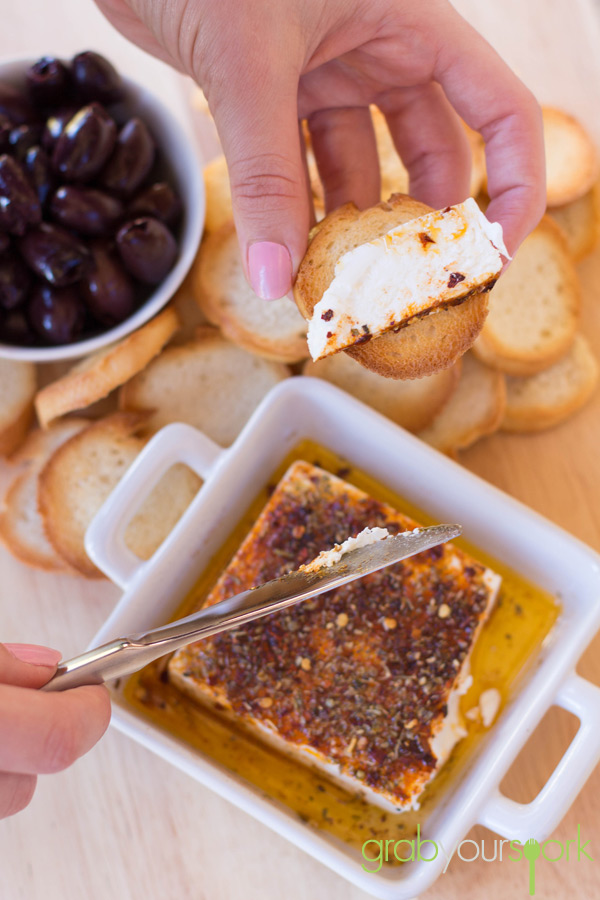
While the feta bakes, simply prepare your plate with either some crackers, fresh bread or bread crisps. I’m a huge fan of kalamata olives, so if you want to jazz up the plate a bit Brooke tends to put a small bowl to accompany the cheese.

After about 10 – 15 minutes the cheese should be warmed through and ready to serve.

We love snacks and if you are looking for something to go with this then try our ham and cheese croquettes.

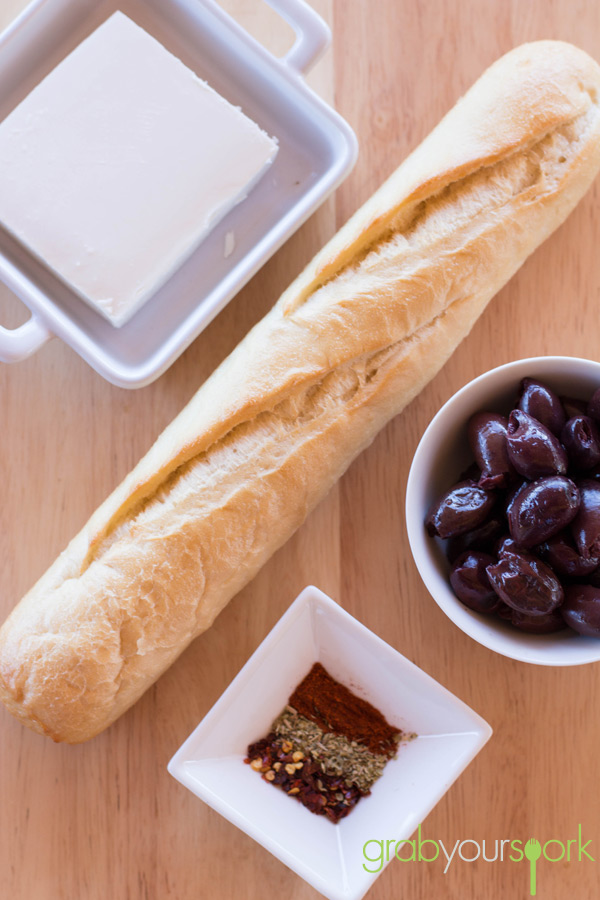
Baked Feta Ingredients

Feta and Olive Oil

baked feta with chilli, oregano and smoked paprika

baked feta with chilli and oregano and smoked paprika

Baked Feta with bread crisps and olives

Baked Feta on bread crisp

Baked feta with chilli – Recipe Instructions

5.0 from 1 reviews
Baked Feta with Chilli
 
Prep time
Cook time
Total time
 
This recipe for baked feta with chilli, oregano and smoked paprika is a quick and easy way to prepare a great entrée.
Author:
Recipe type: Snack
Cuisine: Greek
Serves: 6
Ingredients
  • 150 g Feta
  • 1 teaspoon olive oil
  • ¼ tspn chilli flakes
  • ¼ tspn dried or fresh oregano
  • ¼ smoked paprika
  • Olives, crackers or bread to serve
Instructions
  1. Pre-heat the oven to 200°C
  2. Place the feta in an oven proof baking dish and drizzle with olive oil
  3. Sprinkle spices over the feta, and cover with aluminium foil
  4. Bake in the oven for 10-15 minutes
  5. Serve with crackers, bread or olives


Honey Ginger Almonds

Last Updated on April 9, 2016 by Grab Your Spork

After making the maple mixed nut granola last week Brooke still had a heap of leftover almonds. To try and get rid of the rest of them, I suggested using them to make some roasted honey ginger almonds. Now this recipe does not restrict you to only using almonds, but if you ever have nuts left over and want to make a great snack, this is a great way to make use of them.

Now the beauty of using almonds is not only are they a nutritious and protein-packed snack. They also contain vitamin E, magnesium, fibre and are low in cholesterol. And of course through adding the wonderful flavours of honey and ginger you will end up with an easy-to-make addictive sweet and crunchy treat!

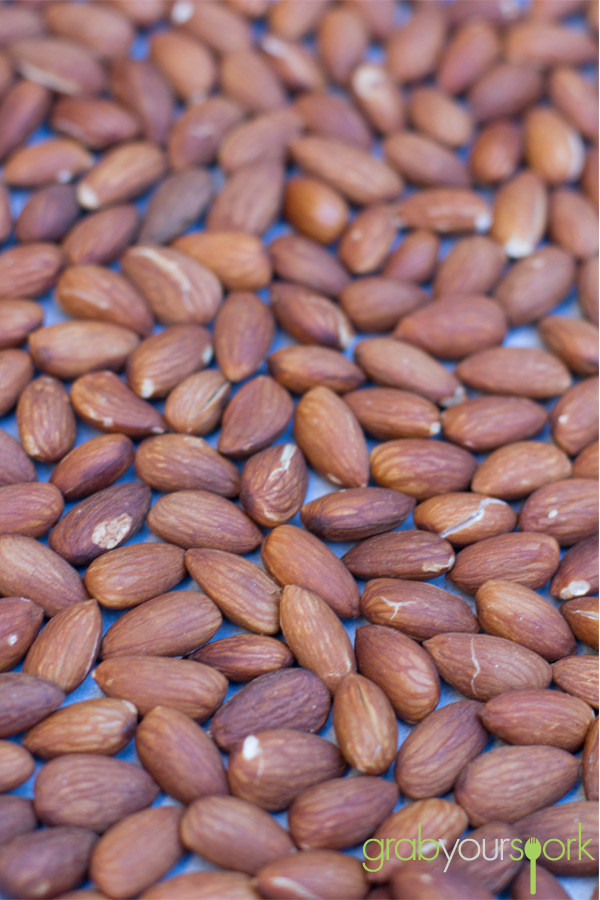
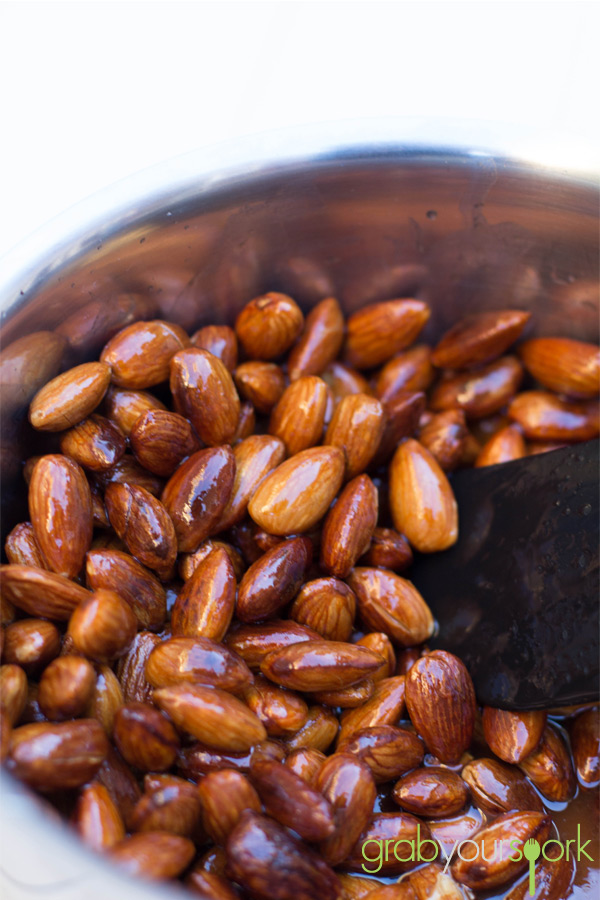
To start this recipe you need to roast the almonds first, before flavouring them. Through toasting the almonds first it will give them a better flavour, and enhance your recipe. Once your almonds have been roasted and the skins have begun to crack, you can candy them on the stovetop before returning to the baking tray to let crisp.

As I said before this recipe is easy and the flavours can be easily changed to suit your taste or even your preference of nuts!  Roasted honey ginger almonds are a perfect snack for any occasion.

If you are looking for another nut based recipe then try our pecan slice recipe.

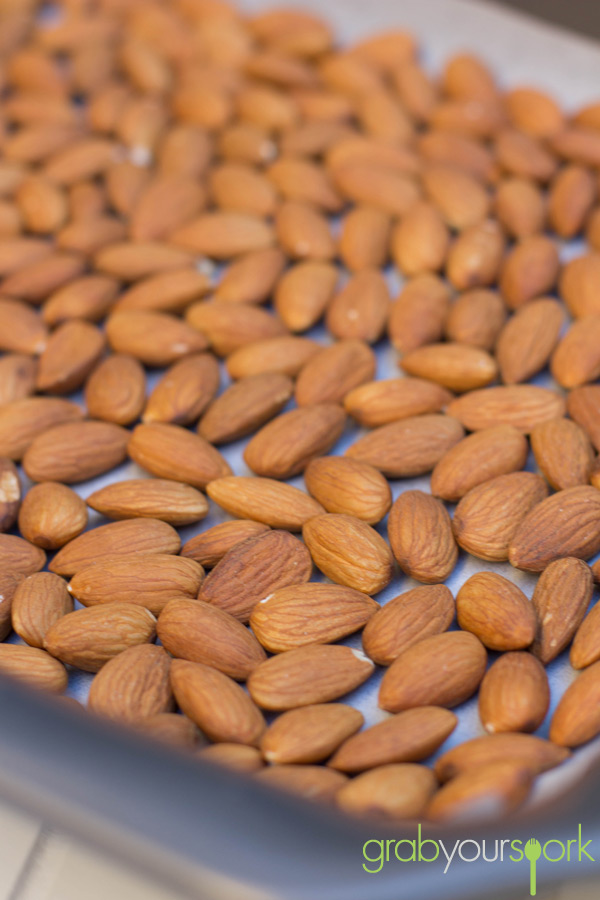
Almonds

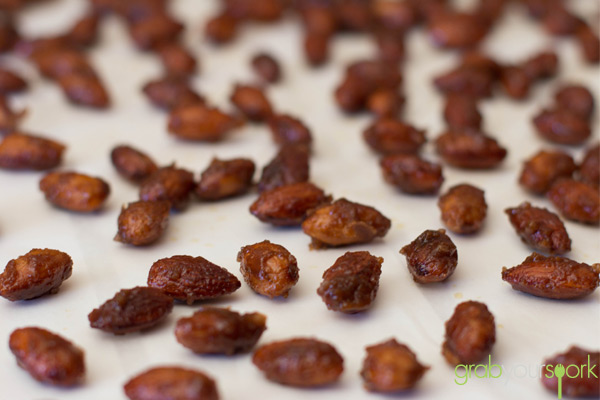
Oven Roasted Almonds

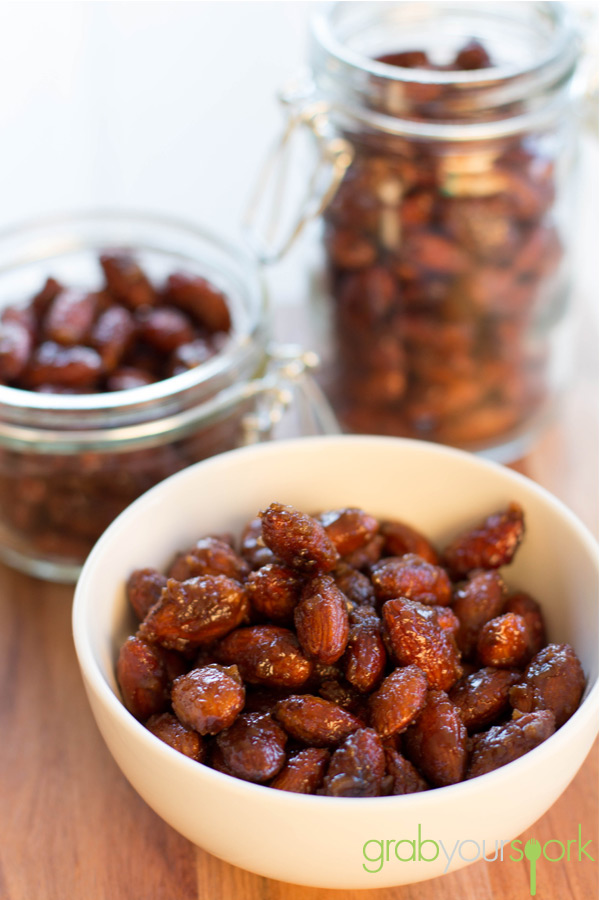
Honey Ginger Almonds

Honey Ginger Almonds

Bowl of Honey Ginger Almonds

Honey ginger almonds – Recipe Instructions

Honey Ginger Almonds
 
Prep time
Cook time
Total time
 
These Honey Ginger Almonds make a nutritious and flavoursome protein-packed snack.
Author:
Recipe type: Snack
Cuisine: Australian
Serves: 6
Ingredients
  • 2 cups raw almonds
  • ¼ cup dark brown sugar
  • 1 teaspoons sea salt
  • 2½ teaspoons ground ginger
  • 2 tablespoons honey
  • 2 tablespoons water
  • 2 teaspoons grapeseed oil
Instructions
  1. Place the almonds on a baking sheet and roast them in the oven at 325º for 10 to 15 minutes. Remove them from oven and set aside.
  2. In a small bowl combine the dark brown sugar, ground ginger and salt, grind the mixture with a fork until well combined, set aside.
  3. In a medium-sized saucepan heat the honey, water and oil until it boils. Reduce the heat and add the roasted almonds into the saucepan. Stir continually over low heat until almonds are coated and all the mixture is absorbed by the almonds, remove saucepan from stove and add the sugar mixture


Maple Mixed Nut Granola

Last Updated on April 9, 2016 by Grab Your Spork

Over the past few weeks Brooke and I have been busier than ever. Between work, renovations and family commitments we have found ourselves eating whenever or whatever we can (well at least I have). As a result I had been craving something a tad bit healthier. Fortunately when Sunday morning came around Brooke had the perfect solution for us which was to make her maple mixed nut granola. Not only is it healthy but it is quick, easy, & delicious! So it ticks all the boxes.

Once you have a taste of this homemade maple mixed nut granola, you won’t even care whether it’s healthy or not. I mean, seriously, its that yum. The crunchy texture of this granola will have you nibbling at it straight away (As Brooke caught me doing on several occasions).

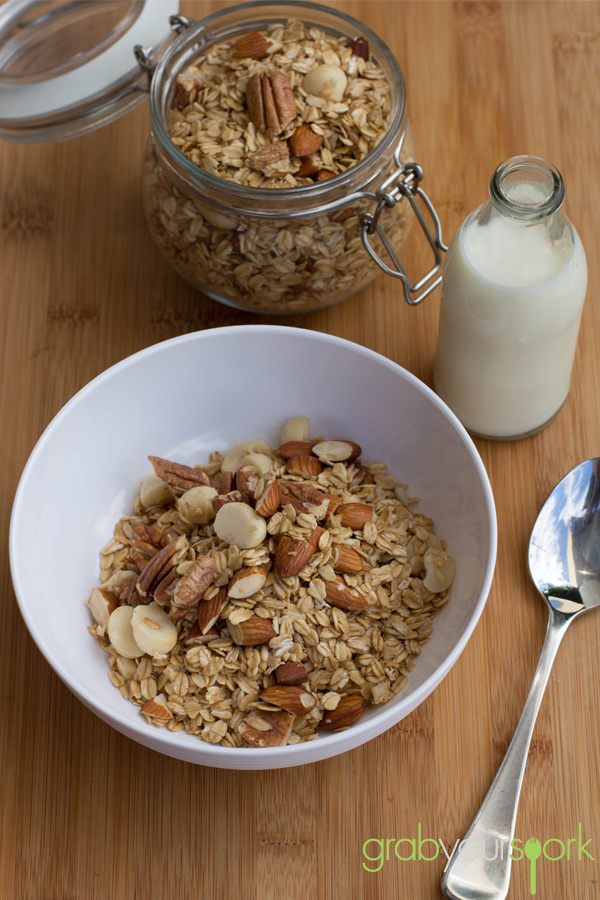
What’s great about this recipe? You can make this granola to your own liking by altering the type of nuts you use. More pecans, less almonds, you can even add dried fruit… it’s up to you. Then just add it to your cereal, yogurt, or some fresh fruit in the morning for a healthy start to the day.

Brooke likes to make granola in large batches as it can be stored in airtight containers – meaning we can snack on it for a few weeks.

If granola is not going to cut it then check out our Spanish baked eggs recipe or Tuscan baked beans recipe.

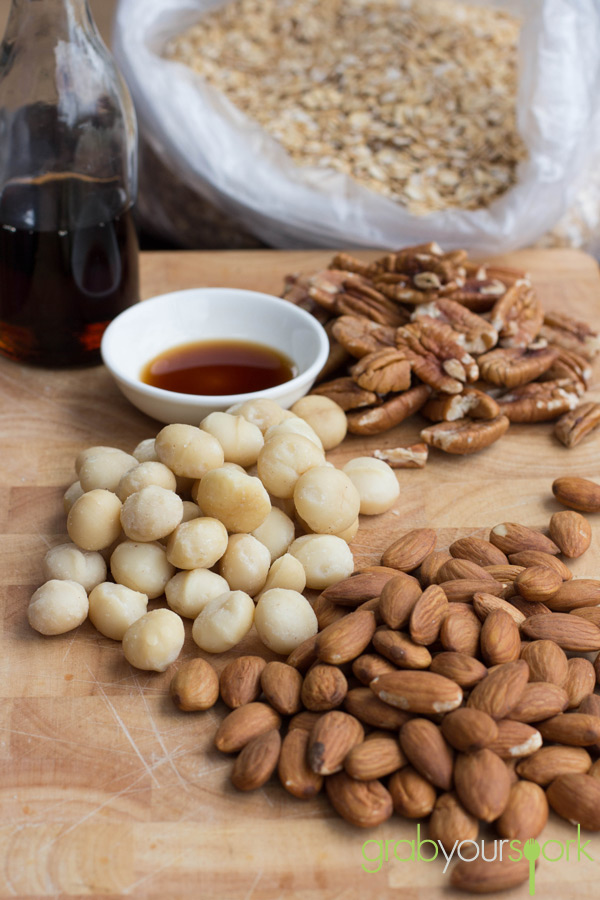
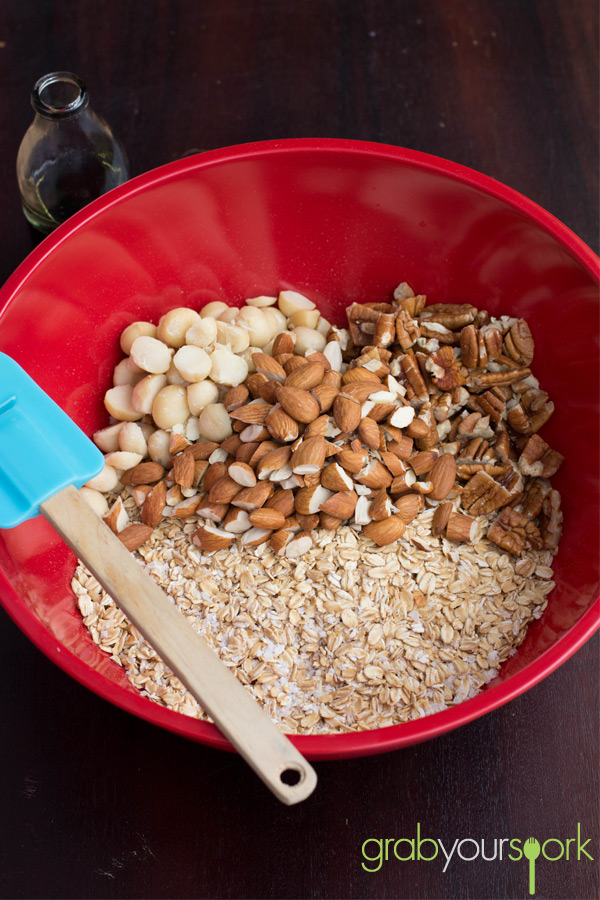
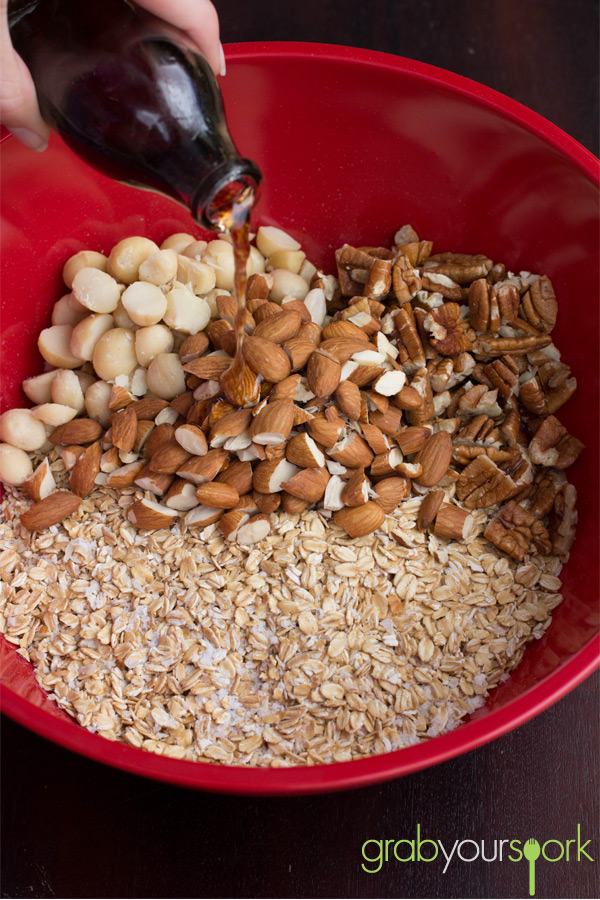
Maple Mixed Nut Granola Ingredients

Maple Mixed Nut Granola Bowl

Maple Mixed Nut Granola

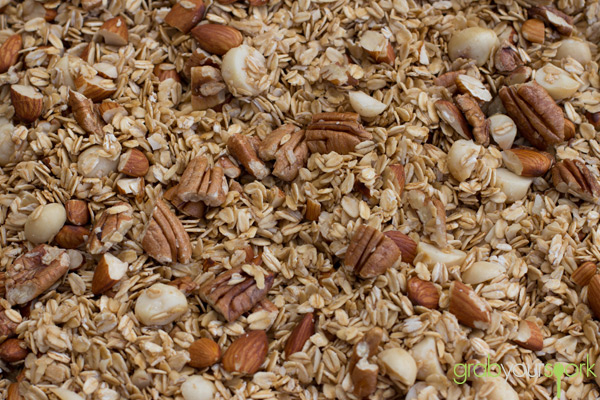
Baked Maple Mix Nut Granola

Maple Mixed Nut Granola with Milk

Maple mixed nut granola – Recipe Instructions

5.0 from 1 reviews
Maple Mixed Nut Granola
 
Prep time
Cook time
Total time
 
Maple Mixed Nut Granola. Not only is it healthy but it is quick, easy, & delicious! So it ticks all the boxes.
Author:
Recipe type: Snack
Cuisine: American
Serves: 4
Ingredients
  • 4 cups old-fashioned rolled oats
  • ¼ cup chopped pecans
  • ¼ cup chopped almonds
  • ¼ cup chopped macadamia nuts
  • ¼ teaspoon coarse salt
  • 5 teaspoons vegetable oil
  • 5 tablespoons pure maple syrup
  • ½ teaspoon pure vanilla extract
Instructions
  1. Preheat oven to 160 degrees Celsius. In a large bowl, toss together oats, pecans, almonds, macadamia nuts, salt, vegetable oil, maple syrup, and vanilla extract.
  2. Spread oat mixture on a rimmed baking sheet. Bake until golden brown, 25 to 30 minutes, rotating sheet halfway through. Let cool completely.


MYO Bruschetta

Last Updated on April 8, 2016 by Grab Your Spork

As you know I love anything snack related and bruschetta has to be one of the most simple and flavour packed snacks (or antipasto) you can make. Normally Brooke and I would make traditional bruschetta recipe with tomato, onion, basil and drizzled with olive oil. However on this lazy weekend in winter it wasn’t the best time for buying basil.

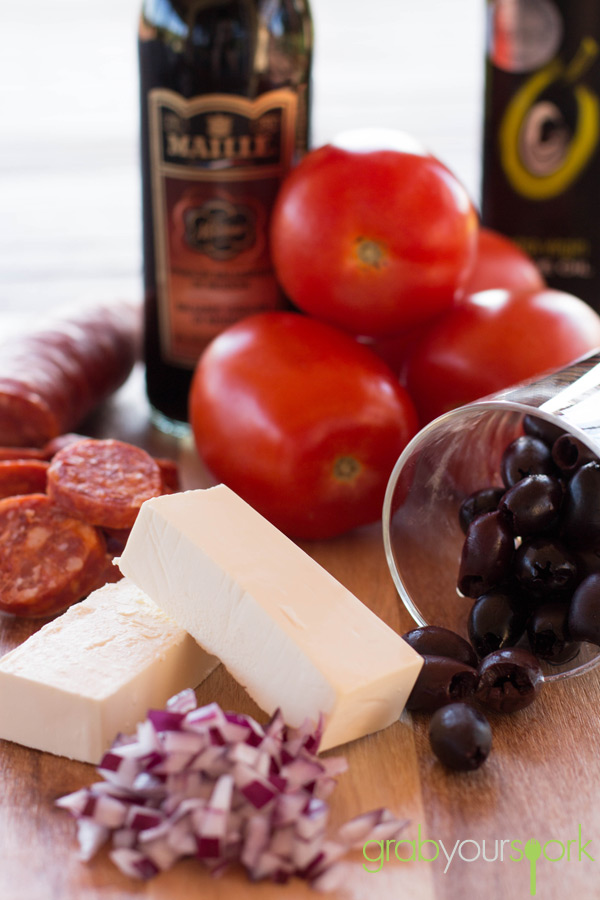
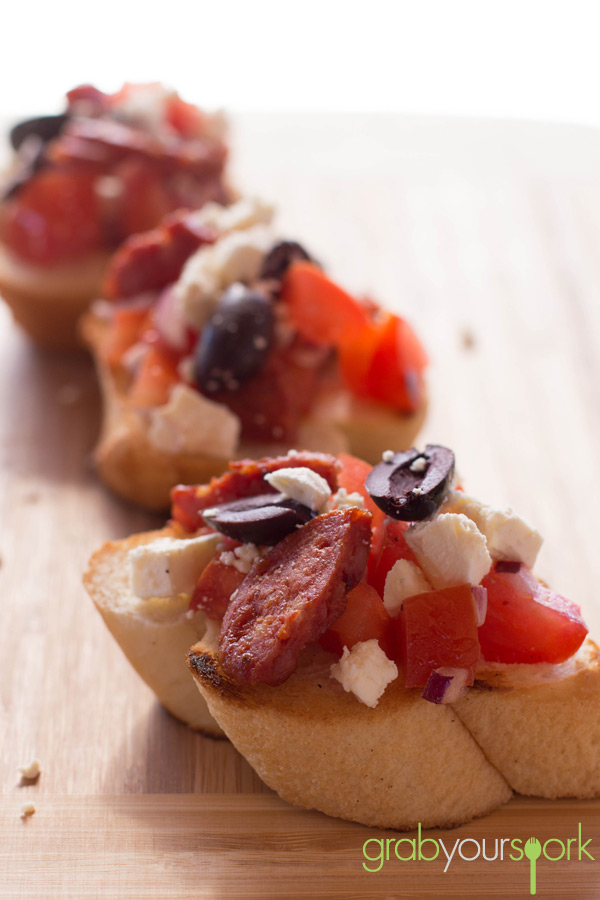
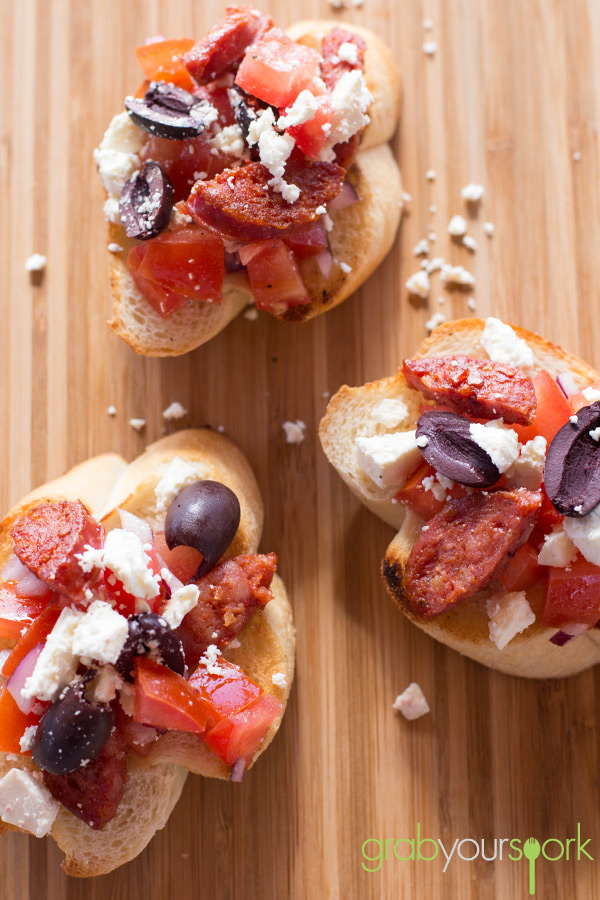
As a result, we started looking for ingredients and opted for non traditional options including chorizo, feta and kalamata olives to add with some fresh tomato and onion for a make your own bruschetta station. Now some of you may be thinking this doesn’t have any resemblance of bruschetta, however there are no rules to say what you can’t use as your toppings. However, I am sure if you love chorizo as much as me you will not doubt the flavour combinations.

Now unfortunately Brooke isn’t the hugest fan of chorizo (weirdo), so to have a bit of fun with it we created a make your own bruschetta. This meant keeping some of the ingredients separate then, each of us could top ours with more of our favourite toppings.

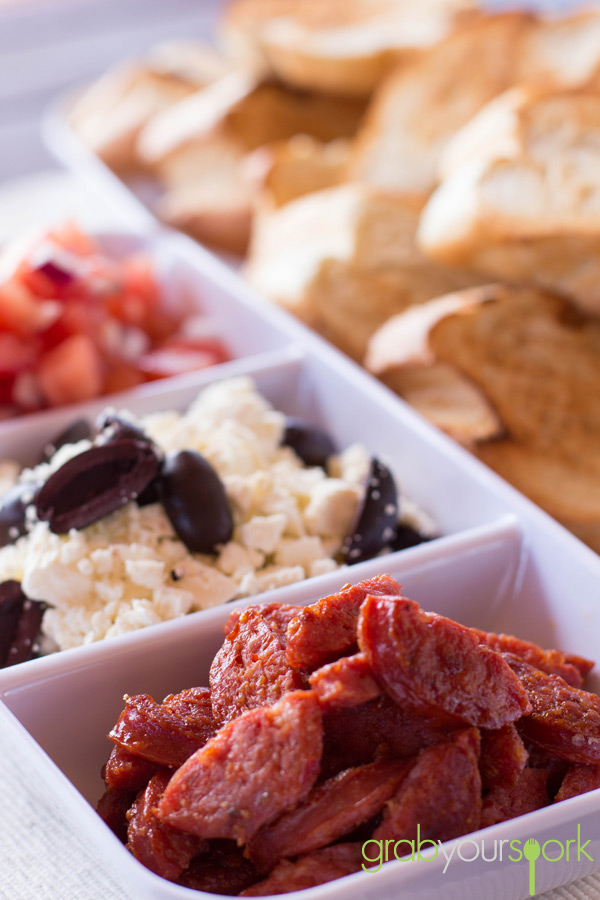
To start we diced the tomatoes, removing the seeds and mixed with some diced onion. To season we used olive oil and a dash of balsamic for a nice tang. Next we simply crumbled the feta and combined this with some kalamata olives. Lastly we cooked off some chorizo. You want to make sure you cut this small enough so it stays on the bread.

To serve we lightly grilled some bread in the pan to crisp it up a little to act as the perfect carrier for this flavour packed combination.

Looking for other great snack recipes then try savoury muffins recipe or baked feta with chilli recipe.

Bruschetta Ingredients

Make Your Own Bruschetta

Bruschetta with Olives, Feta and chorizo

Bruschetta with chorizo, feta and kalamata olives

Clint eating Bruschetta

MYO Bruschetta – Recipe Instructions

MYO Bruschetta
 
Prep time
Cook time
Total time
 
Make Your Own Bruschetta with chorizo, feta and kalamata olives.
Author:
Recipe type: Snack
Cuisine: Italian
Serves: 10
Ingredients
  • 100 g Feta
  • 4 Tomatoes, diced with seeds removed
  • ¼ red onion, diced
  • 1 chorizo sausage
  • ¼ cup pitted kalamata olives (in half)
  • 1 Tbsp Olive Oil
  • ½ Tbsp balsamic
  • 1 French stick / baguette
Instructions
  1. Dice the tomatoes and onion, ensuring you remove the seeds from the tomatoes.
  2. Drizzle the olive oil and balsamic over the tomato and onion in a small bowl.
  3. Crumble the feta into another bowl, and add in the olives. Be careful not to crumble the feta too much.
  4. Cut the chrizo into pieces, then cook in a preheated fry pan.
  5. To crisp the bread slightly. Toast off in a pan, or cook under the grill till golden brown.
  6. To serve keep elements separate and allow guests to build their own bruschetta.