Apple and sultana hot cross buns

Last Updated on May 24, 2016 by Grab Your Spork

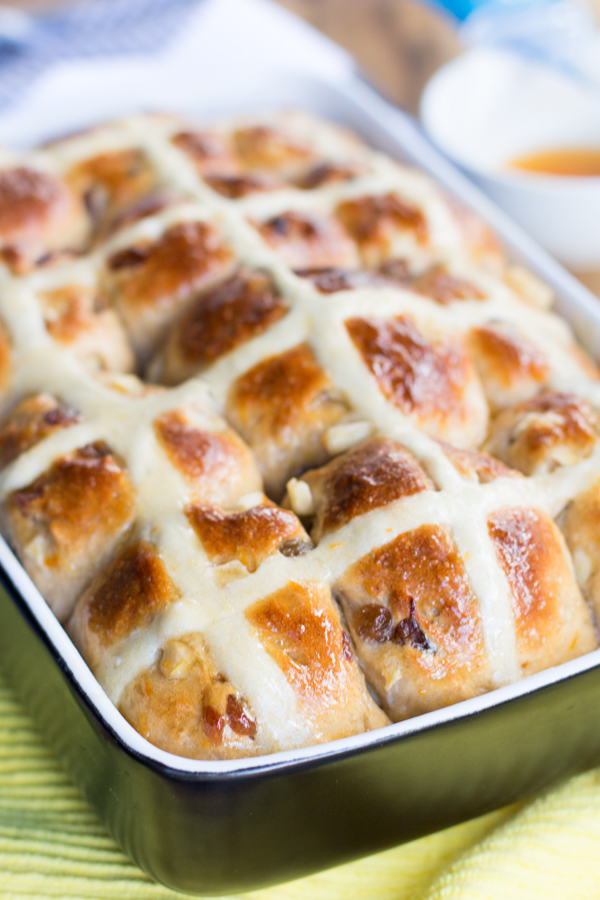
Hot cross buns are a must at Easter time.  Traditionally we eat these tasty spiced buns on Good Friday, however, each year they are available to buy in the shops earlier and earlier (the supermarket chains roll them out straight after Christmas is over).  Apple and sultana hot cross buns provide a new twist on an old favourite.

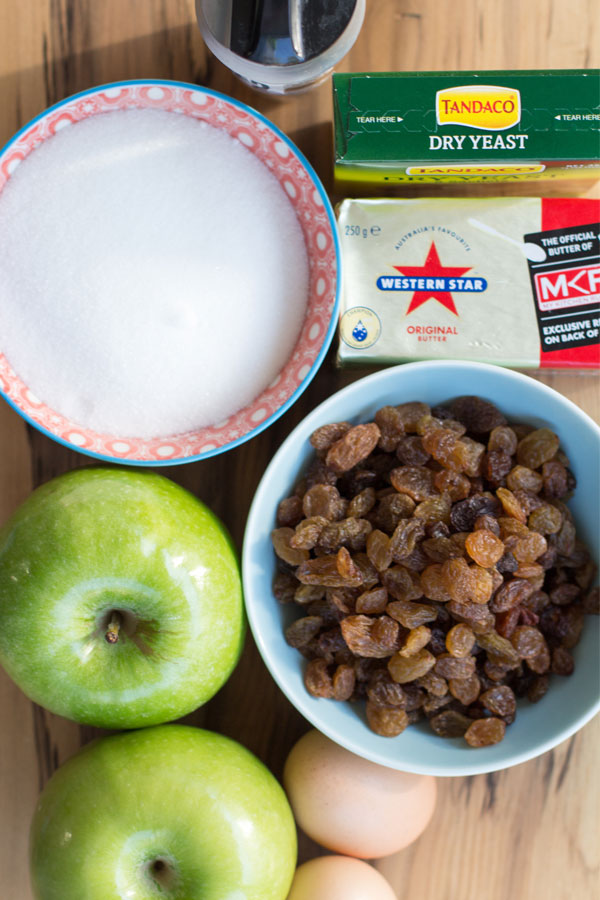
Traditional hot cross buns are usually made with currants or raisins and flavoured with mixed spice.  To make our recipe we used granny smith apples and sultanas to add a new twist on the classic recipe.  I like my hot cross buns spicy so Brooke added an extra tablespoon to this recipe.

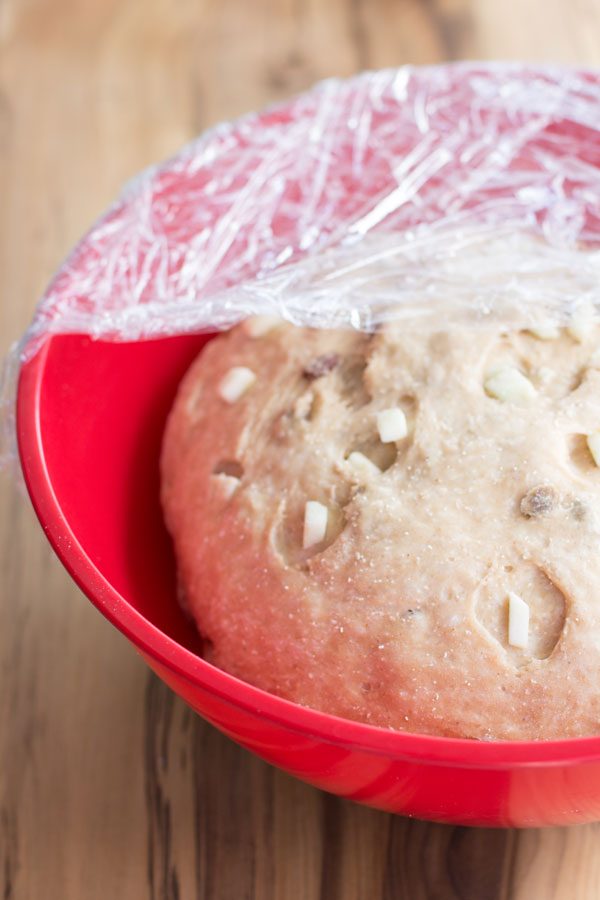
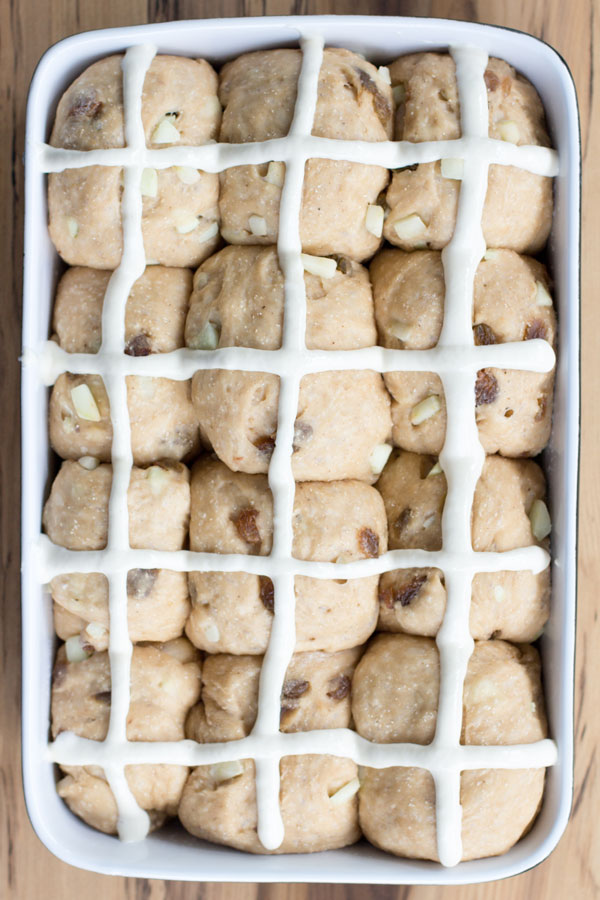
Baking these treats the delicious smell of mixed spice filled the apartment.  After making the dough, letting it rise, kneading it again, and dividing it into your buns.  You need to let to dough rise once more in the baking dish before adding the traditional flour paste lines as crosses on the dough.  After all this, bake your buns in a moderate oven for around 30 minutes or until cooked through.

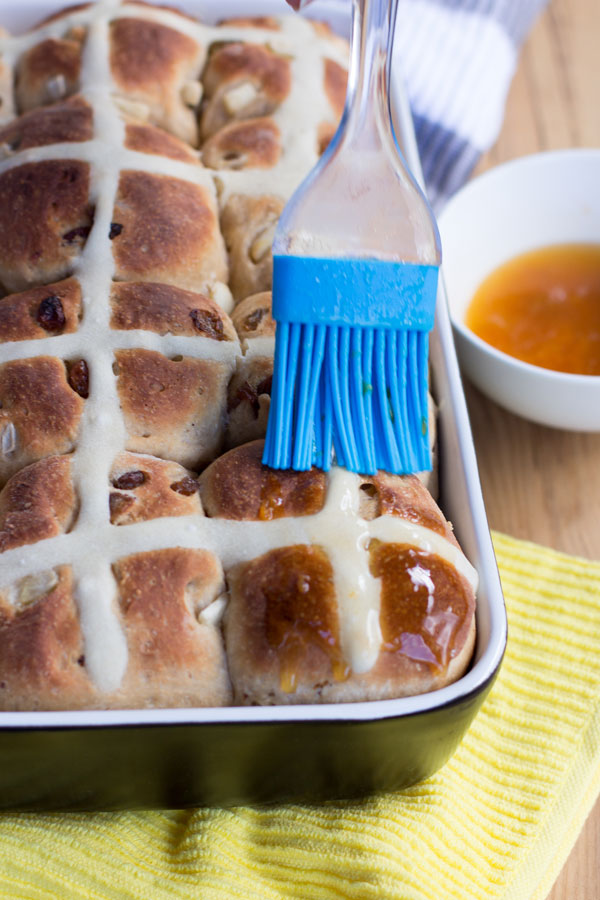
To give the buns a nice glossy finish you need to make a simple glaze.  Heat a few tablespoons of apricot jam in a bowl in the microwave for a few seconds until runny and then brush over the hot cross buns with a pastry brush.

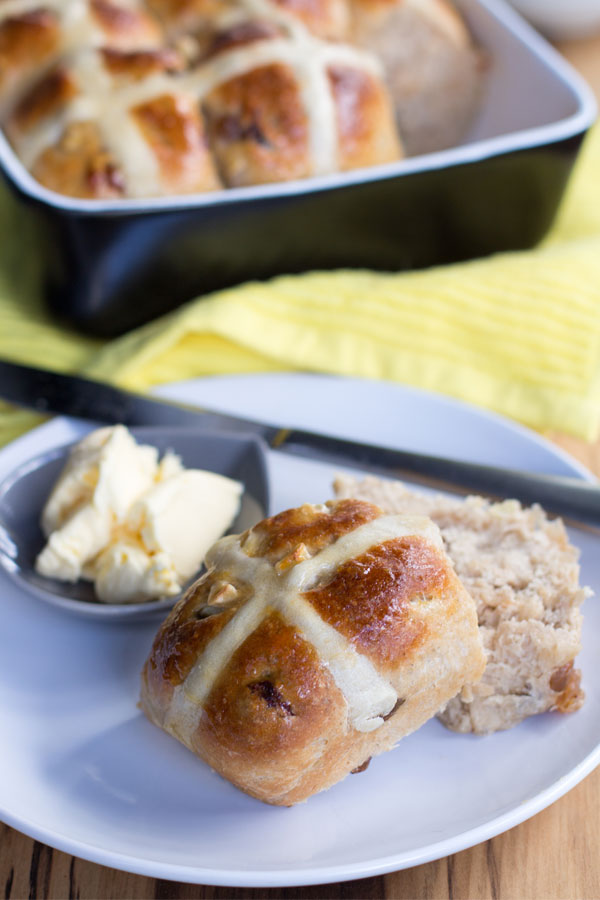
These apple and sultana hot cross buns are a delicious treat, perfect for breakfast or a snack with a cup of tea.

If your looking for another twist on the traditional hot cross bun then try our cranberry and apricot hot cross buns.
Apple and sultana hot cross buns

Apple and sultana hot cross buns

Apple and sultana hot cross buns

Apple and sultana hot cross buns recipe

Apple and sultana hot cross buns

Apple and sultana hot cross buns

Apple and sultana hot cross buns – recipe instructions

Apple and sultana hot cross buns
 
Check out this recipe for rustic hot cross buns made with mixed spice, apple and sultanas.
Author:
Recipe type: Baking
Cuisine: British
Serves: 12
Ingredients
Buns
  • 4 Cups Plain Flour
  • 14 g Dried Yeast
  • ¼ Cup Caster Sugar
  • 3 Tsp Mixed Spice
  • Pinch of Salt
  • ¾ Cup sultanas
  • ¾ Cup granny smith apple, diced
  • 40 g Butter
  • 300ml Milk
  • 2 eggs, lightly beaten
Flour paste
  • ½ Cup Plain Flour
  • 4 to 5 Tbsp water
Glaze
  • 1 Tsbp Water
  • 2 Tbsp apricot jam
Instructions
  1. Combine flour, yeast, sugar, mixed spice, salt and apple and sultanas in a large bowl.
  2. Melt butter in a small saucepan over medium heat. Add milk. Heat for until lukewarm.
  3. Add warm milk mixture and eggs to fruit mixture. Using a flat-bladed knife, simply cut the knife through the dough until it almost comes together. Using clean hands to finish mixing to form a soft dough.
  4. Turn dough out onto a floured surface. Knead for 10 minutes, or until dough is smooth.
  5. Place into a lightly oiled bowl. Cover with plastic wrap. Set aside in a warm, draught-free place for 1 to 1½ hours, or until dough doubles in size.
  6. Line a large baking tray with non-stick baking paper.
  7. Punch dough down to its original size. Knead on a lightly floured surface until smooth.
  8. Divide into 12 even portions. Shape each portion into a ball. Place balls onto lined tray, about 1cm apart. Cover with plastic wrap. Set aside in a warm place for 30 minutes, or until buns double in size.
  9. Preheat oven to 190°C.
  10. Make flour paste: Mix flour and water together in a small bowl until smooth, adding a little more water if paste is too thick.
  11. Spoon into a small snap-lock bag. Snip off 1 corner of bag. Pipe flour paste over tops of buns to form crosses.
  12. Bake for 25 to 30 minutes, or until buns are cooked through.
  13. Make glaze: Heat a few tablespoons of apricot jam in a bowl in the microwave for a few seconds until runny and then brush over the hot cross buns with a pastry brush.
  14. Serve warm or at room temperature.


Florentine biscuits

Last Updated on June 15, 2016 by Grab Your Spork

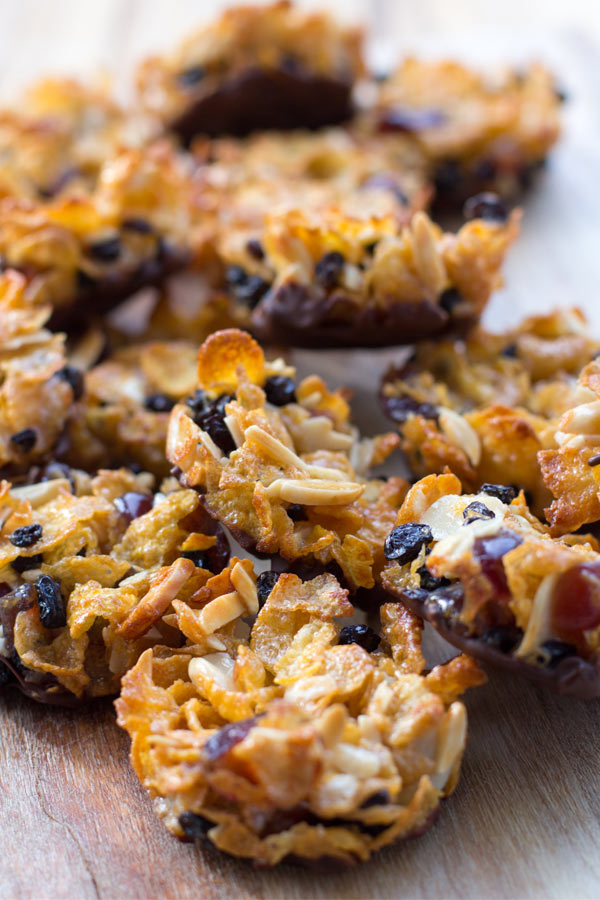
A few months ago we went on a picnic at the beautiful King’s Park in Perth with Brooke’s parents. To finish off with a sweet treat, Brooke’s Mum had brought along some Florentine biscuits. What’s not to love about this ultimate biscuit? A Florentine biscuit or Florentines are made of nuts (most typically almond or hazel), glacier cherries, dried fruit and they are often coated on the bottom with chocolate. They are rich and indulgent and should have a nice crunch when you bite into them. Their toffee-like texture and combination of Cornflakes in our recipe will also give you flashbacks to your childhood memories of Honey Joys – only now with a grown-up twist.

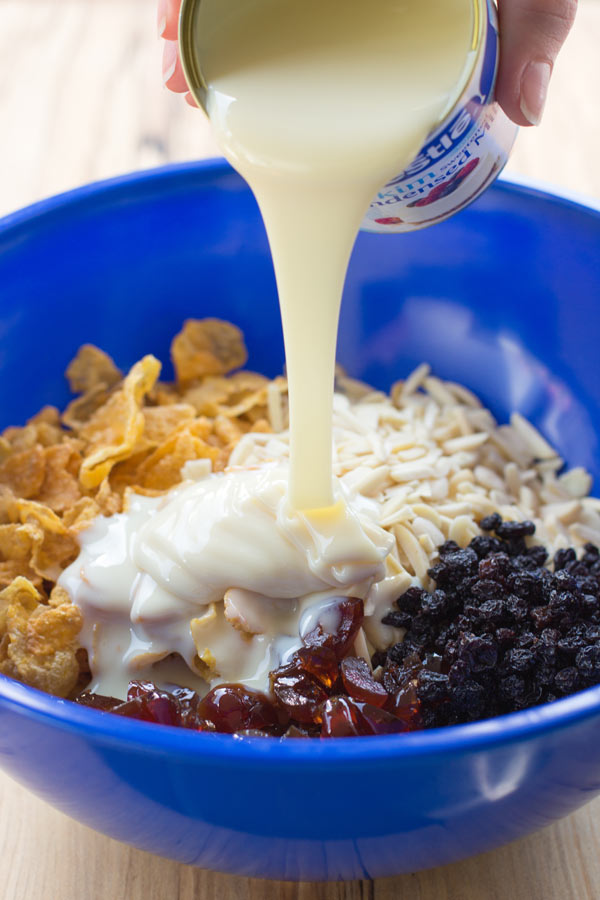
Most recipes use melted butter, sugar, and honey as their binding agent. For us, we used a good old can of condensed milk. When adding your condensed milk, the key to making a successful Florentine is to ensure you coat the mixture enough to bind the ingredients. Adding too much will weigh your biscuit down or leave it soggy. You want to ensure you have the satisfying crunch at the end! If you are worried you have added too much condensed milk, you can stir through some extra cornflakes to help absorb some of the additional liquid.

Once your mixture is ready, spoon the mixture onto a lined baking tray or into a greased muffin tray like we did. Using the muffin tray keeps the biscuits in a nice uniformed shape and ensures you end up with 24 biscuits. Baking on a low heat for 10-12 minutes till golden-brown, will ensure you have a lovely chewy and crisp little caramel treat.

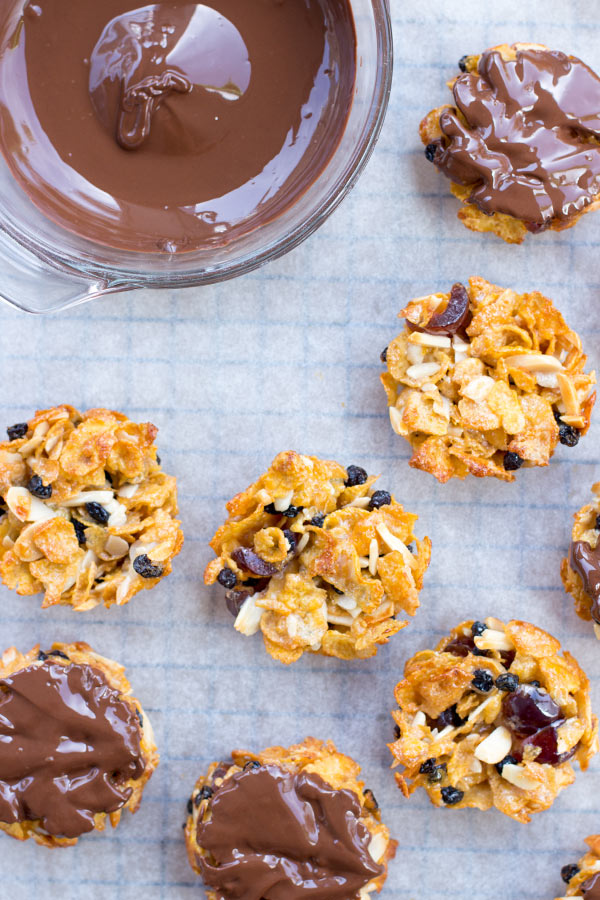
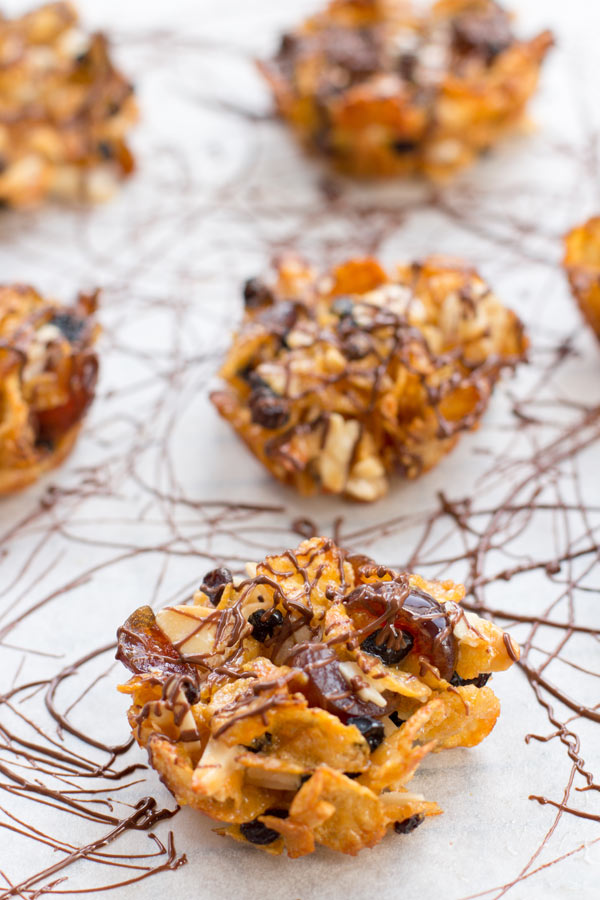
Once removed from the oven, you can take these biscuits to another level adding a thin layer of dark chocolate on the bottom. Allow the chocolate to set then enjoy these decadent coffee shop biscuits with a cup of tea or coffee.

Looking for another biscuit or cookie recipe then try our ginger nut biscuits, cranberry pistachio biscotti or oatmeal raisin cookies.

Florentine biscuit

Florentine biscuits

Florentine biscuit recipe

Florentine biscuits

Florentine biscuit recipe

Florentine biscuits

Florentine biscuits – Recipe Instructions

5.0 from 2 reviews
Florentine biscuits
 
Prep time
Cook time
Total time
 
A Florentine biscuit or Florentines are made of nuts (most typically almond or hazel), glacier cherries, dried fruit and they are often coated on the bottom with chocolate.
Author:
Recipe type: Buscuits
Cuisine: British
Serves: 24
Ingredients
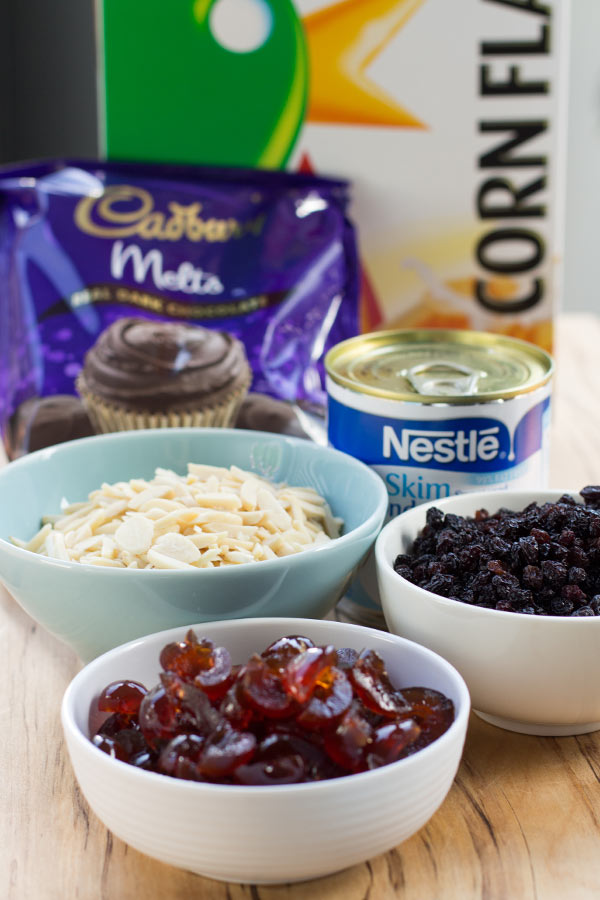
  • 3 Cups Cornflakes
  • 110g almonds (slivered/ sliced)
  • ½ cup chopped glacier cherries
  • ½ cup currants
  • ⅔ can condensed milk
  • Dark chocolate for drizzling
Instructions
  1. Preheat oven to 160°C.
  2. Combine the cornflakes, almonds, cherries, currants and condensed milk in a bowl. Mix until the ingredients are evenly coated.
  3. Spoon the mixture into a greased muffin tray and press lightly to ensure they are compact.
  4. Bake for 10-12 minutes until light golden brown, then set aside on a wire rack to cool.
  5. Melt the chocolate and drizzle over biscuits or dip the bottom. Place the biscuits chocolate side up, on a wire rack until set.


Clementine Cake

Last Updated on June 9, 2017 by Grab Your Spork

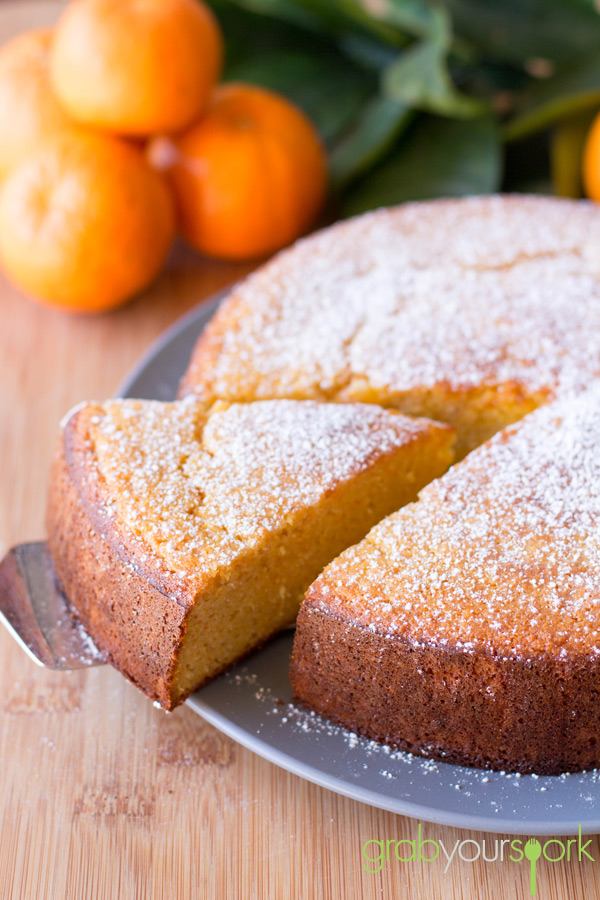
Last week we went and visited some friends and were given a rather large bag of clementine’s from them in the hope we might turn it into something delicious for the blog. “Challenge accepted!” we said and proceeded to create this homemade clementine cake recipe.

Clementine’s are a great combination of mandarin and orange, and after doing some research they are also a popular citrus fruit used for making tasty treats in the UK. Courtesy of Nigella Lawson’s reputable recipe, Clementine Cake, Brooke used this recipe to use the tangy fruit.

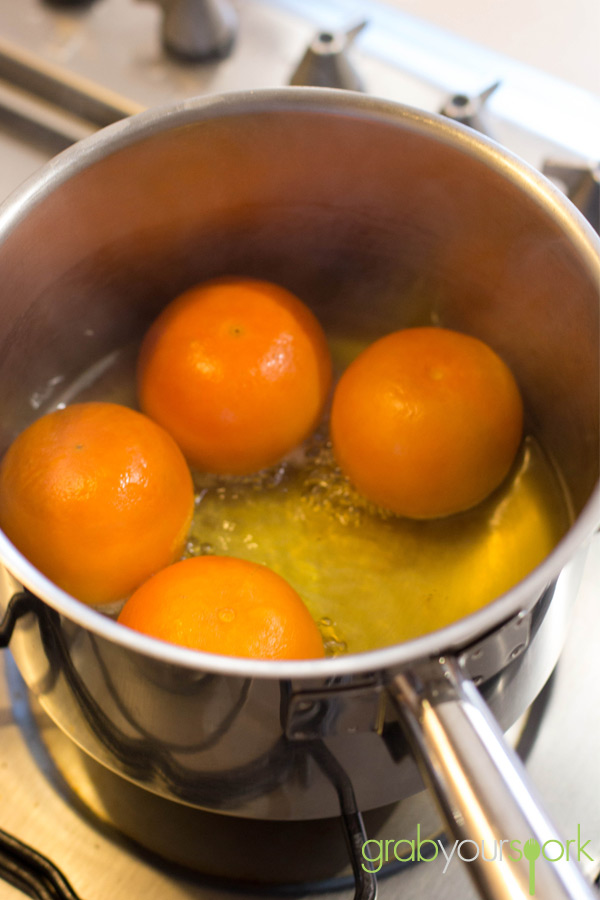
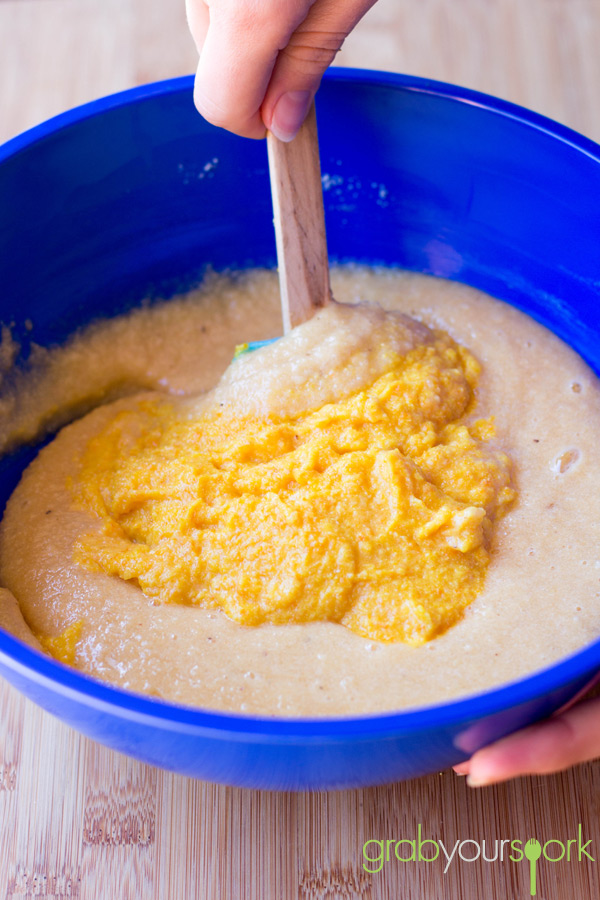
Firstly you must allow some extra time to boil the fruit whole, for at last two hours. Luckily if there is someone already home you can kindly ask them to put them on a light boil ahead for you. Once the clementine’s have boiled for two hours you need to blitz them in the food processor – skin, pith, fruit and all! Just simply check the fruit for seeds first before giving them a blitz. From there it is simply just combining the remaining ingredients and stirring in the clementine puree. This cake does take up to an hour to bake and you may need to protect the top with a bit of foil to stop it from burning.

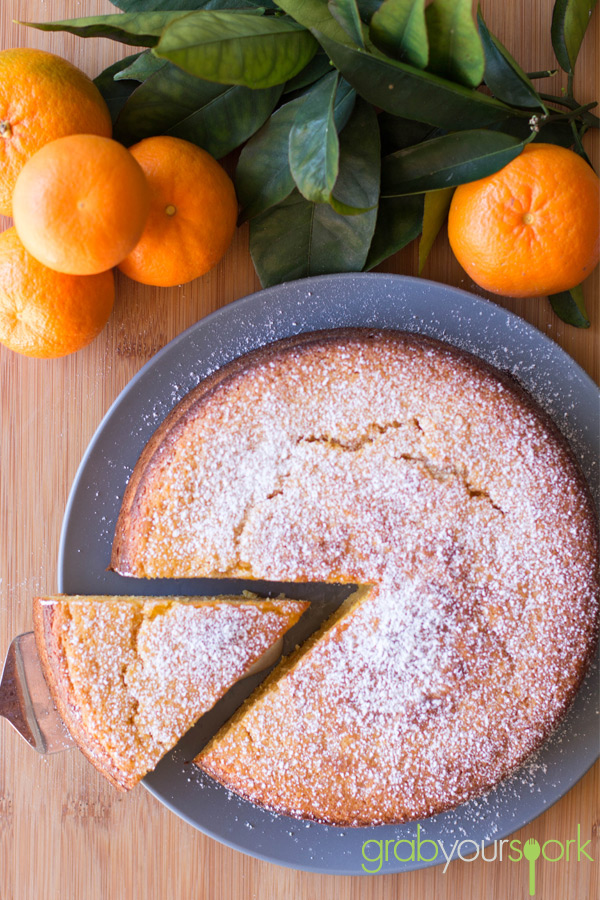
Once the cake is cooked and allowed to cool, you can sprinkle with a little icing sugar or make an easy icing with the juice of one clementine and 1 cup of icing sugar. For me this cake is dense, moist and flavorful on is own and perfect for these cool months with a cup of tea, coffee or warm drink!

Looking for some more dessert recipes then check out our recipe for Homemade No Bake Mars Bar Slice or Fruit and Custard Tart.

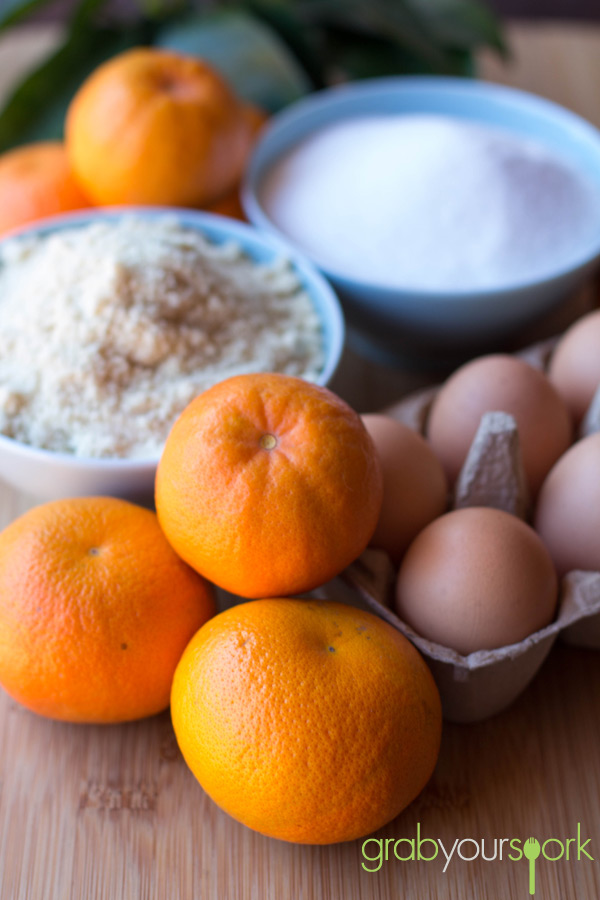
Clementine Cake Ingredients

Boiled Clementines

Clementine Cake Mixture

Clementine Cake Recipe

Clementine Cake Recipe

Homemade Clementine Cake – Recipe Instructions

Clementine Cake
 
Prep time
Cook time
Total time
 
Delicious Clementine Cake made with just 5 ingredients.
Author:
Recipe type: Baked Goods
Cuisine: British
Serves: 8
Ingredients
  • 400 g clementine’s (approx. 4 small-sized ones)
  • 6 large eggs
  • 225 g white sugar
  • 250 g ground almonds
  • 1 tsp baking powder
Instructions
  1. Put the clementine’s in a pan with some cold water, bring to the boil and cook for 2 hours. Drain and, when cool, cut each clementine in half and remove the pips. Dump the clementine’s - skins, pith, fruit and all - and give a quick blitz in a food processor.
  2. Preheat the oven to 170ºC. Butter and line a 21cm / 8 inch Springform tin.
  3. Add all the other ingredients to the food processor and mix. Or, you can beat the eggs by hand adding the sugar, almonds and baking powder, mixing well, then finally adding the fruit puree.
  4. Pour the cake mixture into the prepared tin and bake for an hour. Check the cake with a skewer that it comes out clean.
  5. Remove from the oven and leave to cool.


Apple and Rhubarb Crumble

Last Updated on June 10, 2017 by Grab Your Spork

After another cold and wet week here in Perth, I am sure I am not the only one who is wishing for clear blue skies and warm days again. If the Sticky Date and Banana Loaves weren’t enough of a winter indulgence last week, how about a humble Apple and Rhubarb Crumble?

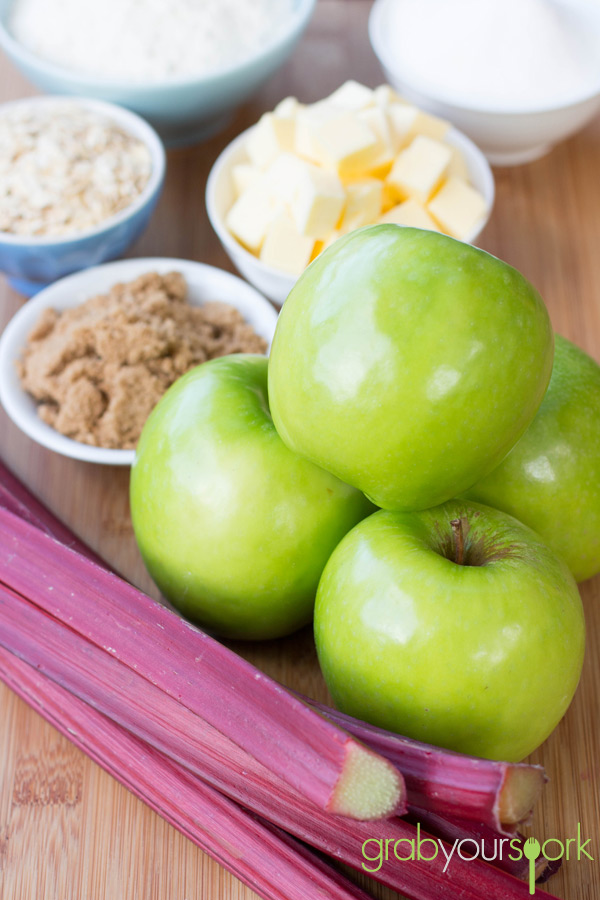
I love apple crumble and when rhubarb is in season, its vibrant colour, and tartness is a great accompaniment to sweet dishes such as tarts, cakes and classic crumbles. After a quick trip to the markets, we managed to nab the last bunch of beautiful rhubarb for our crumble.

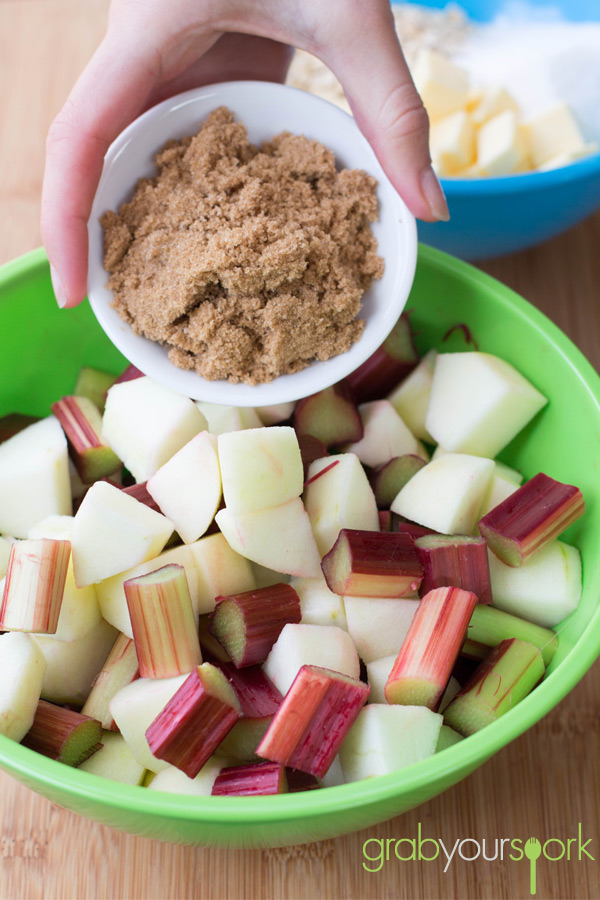
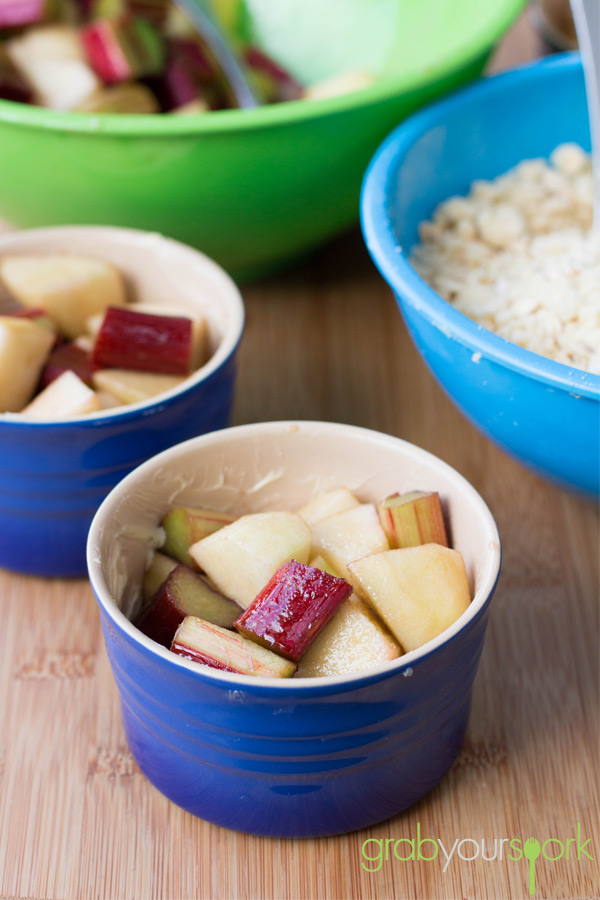
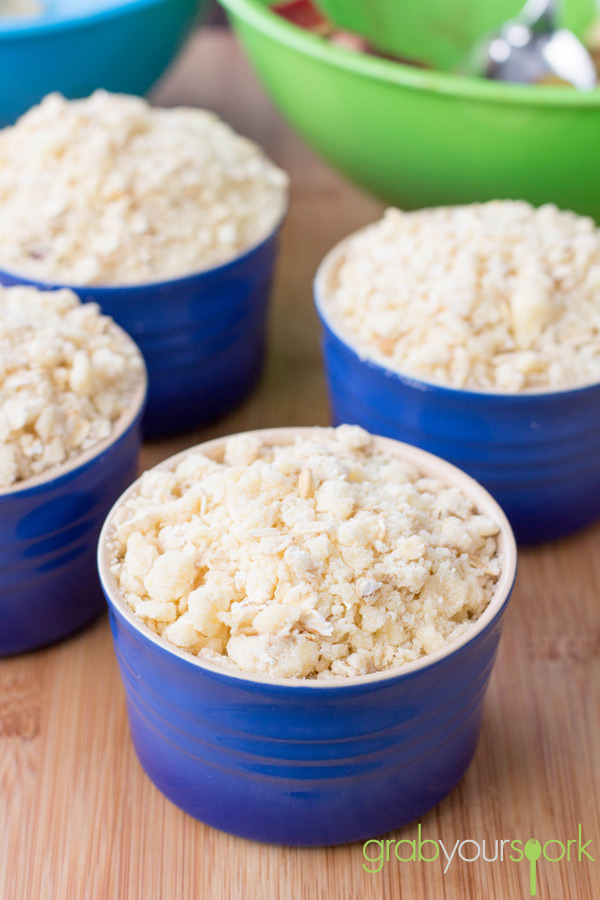
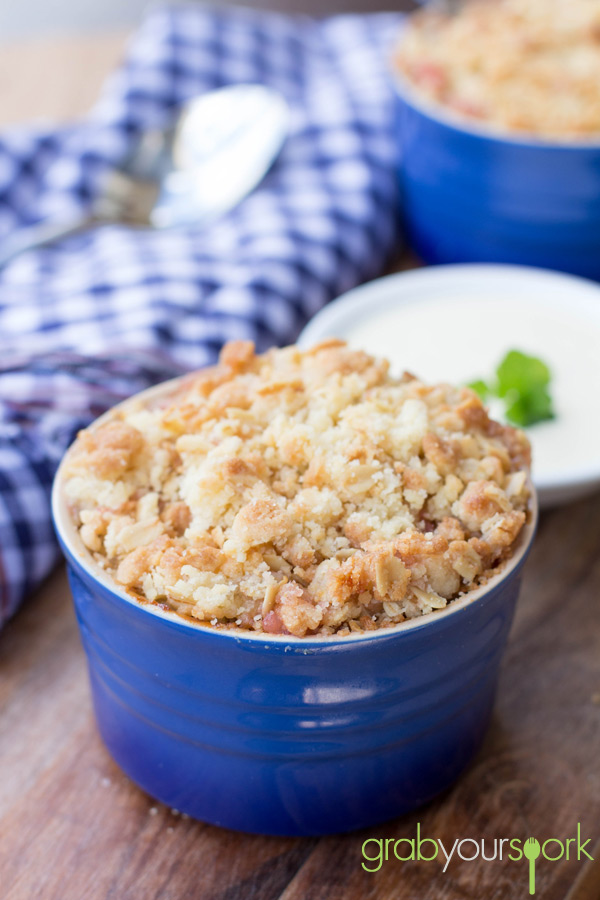
After chopping the apples and rhubarb into rather large chunks, Brooke simply added a little brown sugar to the fruit then made a basic crumble using butter, caster sugar, plain flour and some rolled oats. Within a couple of minutes the crumbles are prepared and ready to be cooked in a moderate oven.

Once the crumbles are golden brown on the top they are ready to be served. Of course these will be very hot when they come out the oven so to serve we had some fresh thickened cream, or some custard or ice cream would definitely be an excellent addition!

Looking for other fruit-based desserts then check out our Fruit and Custard Tart Recipe or Lemon and Blueberry Loaves.

Apple and Rhubarb Crumble Ingredients

Apple and Rhubarb Crumble Mixture

Mini Apple and Rhubarb Crumble

Apple and Rhubarb Crumble Recipe

Apple and Rhubarb Crumble Recipe

Tasty Apple and Rhubarb Crumble – Recipe Instructions

Apple and Rhubarb Crumble
 
Prep time
Cook time
Total time
 
The ultimate in winter indulgence. A humble Apple and Rhubarb Crumble served with fresh thickened cream.
Author:
Recipe type: Dessert
Cuisine: British
Serves: 4
Ingredients
  • 4 larges green apples, peeled and chopped
  • 1 bunch of rhubarb, approx. 5 stalks, chopped
  • 2 tbsp brown sugar
  • 1 cup plain flour
  • ½ cup rolled oats
  • 75g caster sugar
  • 125g butter, at room temperature
Instructions
  1. Preheat the oven to 180°C. Lightly grease 4 ramekins or a large baking dish.
  2. Place the prepared apples and rhubarb in a bowl and stir through brown sugar.
  3. Place the flour, butter, caster sugar and oats in a medium bowl. Use your fingers or a fork, rub in the butter until well combined and large crumbs form.
  4. Spoon the fruit into the prepared dishes, sprinkle the crumble topping evenly over the fruit. Bake for 15 to 20 minutes or until golden and bubbling.
  5. Serve with cream, ice cream or custard.


Easy Lemon Curd Recipe

Last Updated on April 8, 2016 by Grab Your Spork

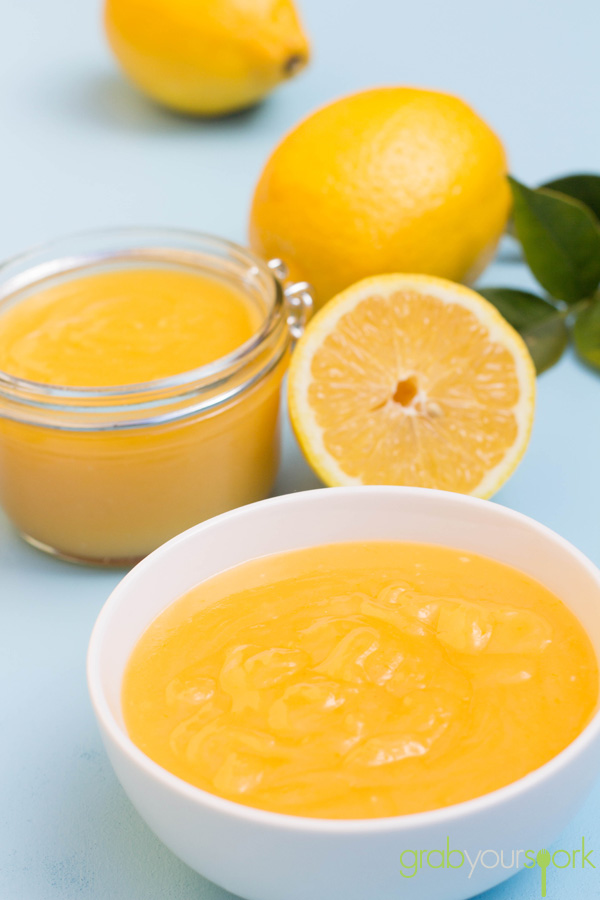
The other week, Brooke and I had an amazing dinner at Clarke’s of North Beach. To finish off the night we were served an incredible deconstructed Lemon Meringue Pie and Lemon Pudding. The pie embodied everything there is to love about lemon desserts. The lemon filling was tangy, and the sweet meringue balanced the sharpness of the lemon beautifully. This delightful lemon dessert set the wheels of inspiration in motion for us to attempt making our own easy lemon curd recipe at home.

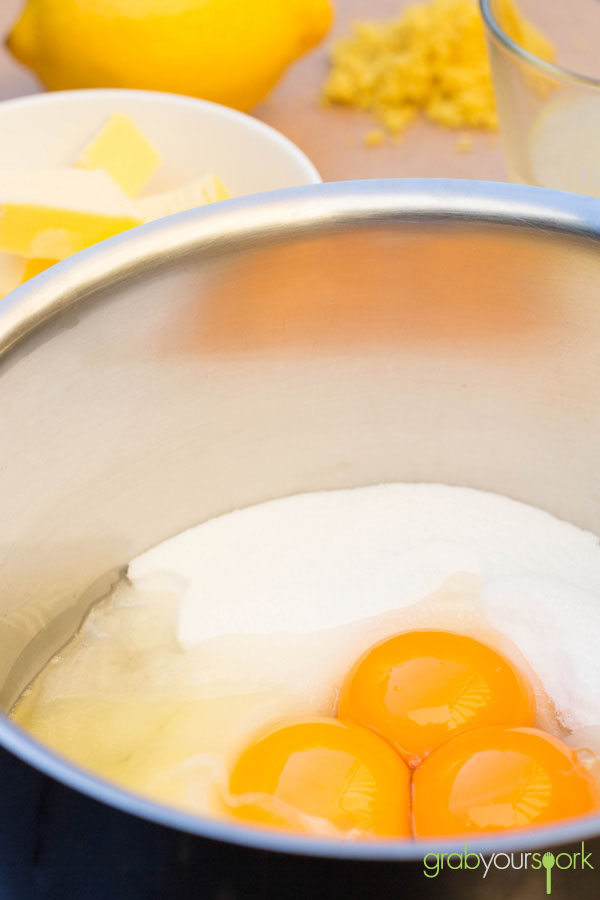
With an abundance of lemons we had at the house which had been given to us from some friends it was decided we must make lemon curd!

When making lemon curd (or any lemon dessert) always try and use home grown lemons. Yes, the ones in the shops look amazing, but they have nowhere near enough flavour! That’s the best piece of advice we have for anyone attempting to make their own lemon curd.

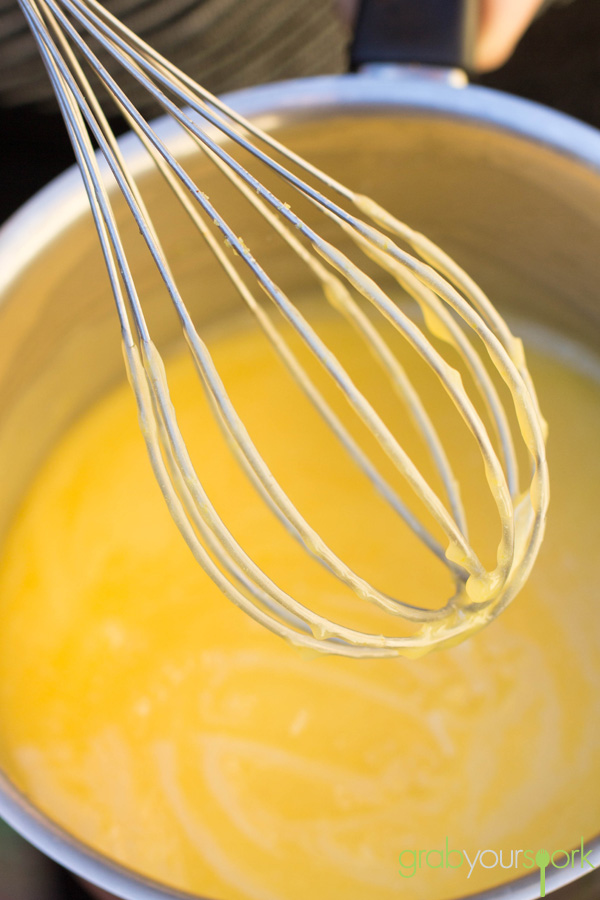
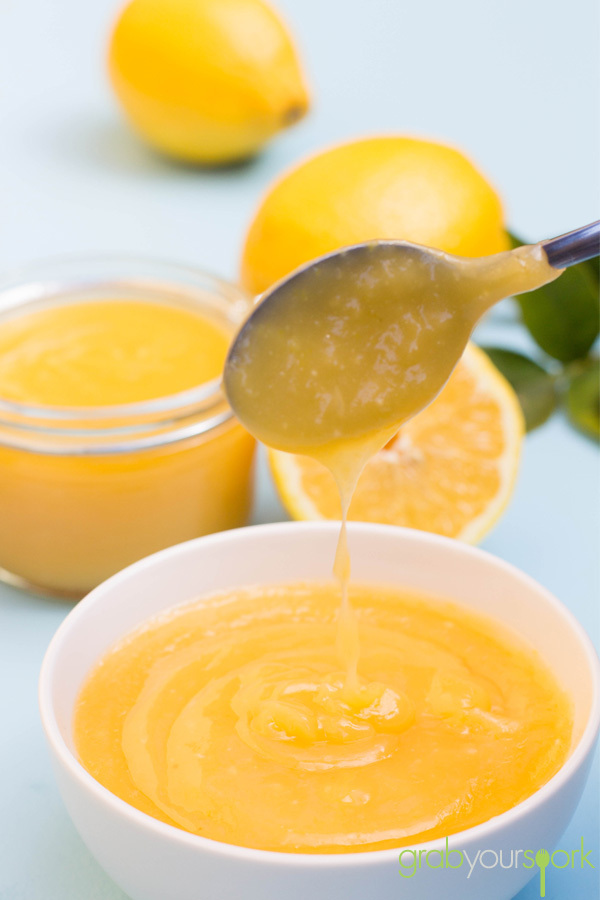
When thickening the curd, you want it to be thick enough to coat the back of the spoon or whisk. This super easy lemon curd recipe is something anyone can master at home.

If you are looking for something to go with your lemon curd on then try our cranberry and apricot hot cross buns.
Easy Lemon Curd Recipe Ingredients
Easy Lemon Curd Recipe Whisk
Easy Lemon Curd Recipe
Quick and Easy Lemon Curd Recipe

Easy Lemon Curd – Recipe Instructions

5.0 from 2 reviews
Easy Lemon Curd Recipe
 
Prep time
Cook time
Total time
 
When making Lemon curd (or any lemon dessert) always try and use home grown lemons. Yes, the ones in the shops look amazing, but they have nowhere near enough flavour!
Author:
Recipe type: Spread
Cuisine: British
Serves: 4
Ingredients
  • 2 eggs, plus 2 egg yolks
  • ¾ cup (165g) caster sugar
  • ⅓ cup (80g) chilled unsalted butter
  • Zest and juice of 2 lemons
Instructions
  1. Whisk whole eggs, yolks and sugar in a saucepan until smooth, then place pan over a low heat.
  2. Add the butter, juice and zest and whisk continuously until thickened.
  3. Strain through a sieve into a bowl or jar. The curd will continue to thicken as it cools. Lemon curd will keep for two weeks in the fridge when covered.
Notes
If you get little white bits in your butter, it is just the egg whites. Your lemon butter will still be fine, once you have strained it.