Fruit and Custard Tart

Last Updated on June 8, 2017 by Grab Your Spork

It’s the first post of the NEW YEAR, and there is no time for New Year resolutions in this household, there is only time for a tasty fruit and custard tart!

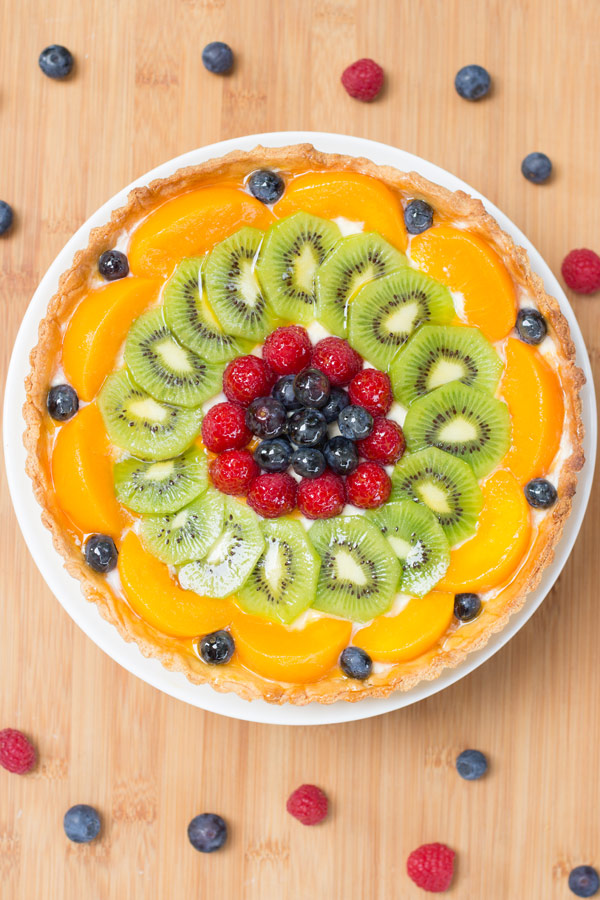
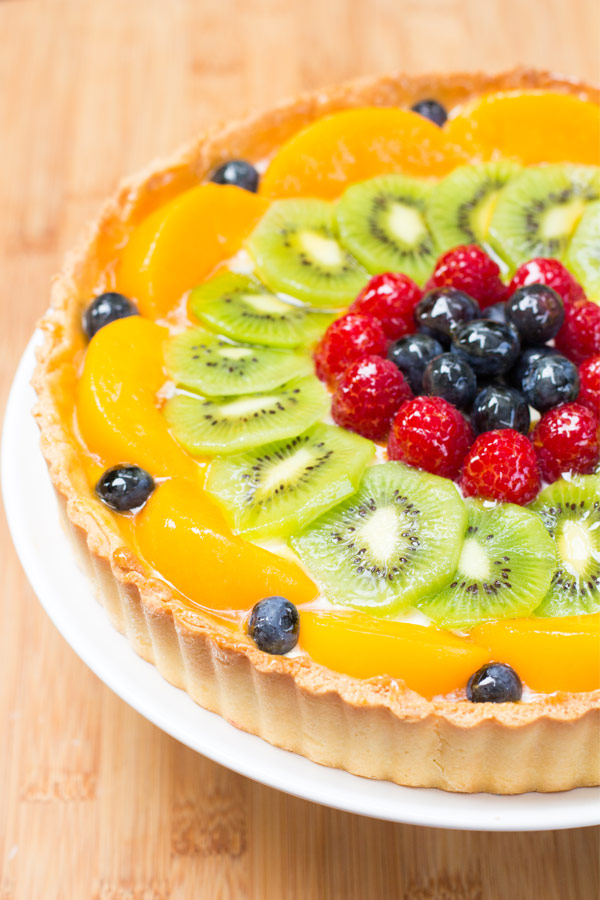
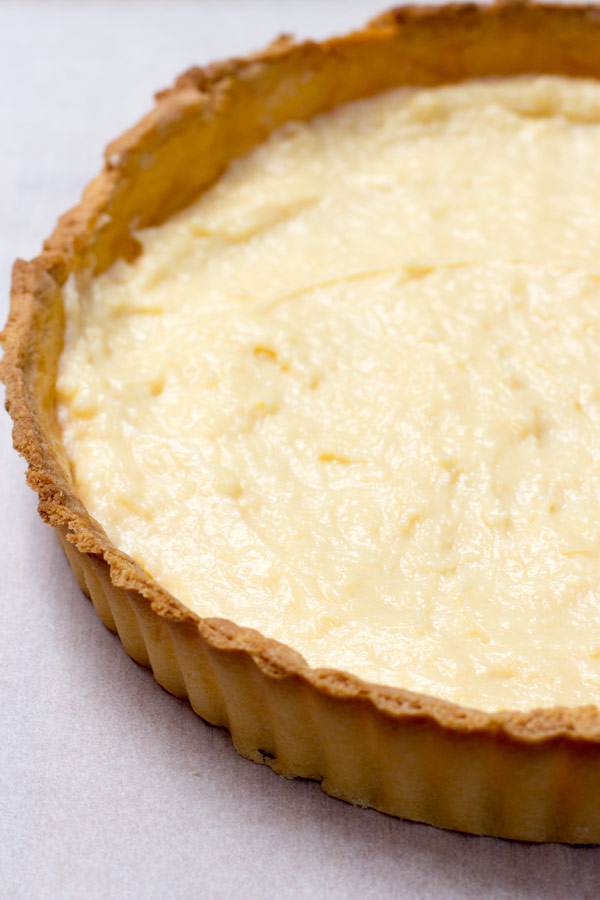
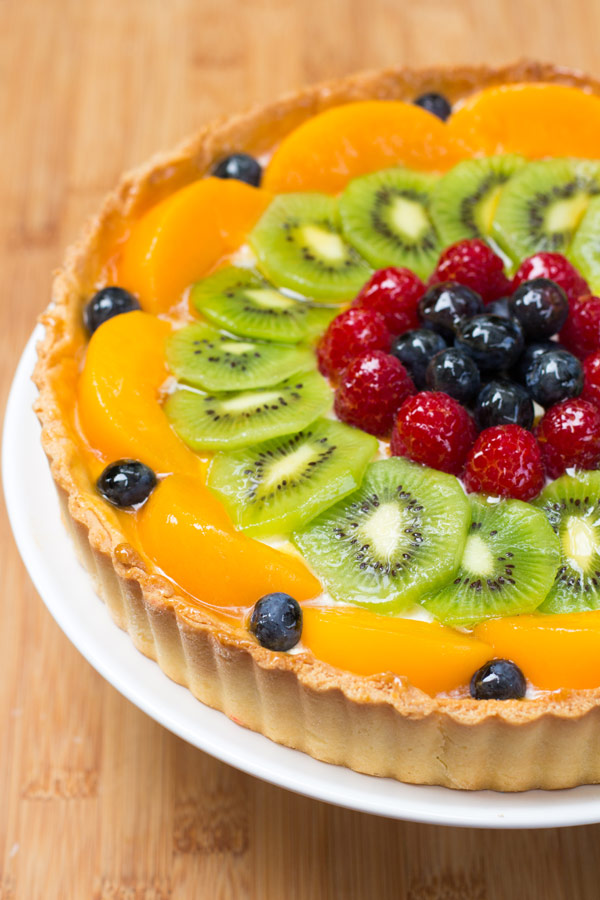
This classic fruit and custard tart has four components, a fluted edged sweet pastry crust, luscious crème patissiere, whipped cream and glistening rows of fresh fruit.

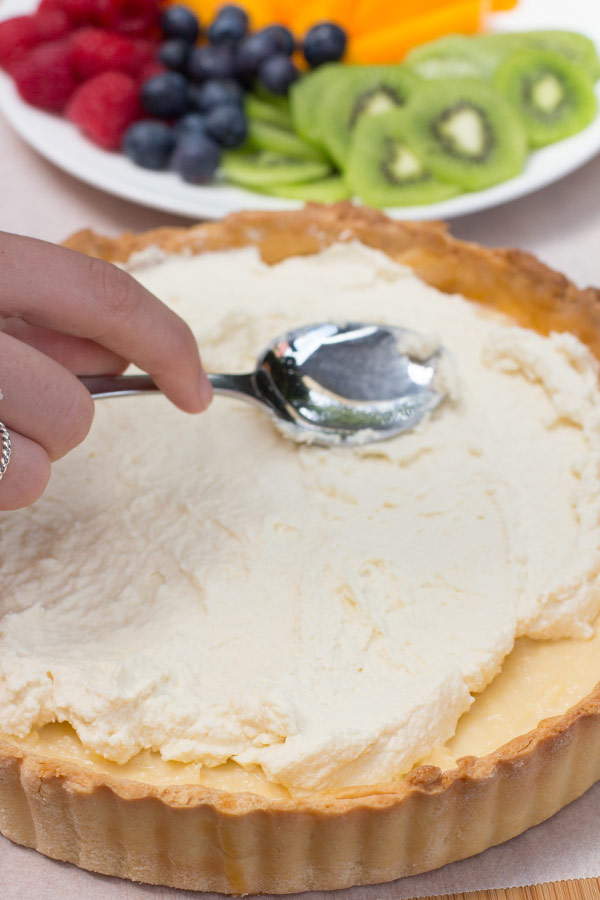
While the components of this fruit and custard tart can be made a day or two in advance, it is best enjoyed the day it is assembled. The cookie-like pastry crust has a sweet flavor and a crisp texture that is the perfect case for holding the pastry custard and cream. Once the crust is baked and cooled, the crust is then sealed by brushing on a thin layer of apricot glaze. This will prevent the filling from softening the crust over time. The classic filling for a fruit tart is crème patissiere, which is a rich, thick custard made from a mixture of milk, vanilla, eggs, sugar, flour and cornstarch (a thickening agent) that is cooked on the stove. We added a layer of whipped cream on top of the pastry custard before applying our fruit.

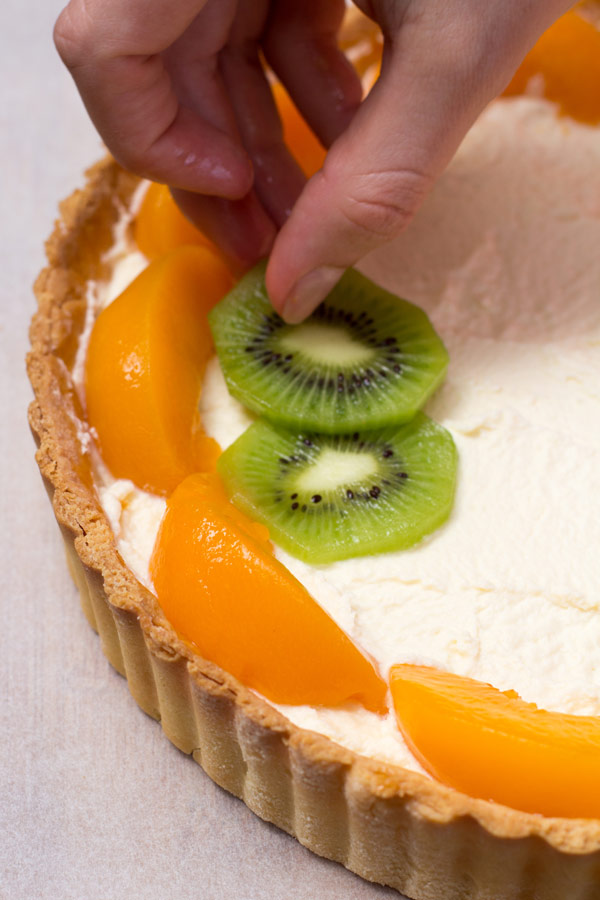
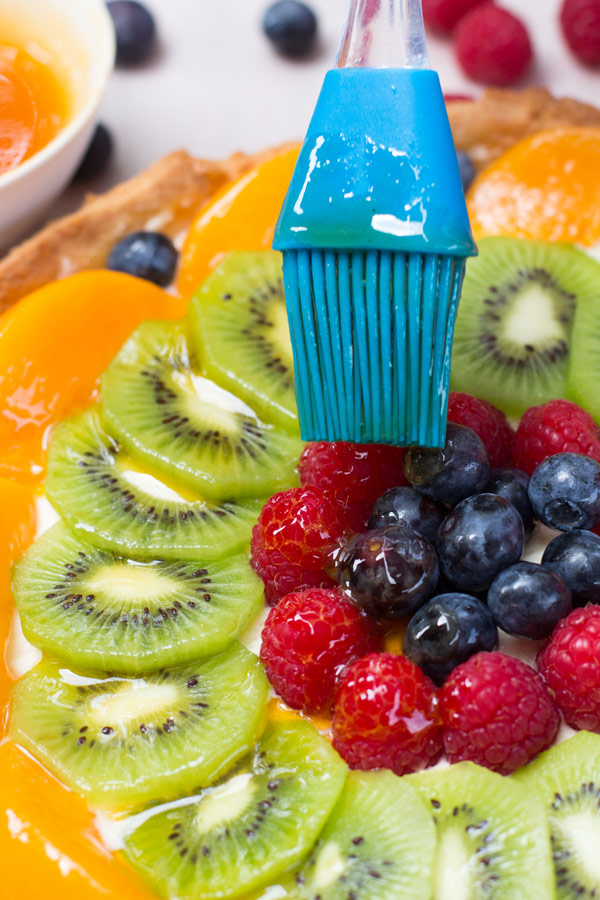
Of course, the first thing you notice about a fruit tart is the beautiful fruit arranged in concentric circles on top of the cream. There are so many fruits to choose from but it is important that the fruit looks and tastes its best. While berries, with their vibrant colours, are always popular, other fruits are nice as well. We opted for preserved peaches, slices of fresh kiwi, blueberries and raspberries. To finish off glaze the fruit with either an apricot glaze (recipe included) to give the fruit a lovely shine and it also prevents the fruit from drying out.

Looking for other fruit based desserts then check out our Grilled Peaches with Ricotta and Balsamic Glaze or Apple and Rhubarb Crumble.
Fruit and Custard Tart Recipe

Custard and Fruit Tart

Fresh Fruit and Custard Tart

Fruit and Custard Tart Glaze

Fruit and Custard Tart

Fruit and Custard Tart Recipe

Tasty Fruit and Custard Tart – Recipe Instructions
Fruit and Custard Tart
 
Prep time
Cook time
Total time
 
This classic fruit and custard tart has four components, a fluted edged sweet pastry crust, luscious crème patissiere, whipped cream and glistening rows of fresh fruit.
Author:
Recipe type: Tart
Cuisine: French
Serves: 8
Ingredients
Sweet Pastry Crust
  • 1 ½ cups of all-purpose flour
  • ⅛ teaspoon salt
  • ½ cup unsalted butter, at room temperature
  • ¼ cup of granulated white sugar
  • 1 large egg, lightly beaten
Creme patissiere
  • 1 ¼ cups of 2% milk
  • ½ vanilla bean, split lengthwise or teaspoon pure vanilla extract
  • 3 large egg yolks
  • ¼ cup granulated white sugar
  • 2 tablespoons all-purpose flour
  • 2 tablespoons cornstarch (corn flour)
Whipped Cream
  • 300 ml of whipped cream
Apricot Glaze
  • ½ cup apricot jam or preserves
  • 1 tablespoon water
Toppings
  • 3 cups of fruit (we used preserved peaches, fresh kiwi fruit, blueberries and raspberries
Instructions
Sweet Pastry Crust
  1. Place the flour, butter and sugar in a food processor and process until the mixture resembles fine breadcrumbs.
  2. Add the beaten egg and process until the mixture just comes together.
  3. Turn the dough onto a lightly floured surface and knead until smooth.
  4. Flatten the pastry into a disk, cover the pastry into a disk, cover with plastic wrap, and refrigerate for 15-30 minutes or just until firm.
  5. Lightly spray with a non-stick vegetable/flour cooking spray, an 8 - 9 inch (20 - 23 cm) tart pan with a removable bottom.
  6. Evenly pat the chilled pastry onto the bottom and up the sides of the pan. Cover with plastic wrap and place in the freezer for about 15 minutes.
  7. Meanwhile, preheat oven to 400 degrees F (205 degrees C) and place rack in center of oven. Lightly prick bottom of pastry crust with the tines of a fork (this will prevent the dough from puffing up as it bakes). Place tart pan on a larger baking pan and bake crust for 5 minutes. Reduce oven temperature to 350 degrees F (180 degrees C) and continue to bake the crust for about 15 minutes or until dry and lightly golden brown. Remove from oven and place on a wire rack to cool completely before filling. Can be covered and stored for a few days.
Creme patissiere
  1. In a medium-sized heatproof bowl, mix the sugar and egg yolk together (Do not let this sit too long).
  2. Sift the flour and cornstarch (corn flour) together and then add to the egg mixture, mixing until you get a smooth paste.
  3. Meanwhile, in a saucepan bring the milk and vanilla just to boiling (just until milk starts to foam up.)
  4. Remove from heat and add slowly to egg mixture, whisking constantly to prevent curdling. (You can strain the mixture, if you get lumps).
  5. Pour the egg mixture into a medium saucepan and cook over medium heat until boiling, whisking constantly. When it boils, whisk mixture constantly for another 30 - 60 seconds until it becomes thick.
  6. Pour into a clean bowl and immediately cover the surface with plastic wrap to prevent a crust from forming. Cool to room temperature.
  7. Beat or whisk before using to get rid of any lumps that may have formed.
Whipped Cream
  1. Lightly whip 300 ml of fresh cream using an electric beater.
Apricot Glaze
  1. Heat the apricot jam (preserves) and water in a small saucepan over medium heat until liquid. This can also be done in the microwave.
  2. Remove from heat and strain the jam through a fine strainer to remove and fruit lumps.
Assemble the tart
  1. Remove the tart from the fluted sides of the pan.
  2. Spread a thin a thin layer of apricot glaze over the bottom and sides of the baked tart shell to prevent the tart from getting soggy.
  3. Let the tart dry for 20 minutes.
  4. Add first layer of creme patissiere.
  5. Add second layer of whipped cream.
  6. Place fruit in concentric overlapping circles, starting at the outside edge.
  7. After arranging the fruit, rewarm the glaze, and gently brush a light coat on the fruit.
  8. Serve immediately, or if refrigerating bring to room temperature before serving. This fruit tart is best eaten the same day as it is assembled. Cover and refrigerate any leftovers.
 

Pumpkin and leek tart recipe

Last Updated on September 8, 2019 by Grab Your Spork

Since returning from our holiday we have had a very busy weekend catching up with friends and family. Luckily we managed to find a bit of time yesterday to get back into some humble home cooking and Brooke made this delicious pumpkin and leek tart recipe.

Whilst being away we have definitely eaten our fair share of delicious Vietnamese food, but now that we are home in the middle of Perth’s winter I am craving some simple winter food.

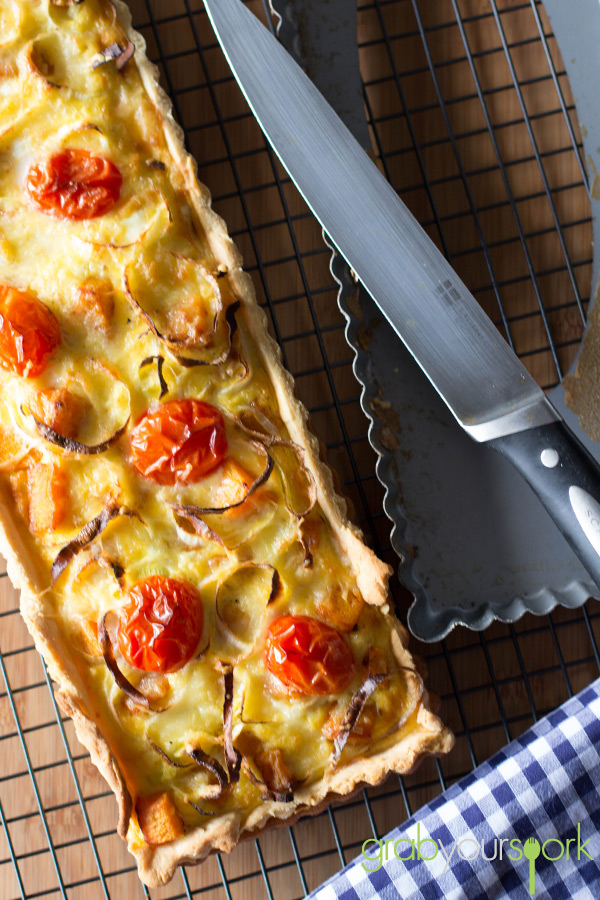
With pumpkin and leek in season, Brooke made one of my favourite recipes, pumpkin and leek tart. This tart is delicious and if Brooke can be bothered tackling homemade short crust pastry is a great winter warmer.

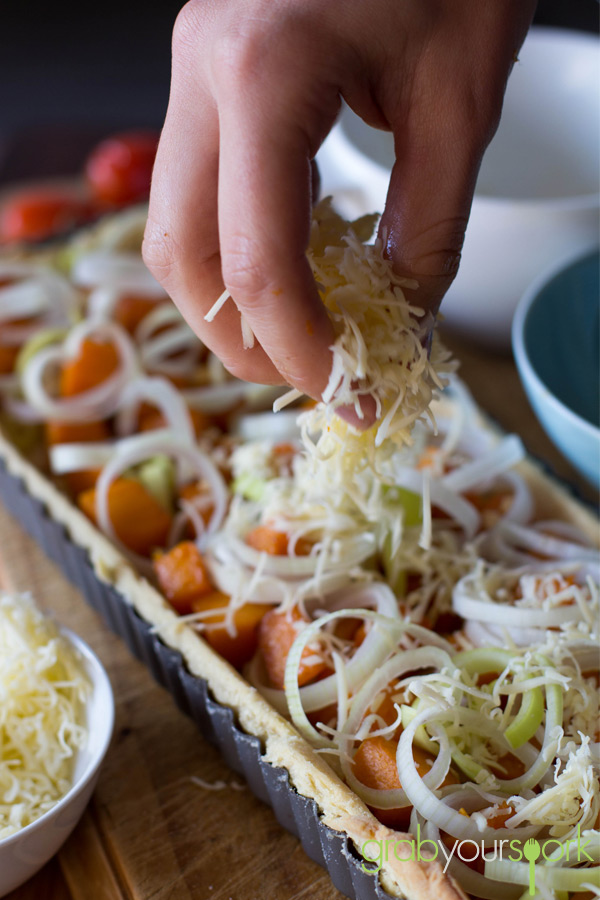
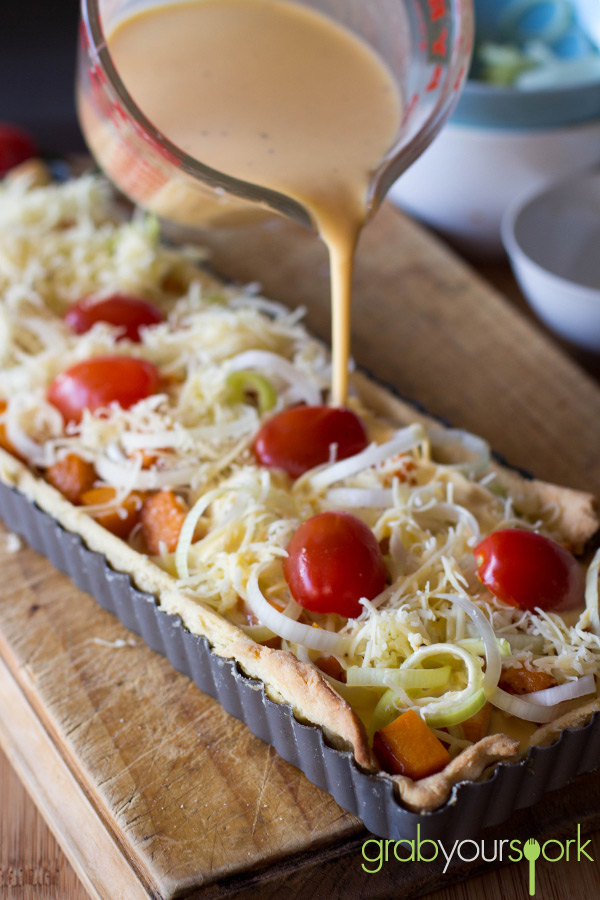
Cook the pumpkin slightly in the pan first with a little butter and garlic for added flavour, then combine with the sliced leeks, some fresh tomatoes for colour, dried onion flakes, cheese and an egg and cream filling. Bake it in the oven for 10 – 15 minutes or until golden brown.

Served with a simple salad this tart is great for a light lunch or dinner or in the warmer months for a picnic!

Looking for some more savoury baked goods then check out our recipe for Ham and Cheese Croquettes or Zucchini and Bacon Slice. I like to pair this pumpkin and leek tart with our Roasted Pumpkin and Sweet Potato Soup recipe.

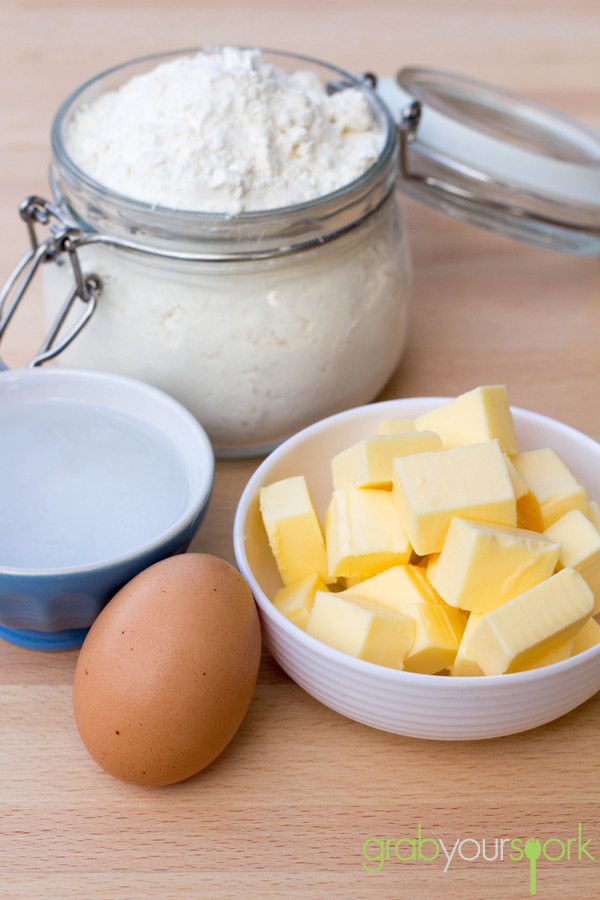
Tart Pastry Ingredients

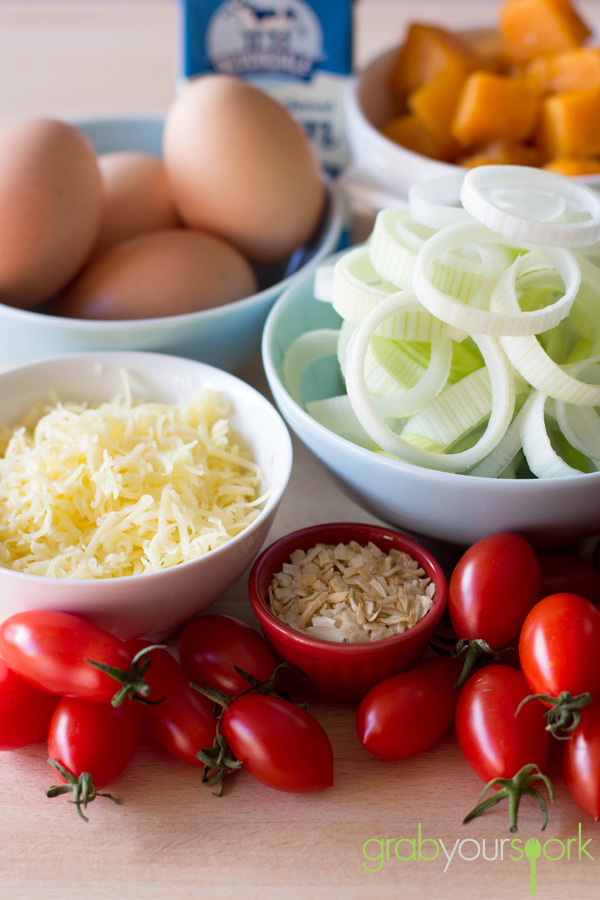
Pumpkin and Leek Tart Ingredients

Pumpkin and leek tart recipe

Pumpkin and leek tart

Pumpkin and leek tart recipe

Healthy Pumpkin and Leek Tart – Recipe Instructions

Pumpkin and Leek Tart
 
Prep time
Cook time
Total time
 
Pumpkin and Leek Tart great for a light lunch or dinner.
Author:
Recipe type: Baked Goods
Cuisine: French
Serves: 4
Ingredients
Pastry
  • 1⅔ cups (250g) plain flour
  • 125g unsalted butter, chilled, finely chopped
  • 1 egg, chilled
  • 1 Tbsp cold water
Tart Ingredients
  • 300g pumpkin, cubed
  • 1 leek, washed and sliced
  • ½ cup cheese, grated
  • 4 eggs
  • 3 – 4 cherry tomatoes, cut in half
  • 120 ml thickened cream
  • 2 tbsp onion flakes
  • 1 tsbp butter
  • 1 tsp garlic, crushed
  • salt and pepper
Instructions
  1. To make the pastry, place the flour and butter in the bowl of a food processor and process until mixture resembles fine breadcrumbs. Add the egg and water and process until the mixture just comes together. Turn dough onto a lightly floured surface and knead until smooth. Shape into a disc. Wrap in plastic wrap and place in fridge for 15 minutes to rest.
  2. Meanwhile, melt the butter in a frying pan over medium heat. Add the pumpkin and garlic and cook, stirring, for 10 minutes or until soft. Remove from heat.
  3. Preheat oven to 200°C.
  4. Roll out the pastry into a 3mm thick rectangle or disc. Line a round 23cm (base measurement) fluted tart tin or a 33cm x 9cm rectangular tart with removable base with pastry and trim any excess. Place in the fridge for 15 minutes to rest.
  5. Cover pastry with non-stick baking paper and fill with rice or dried beans. Place on a baking tray. Bake in oven for 10 minutes. Remove paper and rice or beans, and bake for a further 8 minutes or until golden. Remove from oven. Reduce oven temperature to 180°C.
  6. Fill pastry base with pumpkin, onion flakes, leeks, cheese and tomatoes.
  7. Whisk cream and eggs together in a jug. Spread over pastry base.
  8. Bake in oven for 10 to 15 minutes until golden brown.


Raspberry Friands

Last Updated on April 14, 2014 by Grab Your Spork

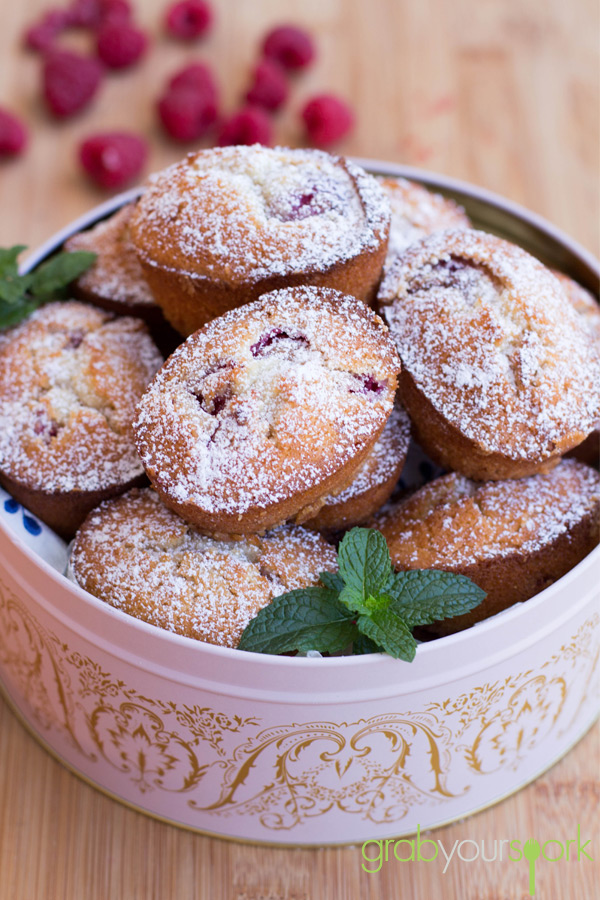
Friands are a small French cake which is a similar to the financier due to key ingredients powdered sugar, almond meal and egg whites. These delicious tea cakes are extremely popular in Australia and as long as you have a solid base recipe they can be made using a variety of flavourings including chocolate, fruit, coconut and nuts. Traditionally these treats are baked in an oval molds and due to the almond meal, powdered sugar and lightly beaten egg whites they have a great texture which is almost chewy on the outside and extremely fluffy and moist on the inside. Trust me they are delicious!

When heading to the footy, often Brooke and her Mum would pick up a delicious friand from the local French patisserie before a game. However on this Sunday I was in for a treat as before the game Brooke cooked up a batch of friands with the leftover fresh raspberries we had just bought. You can use any fruit or nut you want to flavour your friands, however I am not going to lie – the tart raspberry combination really works well with the sweet cake.

Now this recipe calls for 6 egg whites, yes it is alot and you will end up with leftover egg yolks. However without the egg whites you won’t get the texture which is what makes these raspberry friands so irresistible. If you need to use up some of your leftover yolks I would make a simple lemon curd, custard or if you really want to some icecream!

To serve allow the friands to cool before giving them a light dusting of icing sugar. You will all be fighting for the last one!

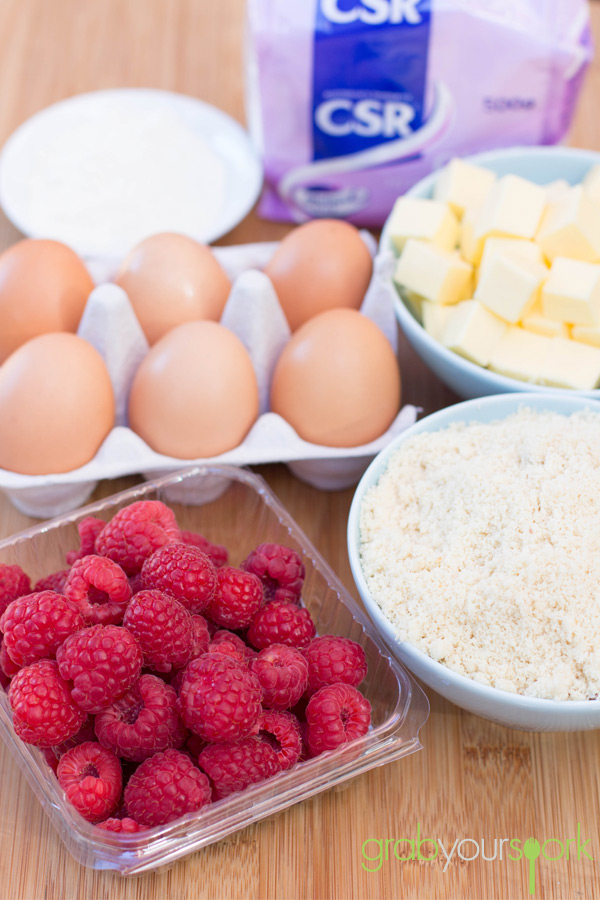
Raspberry Friand Ingredients

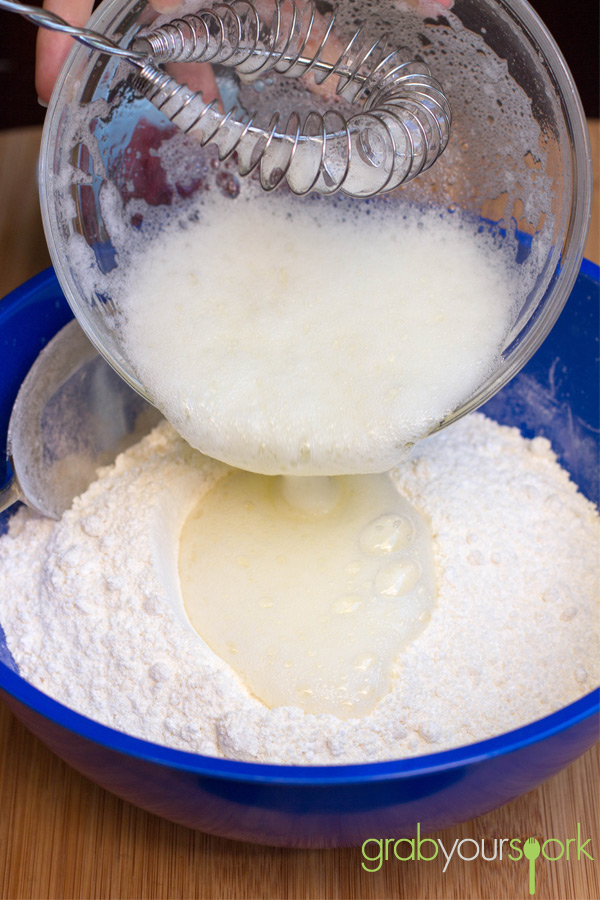
Raspberry Friand Mix

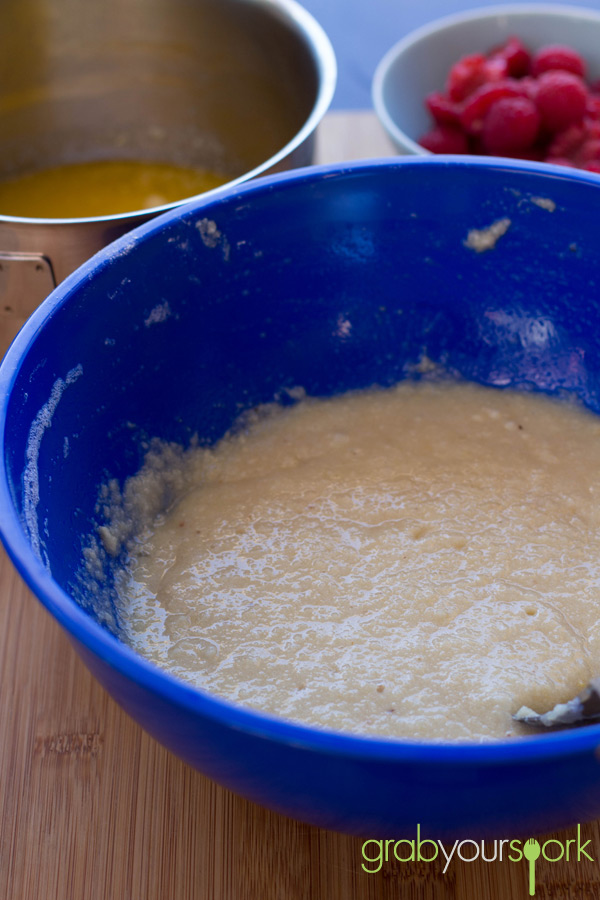
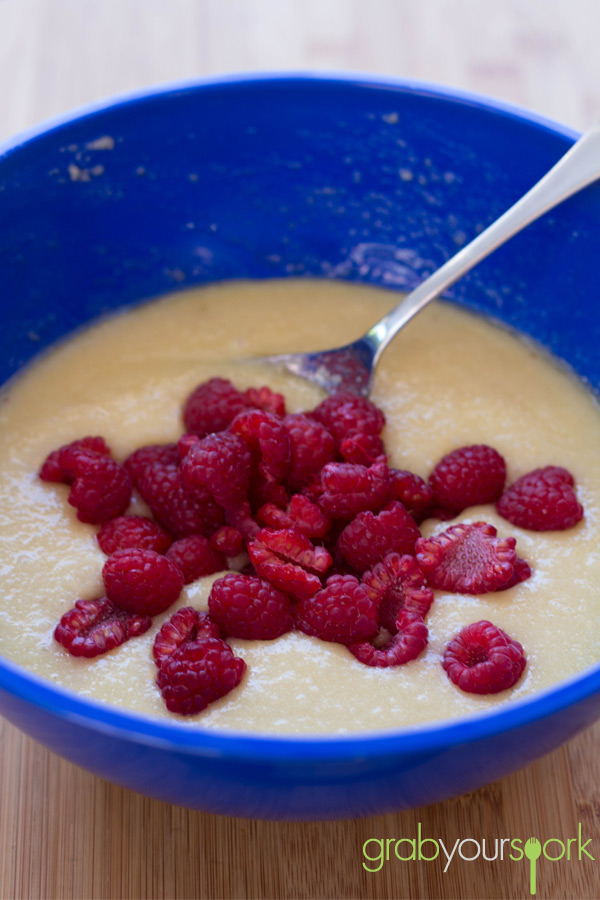
Raspberry Friand Mixture

Raspberry Friands

Minni Raspberry Friands

Raspberry Friands

5.0 from 1 reviews
Raspberry Friands
 
Prep time
Cook time
Total time
 
Raspberry Friands are a small French cake made with powdered sugar, almond meal, egg whites and fresh raspberries.
Author:
Recipe type: Baked Goods
Cuisine: French
Serves: 12
Ingredients
  • 200g butter, chopped
  • 2 cups, pure icing sugar
  • 2 tblsp plain flour
  • 1 ½ cups almond meal
  • 6 egg whites
  • 120g raspberries, fresh or frozen (if frozen, ensure they are completely defrosted and dried with paper towel)
  • Icing sugar for dusting
Instructions
  1. Preheat oven to 230°C. Grease twelve ½-cup capacity friand pans or muffin holes.
  2. Melt butter in a small saucepan over medium-low heat. Simmer, swirling pan occasionally, for 4 to 5 minutes or until light golden. Remove from heat. Set aside for 15 minutes to cool.
  3. In a medium bowl, whisk the egg whites till they are slightly foamy.
  4. Sift icing sugar and flour into a large bowl. Stir in almond meal. Make a well in the centre.
  5. Add the beaten eggwhites, stirring constantly with a metal spoon until combined.
  6. Add butter and stir until well combined. Stir in berries.
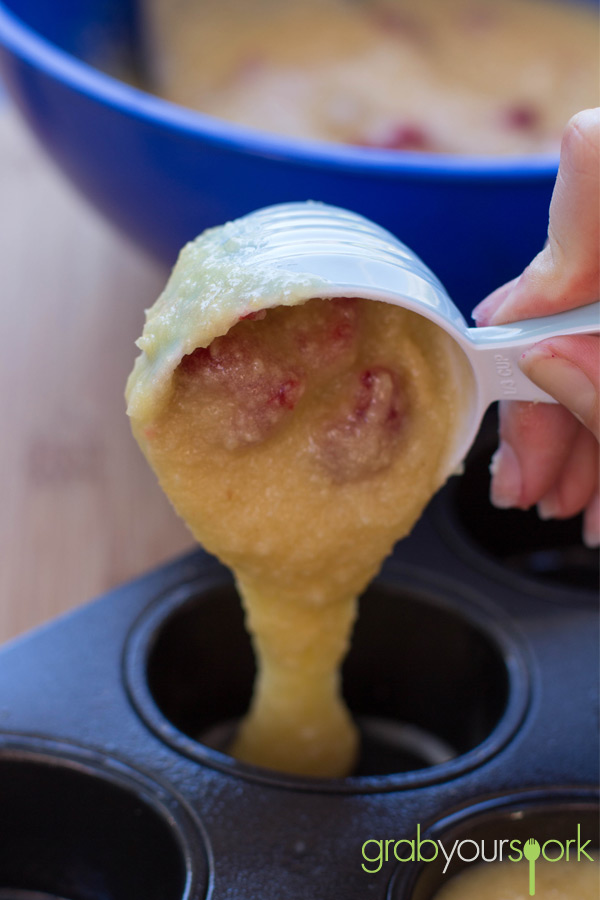
  7. Fill the each mold three-quarters full with mixture.
  8. Bake friands for 5 minutes. Reduce oven to 200°C and bake for 12 to 15 minutes or until a skewer inserted into the centre comes out clean.
  9. Allow to cool in pans for 10 minutes. Turn onto a wire rack to cool completely.
  10. Dust with icing sugar.


French apple cake recipe

Last Updated on February 9, 2020 by Grab Your Spork

There is something that is so comforting about an a French apple cake – and especially one that is served with warm caramel sauce. Okay maybe the caramel sauce is a bit indulgent considering how delicious the cake is on its own. But if you are looking impress guests or simply feel like a treat, I definitely recommend making the sauce with this easy French apple cake recipe.

If you’re like me and love a classic then you will love this French apple cake recipe. A simple apple cake recipe is a great recipe to keep up your sleeve as apples are something that are available nearly all year round in most countries. Brooke has a few go-to recipes up her sleeve already, however on the weekend she wanted to try something new and came across this delicious French apple cake with fresh apples. If I have my way this cake is definitely going to get added to that list.

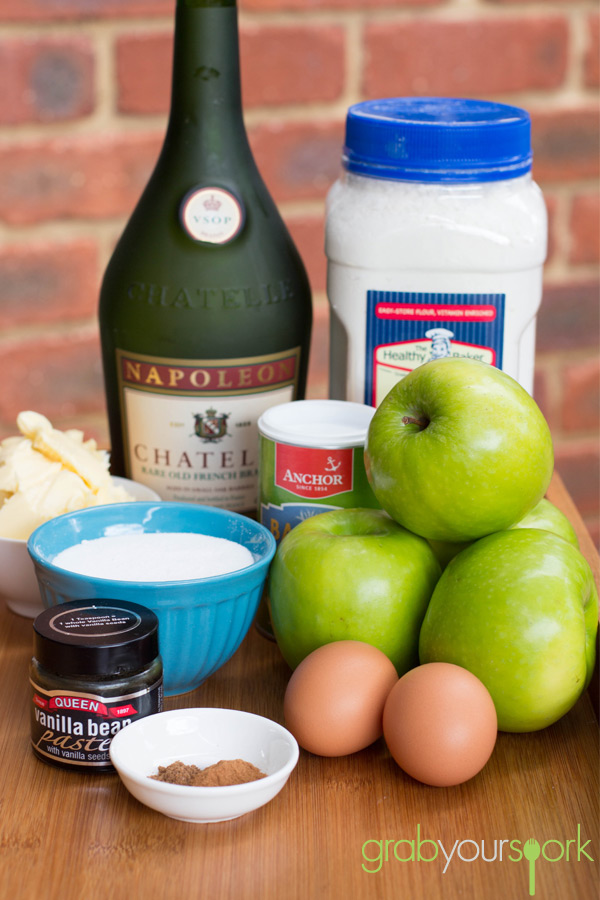
This recipe is simple and includes ingredients that nearly all households contain. Yes you may need to take a trip to the liquor store if you don’t have the brandy in your liquor cabinet. However I definitely recommend you add it as adds a nice warmth at the end of each bite and really completes the cake.

It comes together quickly, however you want to make sure you don’t over bake the cake. Simply check around the 50 minute mark with a skewer, and if the skewer comes out clean with no batter then your cake is ready. Be careful not to prick the apples as you go though.

French apple cake recipe adapted via Dorie Greenspan via David Lebovitz  via Sarah at strawberryplum.com

If you like this recipe – then check out our other dessert and sweets recipes – like our recipes for no-bake mars bar sliceginger-nut biscuitseasy raspberry friands, Belgian lemon tea cake or apple and rhubarb crumble.

Apple Cake Ingredients

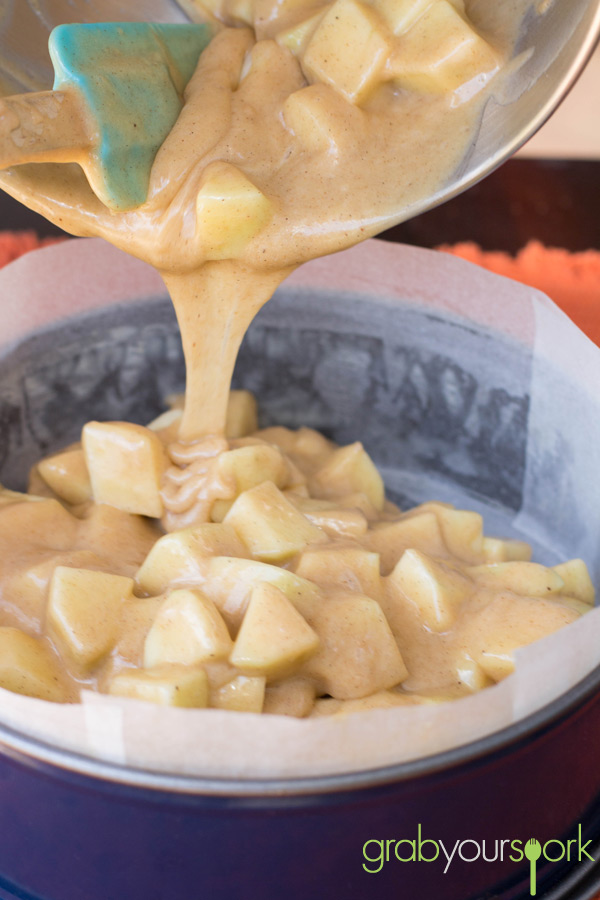
French Apple Cake Mixture and Apples

French Apple Cake Batter

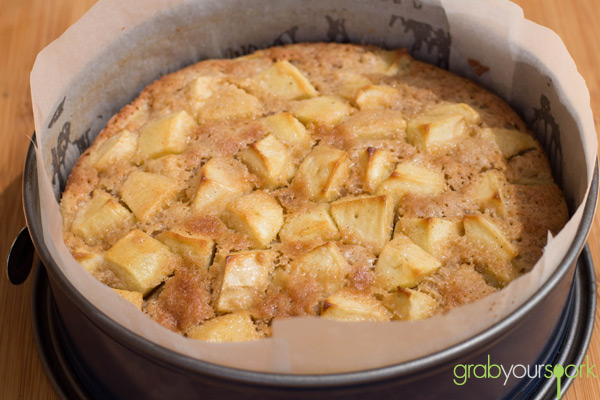
French Apple Cake in Tin

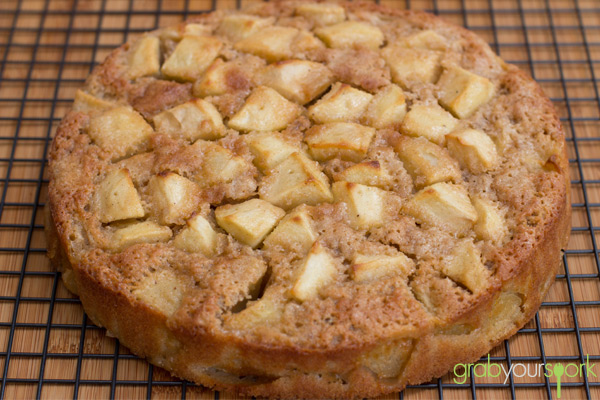
French Apple Cake

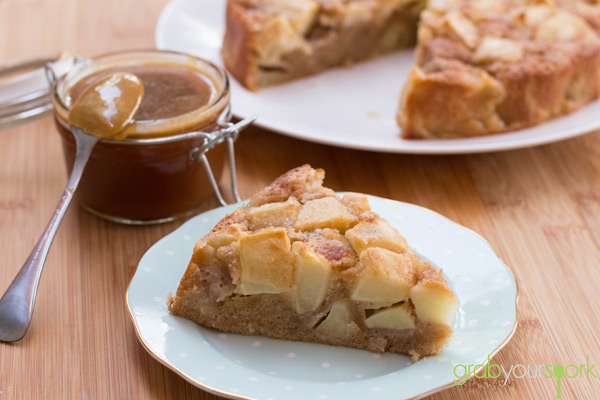
French Apple Cake with Caramel Sauce

French apple cake with caramel sauce – Recipe Instructions

5.0 from 1 reviews
French Apple Cake
 
Prep time
Cook time
Total time
 
This simple French Apple Cake is incredibly easy yet simply delicious. Enjoy it with this elegant caramel sauce for an extra degree of indulgence.
Author:
Recipe type: Baked Goods
Cuisine: French
Serves: 8
Ingredients
French Apple Cake
  • ¾ cp All-Purpose Flour
  • ¾ tsp Baking Powder
  • pinch of Salt
  • ½ tsp Cinnamon
  • ¼ tsp Nutmeg
  • 2 Eggs
  • ¾ cup Sugar
  • 3 Tbsp Brandy
  • ½ tsp Vanilla Extract
  • 8 Tbsp Unsalted Butter, melted and cooled, plus extra for greasing the pan
  • 4 large Apples (I used 4 Granny Smith), peeled and diced into ½-1 in. chunks
Caramel Sauce
  • ½ cup Sugar
  • ¼ cup Water
  • 3 Tbsp Unsalted Butter
  • ¼ cup Cream
  • ¼ tsp Sea Salt
Instructions
  1. Preheat oven to 180 degrees Celsius. Thoroughly butter a springform pan.
  2. In a medium bowl, whisk together flour, baking powder, a pinch of salt, cinnamon, and nutmeg. In a large bowl, whisk together the eggs and sugar until light and frothy. Beat in the brandy and vanilla.
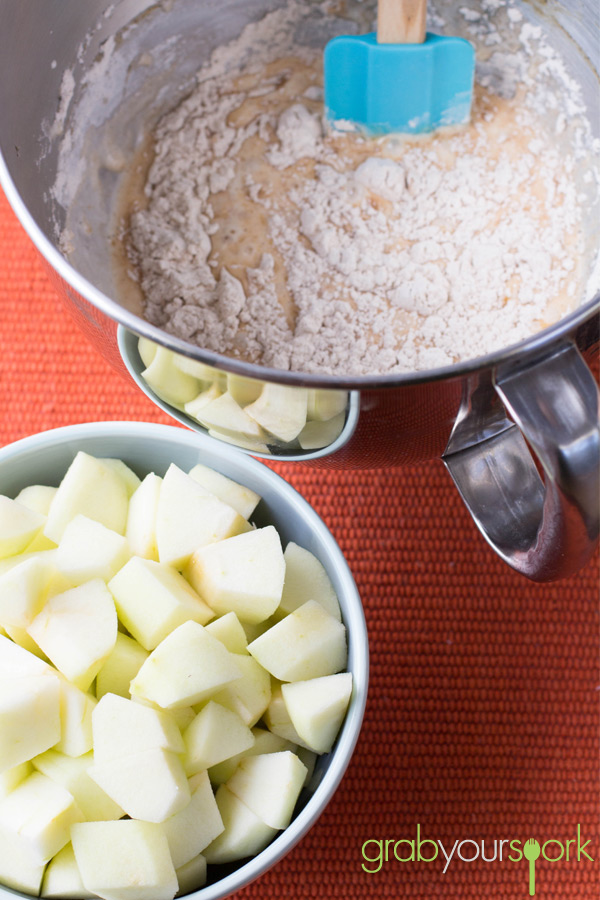
  3. Stir half of the flour mixture to the egg mixture. Add half of the melted butter, stir, then add the remaining flour, followed by the remaining butter. Fold the apples into the batter and transfer the batter-covered apples to the already prepared pan.
  4. Set the springform pan on a baking sheet and bake until the centre of the cake is set and a tester comes out clean. Mine took approximately 1 hour, 5 minutes, however, baking times are likely to vary based on the size and moisture content of your apples to be sure to keep an eye on your cake.
  5. Let the cake cool for a few minutes in the pan, then run a knife around the edges, and remove the springform. Allow to cool slightly, then serve with ice cream, whipped cream, or crème fraîche and a drizzle of caramel sauce.
  6. While the cake bakes, make the caramel. Place the sugar and water in a large saucepan over medium-high heat and whisk to dissolve. Cook until the mixture become dark amber in color, about 10 minutes. Remove from the heat, stir in the butter, then slowly stir in the cream and salt. Drizzle over cake. Any leftover sauce can be refrigerated and reheated in a water bath to a pourable consistency.


Passionfruit Marshmallows

Last Updated on April 8, 2016 by Grab Your Spork

After being given a bag of home grown passionfruit, Brooke and I thought for a while about what we could make with this delicious tropical fruit. We wanted something that would showcase the sharp and tangy flavour of this amazing fruit. After searching for a while on a couple of sites we came across passionfruit marshmallows.

Brooke made caramel swirl marshmallows at Christmas time last year, and let me tell you homemade marshmallows cannot compare to the store bought ones!

This recipe is adapted from one we found on Gourmet Traveller (via Neil Perry’s Rockpool recipe). The recipe is a little more complicated then our other recipes, however you will be left with little pillows that are so soft and light. With the mix of the passionfruit, it gives these marshmallows a refreshing taste and the smell is incredible!

We were lucky enough to be given more then enough fresh passionfruit, however given the cost of these delights in the shops you can easily use tinned pulp.

On a side note please be careful when adding the hot sugar water and the passionfruit together as it creates a rather large reaction. Which if you are like us can really catch you a bit off guard!

Overall these passionfruit marshmallows may leave you in a sugar coma, but they are definitely worth the sticky mess you will be left with.

For other sweat treats checkout our choc mint fudge recipe or toffee apples recipe.

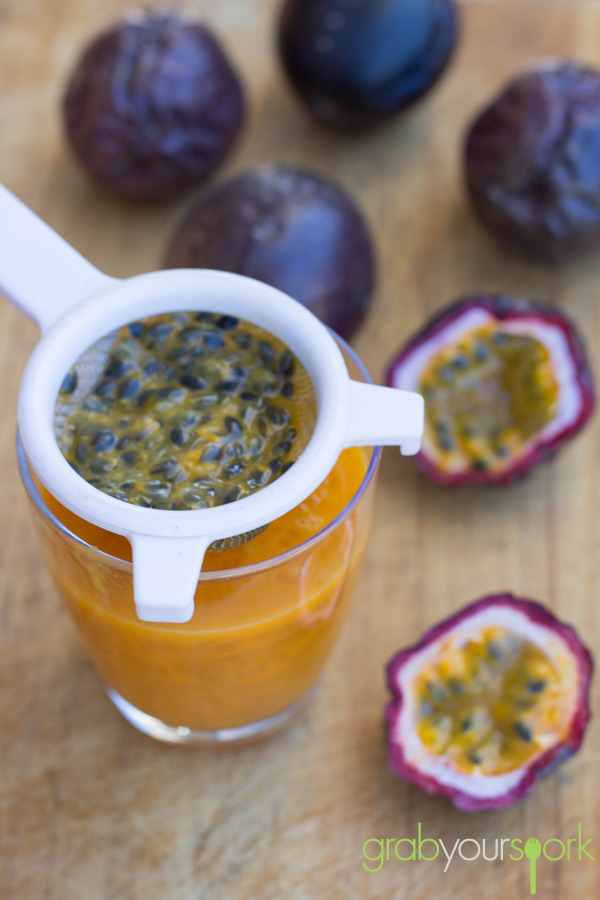
Passionfruit Pulp

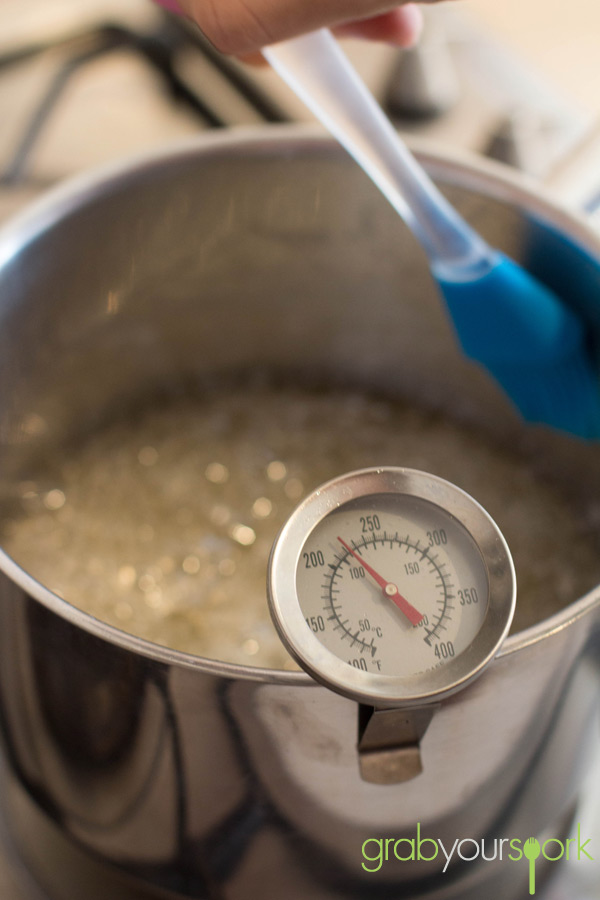
Sugar Syrup

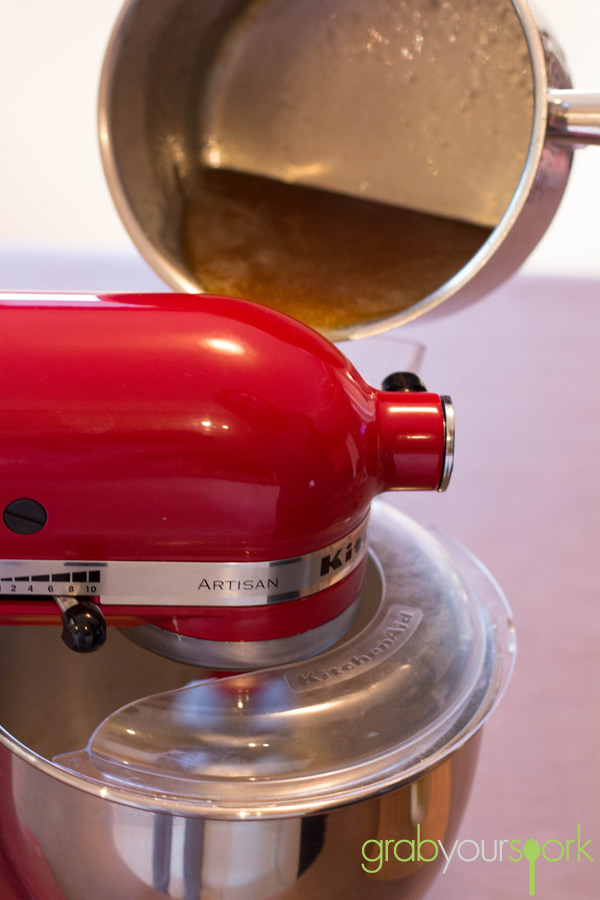
Mixing Passionfruit Marshmellows

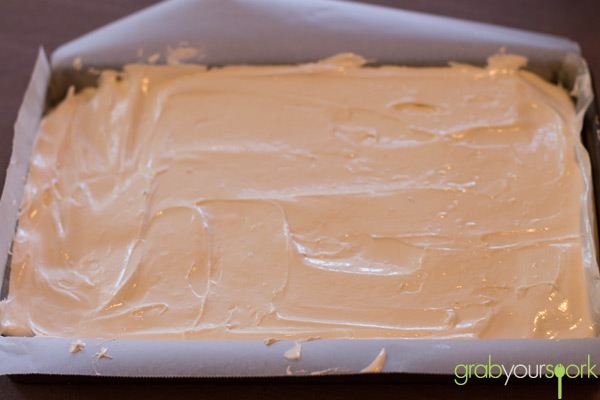
Passionfruit Marshmallows Mixture

Passionfruit Marshmallows

Passionfruit Marshmallows

Passionfruit marshmallows – Recipe Instructions

5.0 from 1 reviews
Passionfruit Marshmallows
 
Prep time
Cook time
Total time
 
Light and fluffy marshmallows with a tropical passionfruit twist.
Author:
Recipe type: Dessert
Cuisine: French
Ingredients
  • 180ml strained passionfruit juice (about 10 passionfruit)
  • 20g powdered gelatine
  • 500g caster sugar
  • 1 cup water
  • 2 eggwhites
  • Snow sugar, for dusting
Instructions
  1. Lightly grease and line a 17.5cm x 25cm shallow cake pan and dust base liberally with snow sugar.
  2. Combine passionfruit juice and gelatine in a bowl and set aside.
  3. Combine caster sugar and 1 cup water in a saucepan and cook over low heat, stirring, until sugar dissolves, then increase heat to medium and cook for 5-10 minutes or until syrup reaches 125’C on a sugar thermometer.
  4. Remove from heat, add passionfruit mixture to syrup and stir until gelatine dissolves.
  5. Meanwhile, using an electric mixer, whisk eggwhites and a pinch of salt until frothy.
  6. Gradually add passionfruit mixture, whisking continuously on medium speed until mixture has doubled in size, then slowly decrease speed and mix until mixture is warm (about 40’C).
  7. Pour into prepared cake pan, and, using a spatula, spread evenly, then dust top liberally with snow sugar. Stand at room temperature for 3 hours or until firm.
  8. Using a sharp knife, cut marshmallow into 2.5cm squares and roll in snow sugar to coat. Store in an airtight container between sheets of baking paper at room temperature for up to 2 weeks.
Notes
If your knife is sticking too much when you are trying to cut the marshmallow, either sprinkle come icing sugar over the knife, or warm the knife in hot water for ease of cutting.