Pork Gyoza

Catching up with some friends a couple of weeks ago they suggested we make gyoza. Well ever since then, we have had gyoza on the mind! Gyoza, are a Japanese-style dumpling typically filled with ground meat and / or vegetable filling, wrapped into a wrapper then sealed pressing the edges together or crimping. These juicy little parcels are so delicious given their prominent flavours are typically pork mince, cabbage, sesame oil, garlic and ginger! To finish the dumplings are pan fried giving them an added texture and served with soy sauce – seriously you will be devouring these as long as your don’t burn your mouth!

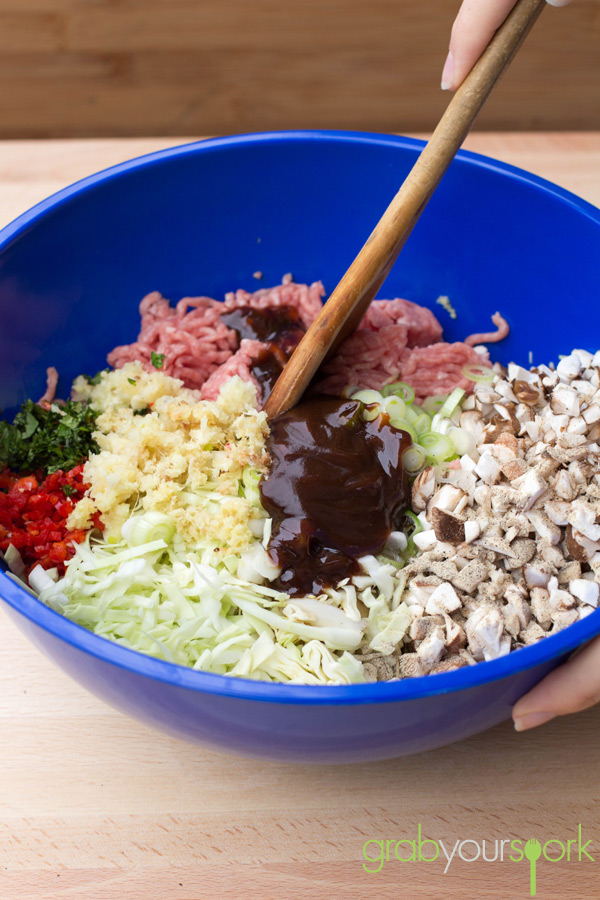
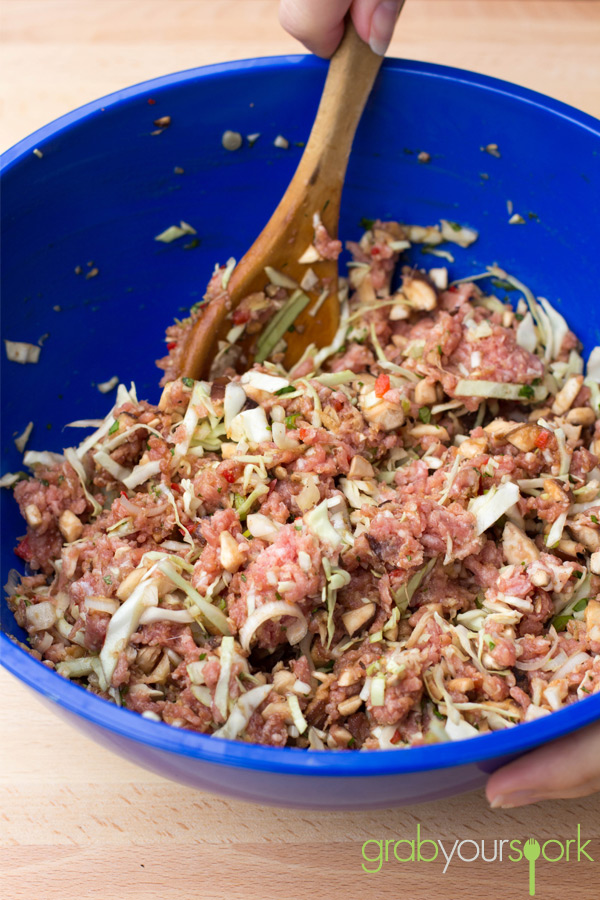
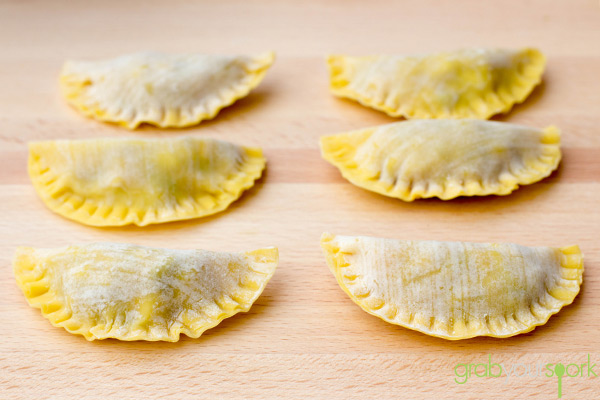
To make our pork gyoza recipe we used the traditional base of pork mince, cabbage, sesame oil, garlic and ginger then added a few of our own favourite ingredients including – coriander, chilli, shitake mushrooms, soy sauce and hoisin sauce. Now getting all the ingredients mixed together was the easy bit. It does take some time to make the dumplings if you haven’t made them before. And unfortunately Brooke didn’t have much luck with the pinching technique and opted to press the edges together with a fork which still gives it a nice edge.

To cook simply pan fry them in a heated pan with some vegetable oil for 2 -3 minutes. This will give the gyoza a lovely golden colour. Don’t stress if your gyoza do stick a little as this is where their other name originates from – potstickers – given their tendency to stick to the pan! You may need to add a little more oil and they should come free. If one burst though consider it a taste tester!

We served our pork gyoza with soy sauce and some fresh chilli and they were delicious. I can’t wait to experiment with some other combinations!
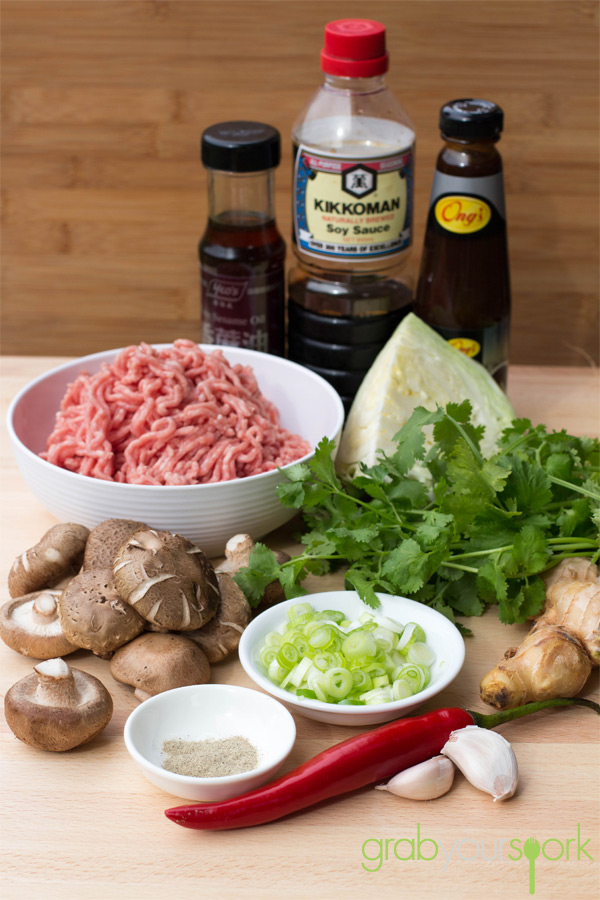
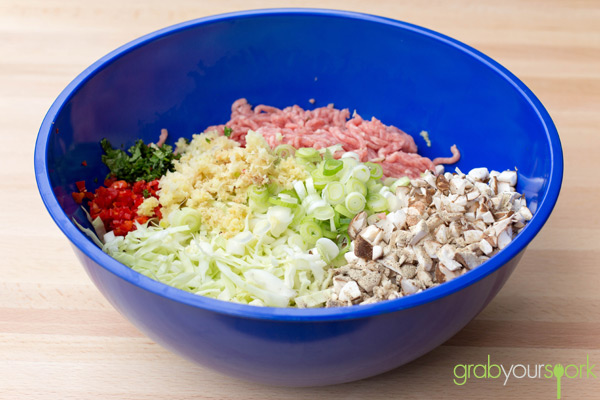
Pork Gyoza IngredientsPork Gyoza Recipe IngredientsPork Gyoza MixturePork Gyoza MixturePork GyozaGyozaPork Gyoza Recipe

Pork Gyoza
 
Prep time
Cook time
Total time
 
Gyoza made with pork mince, cabbage, sesame oil, garlic and ginger then added a few of our own favourite ingredients including – coriander, chilli, shitake mushrooms, soy sauce and hoisin sauce.
Author:
Recipe type: Pork
Cuisine: Japanese
Serves: 8
Ingredients
  • 250 g pork mince
  • ¼ cabbage, shredded
  • 100 g shitake mushrooms, diced
  • 2 cloves garlic, crushed
  • 1 tbsp ginger, grated
  • 1 tsp red chilli, thinly diced
  • 2 tsbp coriander, chopped
  • 2 spring onions, thinly sliced
  • 1 tsp sesame oil
  • 2 tbsp hoisin sauce
  • 1 tbsp soy sauce
  • 1 tsp white pepper
  • 2 tbsp vegetable oil
  • 36 won ton wrappers
  • Soy sauce for serving
Instructions
  1. In a large bowl combine mince, cabbage, mushrooms, garlic, ginger, spring onions, chilli, coriander, pepper and sauces. Mix well.
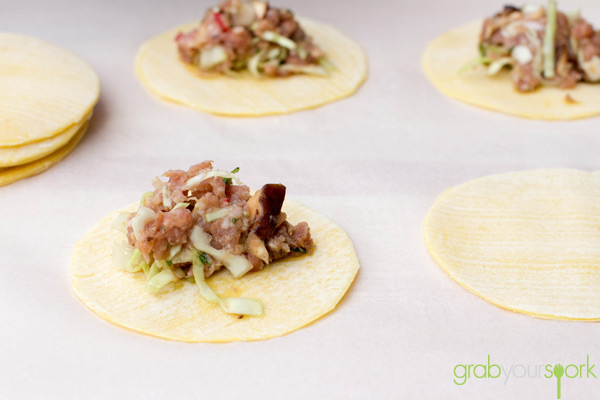
  2. To assemble place 1 tsp of the mixture into the centre of each wrapper. Using your finger, rub the edge of the wrappers with a little water.
  3. Fold the dough over the filling to create a half moon. Pinch the edges together or use a fork to seal.
  4. Heat oil in a large pan over a medium heat. Add the gyoza and cook until golden and crispy.
  5. Serve immediately with soy sauce.
 

Creamy cauliflower soup recipe

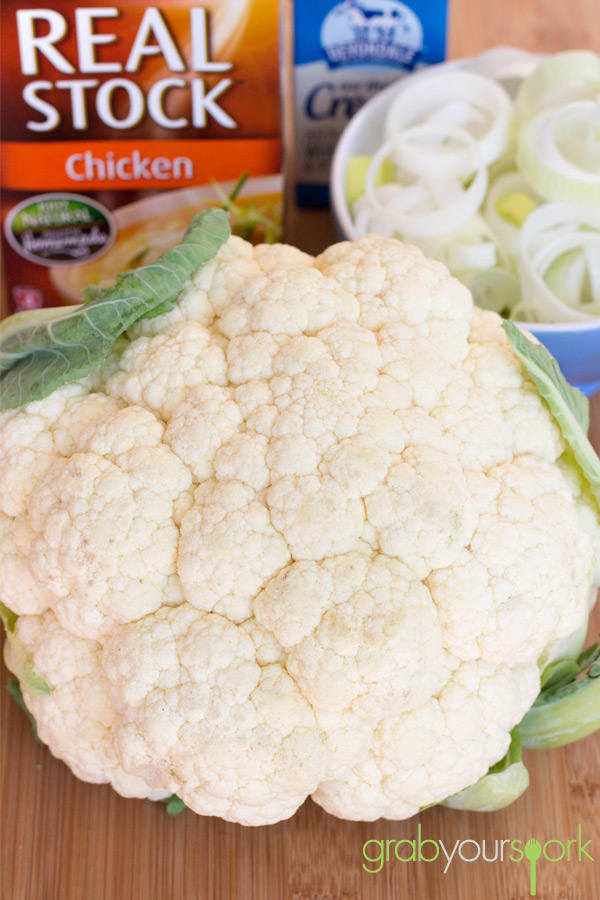
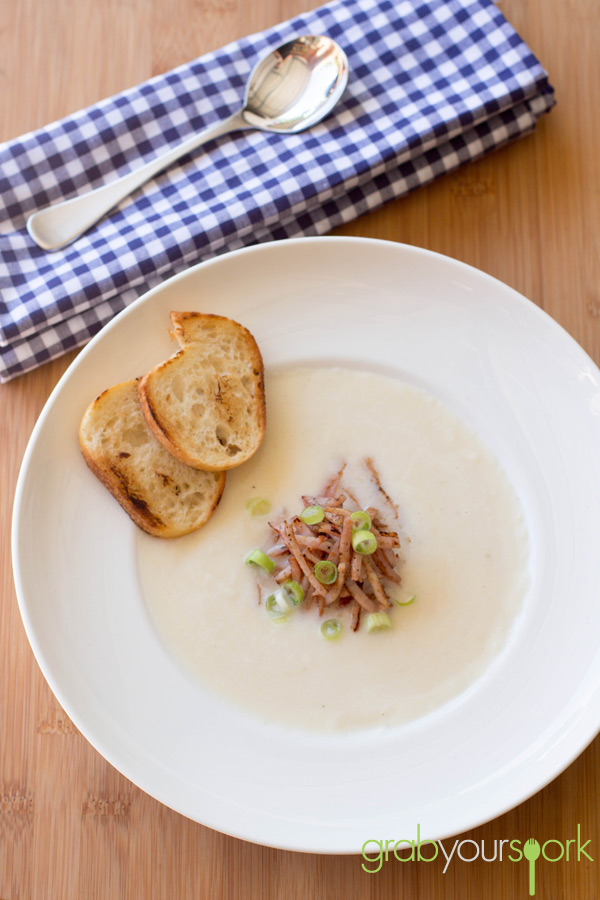
Cauliflower, the humble vegetable that many of us have seen served on our plates at home or in a Chinese meal trying to bulk it up in lieu of meat. Any preconceived ideas you have on this vegetable I ask you to not be so judgemental because this creamy cauliflower soup recipe will change your mind.

Not only is Cauliflower budget friendly it actually has an impressive nutritional profile. It contains high levels of vitamin A and C, calcium, it is low in fat and carbohydrates and contains high levels of dietary fibre making it a great substitute for rice or potatoes. I personally don’t mind cauliflower and when blitzed into this easy creamy cauliflower soup I hope you become a fan too!

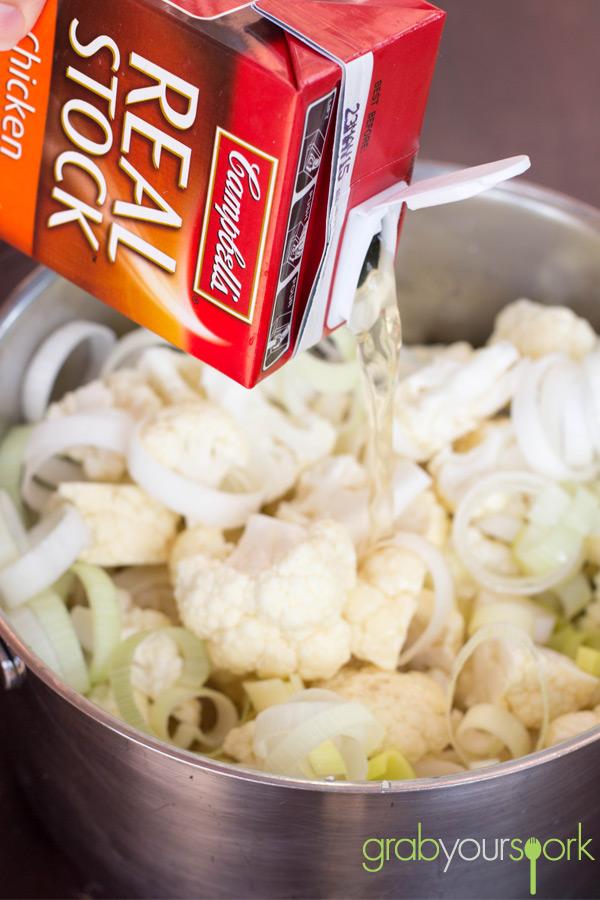
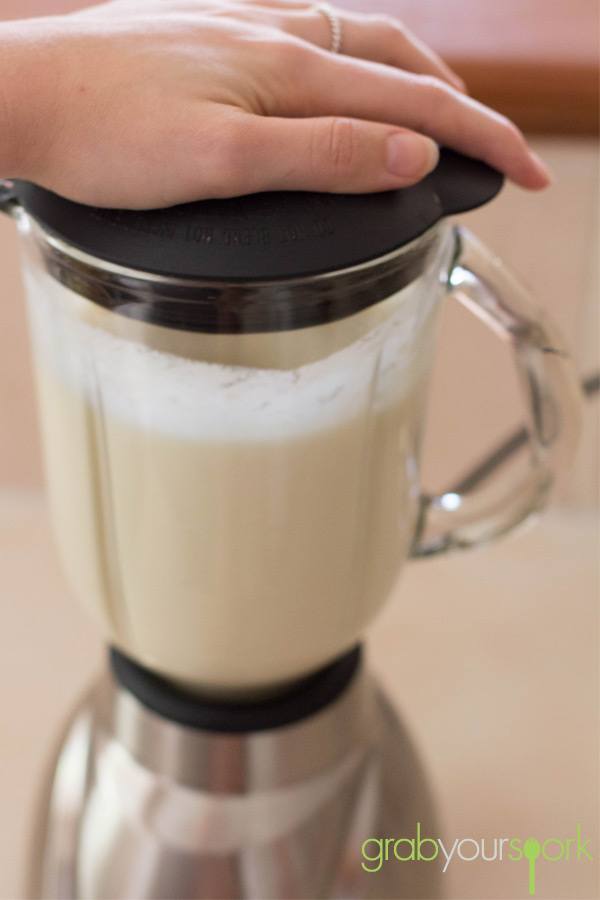
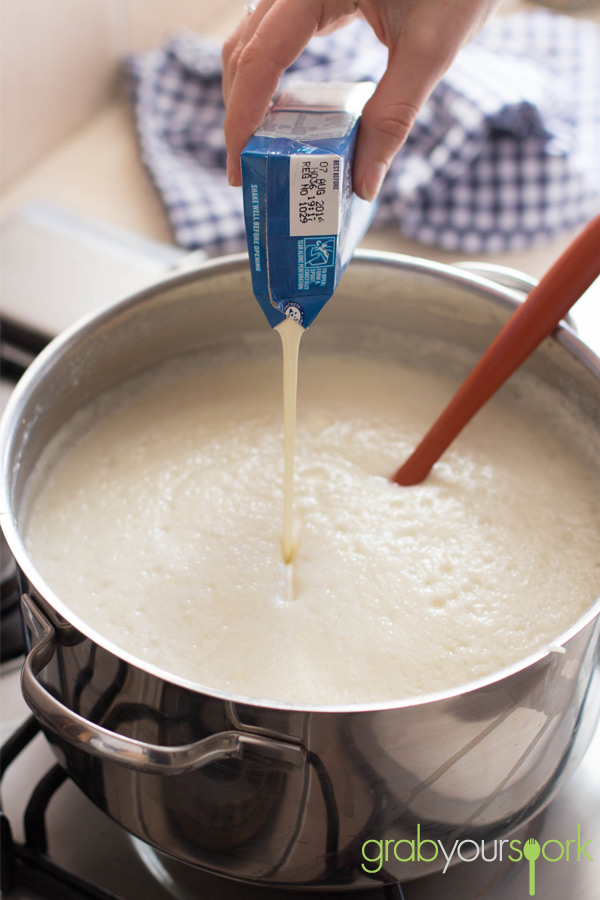
This recipe for tasty cauliflower soup is so easy to put together. You simply boil the cauliflower in some chicken stock (or vegetable if you wish to keep it purely vegetarian) along with one sliced leek. Once the cauliflower is soft, allow the soup to cool before blitzing it in the blender. From here you will be left with a light fluffy and already creamy tasting soup. For a bit of indulgence we do add a small amount of cream, however if you want to keep the soup healthier you can leave the cream out. Once you have blended your soup return it to the stove to heat through.

To serve I like to top my soup with some crispy bacon bits to for added texture and saltiness to compliment the creaminess! However, it tastes pretty good just on its own.

This is definitely one of my new favourite soup recipes, but if you are looking for others, then you should check out our Roasted Pumpkin and Sweet Potato Soup Recipe or our Healthy Vegetarian Zucchini Soup Recipe.  If you are looking for something to serve with your soup our Savoury Muffin Recipe pairs perfectly also.

Cauliflower Soup IngredientsCreamy Cauliflower SoupCauliflower Soup RecipeCreamy Cauliflower Soup RecipeCauliflower Soup Recipe

Creamy cauliflower soup recipe instructions

Cauliflower Soup
 
Prep time
Cook time
Total time
 
Simple Cauliflower Soup made with just 4 key ingredients.
Author:
Recipe type: Soup
Cuisine: Australian
Serves: 6
Ingredients
  • 1 Cauliflower, cut into florets
  • 3L Chicken Stock
  • 1 Leek, sliced and washed
  • 100ml thickened cream
Instructions
  1. Add the cauliflower, leek and stock to a large pot.
  2. On a medium heat, bring the soup to a boil. Reduce heat to medium-low and simmer, partially covered, for 15 minutes or until the cauliflower is soft. Set aside for 5 minutes to cool slightly.
  3. In batches blend the soup until smooth and return to a clean pot. Repeat with remaining mixture. Add the cream.
  4. Place over low heat and cook for 1-2 minutes or until heated through.
  5. Serve with crispy bacon bits or a simple slice of bread!


Kale Smoothie

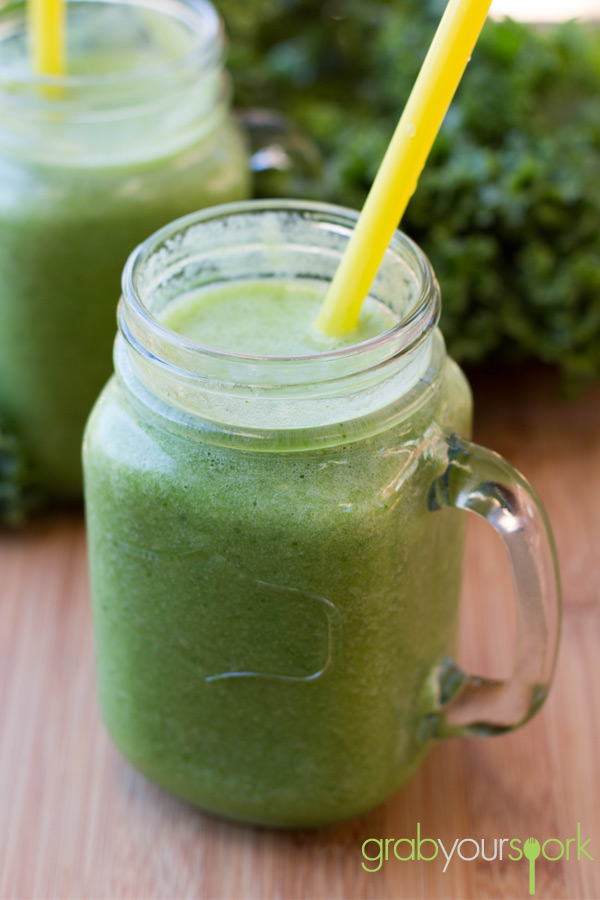
If you are like us this weekend and have indulged in one too many hot cross buns and far too many Easter eggs – this recipe for a Kale Smoothie is the perfect solution to get you feeling healthier!

There are sooo many recipes for green smoothies around at the moment and if you are like me I never thought twice about them. A couple of weeks ago Brooke jumped on the bandwagon and lucky me got the honor of being her guinea pig when she made one. To my surprise the drink was actually quite tasty and wasn’t anywhere near as bad as I was expecting.

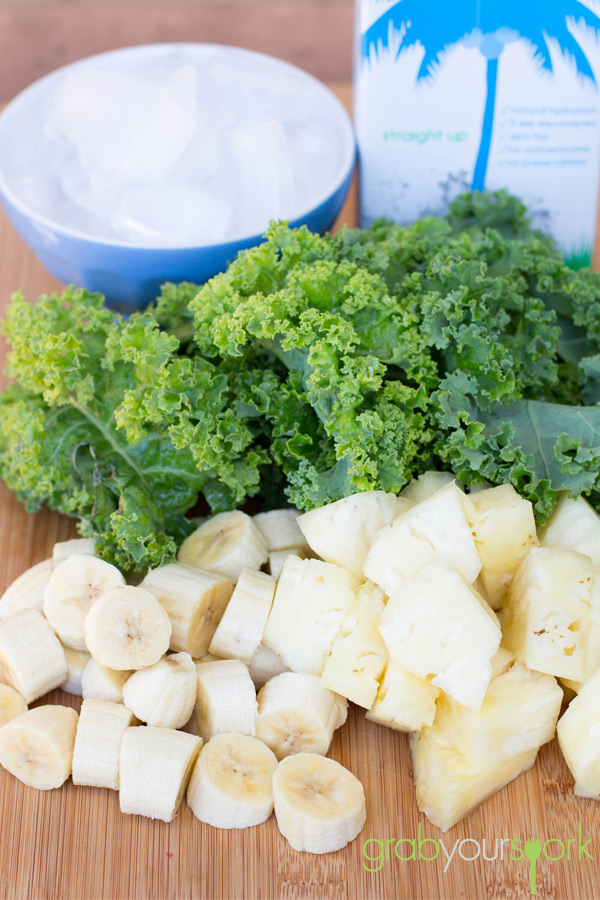
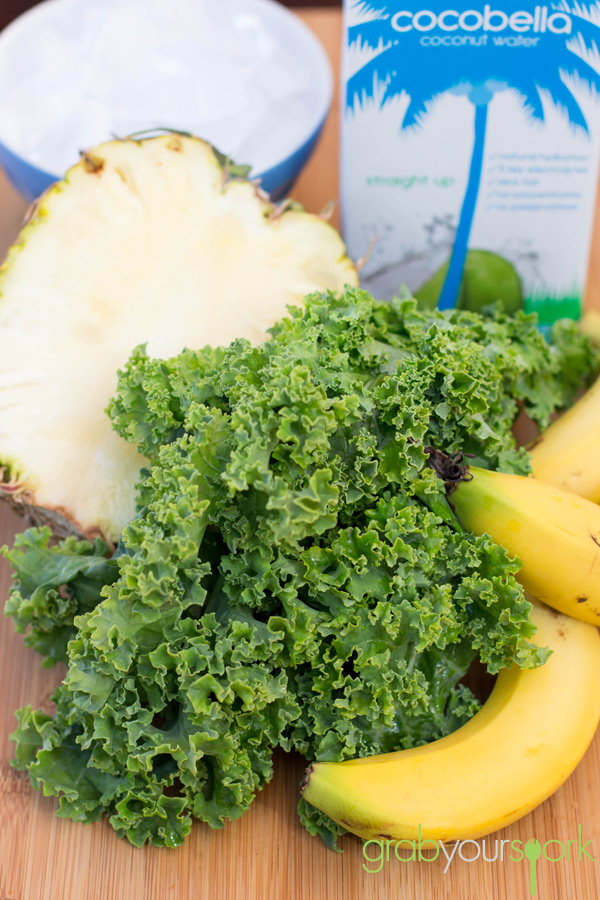
Using a combination of kale, coconut water, ice, banana and pineapple this drink is not only dairy free, the sweet pineapple balances the flavour giving the drink a nice fresh and sweet flavour. For our recipe we used kale given it’s still the hip “super food” at the moment and it is ridiculously cheap to pick up a big bunch from the markets. You can substitute the kale with fresh spinach if you like or use a combination of the two glorious greens. However for this drink to have the added benefits you are after you want to ensure you use as least 1 ½ cups minimum.

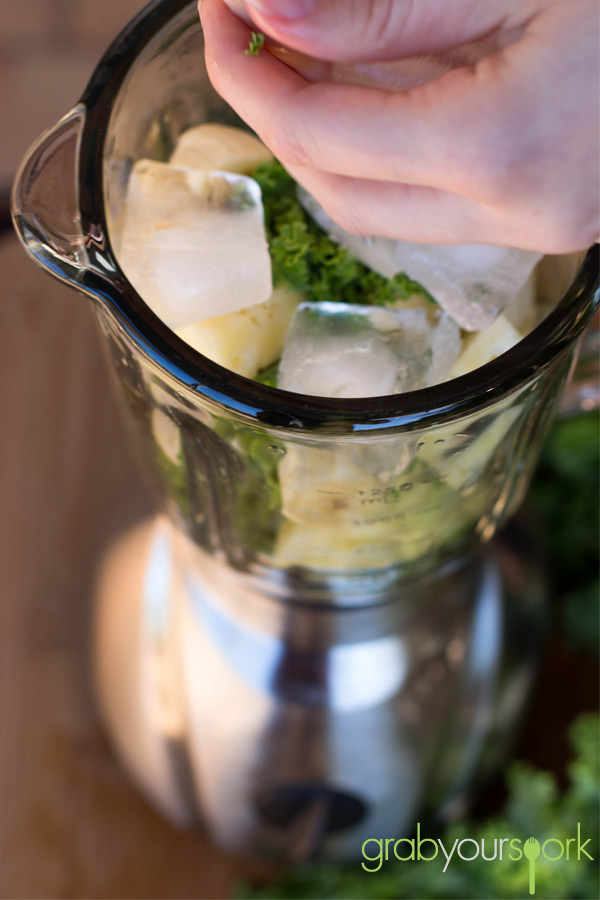
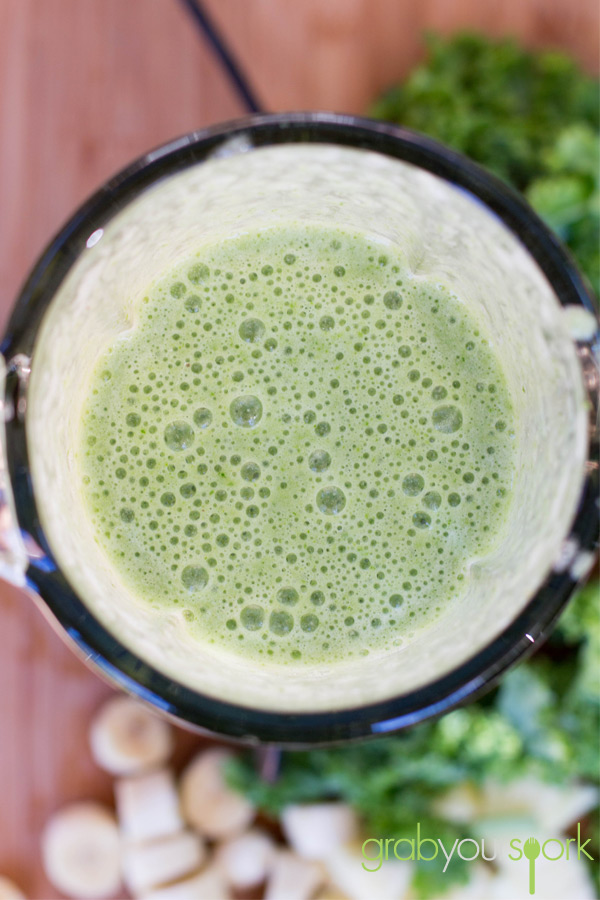
To make simply add all the ingredients in the blender and blitz for at least 1 to 2 minutes till your drink is frothy. This will ensure all the kale is broken up and will give the drink an almost milky texture. To make your life easier and for those looking for a quick breakfast substitute or snack, freeze your chopped banana and pineapple to ensure your drink is nice and cold and then you don’t need to add ice! Once you have blitzed your drink well simply serve up and enjoy this vibrant drink!

Kale Smoothie IngredientsKale and Pineapple Smoothie IngredientsKale Smoothie RecipeKale Smoothie RecipeKale Smoothie Recipe

Kale Smoothie
 
Prep time
Cook time
Total time
 
Kale smoothie made using a combination of kale, coconut water, ice, banana and pineapple.
Author:
Recipe type: Drinks
Cuisine: Australian
Serves: 4
Ingredients
  • 1 ½ cup Kale
  • 1 cup chopped banana
  • 1 cup chopped pineapple
  • 1 cup coconut water
  • 1 cup ice
Instructions
  1. Combine all the ingredients in the blender and blend for 1 – 2 minutes.
  2. Serve and drink up!


Raspberry Friands

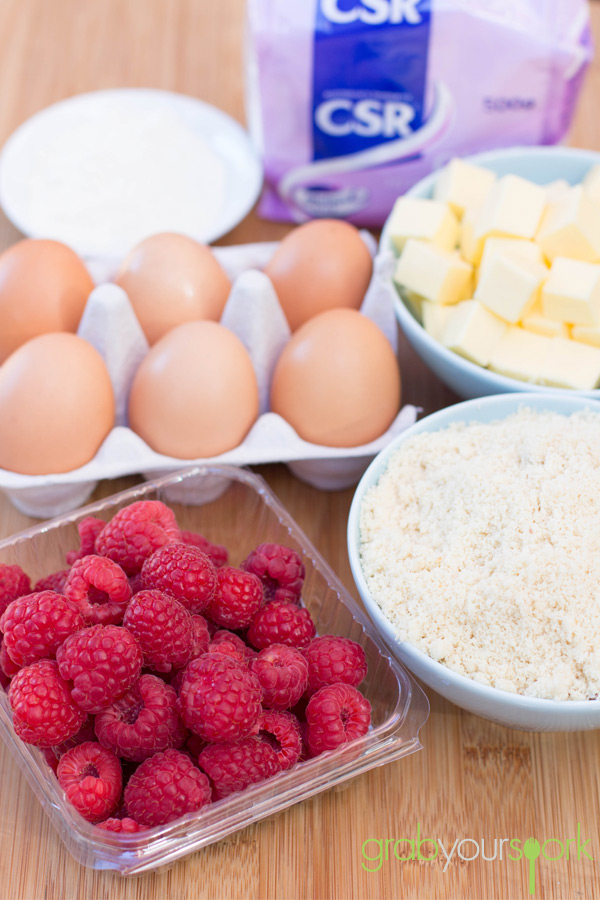
Friands are a small French cake which is a similar to the financier due to key ingredients powdered sugar, almond meal and egg whites. These delicious tea cakes are extremely popular in Australia and as long as you have a solid base recipe they can be made using a variety of flavourings including chocolate, fruit, coconut and nuts. Traditionally these treats are baked in an oval molds and due to the almond meal, powdered sugar and lightly beaten egg whites they have a great texture which is almost chewy on the outside and extremely fluffy and moist on the inside. Trust me they are delicious!

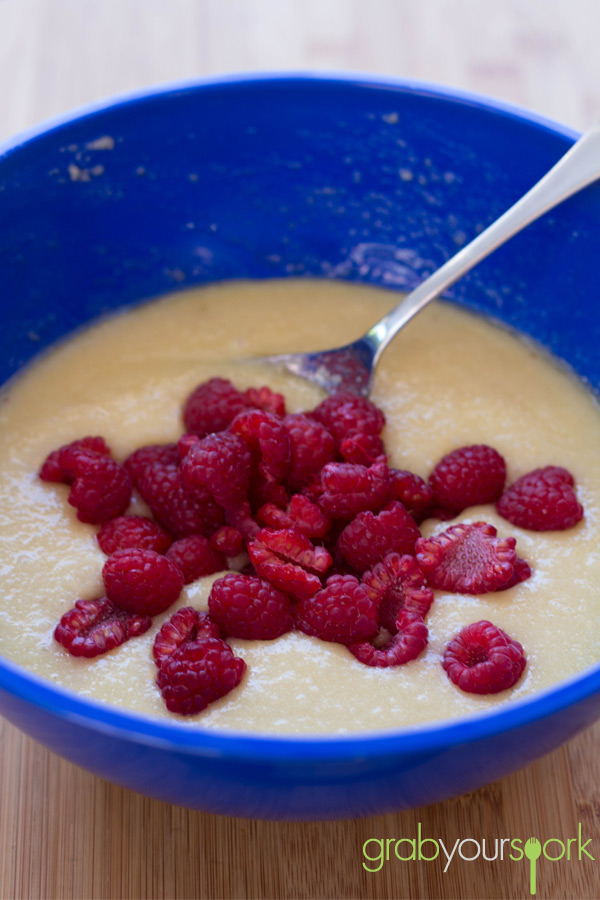
When heading to the footy, often Brooke and her Mum would pick up a delicious friand from the local French patisserie before a game. However on this Sunday I was in for a treat as before the game Brooke cooked up a batch of friands with the leftover fresh raspberries we had just bought. You can use any fruit or nut you want to flavour your friands, however I am not going to lie – the tart raspberry combination really works well with the sweet cake.

Now this recipe calls for 6 egg whites, yes it is alot and you will end up with leftover egg yolks. However without the egg whites you won’t get the texture which is what makes these raspberry friands so irresistible. If you need to use up some of your leftover yolks I would make a simple lemon curd, custard or if you really want to some icecream!

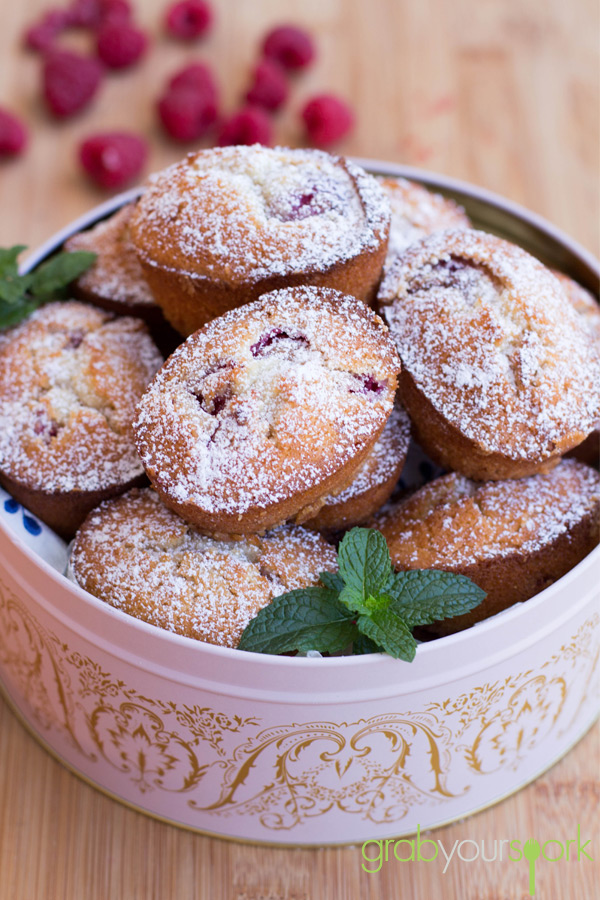
To serve allow the friands to cool before giving them a light dusting of icing sugar. You will all be fighting for the last one!

Raspberry Friand IngredientsRaspberry Friand MixRaspberry Friand MixtureRaspberry FriandsMinni Raspberry FriandsRaspberry Friands

5.0 from 1 reviews
Raspberry Friands
 
Prep time
Cook time
Total time
 
Raspberry Friands are a small French cake made with powdered sugar, almond meal, egg whites and fresh raspberries.
Author:
Recipe type: Baked Goods
Cuisine: French
Serves: 12
Ingredients
  • 200g butter, chopped
  • 2 cups, pure icing sugar
  • 2 tblsp plain flour
  • 1 ½ cups almond meal
  • 6 egg whites
  • 120g raspberries, fresh or frozen (if frozen, ensure they are completely defrosted and dried with paper towel)
  • Icing sugar for dusting
Instructions
  1. Preheat oven to 230°C. Grease twelve ½-cup capacity friand pans or muffin holes.
  2. Melt butter in a small saucepan over medium-low heat. Simmer, swirling pan occasionally, for 4 to 5 minutes or until light golden. Remove from heat. Set aside for 15 minutes to cool.
  3. In a medium bowl, whisk the egg whites till they are slightly foamy.
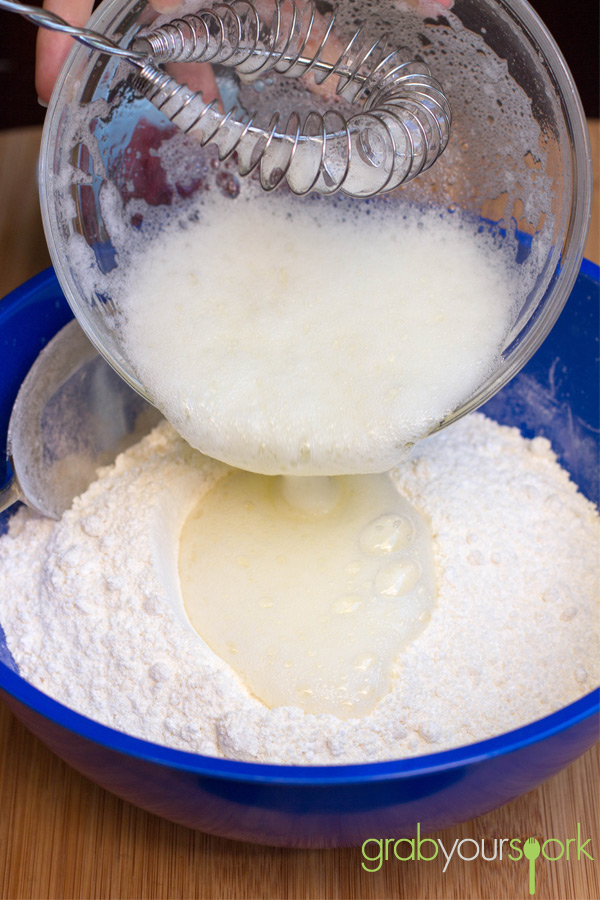
  4. Sift icing sugar and flour into a large bowl. Stir in almond meal. Make a well in the centre.
  5. Add the beaten eggwhites, stirring constantly with a metal spoon until combined.
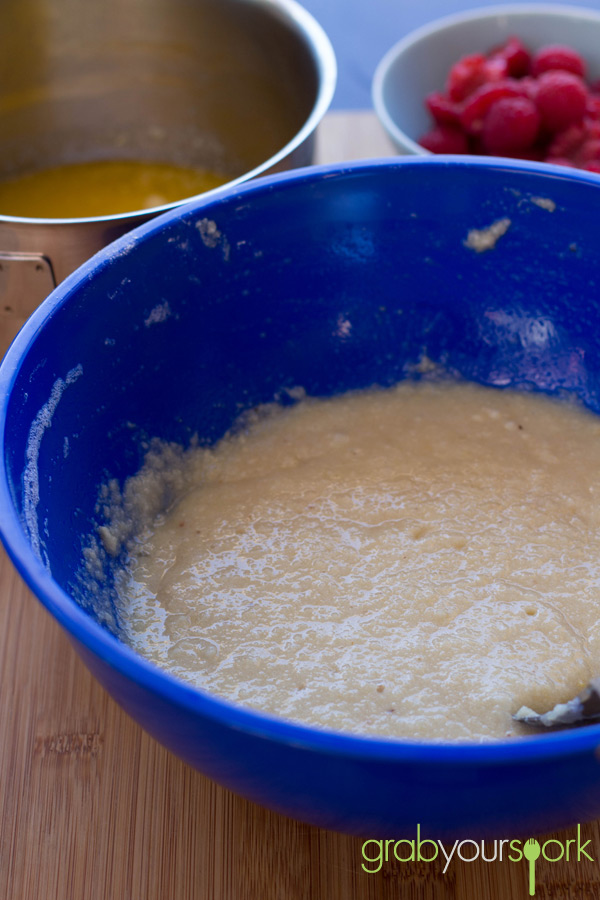
  6. Add butter and stir until well combined. Stir in berries.
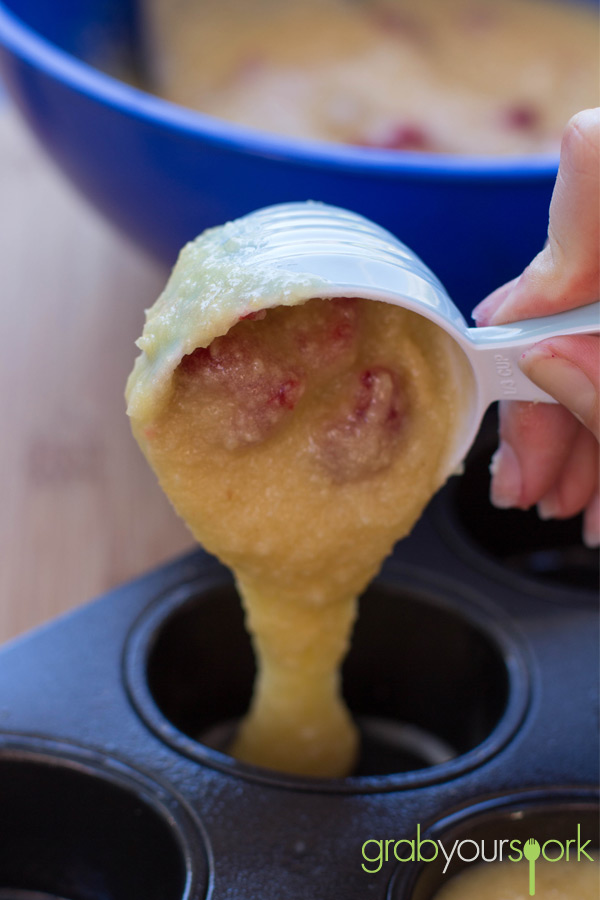
  7. Fill the each mold three-quarters full with mixture.
  8. Bake friands for 5 minutes. Reduce oven to 200°C and bake for 12 to 15 minutes or until a skewer inserted into the centre comes out clean.
  9. Allow to cool in pans for 10 minutes. Turn onto a wire rack to cool completely.
  10. Dust with icing sugar.


Coconut and Vanilla Chia Pudding

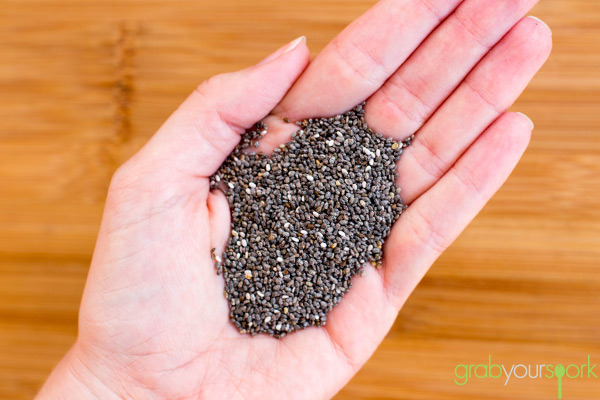
If you are like me a couple of months ago I had no idea what chia was – now I am seeing it everywhere I go, it’s in magazines, shops and Kelly Slater is even flogging it on TV! These ancient seeds are derived from a desert plant which is grown in Mexico, and for thousands of years formed part of a staple diet for the Mayans and Aztecs. These days Chia is also grown in the North Western corner of Australia, 15 degrees from the equator in the Kimberley region. I can see why this “superfood” has been the latest trend as it offers a countless list of nutritional value. The seeds are the best plant-based source of Omega-3, dietary fibre, protein and antioxidants and the coolest thing about them is they can absorb up to 12 times their weight in liquid! As you can see from the nutritional value these seeds are becoming a popular addition as a topping or added to smoothies, breakfast cereals, yoghurt or as we have been using them to make chia pudding.

For those who haven’t had chia pudding yet, it is a similar texture to sago or tapioca. At the beginning I was a little unsure how I felt about the strange texture however it has now become a staple breakfast option for me during the week now. Not only is the pudding extremely easy to prepare, due to the high fibre it leaves me full a longer period of time.

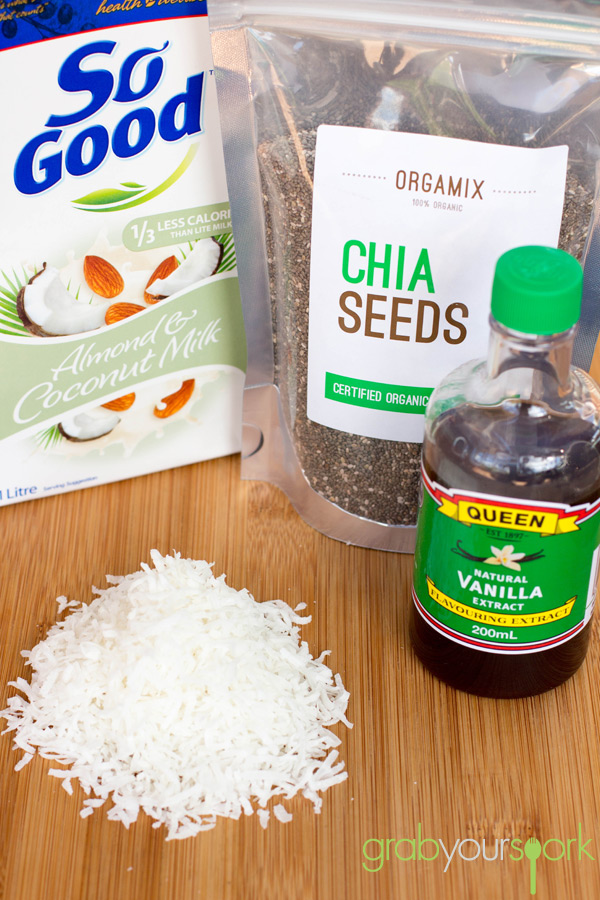
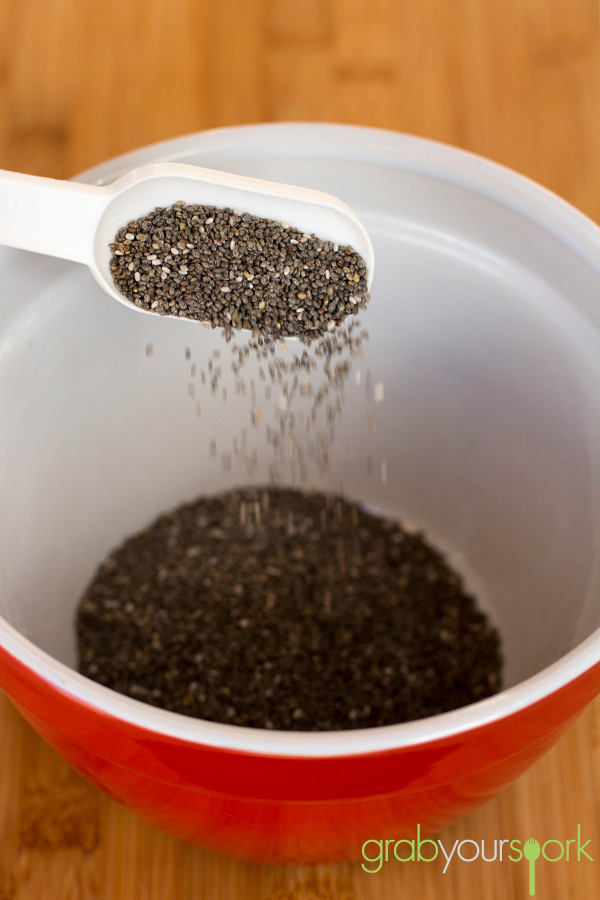
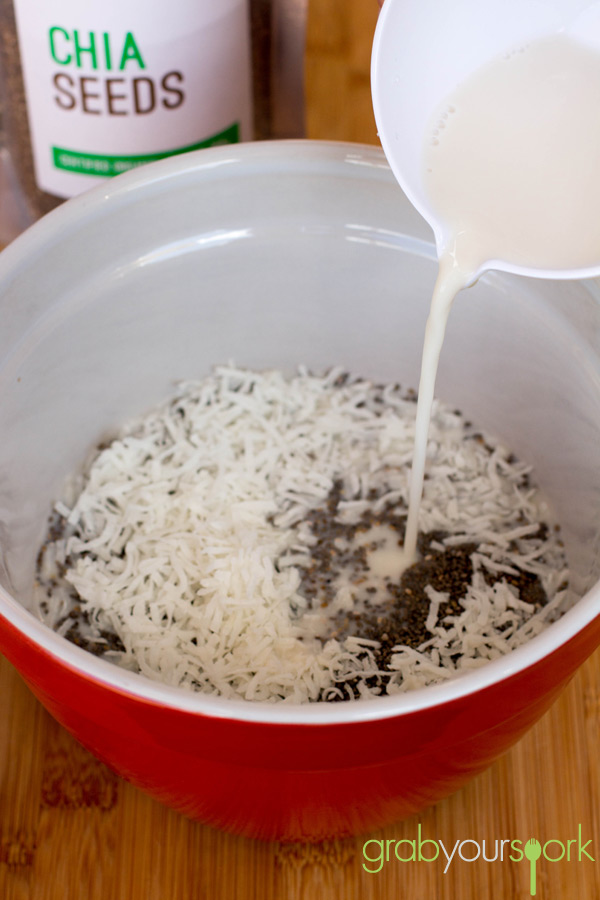
This simple Coconut and Vanilla Chia Pudding is made with nothing more than chia seeds, almond milk, vanilla extract and for our addition some dried coconut. Simply combine the ingredients together in a bowl and leave for a couple of hours allowing the seeds to absorb their miraculous amounts of liquid allowing it to form a “pudding” like texture.

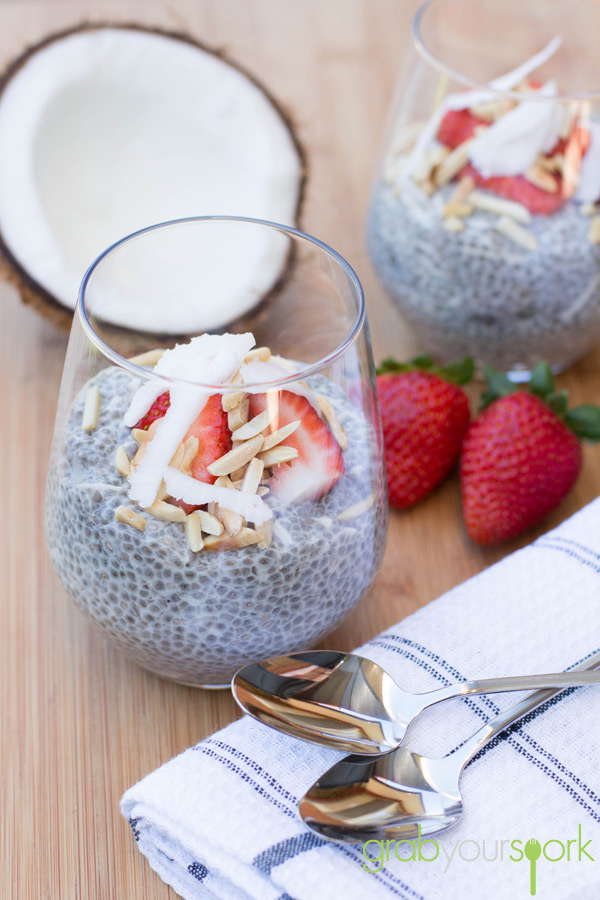
To top off we used some toasted almonds and fresh fruit to add more texture. However you can easily mix and match what you want mango, berries, toasted coconut or even add a little lemon. In addition we used almond and coconut milk this time, however you can use unsweetened vanilla also or if you don’t find the pudding sweet enough add pure maple syrup. Once you have made your batch of pudding it will last for a 3-5 days in the fridge – so make a jump start this week to a nutritional packed week!

Coconut and Vanilla Chia PuddingBlack Chia SeedsOrganic Black Chia SeedsCoconut and Vanilla Chia Pudding IngredientsCoconut and Vanilla Chia Pudding Recipe

5.0 from 1 reviews
Coconut and Vanilla Chia Pudding
 
Prep time
Cook time
Total time
 
Coconut and Vanilla Chia Pudding made with black chia seeds, almond milk, vanilla extract and some dried coconut.
Author:
Recipe type: Coconut and Vanilla Chia Pudding
Cuisine: Australian
Serves: 4
Ingredients
  • 8 Tbsp black chia seeds
  • 2 ½ cups almond and coconut milk; or unsweetened vanilla almond milk
  • ½ dried coconut
  • 1 tsp vanilla extract
  • Fresh fruit and toasted almonds to serve
Instructions
  1. Place the chia seeds in a medium bowl
  2. Add the almond and coconut milk, vanilla and coconut and stir.
  3. Cover the bowl tightly and refrigerate for at least 5 hours, or overnight stirring occasionally.
  4. Stir well before serving to avoid lumps.
  5. Top with desired topping.