Passionfruit Marshmallows

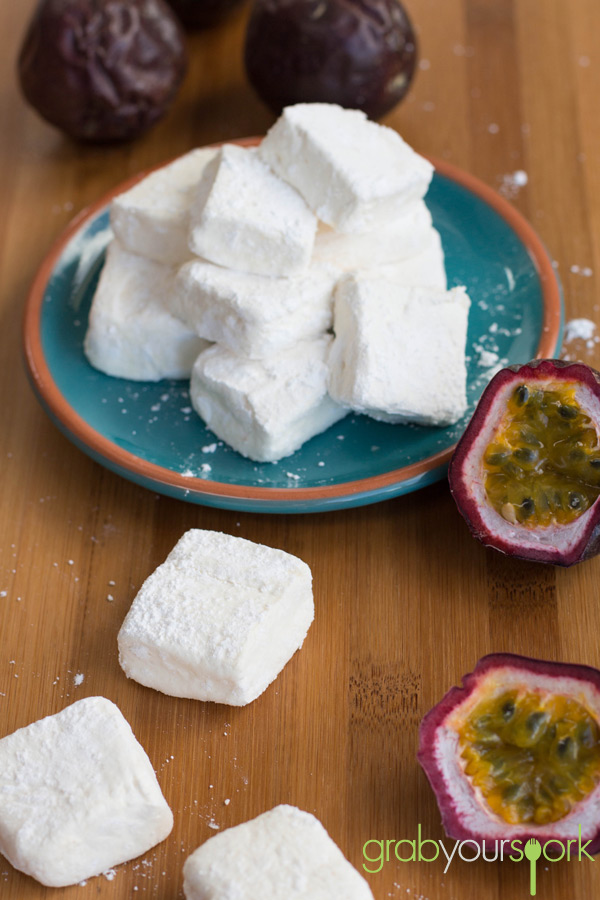
After being given a bag of home grown passionfruit, Brooke and I thought for a while about what we could make with this delicious tropical fruit. We wanted something that would showcase the sharp and tangy flavour of this amazing fruit. After searching for a while on a couple of sites we came across passionfruit marshmallows.

Brooke made caramel swirl marshmallows at Christmas time last year, and let me tell you homemade marshmallows cannot compare to the store bought ones!

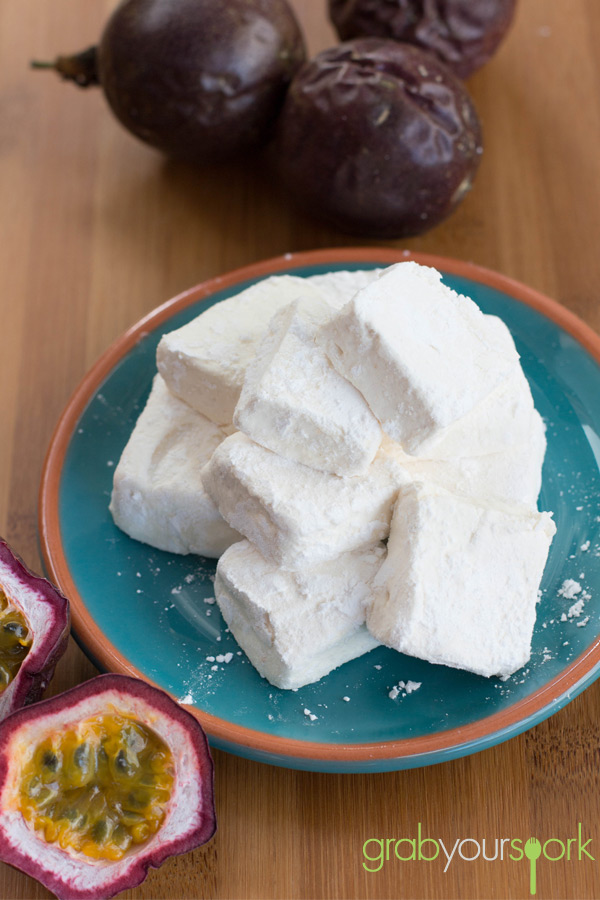
This recipe is adapted from one we found on Gourmet Traveller (via Neil Perry’s Rockpool recipe). The recipe is a little more complicated then our other recipes, however you will be left with little pillows that are so soft and light. With the mix of the passionfruit, it gives these marshmallows a refreshing taste and the smell is incredible!

We were lucky enough to be given more then enough fresh passionfruit, however given the cost of these delights in the shops you can easily use tinned pulp.

On a side note please be careful when adding the hot sugar water and the passionfruit together as it creates a rather large reaction. Which if you are like us can really catch you a bit off guard!

Overall these passionfruit marshmallows may leave you in a sugar coma, but they are definitely worth the sticky mess you will be left with.

For other sweat treats checkout our choc mint fudge recipe or toffee apples recipe.

Passionfruit PulpSugar SyrupMixing Passionfruit MarshmellowsPassionfruit Marshmallows MixturePassionfruit MarshmallowsPassionfruit Marshmallows

Passionfruit marshmallows – Recipe Instructions

5.0 from 1 reviews
Passionfruit Marshmallows
 
Prep time
Cook time
Total time
 
Light and fluffy marshmallows with a tropical passionfruit twist.
Author:
Recipe type: Dessert
Cuisine: French
Ingredients
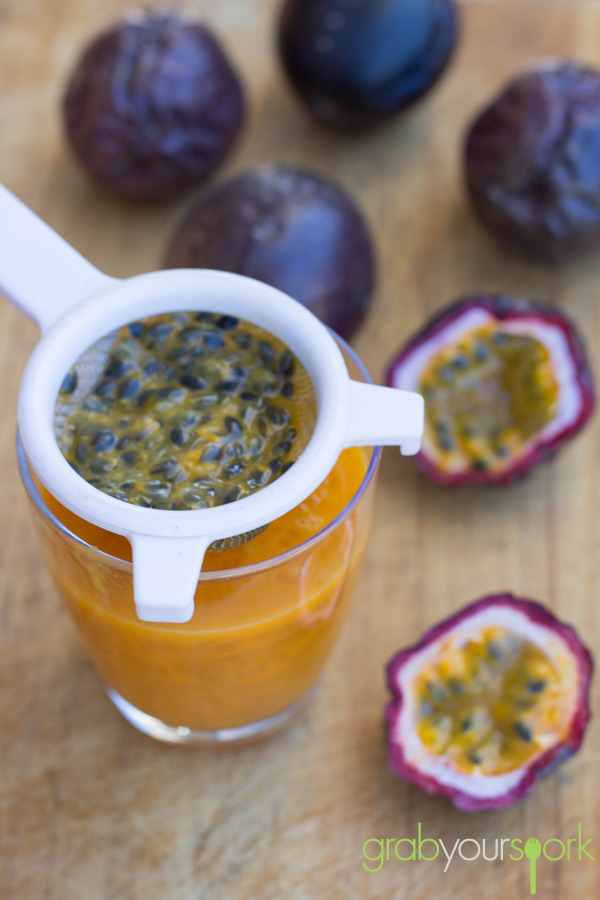
  • 180ml strained passionfruit juice (about 10 passionfruit)
  • 20g powdered gelatine
  • 500g caster sugar
  • 1 cup water
  • 2 eggwhites
  • Snow sugar, for dusting
Instructions
  1. Lightly grease and line a 17.5cm x 25cm shallow cake pan and dust base liberally with snow sugar.
  2. Combine passionfruit juice and gelatine in a bowl and set aside.
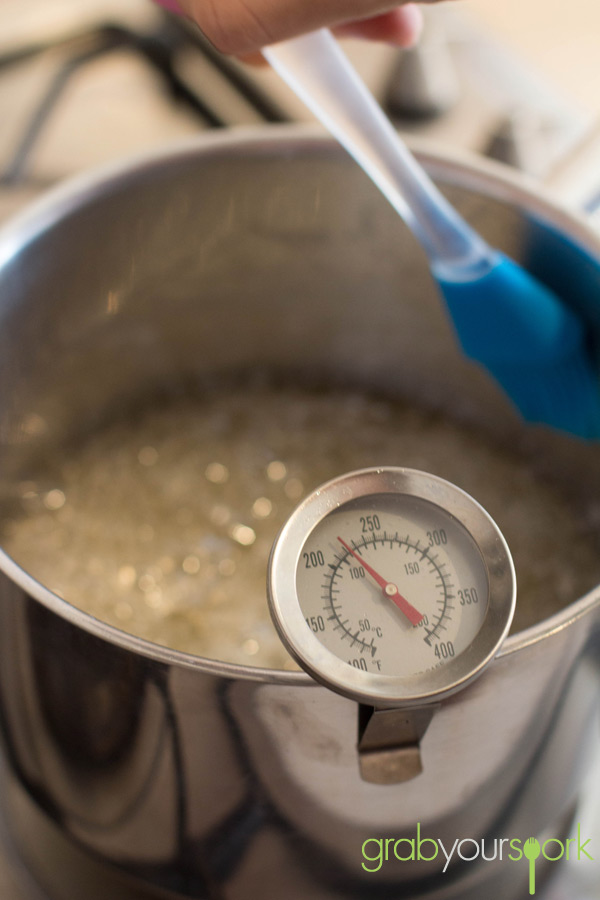
  3. Combine caster sugar and 1 cup water in a saucepan and cook over low heat, stirring, until sugar dissolves, then increase heat to medium and cook for 5-10 minutes or until syrup reaches 125’C on a sugar thermometer.
  4. Remove from heat, add passionfruit mixture to syrup and stir until gelatine dissolves.
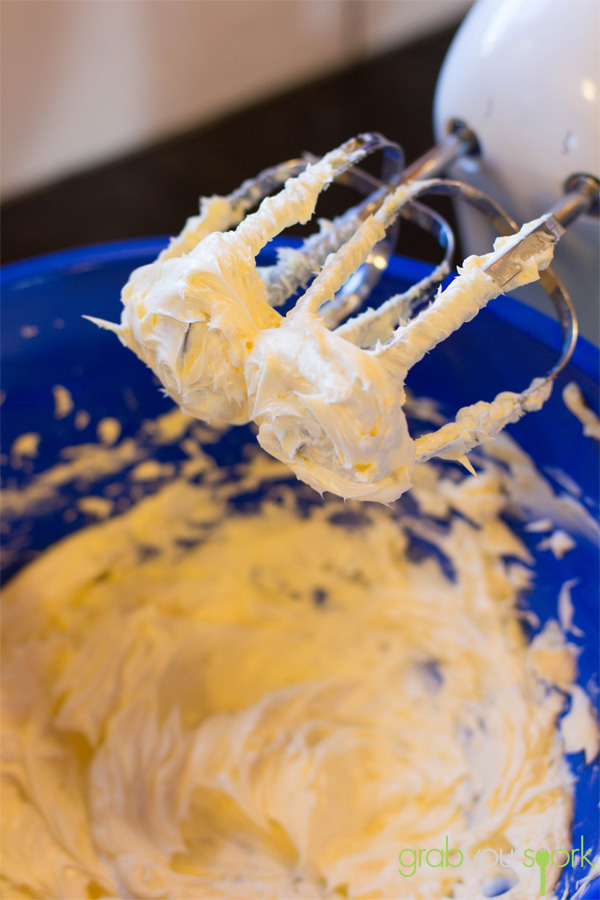
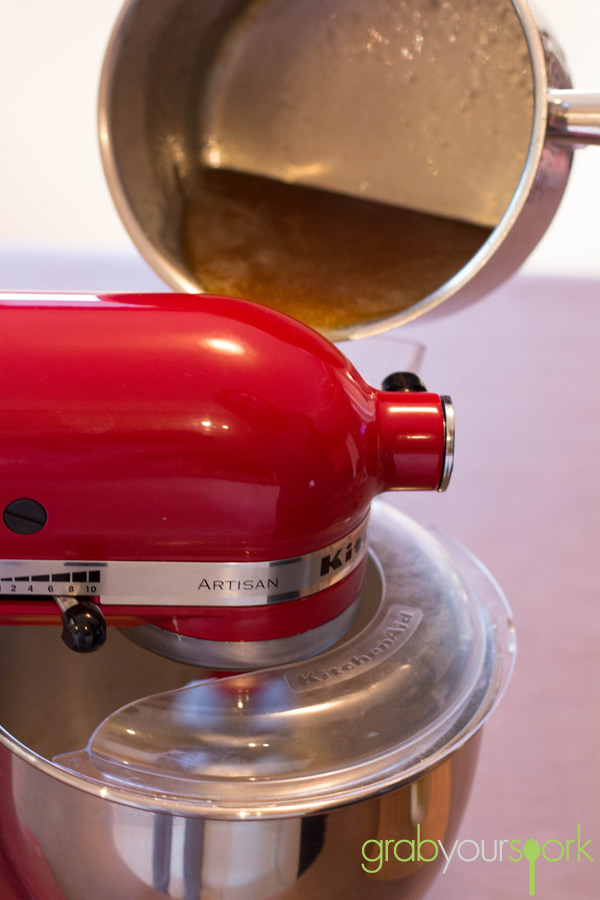
  5. Meanwhile, using an electric mixer, whisk eggwhites and a pinch of salt until frothy.
  6. Gradually add passionfruit mixture, whisking continuously on medium speed until mixture has doubled in size, then slowly decrease speed and mix until mixture is warm (about 40’C).
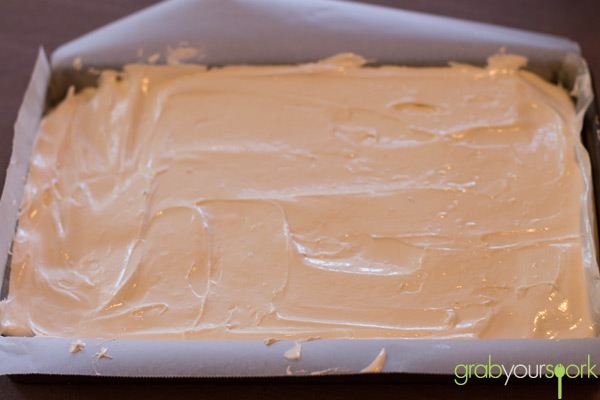
  7. Pour into prepared cake pan, and, using a spatula, spread evenly, then dust top liberally with snow sugar. Stand at room temperature for 3 hours or until firm.
  8. Using a sharp knife, cut marshmallow into 2.5cm squares and roll in snow sugar to coat. Store in an airtight container between sheets of baking paper at room temperature for up to 2 weeks.
Notes
If your knife is sticking too much when you are trying to cut the marshmallow, either sprinkle come icing sugar over the knife, or warm the knife in hot water for ease of cutting.


Pulled Pork Tacos

After Brooke’s recent purchase of a slow cooker, she was determined to make anything that meant she got to use it. With my subtle suggestion of pulled pork, it was a done deal and we were having pulled pork tacos for a late lunch!

There are many variations to pulled pork and we may have gone down a more southern style, but it still worked in taco’s given the various spices this recipe uses.

If you are willing to wait for the meat to cook, this recipe really is one of the easiest things to make – and with the slow cooker makes it even easier! We bought all the ingredients the night before so we could make the pork first thing in the morning. To start you need to make a simple spice rub, and a BBQ sauce (both require similar ingredients). Once you have made your spice rub, simply roll the meat in the rub and place it in the cooker with half the BBQ sauce. We wanted the pork ready in time for a late lunch, so cooked the pork on a higher temperature for a shorter time (still a solid 5 hours).

The beauty of the slow cooker is you can leave the meat to cook, while you can leave the house. While the pork cooked, we headed off to the markets for some fresh ingredients to top off our pulled pork tacos.

When we returned, the house was full of of delicious aromas and the meat was perfectly cooked. All that was left to do was simply pull the pork apart (which really just fell apart it was so tender), and dress with the remaining sauce.

We served our pork with tortillas, fresh avocado, tomato, onion, coriander and sour cream. This is definitely a recipe I will be wanting again! Yummo!

If your looking for other Mexican recipes to accompany the pulled pork tacos then check out our simple guacamole recipe or tomato salsa recipe.

Spice Rub and BBQ Sauce IngredientsPork Spice RubPork Spice Rub and BBQ SaucePulled Pork TacosPulled Pork Tacos

Pulled pork tacos – Recipe Instructions

5.0 from 3 reviews
Pulled Pork Tacos
 
Prep time
Cook time
Total time
 
Pulled pork tacos with fresh avocado, tomato, onion, coriander and sour cream.
Author:
Recipe type: Pork
Cuisine: Mexican
Serves: 6
Ingredients
BBQ Sauce
  • ½ cup ketchup
  • 2 Tbsp + 2 tsp brown sugar
  • 2 Tbsp + 2 tsp apple cider vinegar
  • 1 teaspoon Worcestershire sauce
  • ⅛ teaspoon cayenne
  • ⅛ teaspoon red pepper flakes
  • Pinch salt and freshly ground black pepper
Spice Rub
  • 2 tablespoons paprika
  • 1 tablespoon dried oregano
  • 1 tablespoon freshly ground black pepper
  • 1 tablespoon brown sugar
  • 2 teaspoons salt
  • ½ teaspoon cayenne
  • 1.5 Kgs boneless pork shoulder or loin, excess fat trimmed
  • Salt and freshly ground black pepper
Instructions
  1. For the BBQ sauce: Combine the ketchup, brown sugar, vinegar, Worcestershire, cayenne, red pepper flakes and salt and black pepper in a small bowl.
  2. For the spice rub: Combine the paprika, oregano, black pepper, brown sugar, salt and cayenne in a medium bowl and toss with your fingers to mix. Rub the spice mixture onto the pork on all sides.
  3. Place the pork in a slow cooker insert. Add ½ cup BBQ sauce and cover the slow cooker. Cook on high until the pork is fork-tender, 4 to 5 hours, or on low, 8 to 10 hours. Transfer the pork to a carving board. Let the pork stand, about 5 minutes.
  4. Meanwhile add 2 tablespoons of the simmering pork liquids to the remaining BBQ sauce. Bring the BBQ sauce to a simmer in a small saucepan over low heat, about 10 minutes.
  5. Using two forks, shred the pork and discard any excess fat. Heap the pork onto the buns and top with extra BBQ sauce.


Melting Moments with Jam

Melting moments, which are also known as yo-yo biscuits, and are a shortbread-like biscuit. The traditional biscuits are then sandwiched together using a simple buttercream, and with our recipe with the addition of jam to make these delicious melting moments with jam.

Don’t let the amount of butter scare you off, these tasty biscuits have a light, fragile and crumbly texture that as the name says simply melt in your mouth. This traditional biscuit is perfect for a morning or afternoon tea.

There are a few variations for melting moment recipes, however this recipe will give you exactly 15 biscuits. The addition of custard powered in this recipe also gives the biscuits a nice even colour and sweetness. When choosing your jam, I prefer it to have a slight tartness like raspberry or plum. However, you can use any flavour you want or even not include jam.

To ensure an even bake and colour, it is also advised you bake the biscuits on a low temperature and for a longer time. This should ensure the biscuits don’t brown around the edges, and a uniform colour across the bottom. Another trick Brooke has also picked up along the way, is to pipe the buttercream around the edge of the biscuit before filling it with jammy goodness.

These melting moments with jam biscuits sure are an oldie but a goodie!

If you like biscuits and cookies then try some other tasty treats including our oatmeal and raisin cookies, ginger nut biscuits or florentine biscuits.

Melting Moments Whipped ButterMelting Moments DoughMelting Moments Marking with ForkMelting Moments Piping ButtercreamAssembling Melting Moments with JamMelting Moments with Jam

Melting moments with jam – Recipe Instructions

Melting Moments with Jam
 
Prep time
Cook time
Total time
 
Melting Moments are a shortbread-like biscuit. The traditional biscuits are then sandwiched together using a simple buttercream, and with our recipe with the addition of jam!
Author:
Recipe type: Baked Goods
Cuisine: Australian
Serves: 15
Ingredients
Melting Moments
  • 250 g butter, room temperature
  • ½ tsp vanilla bean pasta
  • 250g plain flour
  • 85g icing sugar
  • 40 g custard powder
  • ¼ tsp salt
ButterCream
  • 75g butter, room temperature
  • 150g icing sugar
  • 1 tsp vanilla bean paste
  • pinch salt
  • jam
Instructions
  1. Preheat oven to 160C (140C fan-forced) and line two baking trays
  2. Place the butter and vanilla into a large mixing bowl and beat together until smooth and creamy
  3. Sift the remaining ingredients into the bowl and gently mix together until you form a soft dough (you can use a wooden spoon or your hands).
  4. Using your hands roll the dough into small balls, and place onto the prepared trays ensuring you leave an inch or two between each ball.
  5. Using a fork, press the fork onto the centre of each biscuit leaving an indent.
  6. Bake the biscuits in the preheated oven for 20 - 25 minutes.
  7. Allow to cool on baking trays for five minutes before transferring to a wire rack to cool completely. Whilst the biscuits are cooling, make the buttercream.
  8. Place the butter into a large bowl and beat together until smooth and creamy, then slowly add in the icing sugar little at a time, beating until fully combined. Once you have added all the sugar add the vanilla and salt and beat together until light and fluffy.
  9. To assemble the biscuits, place the buttercream in a piping bag and pipe a circle of buttercream around the edges of half the biscuits. Fill the hole with some jam and top with a second biscuit.
  10. These will keep well for around three to four days in an airtight container.
Notes
Brooke likes to pair her biscuits before filling to ensure an even fit.


Creamy Chicken Linguine

On a relaxing weekend down south Brooke and I had some time to make ourselves a proper meal. After stopping in the small town of Kirrup, on our way to Bridgetown. We picked up some quality produce at a small grocer which sells all locally grown fruit and vegetables. With the ingredients we picked up, and a couple of other things we bought in town. We decided to make our own version of a classic creamy chicken linguine.

To enhance the flavours some more, Brooke roasted off the vine ripened tomatoes and capsicum. While the vegetables were in the oven, you need to also brown the chicken before adding to the pasta later as it seals in the juices and keeps the chicken moist. If we were making this dish during the week, we wouldn’t roast the veggies first. However, with the luxury of a little extra time we decided to oven roast the tomatoes and capsicum which definitely took the recipe to another level in terms of flavour.

Not only is this dish full of colour, there is something about a creamy pasta dish that is so comforting – it’s a perfect dish to have on a cold winters day. This creamy chicken linguine paired with a glass of Shiraz, was definitely a great way to finish off a relaxing day down south!

If you love your chicken like I do then try these recipes for chicken, bacon and leek pies or chicken pakora.

Fresh Ingredients for LinguineFresh baby Roma tomatoes and capsicumOven roasted baby Roma tomatoes and capsicumFresh SpinachCreamy Chicken Linguine in FrypanCreamy Chicken LinguineCreamy Chicken Pasta

Creamy chicken linguine – Recipe Instructions

5.0 from 2 reviews
Creamy Chicken Linguine
 
Prep time
Cook time
Total time
 
Creamy Chicken Linguine made with fresh local ingredients including spinach, baby Roma tomatoes, capsicum and red onion.
Author:
Recipe type: Pasta
Cuisine: Italian
Serves: 4
Ingredients
  • 2 tablespoons extra virgin olive oil
  • 1 Capsicum
  • ½ Red onion, sliced
  • 1 clove garlic, minced
  • 1 large boneless/skinless chicken breast, sliced into strips
  • Bunch of cherry tomatoes (approx 20 tomatoes)
  • Bunch of fresh spinach
  • 250 ml cream
  • ½ cup milk
  • ½ teaspoon salt
  • Handful of fresh basil leaves
  • Freshly ground black pepper
  • Parmesan cheese, grated
  • 200 grams linguini or pasta of choice, cooked al dente according to package directions
Instructions
  1. Preheat oven to 180 degrees Celsius.
  2. Wash tomatoes,capsicum and spinach well.
  3. Cut the capsicum in half. Scatter the tomatoes and capsicum on a baking tray. Cook for approximately 15 minutes. Allow to cool before removing the skin off the capsicum and slice into long strips.
  4. Prepare the pasta according to package directions.
  5. While the pasta is cooking, heat the oil over medium-high heat in a large pan and sauté the onion until tender and translucent, about 5 minutes. Add the garlic and cook for another minute.
  6. Add the chicken and cook until it has a nice brown colour and is no longer pink.
  7. Add the cream, milk and garlic to the chicken and onions.
  8. Once the cream/milk is simmering, add the fresh spinach, capsicum strips and some of the roasted tomatoes.
  9. Drain the pasta and add it to the pan. Toss in the sauce to coat. Add the fresh basil leaves and toss to combine.
  10. Serve immediately, with the remaining tomatoes, some freshly ground black pepper and grated Parmesan cheese.
Notes
The combination of cream and milk makes the pasta dish a little lighter, however this can be substituted with carnation milk also.


Choc Chip Snickers Cookies

What’s not to love about a snickers chocolate bar? They are the perfect combination of sweet and salty. They have the satisfying crunch of the salty peanuts and then the sweet gooey nougat. Then when added to a classic choc chip cookie recipe, they make for the most addictive cookie ever! Here comes the test of my will power again! These choc chip snickers cookies are too tough to resist.

The base to this recipe is a classic choc chip cookie recipe that is very straight forward. To start you need to cream the butter, eggs, sugars and vanilla well. This kept Brooke happy as it meant she got to use her kitchen-aid again! After beating the ingredients for about 5 minutes. Add the dry ingredients and mix until just combined before adding the snickers and choc chips.

The beauty of this recipe is you can choose to substitute the snickers with any other chocolate (Mars Bar, M’n’Ms, Milky Way etc) however, our personal favourite is making choc chip snickers cookies. The trick to keep in mind though is, before baking add extra snickers pieces to the top and sides of the cookies for extra lava explosions as I like to think of them.

The other thing I love about this recipe, is chewy texture of the cookies that is always a crowd pleaser. Through adding corn flour to this recipe, it helps keep the cookies soft and light. However, the most important thing to remember is not to over bake the cookies. To ensure you have a soft chewy cookie, bake your cookies for 8 or 9 minutes. Do not bake the cookies for more than 10 minutes, even if they don’t look cooked. I guarantee the cookies will crisp when you take them out of the oven an leave to cool.

As I said before, these cookies are extremely addictive. I recommend for those who have no will power like me, that you make the cookies then distribute to friends and family once you have had your fair share.

If you like biscuits and cookies then try some other tasty treats including our melting moments with jam, oatmeal and raisin cookies, ginger nut biscuits, afghan biscuits or florentine biscuits.

Choc Chip Snickers Cookies DoughChoc Chip Snickers CookiesChoc Chip Snickers Cookies

Choc chip snickers cookies – Recipe Instructions

Choc Chip Snickers Cookies
 
Prep time
Cook time
Total time
 
These Choc Chip Snickers Cookies are the perfect combination of sweet and salty. Adding Snickers to a classic choc chip cookie recipe takes indulgence to the next level.
Author:
Recipe type: Baked Goods
Cuisine: American
Serves: 20
Ingredients
  • ¾ cup unsalted butter, softened
  • ¾ cup light brown sugar, packed
  • ¼ cup caster sugar
  • 1 large egg
  • 2 teaspoons vanilla extract
  • 2 cups all-purpose flour
  • 2 teaspoons corn flour
  • 1 teaspoon baking soda
  • pinch salt, optional and to taste
  • 1 heaping cup Snickers, diced small and loosely piled in measuring cup (or any alternative chocolate)
  • 1 cup chocolate chips
Instructions
  1. Preheat oven to a moderate temperature.
  2. Combine the butter, sugars, egg, vanilla, and beat on medium-high speed until well-creamed, light and fluffy, about 5 minutes (or use a hand mixer and beat for at least 7 minutes).
  3. Stop, scrape down the sides of the bowl, and add the flour, cornstarch, baking soda, optional salt, and mix until just combined, about 1 minute.
  4. Add the Snickers, chocolate chips, and beat momentarily to incorporate, or fold in by hand. (Keep extra snickers pieces to add to dough mounds on tops and sides).
  5. Scoop the mixture into heaped tablespoonfuls on a lined baking tray. Flatten mounds slightly.
  6. Bake for 8 to 9 minutes, or until edges have set and tops are just beginning to set, even if slightly undercooked, pale and glossy in the center. Do not bake longer than 10 minutes as cookies will firm up as they cool.
  7. Store cookies in a airtight container at room temperature for up to 1 week. Alternatively, unbaked cookie dough can be stored airtight in the refrigerator for up to 5 days.
Notes
If you have time, refrigerate your dough for 2 hours before baking. If you bake straight away like we did, your cookies will tend to be slightly thinner.