Sticky Date and Banana Loaves

Last Updated on June 19, 2017 by Grab Your Spork

Why is it that as soon as the weather gets cold, we instantly want some yummy comfort food? Well, this last week in Perth the weather during the day has been beautiful, but the temperature has definitely dropped making us crave some serious comfort food. That’s where this recipe for sticky date and banana loaves comes in.

What’s not more comforting than a sticky date pudding? It’s such a rich, fluffy pudding and when topped with some delicious salted caramel sauce hits the nail on the head for ultimate indulgence.

For our recipe, we added some banana for extra texture and flavour to the traditional recipe.  I like this combination as the two flavours really complement one another and I find it breaks up each mouthful – one full of dates one full of banana or both!

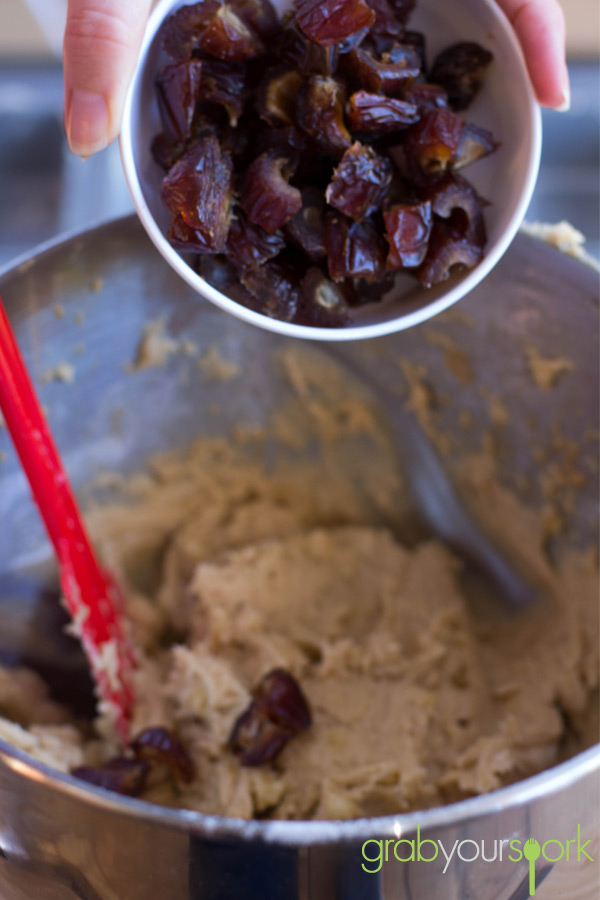
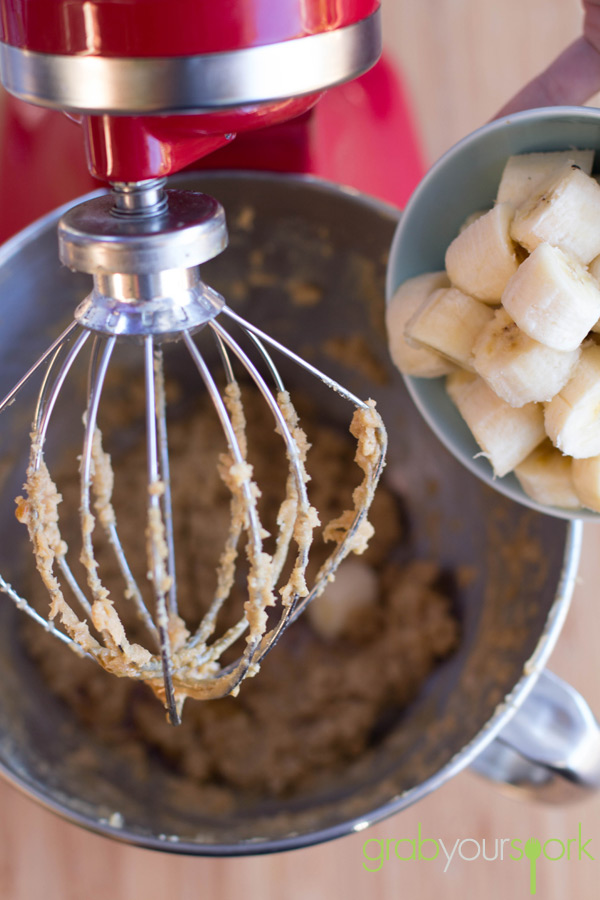
When making the mixture, rather than mashing the banana through the mixture Brooke leaves the banana in chunks to help leave pieces of banana throughout the cake. Then lastly stirs through the chopped dates and you’ve got yourself the perfect mixture for sticky date and banana loaves.

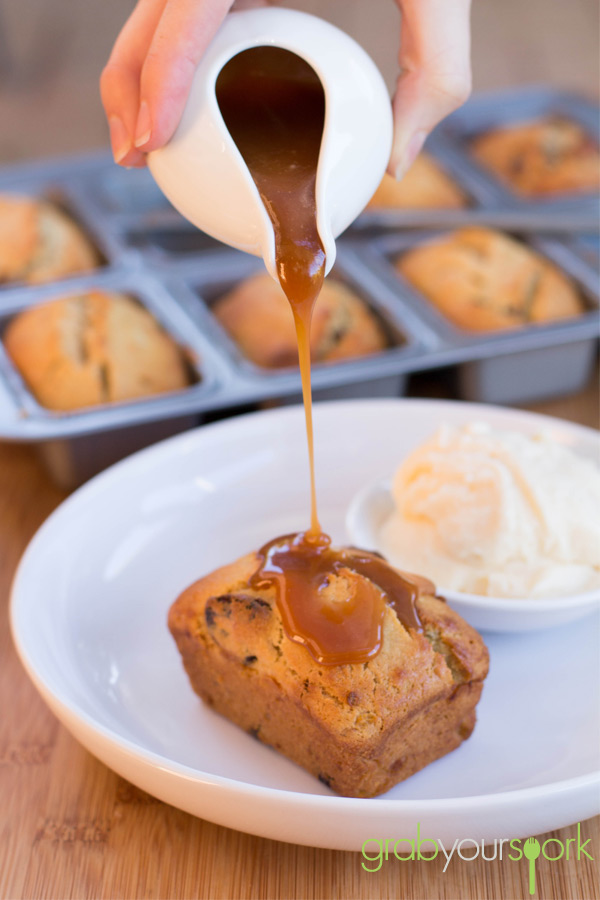
To serve we made a simple salted caramel sauce which was featured with our French Apple Cake. Serve your sticky date and banana loaves warm with some vanilla ice cream and the ooey gooey sauce this recipe will definitely satisfy your cravings this winter.
Sticky date and banana loaves

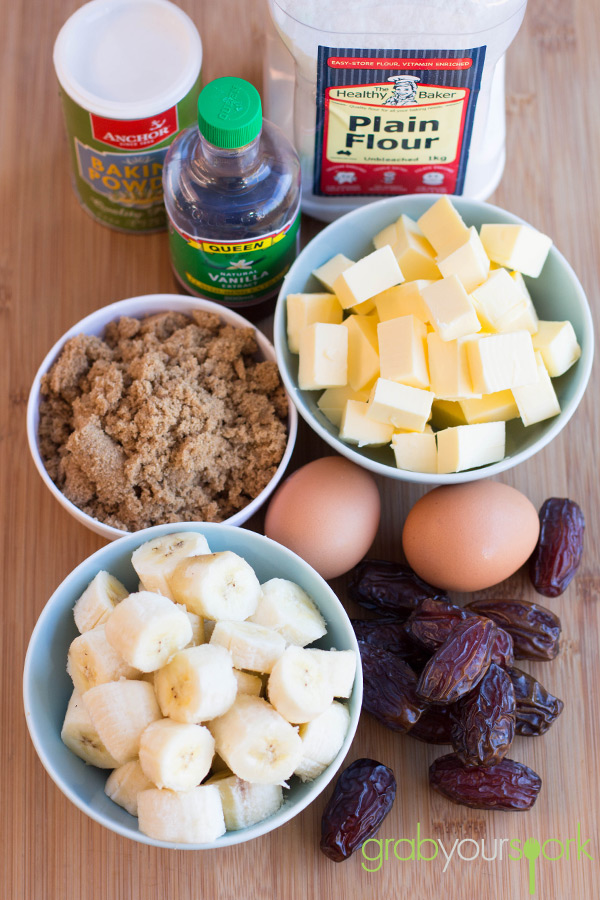
Sticky date and banana loaves ingredients

Sticky date and banana loaves recipe

Sticky date and banana loaves

Sticky date and banana loaves in oven

Sticky date and banana loaves

Sticky date and banana loaves recipe

Mini Sticky Date and Banana Loaves – Recipe Instructions

Sticky Date and Banana Loaves
 
Prep time
Cook time
Total time
 
Sticky date and banana loaves topped with some delicious salted caramel sauce.
Author:
Recipe type: Dessert
Cuisine: Australian
Serves: 12
Ingredients
  • 2 Cups Plain Flour, sifted
  • 1 ½ Tsp baking powder, sifted
  • ¾ Cup butter, at room temperature
  • ½ Cup brown sugar
  • 2 Eggs
  • 4 Ripe bananas, chopped
  • 1 ½Ttsp vanilla extract
  • ½ Cup dates, chopped
  • 1 cup salted caramel sauce, or other caramel sauce to top
Instructions
  1. Preheat oven to 175°C. Grease and flour an 8 loaf tin or 12-cake cupcake tin.
  2. Beat butter and brown sugar until fluffy. Add eggs, one at at time. Add bananas and vanilla and mix until blended.
  3. Slowly mix in flour and baking powder, until just incorporated. Stir in chopped dates.
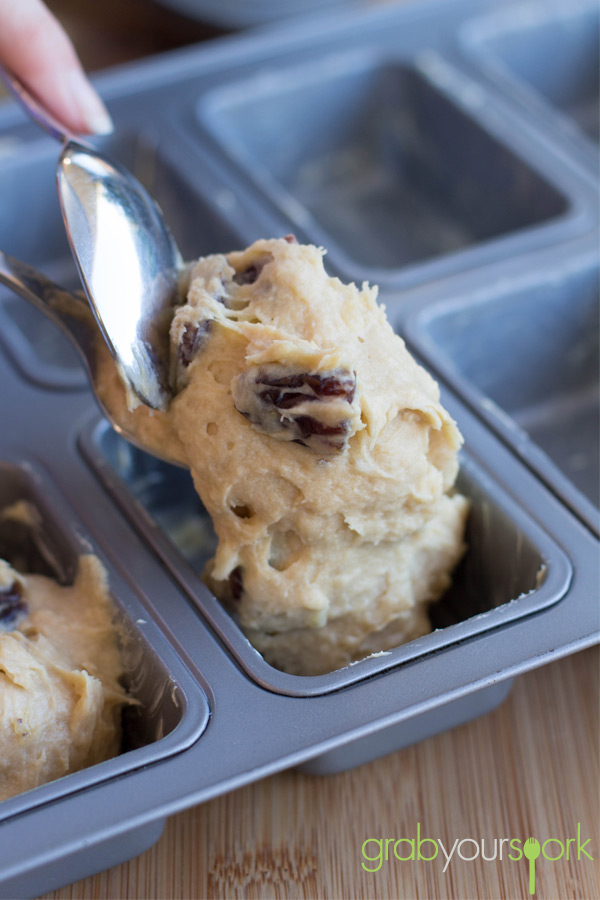
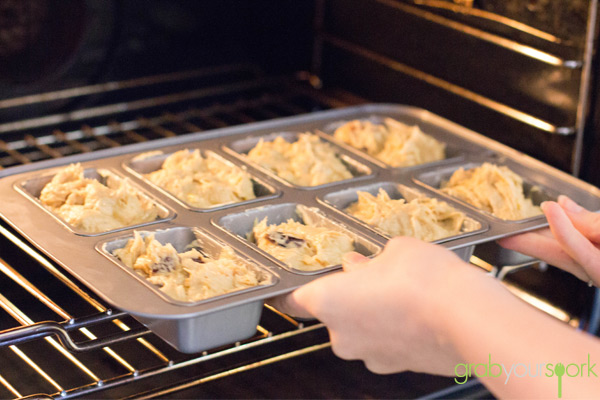
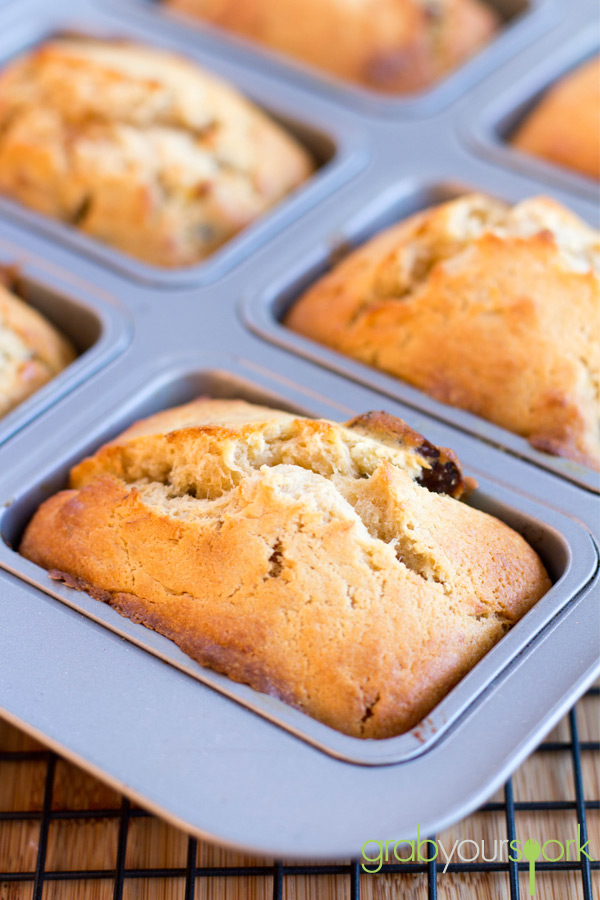
  4. Divide batter equally among cups and bake for 20-22 mins, or until lightly golden on top. While cakes are baking, prepare caramel sauce.
  5. Serve cakes warm with ice cream and salted caramel sauce.
 

Healthy Purple Smoothie

Last Updated on May 26, 2014 by Grab Your Spork

It’s no secret that winter in Perth is usually pretty timid, that being said I have still managed to be struck down by the dreaded and often lethal “Man flu”. For more info on this debilitating illness you can read more here. Facing an uphill battle I decided a healthy purple smoothie was my only chance of survival. Plus, what’s not to love about a smoothie? They are so easy to make, hardly any prep is required and you can almost put anything you like into them and end up with a pretty tasty drink. The only thing left is cleaning the blender!

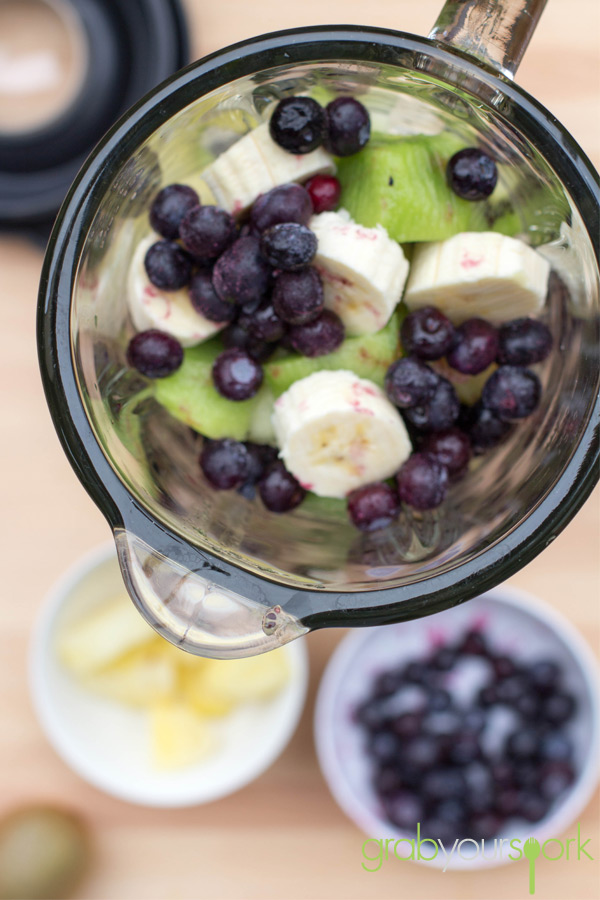
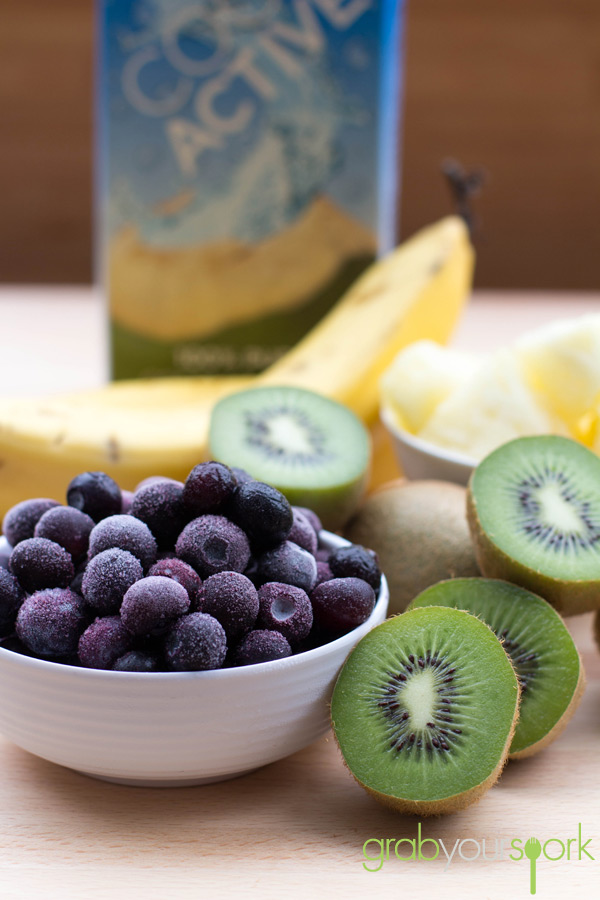
After over doing the Kale Smoothie a couple of weeks back, we have branched out to making a blueberry, banana, pineapple, kiwi fruit and coconut water smoothie. I know the name doesn’t say much about it, but this flavour combination is tasty as well as healthy!

Using a combination of frozen fruits we had in the freezer and adding some fresh kiwi fruit we had we ended up with a flavour packed drink.

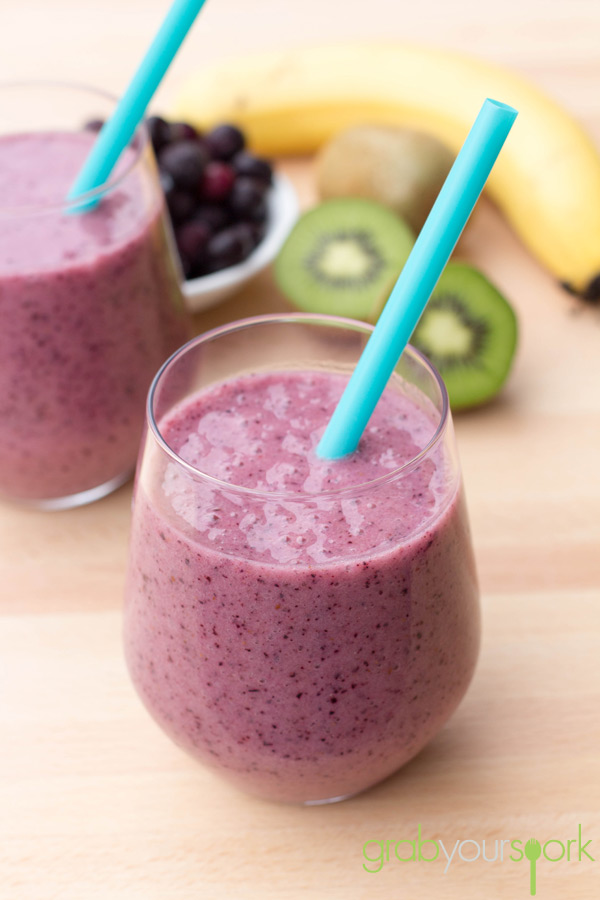
Blueberries are delicious, they’re also packed with fiber, vitamin C, and antioxidants and are something we always try and keep around whether they are fresh or frozen. When added to this smoothie they not only add some yummy berry flavour they give the drink an amazing vibrant colour! This drink is definitely one I can see us drinking for the next couple of weeks till we have a new winning combination.

Healthy Purple Smoothie Ingredients

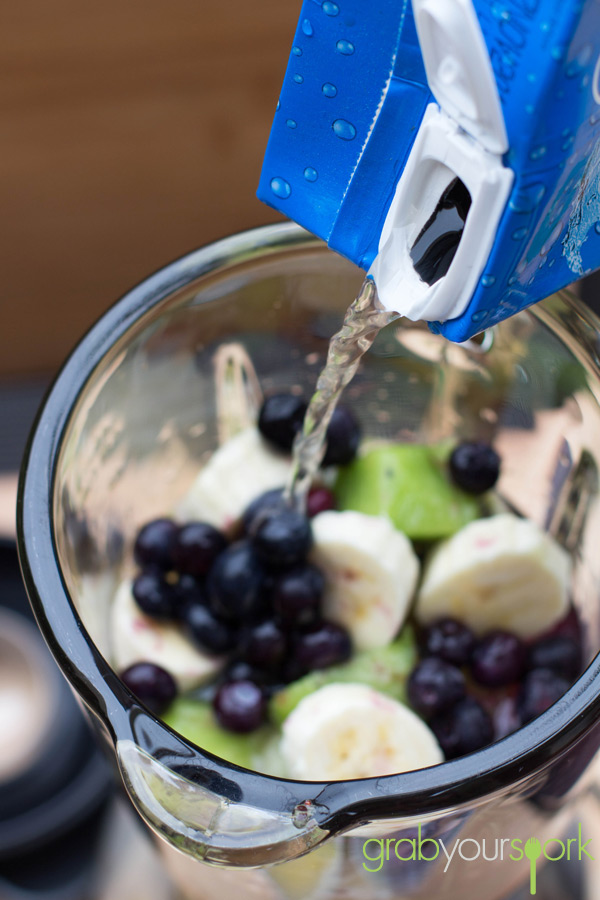
Healthy Purple Smoothie in Blender

Healthy Blueberry Smoothie

Healthy Purple Smoothie

Healthy Purple Smoothie
 
Prep time
Cook time
Total time
 
Healthy Purple Smoothie made with blueberry, banana, pineapple, kiwi fruit and coconut water and ice.
Author:
Recipe type: Drinks
Cuisine: Australian
Serves: 4
Ingredients
  • 1 cup blueberries fresh or frozen
  • 1 cup fresh or frozen pineapple
  • 1 cup fresh or frozen banana
  • 4 peeled kiwi fruit
  • 1 cup coconut water
  • 1 cup Ice
Instructions
  1. Combine all the ingredients in the blender and blitz for 1 – 2 minutes.
  2. Serve chilled.


Salt and Pepper Squid

Last Updated on June 22, 2014 by Grab Your Spork

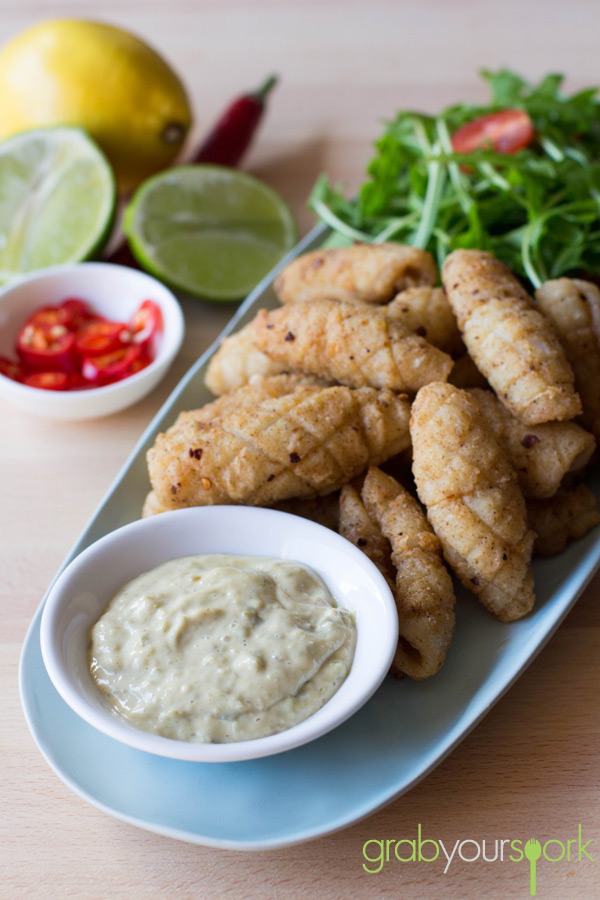
Salt and Pepper Squid is a popular item of modern Australian cuisine, making a regular appearance on many café and restaurant menus. For those who haven’t made it before it is actually really easy to make at home. After preparing the squid hoods, just toss a few dry spices and flour together, coat the squid and with a quick cook in some vegetable oil you have yourself a great appetizer or main meal.

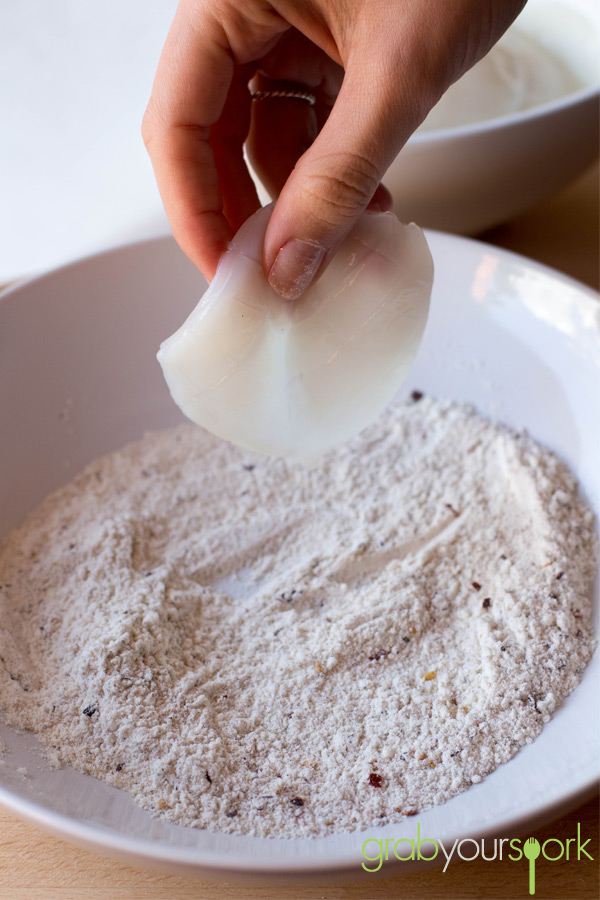
When preparing the squid we used baby squid hoods, however you can use whatever size is available and cut them into small pieces. You want to ensure the hoods are well cleaned and score the inside of the hood being careful to not cut all the way through. Before coating in the mixture give the hoods a quick dry with some paper towel to ensure your flour doesn’t go too gluggy.

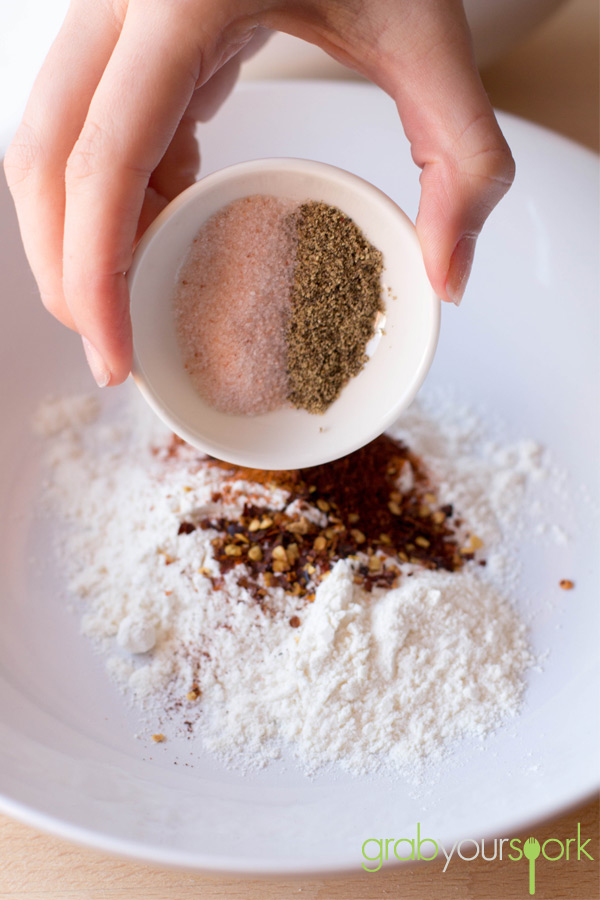
There are a few variations to the spice combination; some people prefer to use szechuan pepper, Chinese five spice, even some garlic powder or dry chicken stock etc. For our recipe we used a combination of spices we always have in the cupboard – red chilli flakes, smoked paprika, chilli powder and of course the main stars salt and pepper.

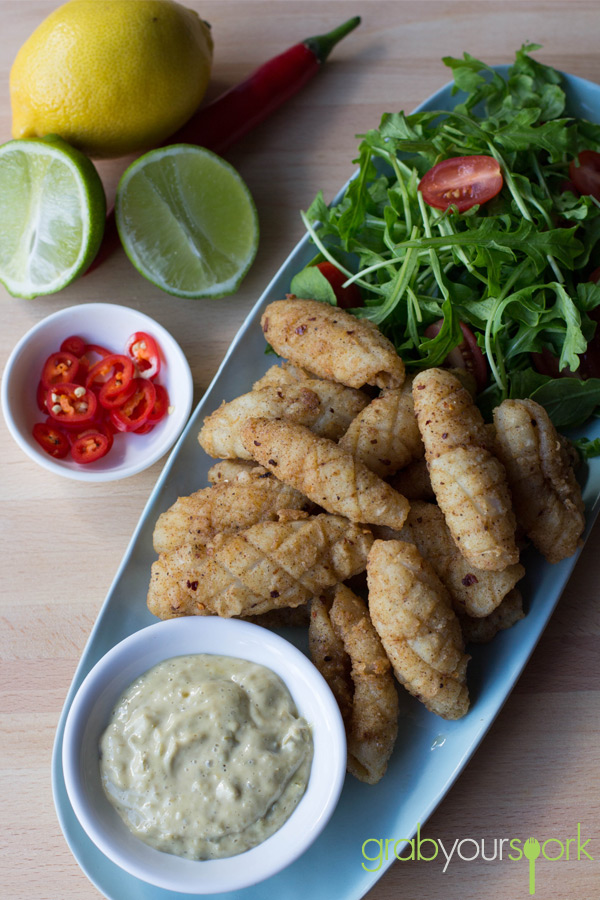
Once the squid is ready ensure the oil is hot enough and fry the squid in batches till golden brown. The squid will only take a couple of minutes to cook. Serve immediately with a simple salad for entrée or main. We had ours with a yummy lime and caper salsa from A Bit On The Side which we picked up in Denmark over the Easter break!

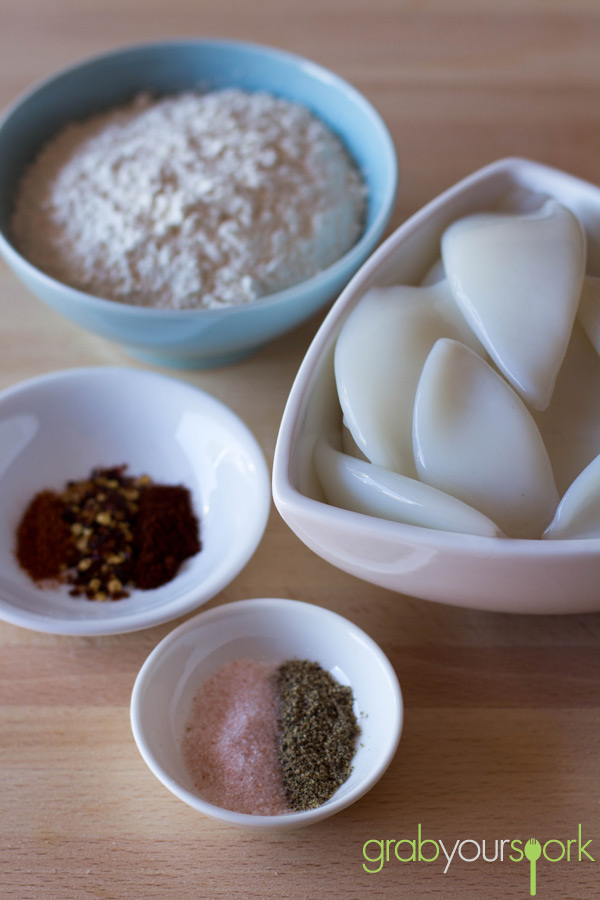
Salt and Pepper Squid Ingredients

Salt and Pepper Squid Recipe Ingredients

Salt and Pepper Squid

Fried Salt and Pepper Squid

Salt and Pepper Squid

Salt and Pepper Squid

Salt and Pepper Squid
 
Prep time
Cook time
Total time
 
Salt and Pepper Squid made with a combination of red chilli flakes, smoked paprika, chilli powder and of course the main stars salt and pepper.
Author:
Recipe type: Seafood
Cuisine: Australian
Serves: 4
Ingredients
  • 500g Squid hoods
  • ¼ Cup Plain Flour
  • 2 tsp salt
  • 1 ½ tsp cracked pepper
  • 1 ½ tsp red chilli flakes
  • 1 ½ tsp smoked paprika
  • 1 tsp chilli powder
  • Vegetable oil
Instructions
  1. Use a sharp knife to cut through 1 side of each squid hood lengthways. Open out flat with inside surface facing up and score surface diagonally. Pat dry with paper towel.
  2. Combine the flour, spices, salt and pepper in a bowl or on a plate. Gently coat each piece of squid in the spice rub.
  3. Heat the oil in a large wok over medium heat until it reaches around 180°C.
  4. In batches cook the squid in the wok for 2 minutes or until the squid just turns golden and curls. Use a slotted spoon or tongs to transfer to a plate lined with paper towel to drain.
  5. Ensure the oil has returned to temperature before cooking next batch and repeat.
  6. Serve immediately with a simple salad, a dipping sauce and fresh lemon or lime wedges.


Homemade Muesli Bars

Last Updated on May 12, 2014 by Grab Your Spork

Muesli bars are a staple item for most. They are an easy energy snack to take with you to work, on a trip, before the gym or to pack in a school bag. For me they are still a regular mid-morning snack and it is so easy to just buy a box at the shops as they are individually wrapped and ready to go. The only downfall is this “healthy” snack isn’t always so healthy. Typically processed muesli bars tend to contain a high level of butter, sugar and other added fats.

This recipe for homemade muesli bars is a quick and easy solution to the processed ones – and you don’t even need to turn on the oven! Now this recipe still contains butter, sugar and honey to bind the dry ingredients, but given the amount of slice you make it will be far less than any sugar contained in the store bought ones.

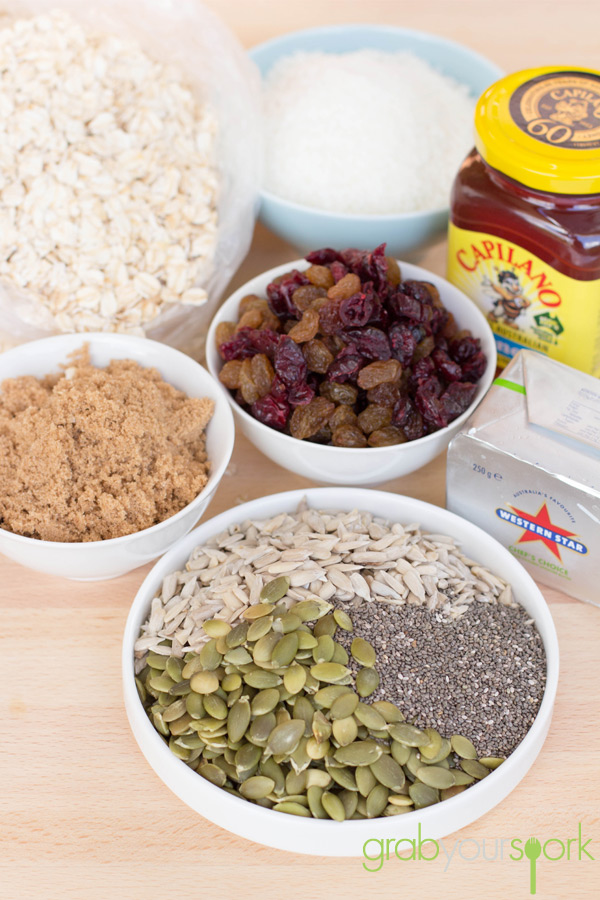
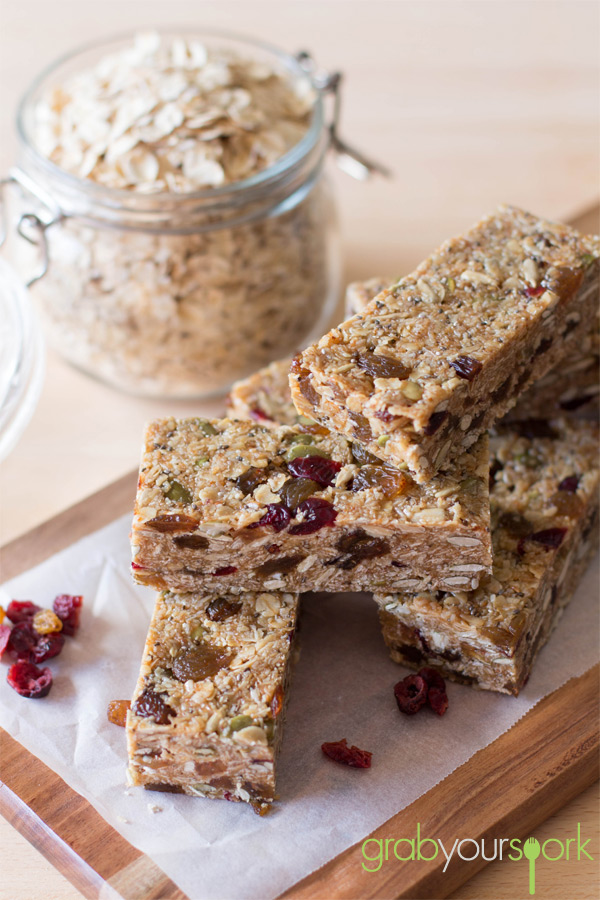
The ingredients we used are very versatile and can be swapped out for your own preferences. However we used a combination of rolled oats, desiccated coconut, dried sultanas and cranberries, pepitas (pumpkin seeds), sunflower seeds and chia seeds.

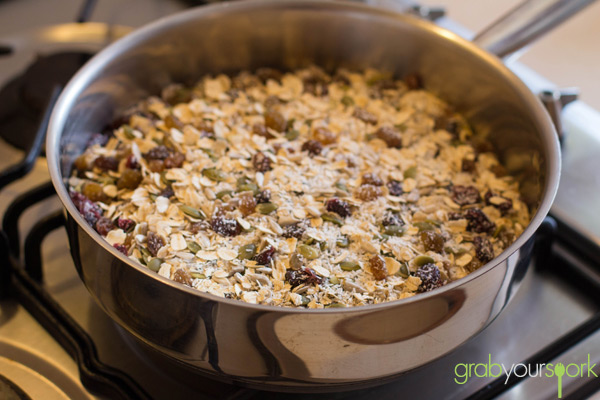
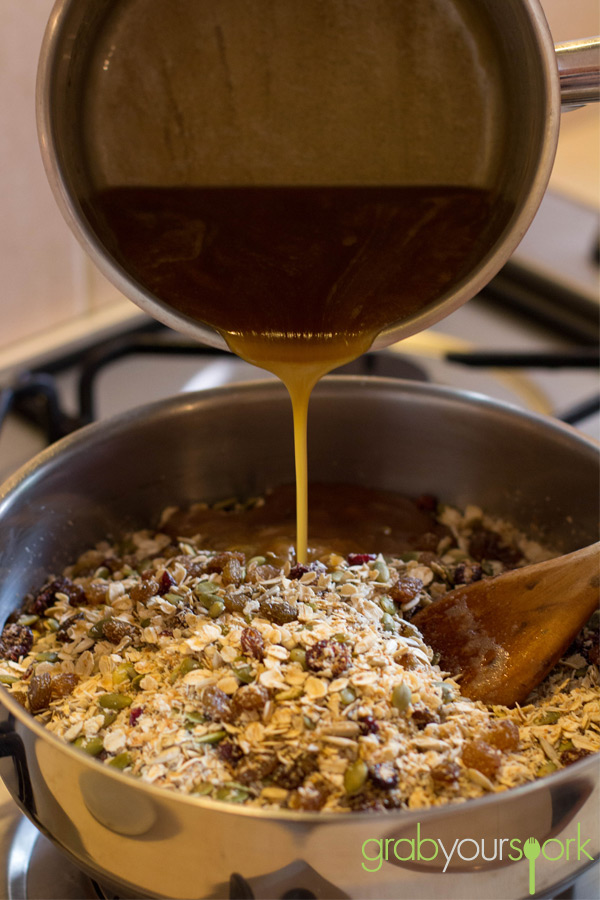
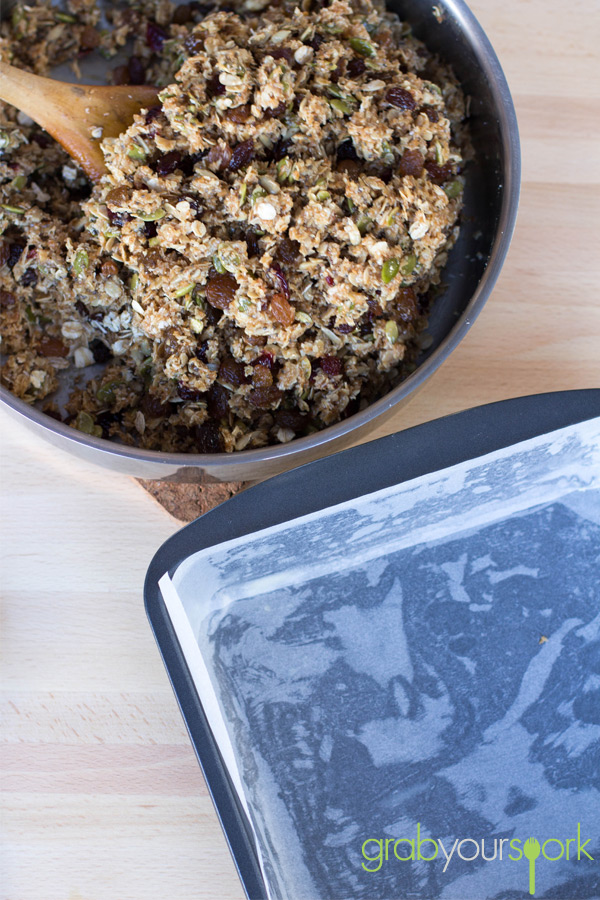
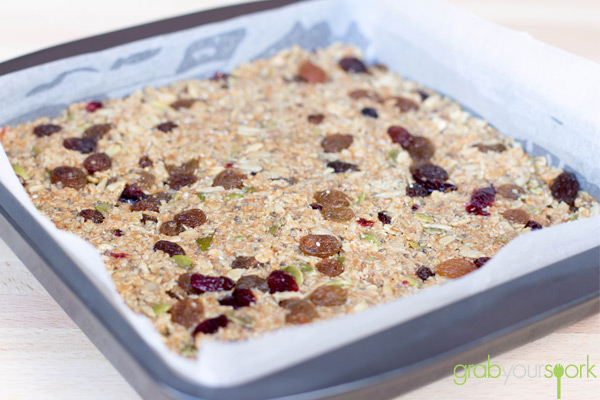
As you don’t bake the bars, simply toast all the dry ingredients till you have a nice golden colour on the oats and coconut. In the meantime melt the butter with some brown sugar and honey till it is almost like caramel. Once the caramel mixture has cooled pour this onto the dry ingredients mixing well. When putting the mixture in the tin ensure you use a metal spoon to compact the mixture firmly in the tray. Allow to completely cool.

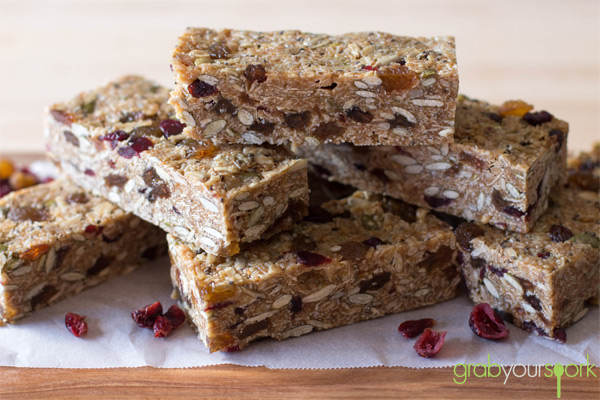
Once the slice has cooled, the slice will be firm and ready to cut into bars or squares. You can keep the bars in an airtight container for a week or as long as it lasts!

Homemade Muesli Bars Ingredients

No Bake Homemade Muesli Bars

Homemade Muesli Bars Recipe

Homemade Muesli Bars with Chia

Homemade Muesli Bars Recipe

Homemade Muesli Bars Recipe

Homemade Muesli Bars

Homemade Muesli Bars
 
Prep time
Cook time
Total time
 
Homemade Muesli Bars made with a combination of rolled oats, desiccated coconut, dried sultanas and cranberries, pepitas (pumpkin seeds), sunflower seeds and chia seeds.
Author:
Recipe type: Snack
Cuisine: Australian
Serves: Makes 10 bars or 20 squares
Ingredients
  • 1 ½ cups rolled oats
  • 1 ½ cups desiccated coconut
  • ½ cup sultanas
  • ½ cup dried cranberries
  • ½ pepitas (pumpkin seeds)
  • ½ sunflower seeds
  • ¼ chia
  • ½ honey
  • ⅓ brown sugar
  • 125 g butter
Instructions
  1. Grease and line a 20cm square baking pan with baking paper.
  2. Add oats, coconut, sultanas, cranberries, pepitas, sunflower seeds and chia to a non stick frying pan over a medium heat, stirring for 5 – 8 minutes or until golden.
  3. In a small pot cook butter, honey and sugar over a medium heat, stirring for 4 – 5 minutes until sugar dissolves. Bring to the boil. Reduce to a low heat and allow to simmer for 1 – 2 minutes. Allow to cool slightly before pouring over dried ingredients. Stir until well combined.
  4. Spoon the mixture into the pan. Using a metal spoon press the mixture down firmly.
  5. Allow to cool and cut into squares or bars.
  6. Store in an airtight container for up to 7 days.


Creamy cauliflower soup recipe

Last Updated on September 8, 2019 by Grab Your Spork

Cauliflower, the humble vegetable that many of us have seen served on our plates at home or in a Chinese meal trying to bulk it up in lieu of meat. Any preconceived ideas you have on this vegetable I ask you to not be so judgemental because this creamy cauliflower soup recipe will change your mind.

Not only is Cauliflower budget friendly it actually has an impressive nutritional profile. It contains high levels of vitamin A and C, calcium, it is low in fat and carbohydrates and contains high levels of dietary fibre making it a great substitute for rice or potatoes. I personally don’t mind cauliflower and when blitzed into this easy creamy cauliflower soup I hope you become a fan too!

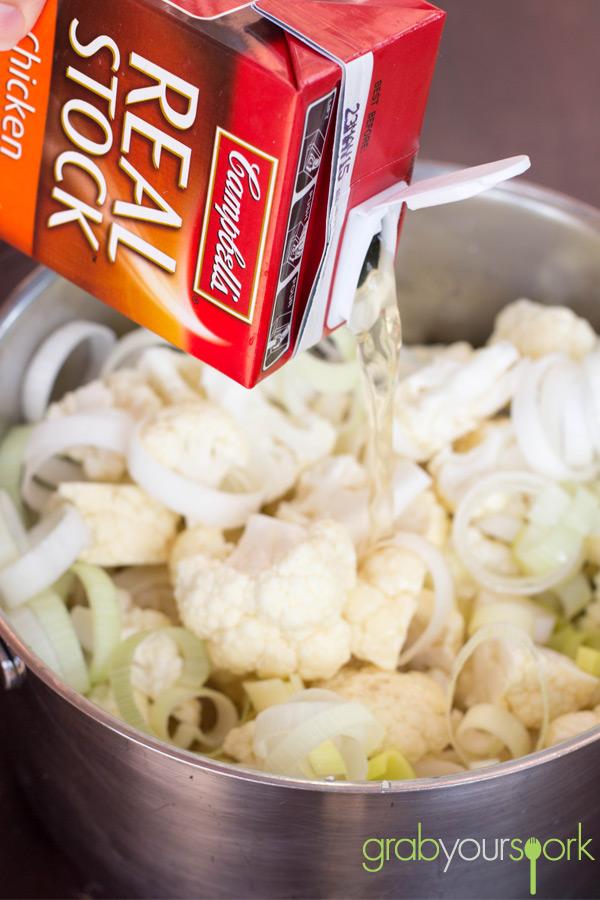
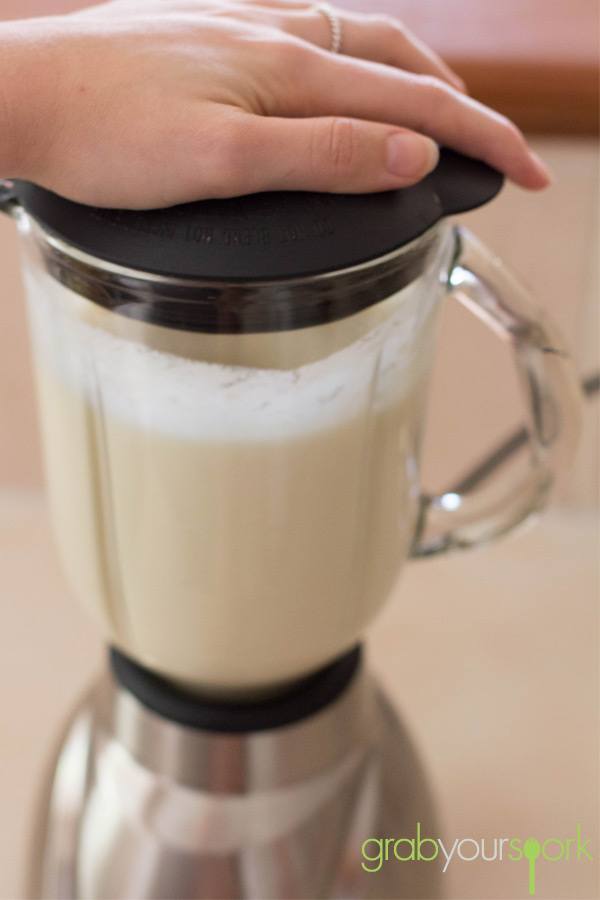
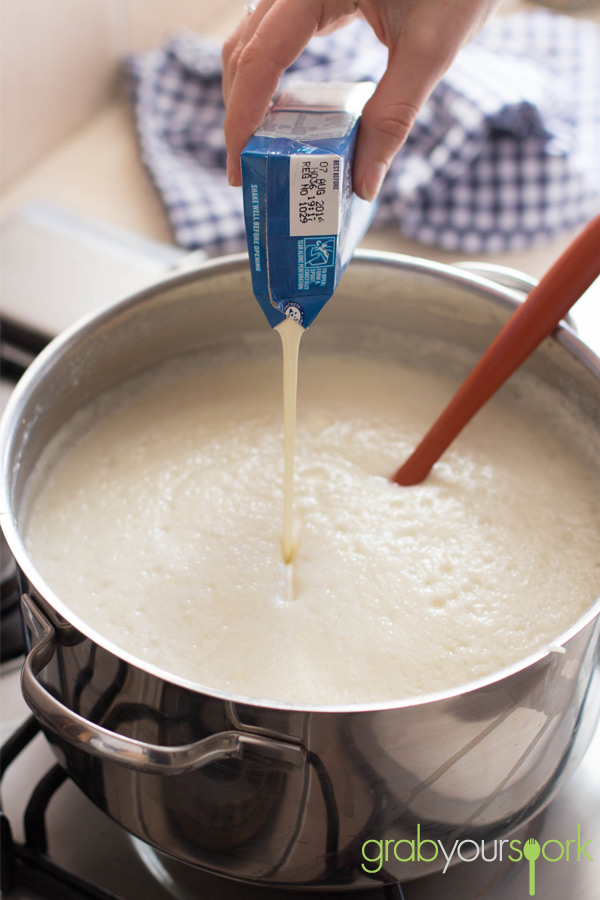
This recipe for tasty cauliflower soup is so easy to put together. You simply boil the cauliflower in some chicken stock (or vegetable if you wish to keep it purely vegetarian) along with one sliced leek. Once the cauliflower is soft, allow the soup to cool before blitzing it in the blender. From here you will be left with a light fluffy and already creamy tasting soup. For a bit of indulgence we do add a small amount of cream, however if you want to keep the soup healthier you can leave the cream out. Once you have blended your soup return it to the stove to heat through.

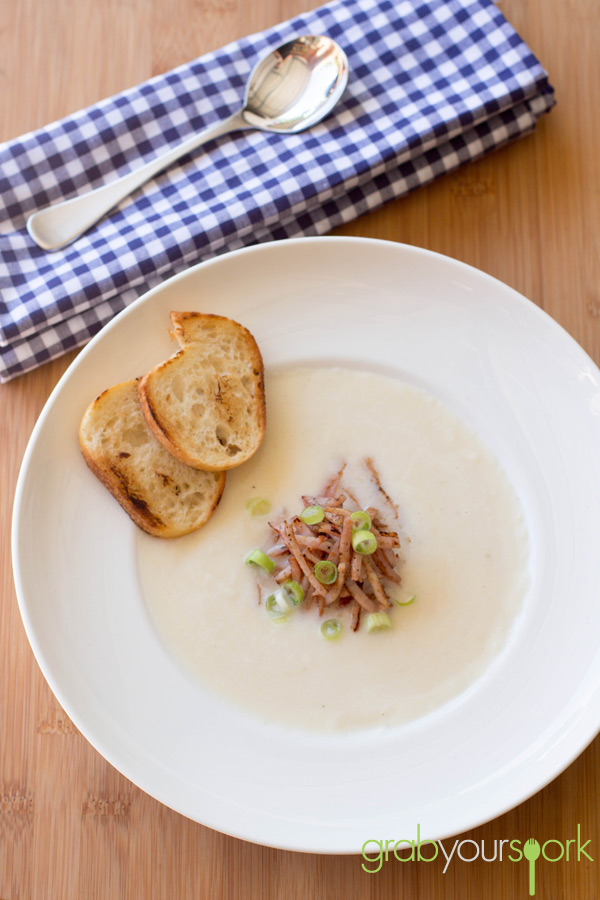
To serve I like to top my soup with some crispy bacon bits to for added texture and saltiness to compliment the creaminess! However, it tastes pretty good just on its own.

This is definitely one of my new favourite soup recipes, but if you are looking for others, then you should check out our Roasted Pumpkin and Sweet Potato Soup Recipe or our Healthy Vegetarian Zucchini Soup Recipe.  If you are looking for something to serve with your soup our Savoury Muffin Recipe pairs perfectly also.

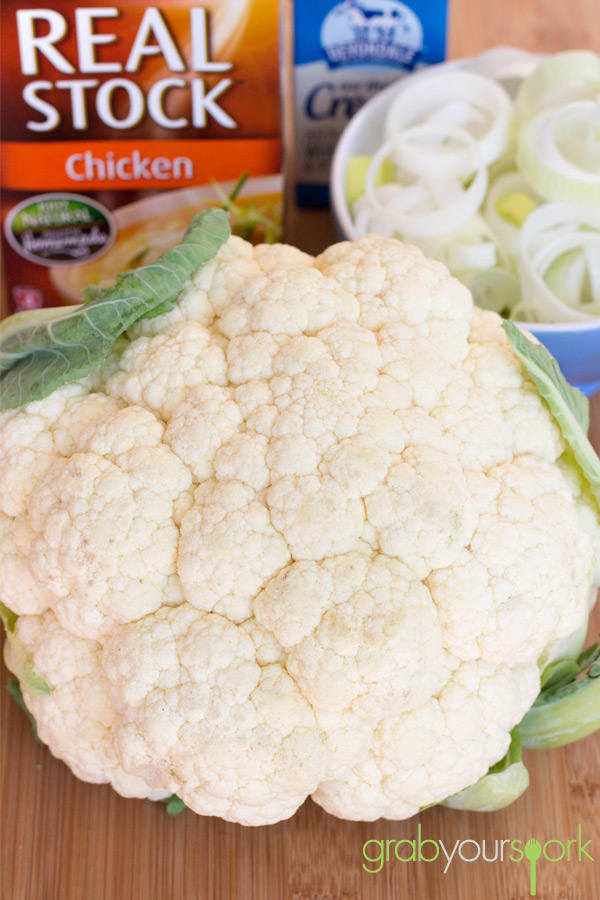
Cauliflower Soup Ingredients

Creamy Cauliflower Soup

Cauliflower Soup Recipe

Creamy Cauliflower Soup Recipe

Cauliflower Soup Recipe

Creamy cauliflower soup recipe instructions

Cauliflower Soup
 
Prep time
Cook time
Total time
 
Simple Cauliflower Soup made with just 4 key ingredients.
Author:
Recipe type: Soup
Cuisine: Australian
Serves: 6
Ingredients
  • 1 Cauliflower, cut into florets
  • 3L Chicken Stock
  • 1 Leek, sliced and washed
  • 100ml thickened cream
Instructions
  1. Add the cauliflower, leek and stock to a large pot.
  2. On a medium heat, bring the soup to a boil. Reduce heat to medium-low and simmer, partially covered, for 15 minutes or until the cauliflower is soft. Set aside for 5 minutes to cool slightly.
  3. In batches blend the soup until smooth and return to a clean pot. Repeat with remaining mixture. Add the cream.
  4. Place over low heat and cook for 1-2 minutes or until heated through.
  5. Serve with crispy bacon bits or a simple slice of bread!