Kale Smoothie

Last Updated on April 21, 2014 by Grab Your Spork

If you are like us this weekend and have indulged in one too many hot cross buns and far too many Easter eggs – this recipe for a Kale Smoothie is the perfect solution to get you feeling healthier!

There are sooo many recipes for green smoothies around at the moment and if you are like me I never thought twice about them. A couple of weeks ago Brooke jumped on the bandwagon and lucky me got the honor of being her guinea pig when she made one. To my surprise the drink was actually quite tasty and wasn’t anywhere near as bad as I was expecting.

Using a combination of kale, coconut water, ice, banana and pineapple this drink is not only dairy free, the sweet pineapple balances the flavour giving the drink a nice fresh and sweet flavour. For our recipe we used kale given it’s still the hip “super food” at the moment and it is ridiculously cheap to pick up a big bunch from the markets. You can substitute the kale with fresh spinach if you like or use a combination of the two glorious greens. However for this drink to have the added benefits you are after you want to ensure you use as least 1 ½ cups minimum.

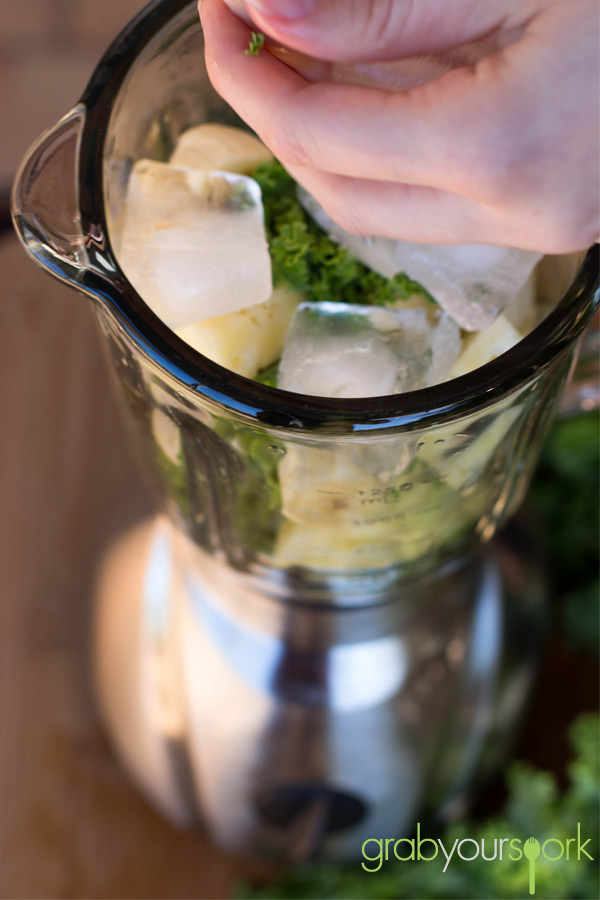
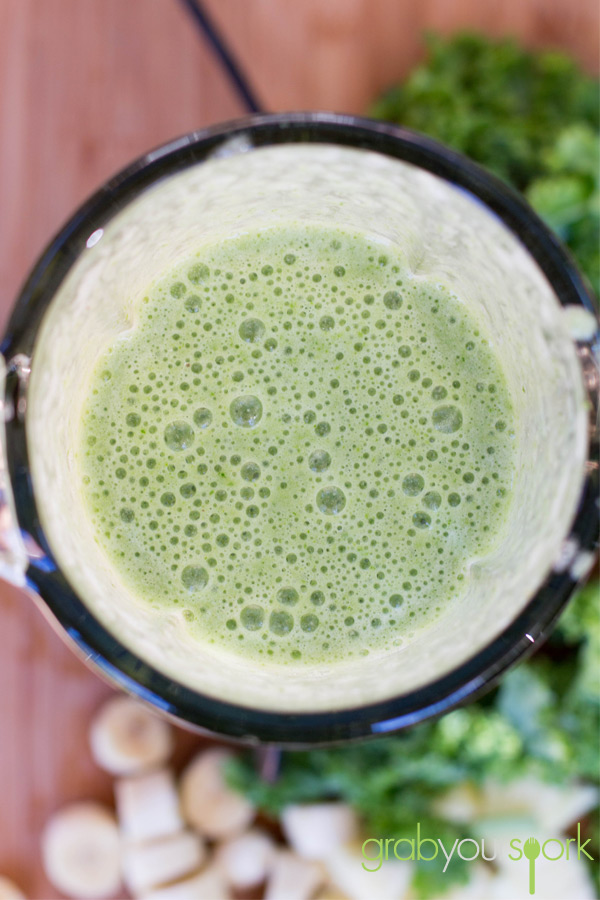
To make simply add all the ingredients in the blender and blitz for at least 1 to 2 minutes till your drink is frothy. This will ensure all the kale is broken up and will give the drink an almost milky texture. To make your life easier and for those looking for a quick breakfast substitute or snack, freeze your chopped banana and pineapple to ensure your drink is nice and cold and then you don’t need to add ice! Once you have blitzed your drink well simply serve up and enjoy this vibrant drink!
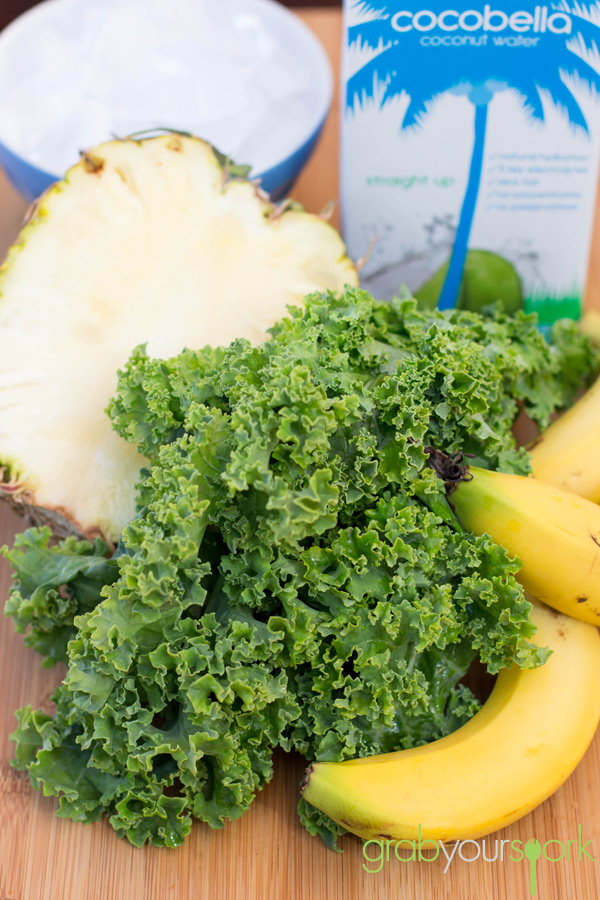
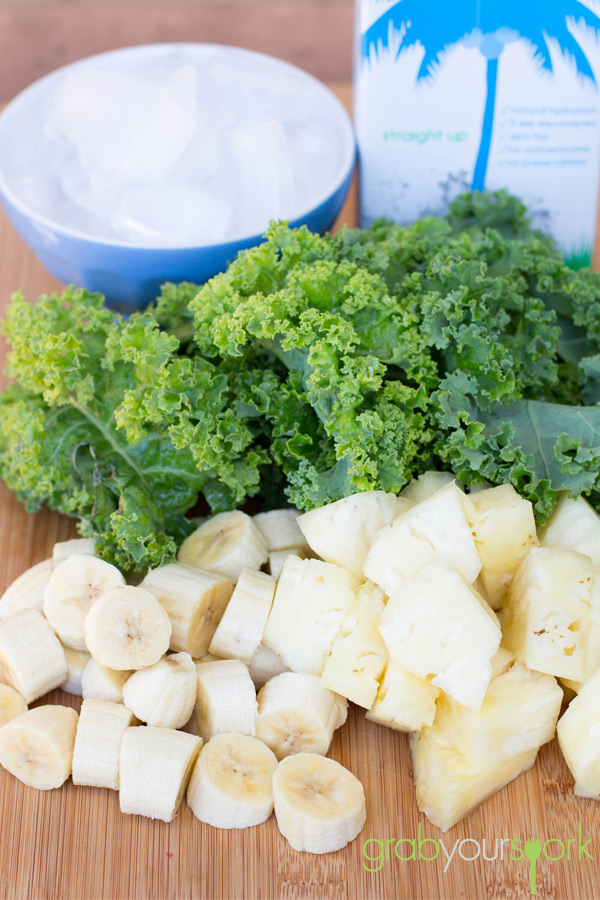
Kale Smoothie Ingredients

Kale and Pineapple Smoothie Ingredients

Kale Smoothie Recipe

Kale Smoothie Recipe

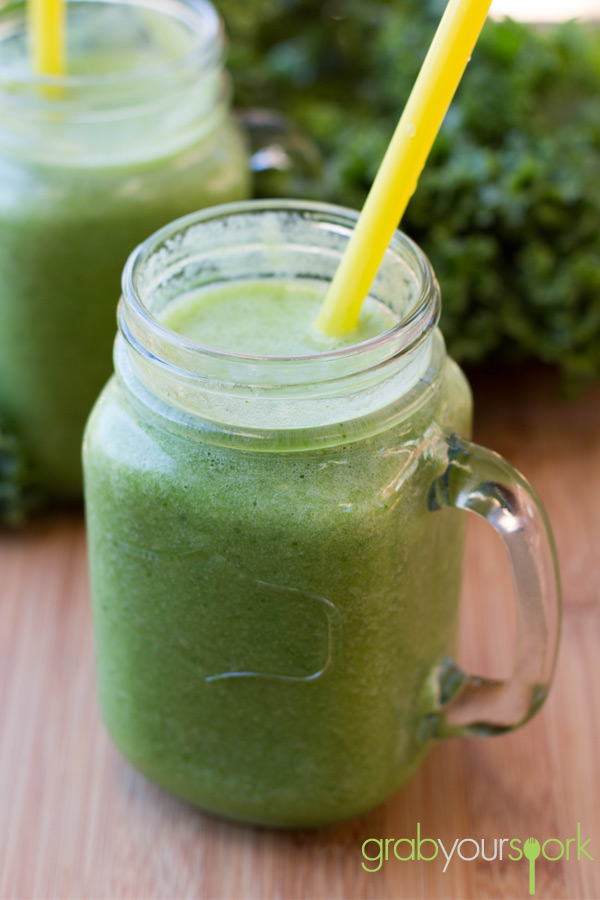
Kale Smoothie Recipe

Kale Smoothie
 
Prep time
Cook time
Total time
 
Kale smoothie made using a combination of kale, coconut water, ice, banana and pineapple.
Author:
Recipe type: Drinks
Cuisine: Australian
Serves: 4
Ingredients
  • 1 ½ cup Kale
  • 1 cup chopped banana
  • 1 cup chopped pineapple
  • 1 cup coconut water
  • 1 cup ice
Instructions
  1. Combine all the ingredients in the blender and blend for 1 – 2 minutes.
  2. Serve and drink up!
 

Coconut and Vanilla Chia Pudding

Last Updated on April 21, 2014 by Grab Your Spork

If you are like me a couple of months ago I had no idea what chia was – now I am seeing it everywhere I go, it’s in magazines, shops and Kelly Slater is even flogging it on TV! These ancient seeds are derived from a desert plant which is grown in Mexico, and for thousands of years formed part of a staple diet for the Mayans and Aztecs. These days Chia is also grown in the North Western corner of Australia, 15 degrees from the equator in the Kimberley region. I can see why this “superfood” has been the latest trend as it offers a countless list of nutritional value. The seeds are the best plant-based source of Omega-3, dietary fibre, protein and antioxidants and the coolest thing about them is they can absorb up to 12 times their weight in liquid! As you can see from the nutritional value these seeds are becoming a popular addition as a topping or added to smoothies, breakfast cereals, yoghurt or as we have been using them to make chia pudding.

For those who haven’t had chia pudding yet, it is a similar texture to sago or tapioca. At the beginning I was a little unsure how I felt about the strange texture however it has now become a staple breakfast option for me during the week now. Not only is the pudding extremely easy to prepare, due to the high fibre it leaves me full a longer period of time.

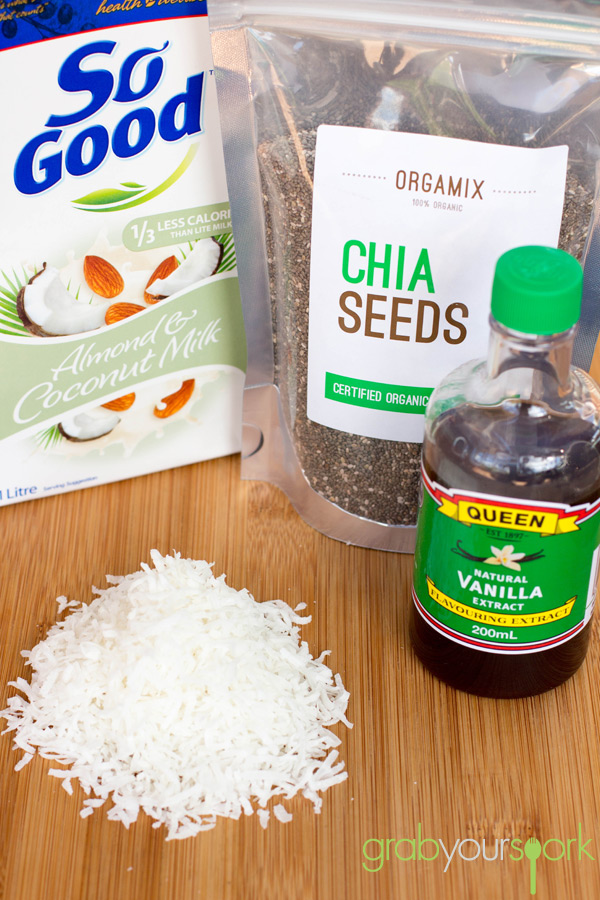
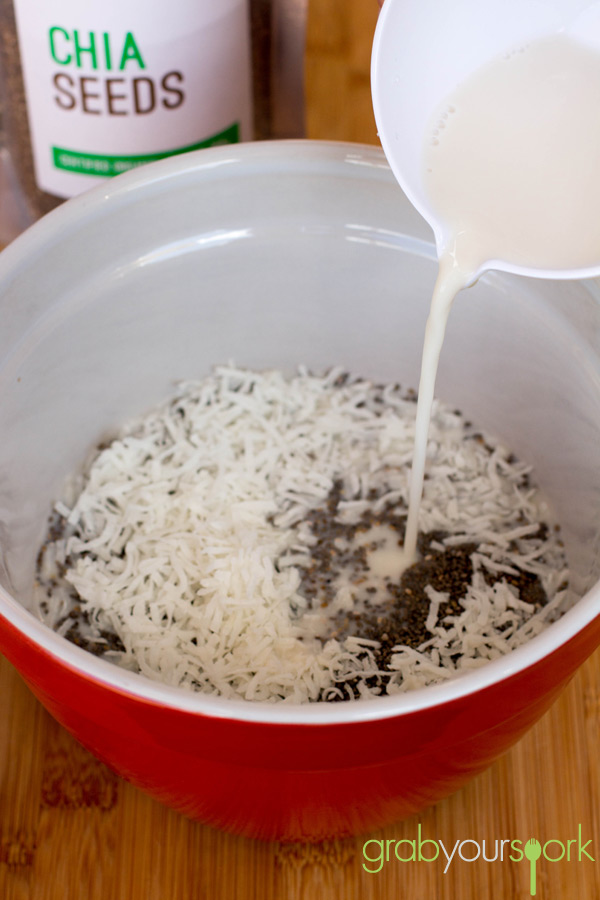
This simple Coconut and Vanilla Chia Pudding is made with nothing more than chia seeds, almond milk, vanilla extract and for our addition some dried coconut. Simply combine the ingredients together in a bowl and leave for a couple of hours allowing the seeds to absorb their miraculous amounts of liquid allowing it to form a “pudding” like texture.

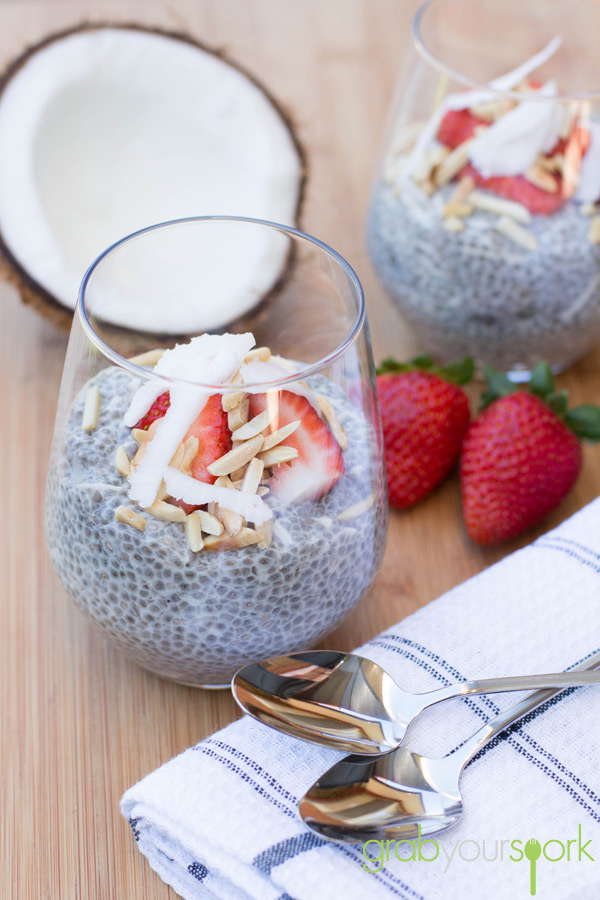
To top off we used some toasted almonds and fresh fruit to add more texture. However you can easily mix and match what you want mango, berries, toasted coconut or even add a little lemon. In addition we used almond and coconut milk this time, however you can use unsweetened vanilla also or if you don’t find the pudding sweet enough add pure maple syrup. Once you have made your batch of pudding it will last for a 3-5 days in the fridge – so make a jump start this week to a nutritional packed week!

Coconut and Vanilla Chia Pudding

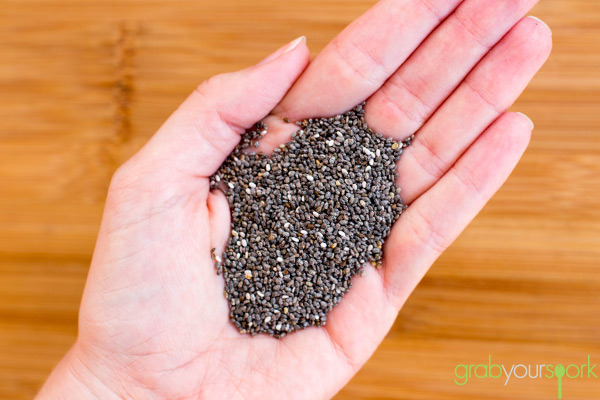
Black Chia Seeds

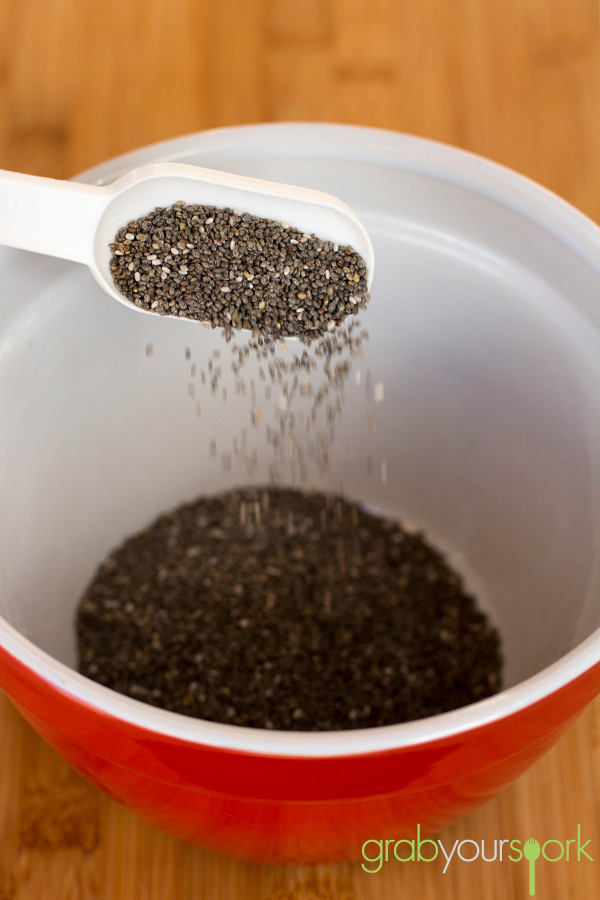
Organic Black Chia Seeds

Coconut and Vanilla Chia Pudding Ingredients

Coconut and Vanilla Chia Pudding Recipe

5.0 from 1 reviews
Coconut and Vanilla Chia Pudding
 
Prep time
Cook time
Total time
 
Coconut and Vanilla Chia Pudding made with black chia seeds, almond milk, vanilla extract and some dried coconut.
Author:
Recipe type: Coconut and Vanilla Chia Pudding
Cuisine: Australian
Serves: 4
Ingredients
  • 8 Tbsp black chia seeds
  • 2 ½ cups almond and coconut milk; or unsweetened vanilla almond milk
  • ½ dried coconut
  • 1 tsp vanilla extract
  • Fresh fruit and toasted almonds to serve
Instructions
  1. Place the chia seeds in a medium bowl
  2. Add the almond and coconut milk, vanilla and coconut and stir.
  3. Cover the bowl tightly and refrigerate for at least 5 hours, or overnight stirring occasionally.
  4. Stir well before serving to avoid lumps.
  5. Top with desired topping.


Toffee Apples

Last Updated on April 1, 2014 by Grab Your Spork

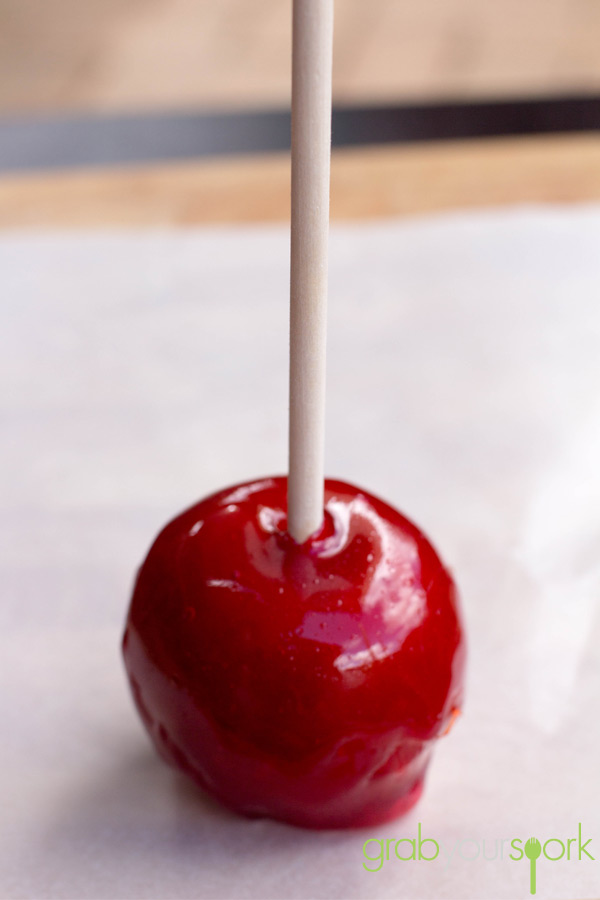
Toffee apples are one of those nostalgic foods, which seem to evoke memories of when you were young. For me I remember getting them from Coles and they came served with a lecture from mum about how they would make my teeth fall out from all the sugar.

When making toffee apples do no be temped to lick the mixture off the spoon as I did, because you will burn your tongue, trust me. You definitely should not make these with kids around, as it might be a little dangerous. The other thing about making toffee apples is that you shouldn’t try and take photo’s along the way as you need to be spot on with your timing or the toffee will set on you early.

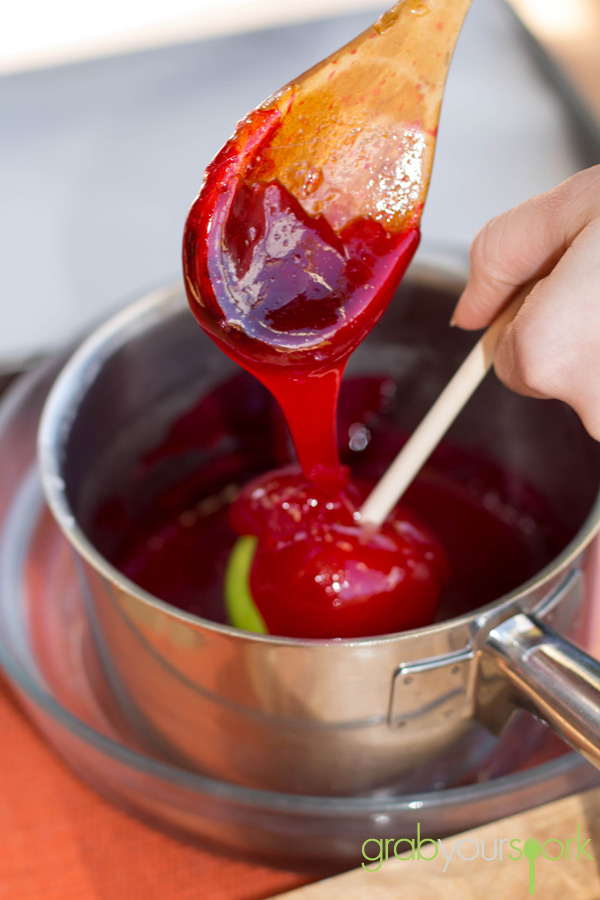
Toffee apples can be made any colour you like but we opted to go for traditional red for ours. Don’t be afraid to be more creative than we were with the colour palate for your toffee apples.

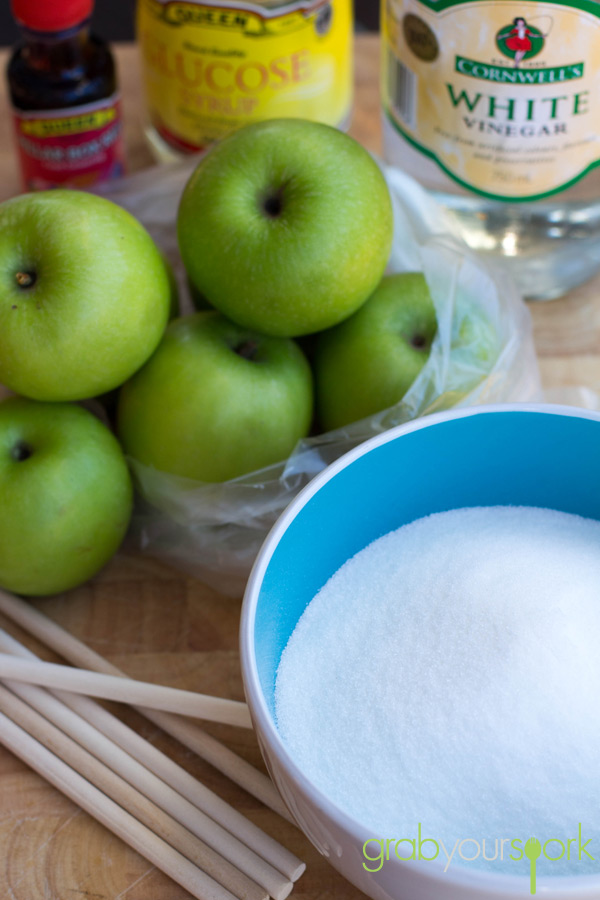
Toffee apples ingredients

Toffee apples recipe

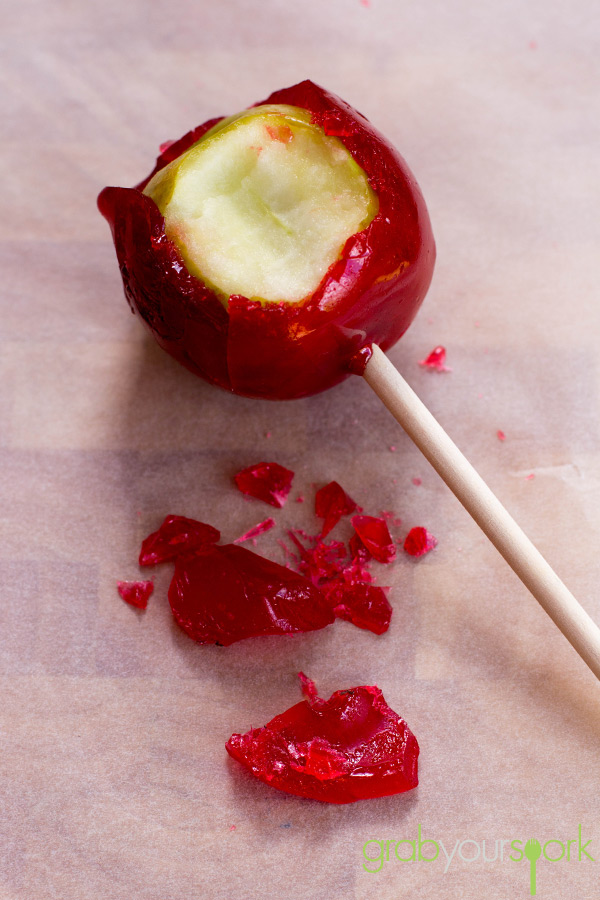
Toffee

Toffee apples recipe

Toffee apples recipe

Toffee apples

Toffee Apples
 
Prep time
Cook time
Total time
 
Toffee apples recipe with just 5 ingredients. These sweet and sticky toffee apples will bring back childhood memories for sure.
Author:
Recipe type: Dessert
Cuisine: Australian
Serves: 6
Ingredients
  • 6 medium green apples, stalks removed
  • 3 cups caster sugar
  • ¼ cup liquid glucose
  • ¾ warm water
  • 1 teaspoon white vinegar
  • ½ teaspoon red food colouring
Instructions
  1. Line 2 large baking trays with baking paper.
  2. Wash apples in thoroughly in hot water to remove wax coating. Drying the apples thoroughly.
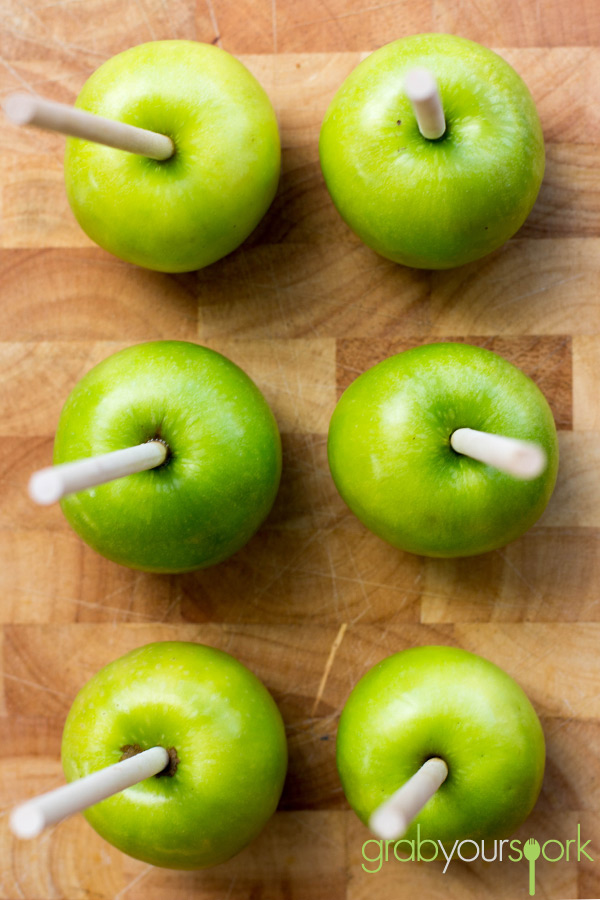
  3. Push 1 stick in top of each apple slowly avoid pushing all the way through.
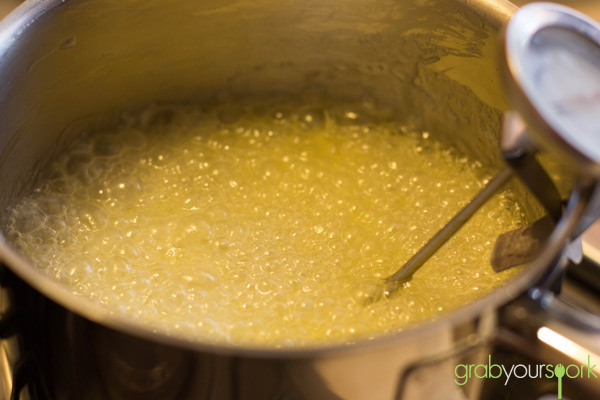
  4. Place sugar, warm water, glucose and vinegar in a heavy-based saucepan over a low heat. Cook, stirring, for 5 to 6 minutes or until sugar has dissolved.
  5. Increase heat to medium-high and bring to the boil. Cook, without stirring, for 15 to 20 minutes or until toffee reaches hard crack stage, brushing sides of pan with a brush dipped in water to avoid crystallisation.
  6. Remove from heat. Tint with food colouring. Stand for 30 seconds for bubbles to subside slightly.
  7. Working quickly, dip apples one at a time into toffee, tilting pan to coat. Turn apple above pan to drain excess toffee.
  8. Stand apple on prepared tray.
  9. Repeat with remaining apples and toffee. Stand for 20 minutes or until set.


Easy stuffed mushrooms recipe

Last Updated on November 25, 2018 by Grab Your Spork

As a child I never cared much for mushrooms. However over the years I have grown to enjoy their robust flavour and meaty texture and this easy stuffed mushrooms recipe is one I thoroughly enjoy.

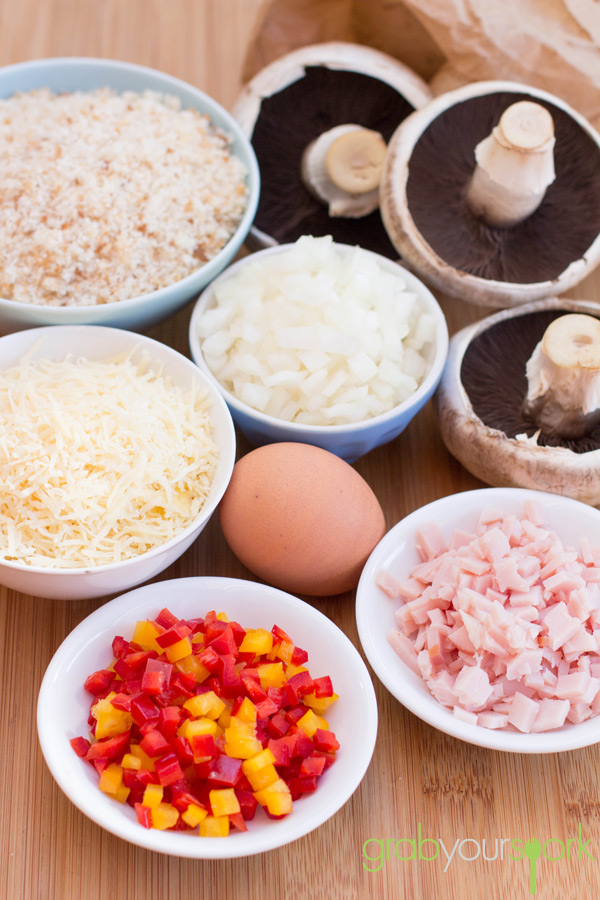
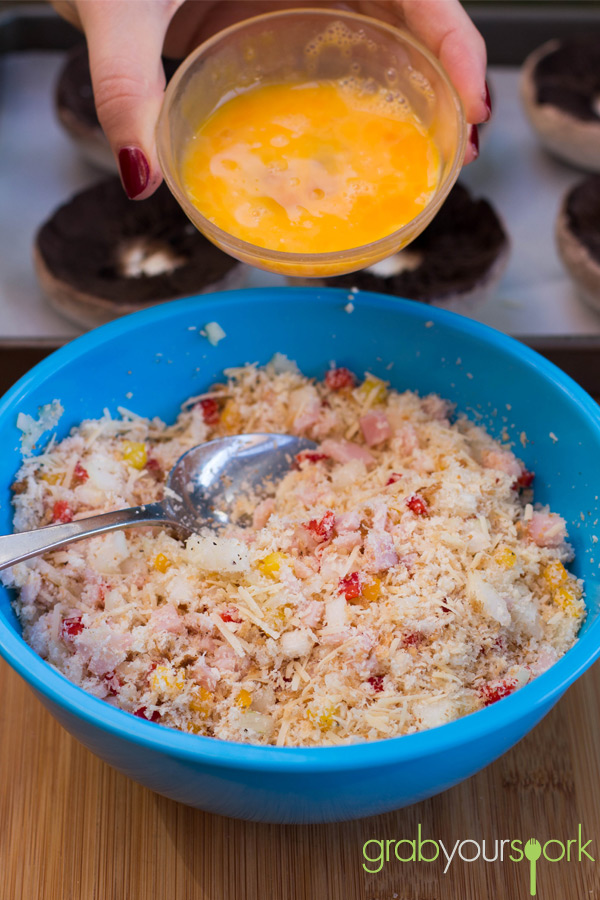
Stuffed mushrooms are extremely easy to make and you can almost combine any ingredients you want. To make our recipe Brooke uses fresh breadcrumbs as the base, then adds diced onion, capsicum, pecorino cheese, bacon and an egg. Through adding an egg not only helps bring the ingredients together it gives the stuffing a light fluffy texture. As mushrooms are a great option for vegetarians these can easily be made without bacon. You could even play around with the flavour combinations using sundried tomatoes, spinach or cream cheese.

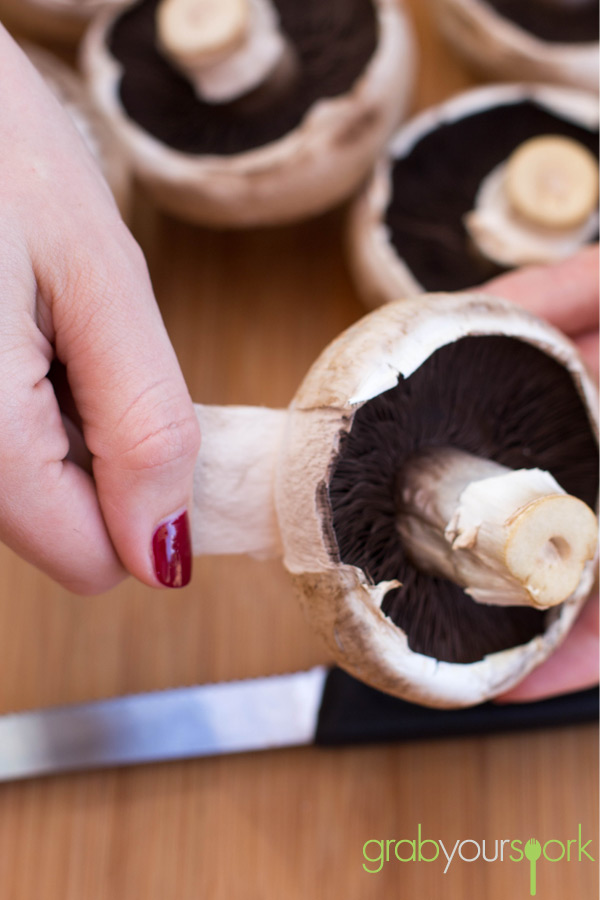
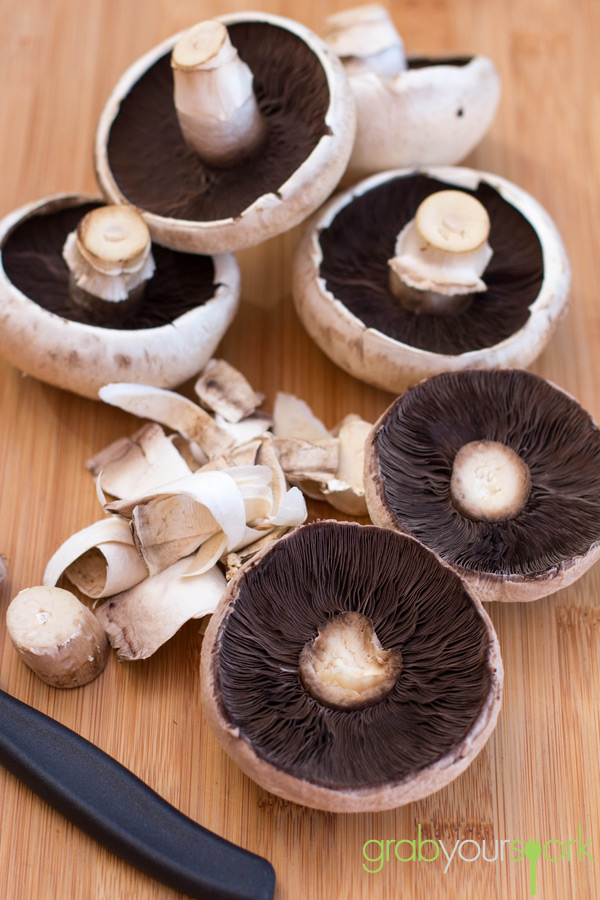
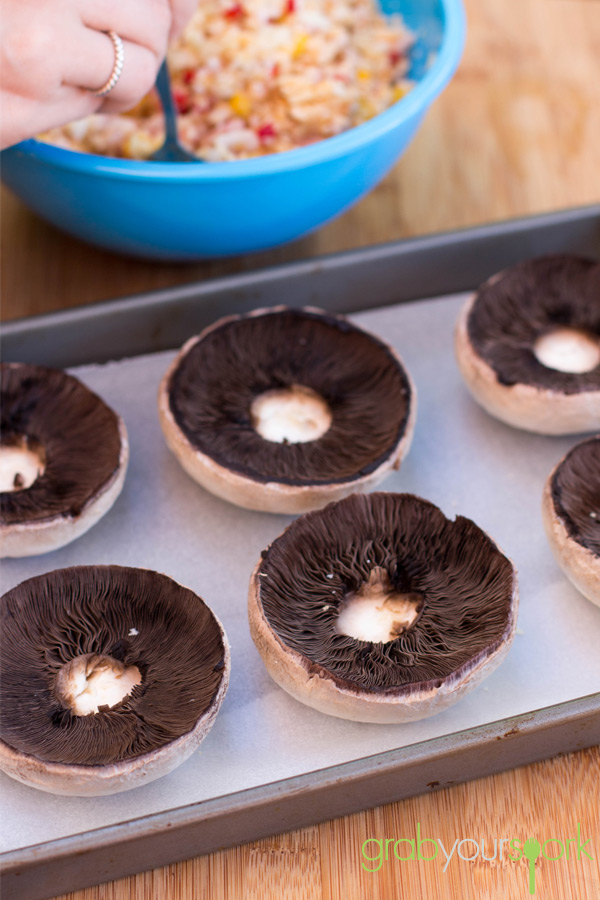
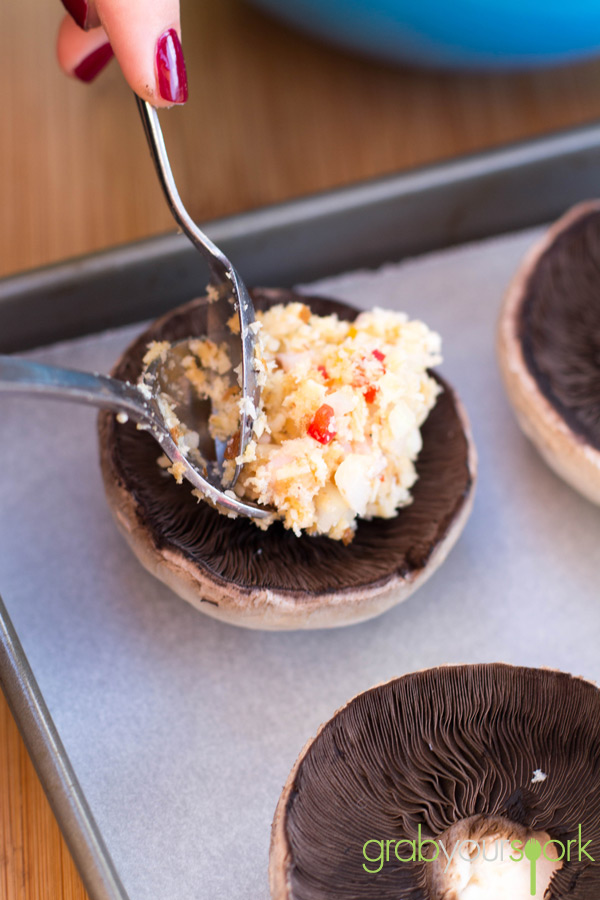
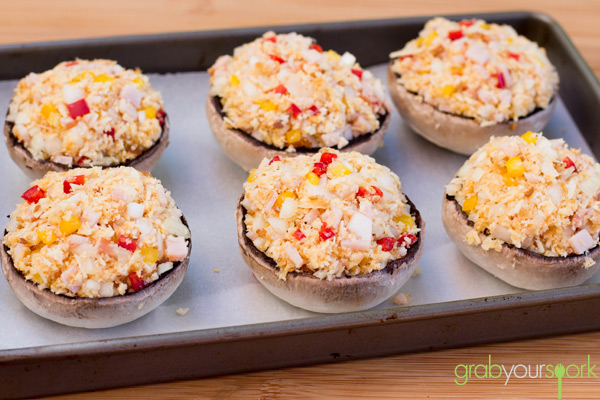
To make this recipe, firstly you need to clean your mushrooms well ensuring there is no soil or dirt. After removing the stalks so you have room for your filling. Place the mushrooms on a baking tray while you combine your stuffing. Simply mix the ingredients together in a bowl then fill the mushrooms until they are well packed. Sprinkle with a bit of extra cheese then bake in a moderate oven for 10 to 15 minutes.

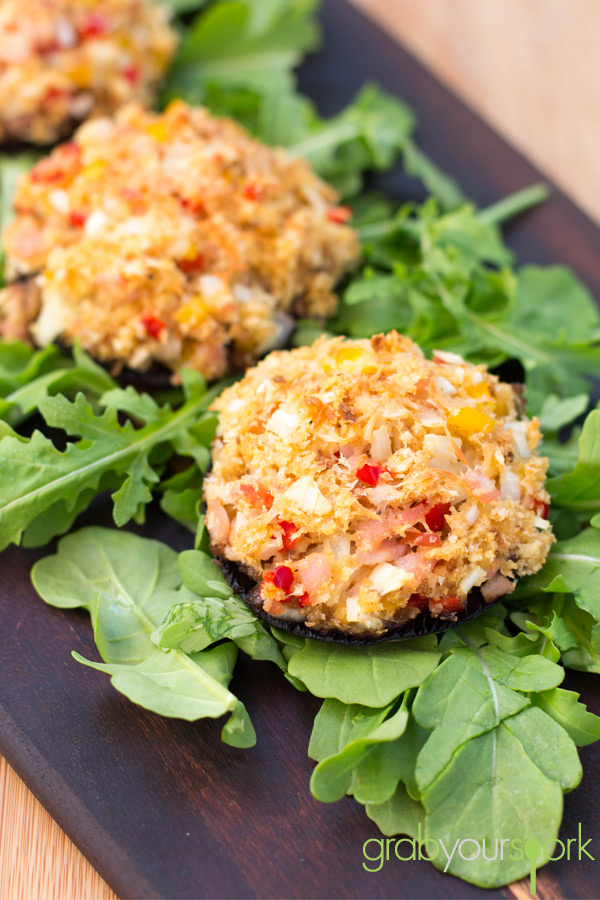
We had these for brunch, however they are great as a light starter, lunch or even as a side to a main meal that’s the beauty of this easy stuffed mushrooms recipe.

This is definitely one of my new favourite mushroom recipes, but if you are looking for other appetiser recipes, then you should check out our easy savoury muffin recipe or vegetarian rice paper rolls.

Easy stuffed mushrooms recipe Ingredients

Stuffed Mushrooms

Stuffed Mushroom Cups

Stuffed Mushrooms Recipe

Stuffed Mushrooms Recipe

Stuffed Mushroom Cups

Stuffed Mushroom Cups Recipe

Stuffed Mushrooms Recipe

Stuffed Mushrooms
 
Prep time
Cook time
Total time
 
Stuffed Mushrooms with fresh breadcrumbs, diced onion, capsicum, pecorino cheese, bacon and an egg.
Author:
Recipe type: Sides
Cuisine: Australian
Serves: 6
Ingredients
  • 6 field mushrooms
  • 1 cup fresh breadcrumbs
  • ¼ bacon, diced
  • ¼ capsicum, diced
  • ½ onion, diced
  • ½ cup pecorino cheese, grated. Plus extra tablespoon
  • 1 egg, lightly beaten
  • salt and pepper to season
Instructions
  1. Preheat oven to 180 °C
  2. Wash the mushrooms, drying thoroughly and remove stalks.
  3. Combine the breadcrumbs, onion, bacon, cheese and capsicum. Add the beaten egg and mix until well combined.
  4. Fill the mushrooms until well packed. Sprinkle with extra cheese.
  5. Bake in oven for 10 to 15 minutes. Serve warm.


Apricot and Coconut Balls

Last Updated on January 1, 2016 by Grab Your Spork

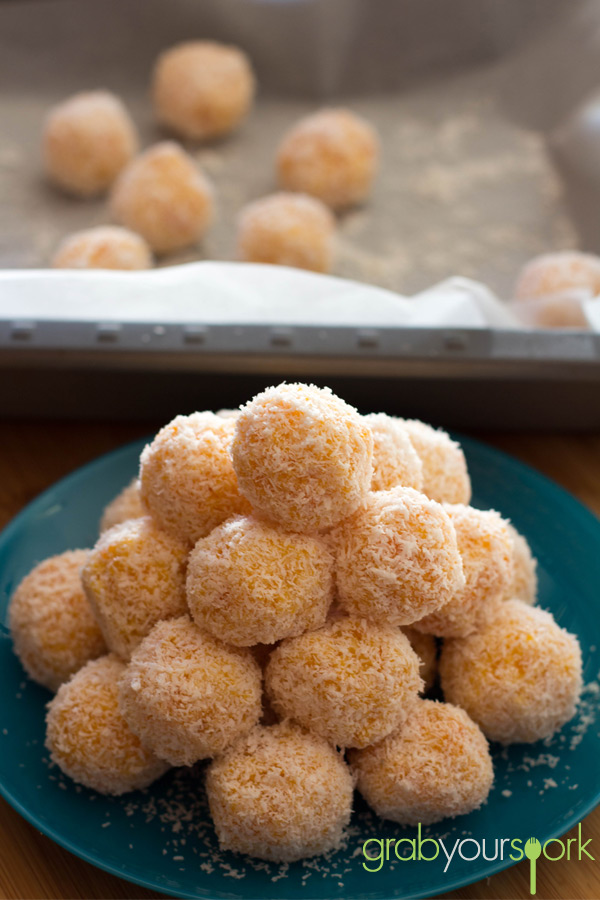
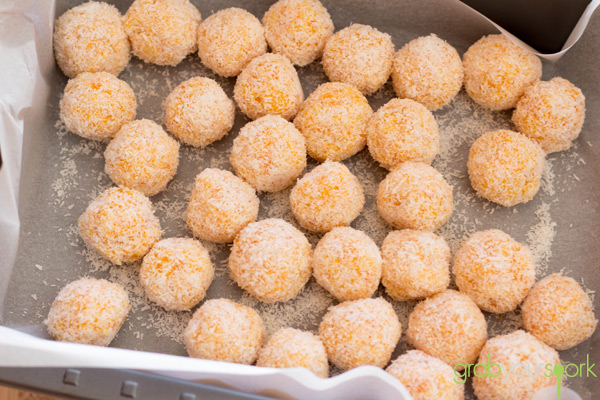
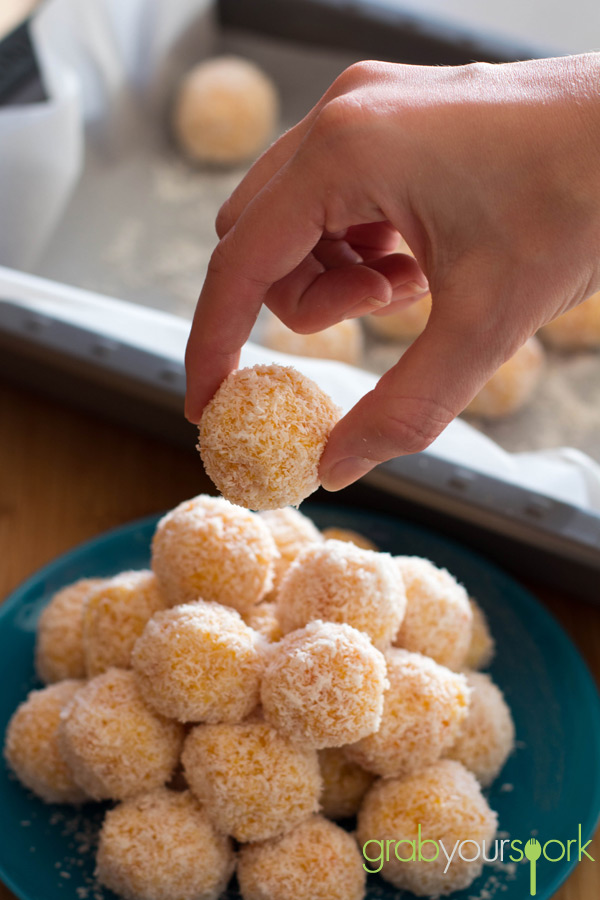
Three ingredients? Dried apricots, coconut and condensed milk. This recipe for Apricot and Coconut Balls really is that simple.

There are a few variations for apricot balls out there, some recipes call for additional things like crushed biscuits or white chocolate but I like this one just the way it is. These bite sized treats are great to make any time of year for a sweet treat and make for a great Christmas recipe.

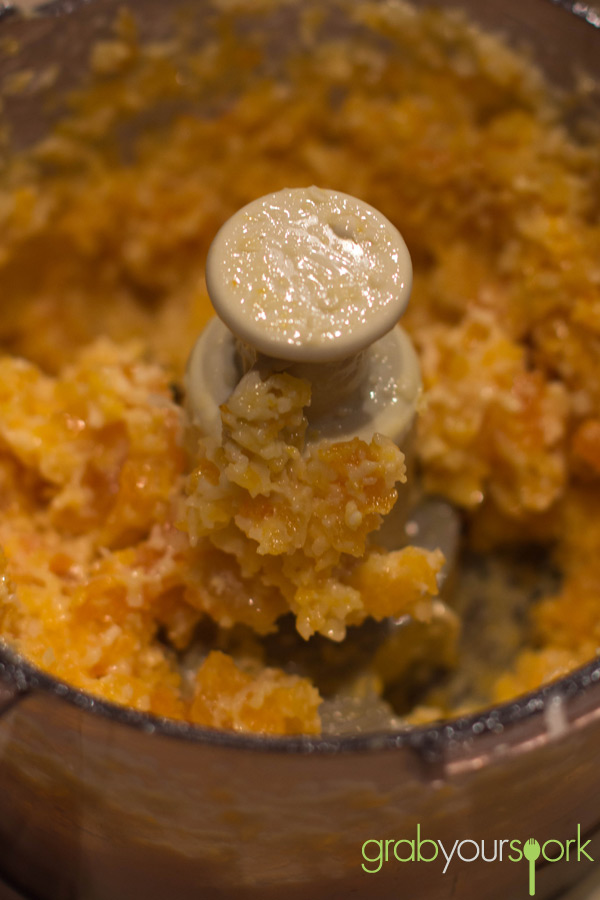
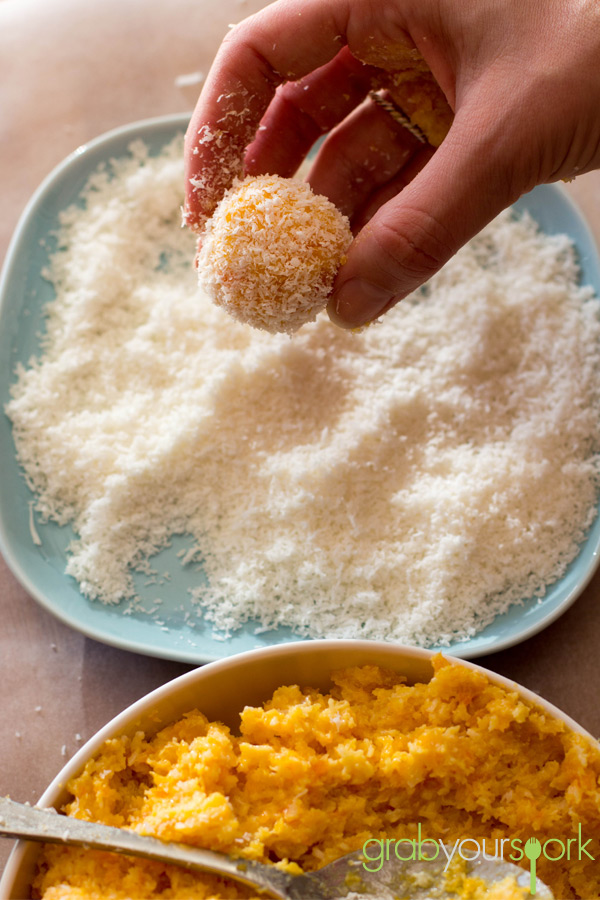
To make these chewy sweet apricot bites, you can either chop the apricots into small pieces or as we did use the food processor. Once you have your mixture, all you need to do is roll the mixture into small balls, then roll through the extra coconut. I encourage you to wet your hands to avoid the mixture sticking as much – but unfortunately if it unavoidable. There will be a mess at the end.

This recipe is simple, yummy and easy to get your kids involved!

If you like this recipe than check out our other great treats like Choc Mint Fudge, Raspberry Friands or Blueberry and Lemon Loaves.

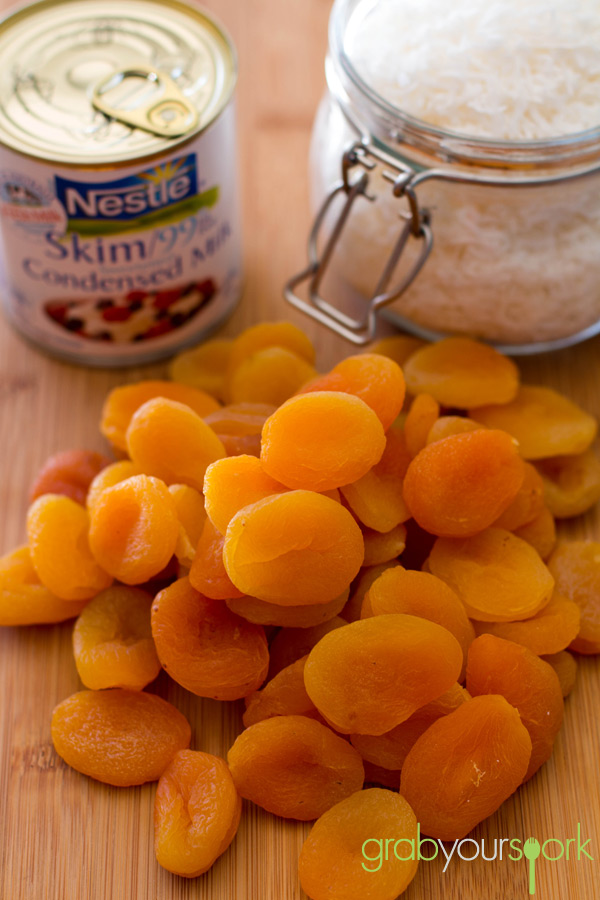
Apricot and coconut balls ingredients

Blended apricots

Rolling apricot and coconut balls

Apricot and coconut balls

Tray of apricot balls

Apricot balls

5.0 from 2 reviews
Apricot and Coconut Balls
 
Prep time
Cook time
Total time
 
Three ingredients? Dried apricots, coconut and condensed milk. This recipe for Apricot and Coconut Balls really is that simple.
Author:
Recipe type: Snack
Cuisine: Australian
Serves: 20
Ingredients
  • 500g dried apricots
  • 1 can condensed milk
  • 2 ½ cups coconut
  • Extra coconut for rolling
Instructions
  1. Combine all ingredients in food processor.
  2. With wet hands, roll mixture into small ball and coat with extra coconut.
  3. Refrigerate or freeze for 1 – 2 hours.