Florentine biscuits

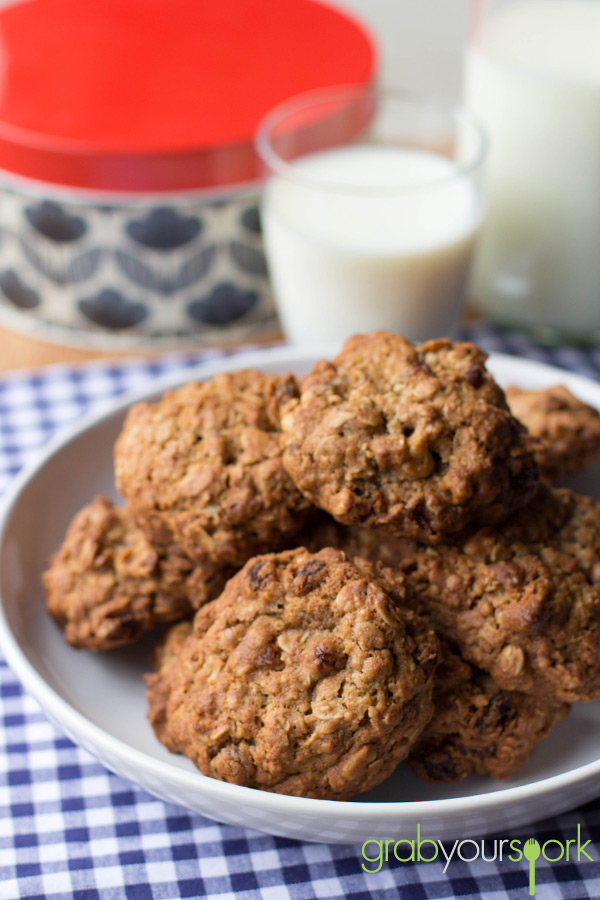
A few months ago we went on a picnic at the beautiful King’s Park in Perth with Brooke’s parents. To finish off with a sweet treat, Brooke’s Mum had brought along some Florentine biscuits. What’s not to love about this ultimate biscuit? A Florentine biscuit or Florentines are made of nuts (most typically almond or hazel), glacier cherries, dried fruit and they are often coated on the bottom with chocolate. They are rich and indulgent and should have a nice crunch when you bite into them. Their toffee-like texture and combination of Cornflakes in our recipe will also give you flashbacks to your childhood memories of Honey Joys – only now with a grown-up twist.

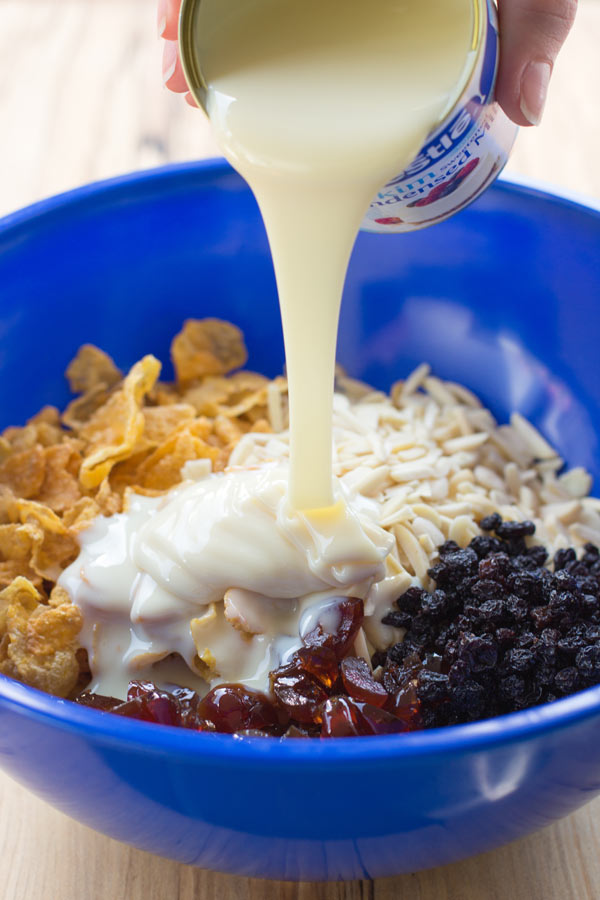
Most recipes use melted butter, sugar, and honey as their binding agent. For us, we used a good old can of condensed milk. When adding your condensed milk, the key to making a successful Florentine is to ensure you coat the mixture enough to bind the ingredients. Adding too much will weigh your biscuit down or leave it soggy. You want to ensure you have the satisfying crunch at the end! If you are worried you have added too much condensed milk, you can stir through some extra cornflakes to help absorb some of the additional liquid.

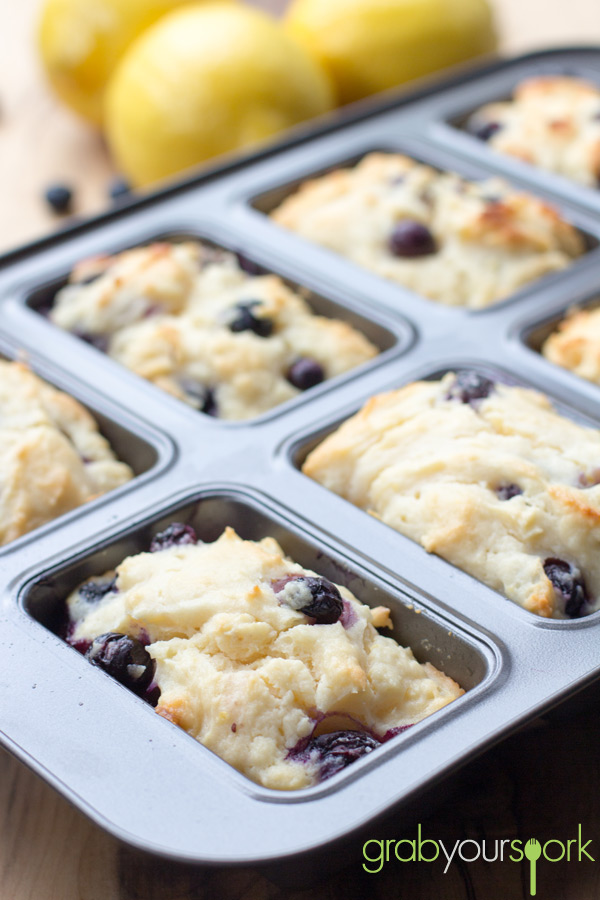
Once your mixture is ready, spoon the mixture onto a lined baking tray or into a greased muffin tray like we did. Using the muffin tray keeps the biscuits in a nice uniformed shape and ensures you end up with 24 biscuits. Baking on a low heat for 10-12 minutes till golden-brown, will ensure you have a lovely chewy and crisp little caramel treat.

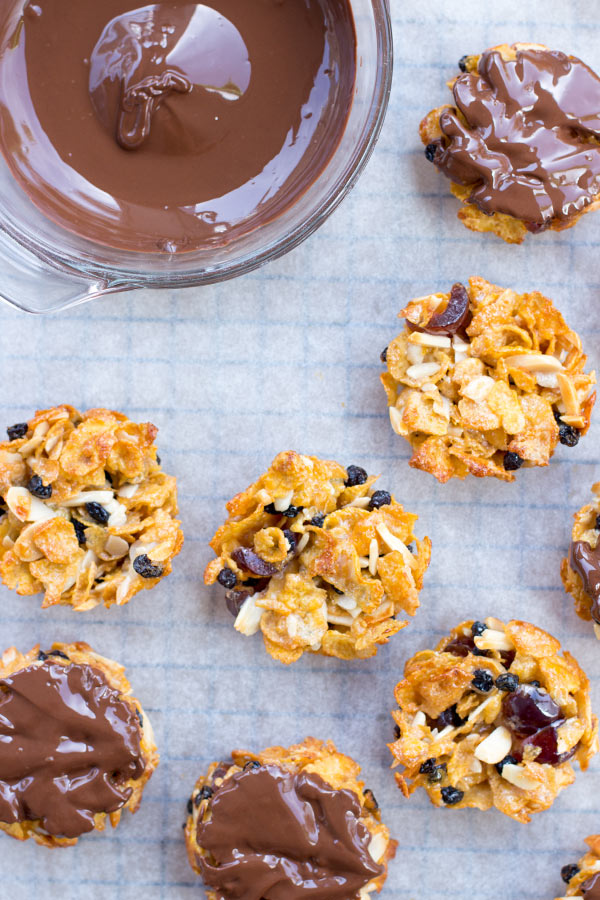
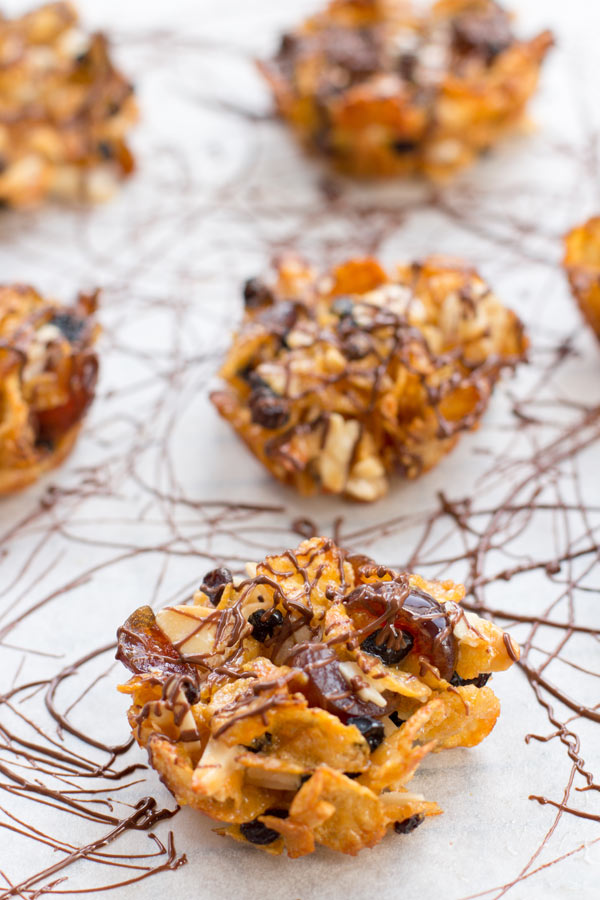
Once removed from the oven, you can take these biscuits to another level adding a thin layer of dark chocolate on the bottom. Allow the chocolate to set then enjoy these decadent coffee shop biscuits with a cup of tea or coffee.

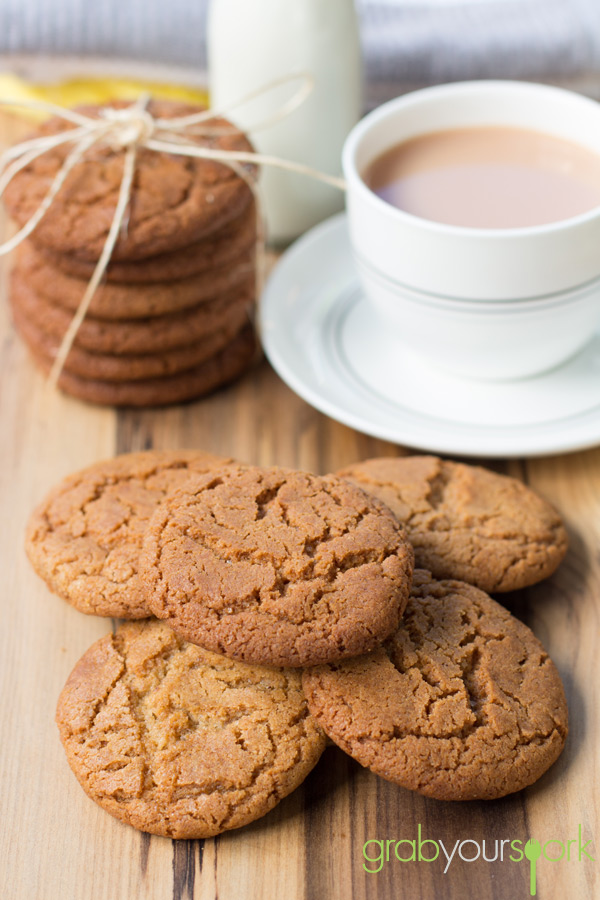
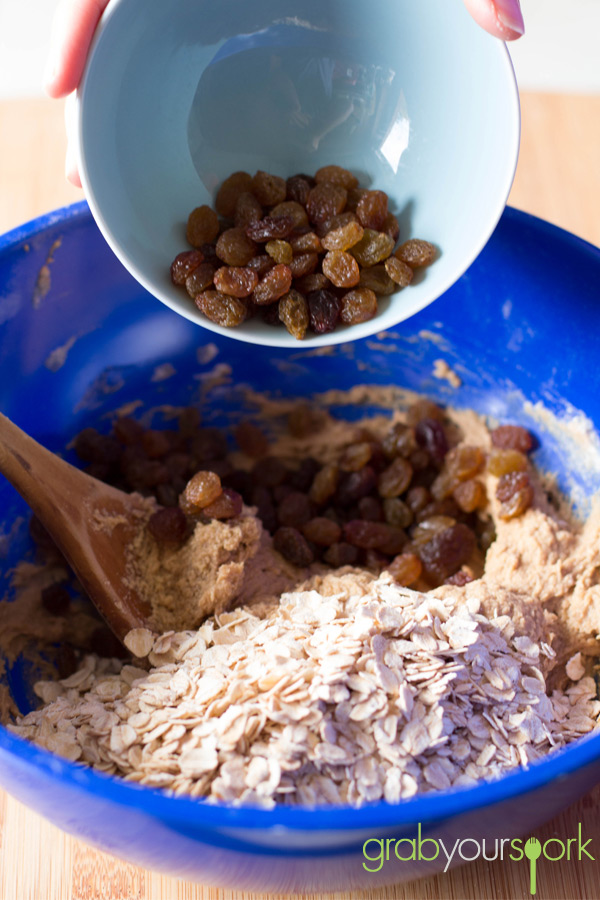
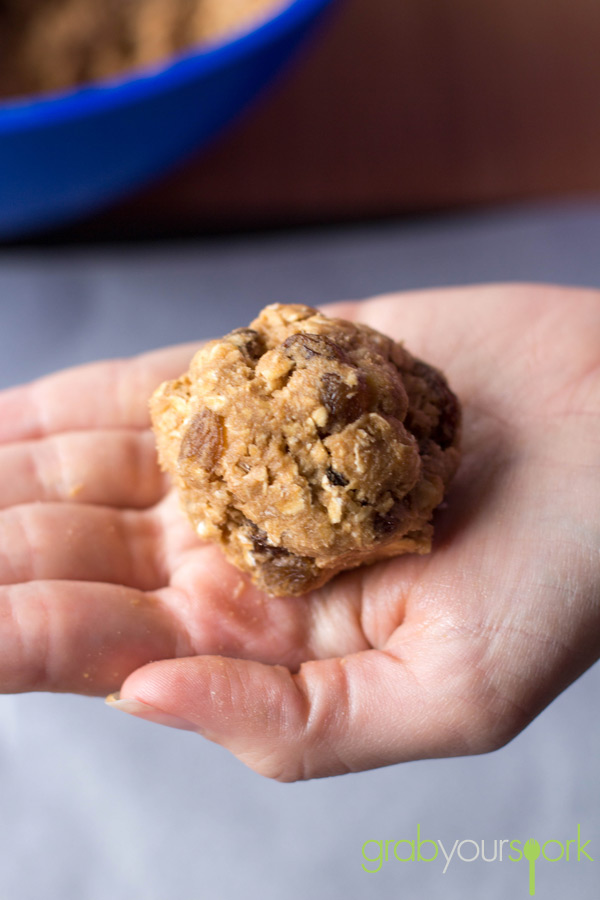
Looking for another biscuit or cookie recipe then try our ginger nut biscuits, cranberry pistachio biscotti or oatmeal raisin cookies.

Florentine biscuitFlorentine biscuitsFlorentine biscuit recipeFlorentine biscuitsFlorentine biscuit recipeFlorentine biscuits

Florentine biscuits – Recipe Instructions
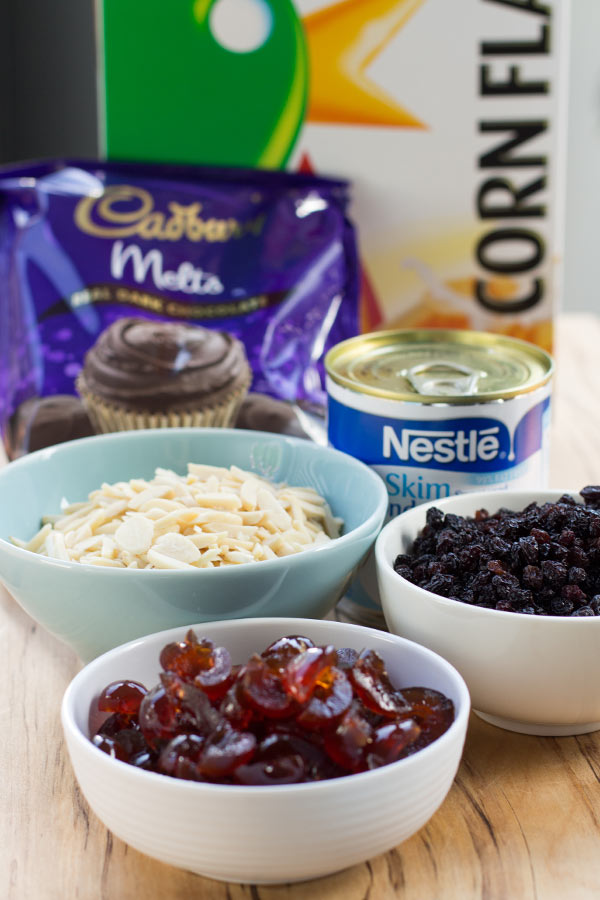
5.0 from 2 reviews
Florentine biscuits
 
Prep time
Cook time
Total time
 
A Florentine biscuit or Florentines are made of nuts (most typically almond or hazel), glacier cherries, dried fruit and they are often coated on the bottom with chocolate.
Author:
Recipe type: Buscuits
Cuisine: British
Serves: 24
Ingredients
  • 3 Cups Cornflakes
  • 110g almonds (slivered/ sliced)
  • ½ cup chopped glacier cherries
  • ½ cup currants
  • ⅔ can condensed milk
  • Dark chocolate for drizzling
Instructions
  1. Preheat oven to 160°C.
  2. Combine the cornflakes, almonds, cherries, currants and condensed milk in a bowl. Mix until the ingredients are evenly coated.
  3. Spoon the mixture into a greased muffin tray and press lightly to ensure they are compact.
  4. Bake for 10-12 minutes until light golden brown, then set aside on a wire rack to cool.
  5. Melt the chocolate and drizzle over biscuits or dip the bottom. Place the biscuits chocolate side up, on a wire rack until set.


Simple Gingerbread Cookies

In our house, Christmas time is all about the baking. Brooke baking and me eating, that is. It’s a great balance! Although we have a few “go to” recipes this time of year; Cranberry and Pistachio Biscotti, Apricot Balls and of course Choc Mint Fudge! You cannot go past a Christmas classic like Gingerbread. These simple gingerbread cookies are really easy to make and they turn out perfect every time. The dough can also be rolled and cut into any shape which makes it a great activity for those who have kids.

Like a true Australian, this recipe for Gingerbread cookies uses golden syrup, not molasses which is commonly used in all American recipes. You start with butter, brown sugar and golden syrup melting in a pot then incorporating the flour, egg and spices! When we make anything with spice (like our Ginger Nut Biscuits) we like a lot of flavour. For our spice combination, we used ground ginger, cinnamon, nutmeg and ground cloves, which will leave your house filled with the smell of Christmas once you’re done.

The most important steps to remember when making these biscuits is you must allow enough time for the dough to chill. This will stop the shapes from shrinking when you bake them. For those who are time poor (or impatient like Brooke) I would suggest you portion the dough into quarters and wrap each quarter separately allowing it to chill faster. The other tip is ensuring you get the perfect colour on your shapes. To avoid over browning, remove the gingerbread from the oven when it is a light golden colour. The biscuits may look soft, but they will firm up once cooled.

Once you have your biscuits ready to bake, place the cut-out dough onto a lined baking sheet. They won’t really spread (if chilled properly). They should take about 10-12 minutes in the oven for smaller shapes or 12-15 minutes for larger shapes, or until golden brown. Set aside trays to completely cool before decorating with royal icing.

Royal icing sets hard making it perfect for icing cookies, biscuits and for adding a decorative touch to your gingerbread men, Christmas trees or stars!

Simple Gingerbread Cookies RecipeSimple Gingerbread Cookies DoughSimple Gingerbread CookiesSimple Gingerbread CookiesSimple Gingerbread Cookies

Simple Gingerbread Cookies – Recipe Instructions

Simple Gingerbread Cookies
 
Prep time
Cook time
Total time
 
These simple gingerbread cookies are really easy to make and they turn out perfect every time.
Author:
Recipe type: Cookies
Cuisine: Australian
Serves: 40
Ingredients
Gingerbread Cookies
  • 150g butter, softened
  • ½ cup brown sugar
  • ½ cup golden syrup
  • 1 Egg
  • 3 cups plain flour, sifted
  • 1 tbs ground ginger
  • 1 tsp ground cinnamon
  • ½ tsp group nutmeg
  • ¼ tsp ground cloves
Royal Icing
  • 1½ cups pure icing sugar, sifted (see note)
  • 1 eggwhite
  • ½ teaspoon lemon juice
Instructions
Gingerbread cookies
  1. Preheat oven to 180ºC. Line baking tray with baking paper.
  2. Melt butter, sugar and golden syrup together in a saucepan, stirring until smooth. Cool slightly. Transfer the butter mixture to a medium bowl. Add the egg and whisk to combine. Stir in the sifted flour and spices. Turn onto slightly floured surface and knead until smooth. Divide the dough into quarters, wrap with plastic and place in the fridge for at least 30 mins or until firm.
  3. Roll each portion out onto a lightly floured surface (or between two sheets of baking paper) to a 3mm thick disc. Cut out your desired shapes. Place onto the lined trays. Bake for 10-12 mins for smaller shapes or 12-15 mins for larger shapes, or until light golden. Set aside on trays to cool completely.
  4. To decorate, prepare royal icing and decorate your shapes for a festive touch.
Royal Icing
  1. Lightly whisk eggwhite and lemon juice together in a bowl. Gradually add icing sugar, whisking until smooth and combined.
Notes
Divide your icing adding a few drops of colouring if you wish to decorate your gingerbread with a few colours!


Blueberry and Lemon Loaves

Now for those of you who have seen our recipe for Blueberry and Lemon cupcakes, this is not a repost. It is just a fact we love the combination of blueberries and lemon together! We love them so much we bought a dwarf lemon tree and also a blueberry bush the other weekend. These Blueberry and Lemon Loaves are just so easy and tasty you have to give them a try.

It is currently blueberry season in Australia and at the moment and we cannot resist the punnets when we are at the shops or markets. As a result, we have ended up with an abundance of blueberries in the fridge! For those of you who know Brooke is a fan of all things lemon, there are always a couple of lemons in the fruit bowl as well making this simple recipe a perfect treat to make on a lazy weekend.

This recipe is courtesy of Live Well Bake Often and is made as one loaf. However, due to time restrictions, we decided to make this into 8 small loaves, which for the two of us works perfectly for a snack to take to work during the week.

Blueberry and lemon loavesBlueberry and lemon loaves recipesBlueberry and lemon loavesBlueberry and lemon cake recipeBlueberry and lemon loavesBlueberry and lemon loaves recipe

Tasty Blueberry and Lemon Loaves – Recipe Instructions

Blueberry and Lemon Loaves
 
Prep time
Cook time
Total time
 
Blueberry and Lemon Loaves perfect for a snack to take to work during the week.
Author:
Recipe type: Dessert
Cuisine: American
Serves: 8
Ingredients
  • 2 cups all-purpose flour + 1 tablespoon, divided
  • 2 tsp. baking powder
  • ½ tsp. salt
  • ½ cup. vegetable oil
  • 2 tsp. vanilla extract
  • 2 eggs
  • 1 cup granulated sugar
  • 1 cup plain greek yogurt (or sour cream)
  • Zest & juice of 1 lemon
  • 1 cup blueberries
  • Lemon Glaze
  • ¾ cup icing sugar
  • 1-2 tablespoons fresh lemon juice
Instructions
  1. Preheat oven to 180°C. Spray a 9x5 loaf pan or small 8 loaf tin with cooking spray and set aside.
  2. In a small bowl, toss the blueberries with 1 tablespoon of the flour and set aside (this helps to prevent the blueberries from sinking).
  3. In a large bowl, whisk together 2 cups of flour, baking powder, and salt. Set aside.
  4. In a separate bowl, mix together the oil, vanilla, eggs, sugar, greek yogurt, lemon zest, and lemon juice.
  5. Combine the wet and dry ingredients, just until smooth. Do not overmix or your bread will come out tough.
  6. Lightly fold the blueberries into the batter.
  7. Pour batter into prepared loaf pan and bake for 15- 20 minutes. The loaves will be finished when a skewer inserted into the center comes out clean.
  8. Once loaves are finished, remove from oven and allow to cool for about 10 minutes in the baking tin. Remove from baking tin and transfer to a wire rack to cool completely.
  9. Once loaves are cool, whisk together the icing sugar and lemon juice. Start with half the lemon juice and whisk well. If your mixture is too thick, slowly add the rest of the juice.
  10. Using a spoon, drizzle the glaze on top of your loaves. The glaze should harden up a little more after about 15-20 minutes


Ginger Nut Biscuits

For as long as I can remember my family have been buying ginger nut biscuits. The traditional flavour and tough texture which can withstand a dunking into liquid helped this classic withstand the test of time. While I’m not claiming this recipe is healthy I have recently read about the health benefits of ginger so we have been trying to incorporate it into more and more recipes.

The ginger nut biscuit or ginger snaps as they are often referred to in the U.S. are  simple biscuits flavoured with powdered ginger and usually a variety of other spices, most commonly cinnamon, molasses and nutmeg. They’re fairly spicy biscuits, but the taste develops in your mouth, ending with a wonderful ginger taste. When Brooke makes these biscuits, she uses cinnamon to enhance the spicy flavour, as she is also rather partial to Speculaas, a Dutch spiced shortcrust biscuit.

When baking the biscuits you want them to be a rich golden brown. Cooking for 15 – 20 minutes will leave you with biscuits that are a lovely balance between snap and chew, rather than “teeth-breaking”, like so many store-bought ones. The golden syrup also helps give the biscuit its texture.

The simple ingredients and easy steps make these biscuits the perfect treat to make on a cold winters day to have with a cuppa. Plus your house will smell amazing!

If you love this ginger nut biscuit recipe then be sure to check out our recipes for florentine biscuits, oatmeal raisin cookies, melting moments with jam.

Ginger Nut BiscuitsGinger Nut Biscuits RecipeGinger Nut BiscuitsGinger Nut Biscuits

Ginger nut biscuits – Recipe Instructions

Ginger Nut Biscuits
 
Prep time
Cook time
Total time
 
The Ginger Nut or Ginger Snap as it is often referred to in the U.S. is a simple biscuit flavoured with powdered ginger.
Author:
Recipe type: Dessert
Cuisine: English
Serves: 24
Ingredients
  • 150g butter
  • 250 g sugar
  • 1 tablespoon golden syrup
  • 1 egg
  • 250g flour
  • 1 teaspoon baking powder
  • ½ teaspoon baking soda
  • 4 teaspoon ground ginger
  • 1 teaspoon cinnamon
Instructions
  1. Preheat the oven to 180ºC.
  2. Mix together butter and sugar until pale and creamy.
  3. Mix in golden syrup, egg and combined dry ingredients.
  4. Roll into balls, roughly 1 heaped tablespoon and place on lined baking trays allowing enough room for biscuits to spread. Do not flatten.
  5. Bake for 15 to 20 minutes until rich golden brown.

Oatmeal and Raisin Cookies

I don’t know why, but this weekend I had a sudden urge for oatmeal and raisin cookies. I know these aren’t exactly the most exciting cookies, mainly because they don’t contain delicious chocolate bars like tasty snickers cookies. However, these thick and chewy old fashioned goodies are delicious and perfect with a cup of tea or coffee.

Whilst writing this post I was trying to find the right words to describe these cookies, so I thought some extra taste testing would help – these cookies are thick and chewy from the traditional oats, spicy from the cinnamon, crunchy from the walnuts and sweet from the brown sugar and raisins.

To add an extra crunch to these cookies, Brooke added some chopped walnuts, which she quickly toasted before adding to the mixture. However, you could easily substitute the walnuts with some choc chips or dried apple for anyone who doesn’t like walnuts or has an allergy.

To ensure you have nice thick and chewy cookies you need to use traditional rolled oats, not quick oats and also leave your dough to chill for around one hour. Once your dough has chilled, you can bake your cookies for 13 to 15 minutes in a moderate oven till your house has filled with delicious cinnamon aromas! Be careful not to over bake your cookies as they will end up more crunchy then chewy!

Looking for other recipes for cookies and biscuits Easy Afghan Biscuit Recipe, Florentine Biscuits, Ginger Nut Biscuits, Melting Moments with Jam, Choc Chip Snickers Cookies.

Oatmeal and raisin cookie ingredientsOatmeal and Raisin CookiesOatmeal and Raisin Cookie IngredientsOatmeal and Raisin Cookies RecipesOatmeal and Raisin Cookies

Tasty Oatmeal and Raisin Cookies – Recipe Instructions

Oatmeal and Raisin Cookies
 
Prep time
Cook time
Total time
 
These oatmeal and raisin cookies are thick and chewy from the traditional oats, spicy from the cinnamon, crunchy from the walnuts and sweet from the brown sugar and raisins.
Author:
Recipe type: Cookies
Cuisine: American
Serves: 18
Ingredients
  • 115 g butter
  • 125 g brown sugar
  • 
1 egg
  • ½ tsp vanilla
  • 95 g plain flour
  • ½ tsp baking soda
  • 1 tsp ground cinnamon
  • 
1/2 tsp salt
  • 120 g rolled oats
  • 120 g raisins
  • 65 g walnuts, chopped (toasted optional)
Instructions
  1. Cream butter and brown sugar. Mix in egg, and vanilla.
  2. In another bowl, mix together flour, baking soda, cinnamon, and salt.
  3. Stir butter mixture into the dry ingredients. Stir in the oats, raisins and walnuts. Allow dough to chill for around an hour.
  4. Preheat oven to 180°C. Scoop large tablespoons of dough, and portion onto lined baking trays. Roll dough with your hand and flatten a little bit.
  5. Bake for 13-15 minutes or until the edges are golden, but the centers look a bit underdone. Overbaking them will result in less chewy cookies.