Apple and Rhubarb Crumble

Last Updated on June 10, 2017 by Grab Your Spork

After another cold and wet week here in Perth, I am sure I am not the only one who is wishing for clear blue skies and warm days again. If the Sticky Date and Banana Loaves weren’t enough of a winter indulgence last week, how about a humble Apple and Rhubarb Crumble?

I love apple crumble and when rhubarb is in season, its vibrant colour, and tartness is a great accompaniment to sweet dishes such as tarts, cakes and classic crumbles. After a quick trip to the markets, we managed to nab the last bunch of beautiful rhubarb for our crumble.

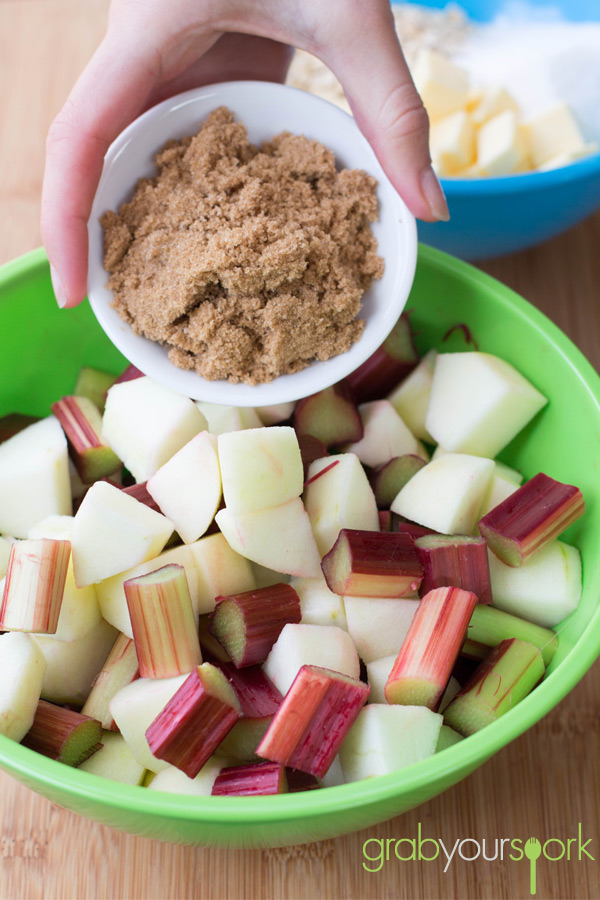
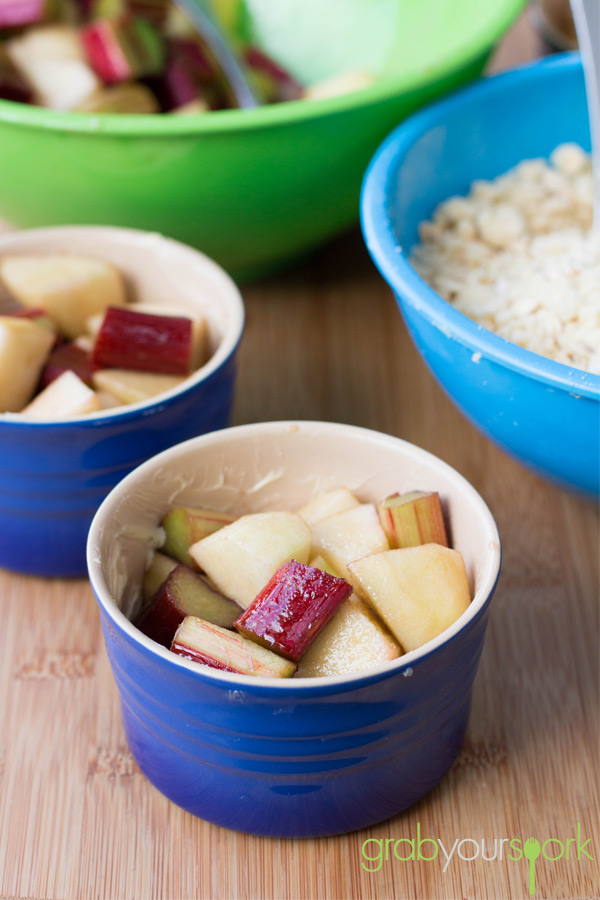
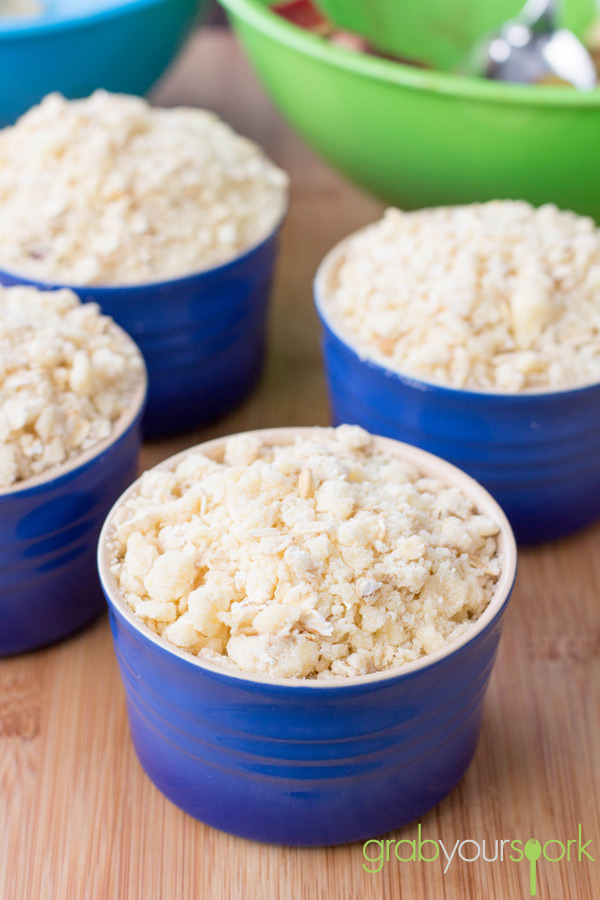
After chopping the apples and rhubarb into rather large chunks, Brooke simply added a little brown sugar to the fruit then made a basic crumble using butter, caster sugar, plain flour and some rolled oats. Within a couple of minutes the crumbles are prepared and ready to be cooked in a moderate oven.

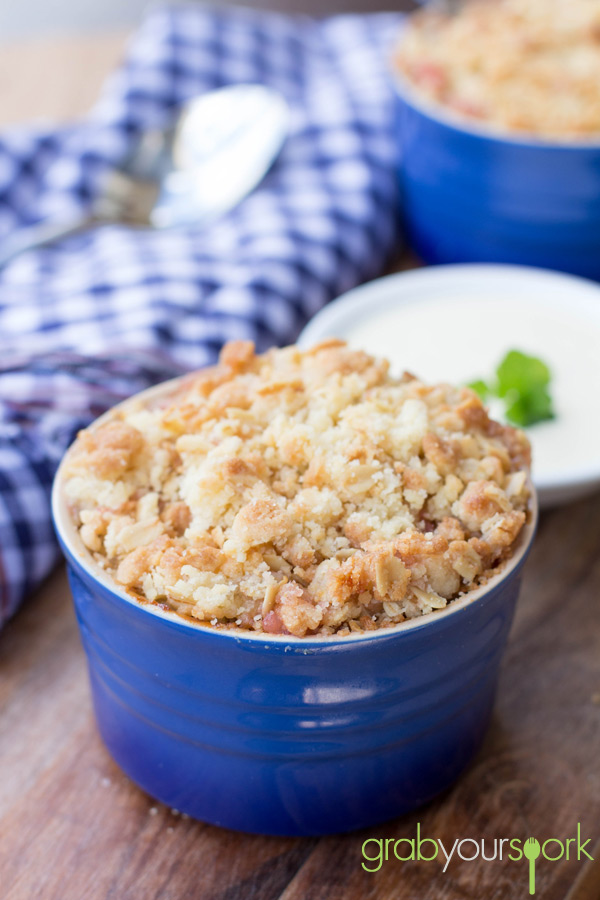
Once the crumbles are golden brown on the top they are ready to be served. Of course these will be very hot when they come out the oven so to serve we had some fresh thickened cream, or some custard or ice cream would definitely be an excellent addition!

Looking for other fruit-based desserts then check out our Fruit and Custard Tart Recipe or Lemon and Blueberry Loaves.
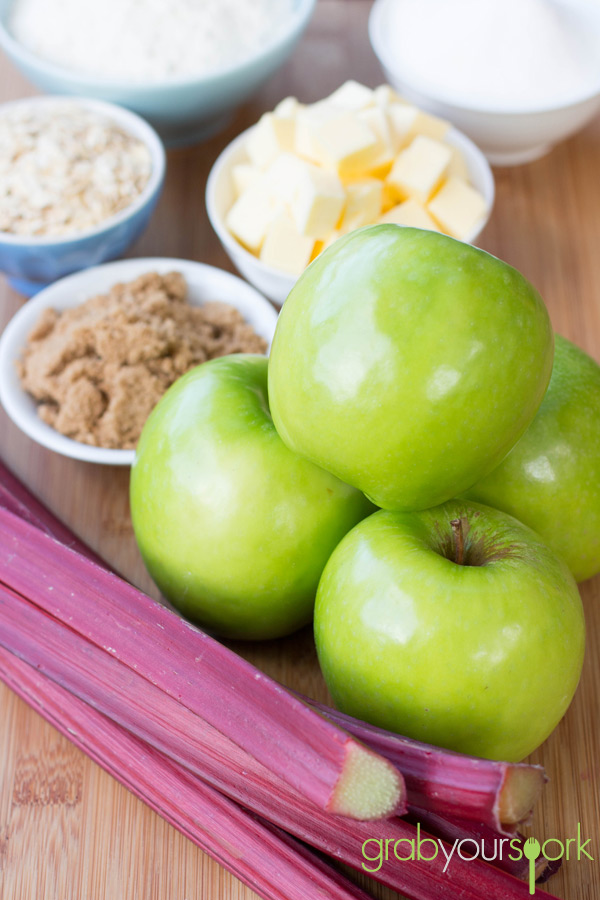
Apple and Rhubarb Crumble Ingredients

Apple and Rhubarb Crumble Mixture

Mini Apple and Rhubarb Crumble

Apple and Rhubarb Crumble Recipe

Apple and Rhubarb Crumble Recipe

Tasty Apple and Rhubarb Crumble – Recipe Instructions

Apple and Rhubarb Crumble
 
Prep time
Cook time
Total time
 
The ultimate in winter indulgence. A humble Apple and Rhubarb Crumble served with fresh thickened cream.
Author:
Recipe type: Dessert
Cuisine: British
Serves: 4
Ingredients
  • 4 larges green apples, peeled and chopped
  • 1 bunch of rhubarb, approx. 5 stalks, chopped
  • 2 tbsp brown sugar
  • 1 cup plain flour
  • ½ cup rolled oats
  • 75g caster sugar
  • 125g butter, at room temperature
Instructions
  1. Preheat the oven to 180°C. Lightly grease 4 ramekins or a large baking dish.
  2. Place the prepared apples and rhubarb in a bowl and stir through brown sugar.
  3. Place the flour, butter, caster sugar and oats in a medium bowl. Use your fingers or a fork, rub in the butter until well combined and large crumbs form.
  4. Spoon the fruit into the prepared dishes, sprinkle the crumble topping evenly over the fruit. Bake for 15 to 20 minutes or until golden and bubbling.
  5. Serve with cream, ice cream or custard.
 

Sticky Date and Banana Loaves

Last Updated on June 19, 2017 by Grab Your Spork

Why is it that as soon as the weather gets cold, we instantly want some yummy comfort food? Well, this last week in Perth the weather during the day has been beautiful, but the temperature has definitely dropped making us crave some serious comfort food. That’s where this recipe for sticky date and banana loaves comes in.

What’s not more comforting than a sticky date pudding? It’s such a rich, fluffy pudding and when topped with some delicious salted caramel sauce hits the nail on the head for ultimate indulgence.

For our recipe, we added some banana for extra texture and flavour to the traditional recipe.  I like this combination as the two flavours really complement one another and I find it breaks up each mouthful – one full of dates one full of banana or both!

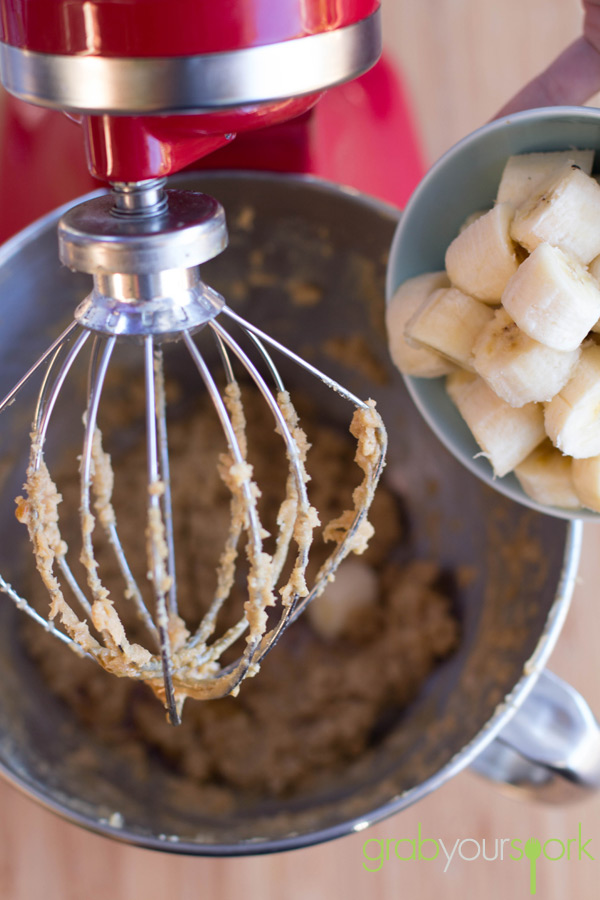
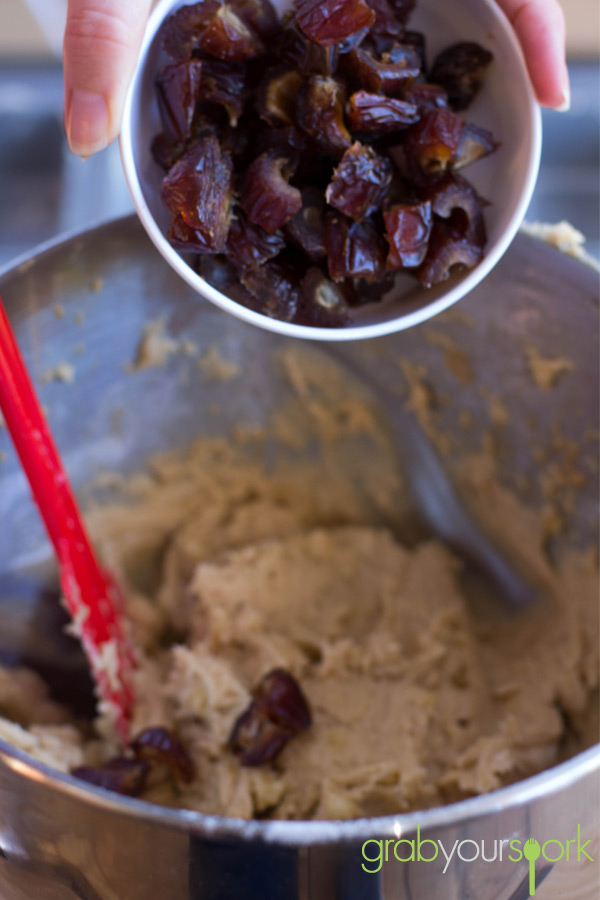
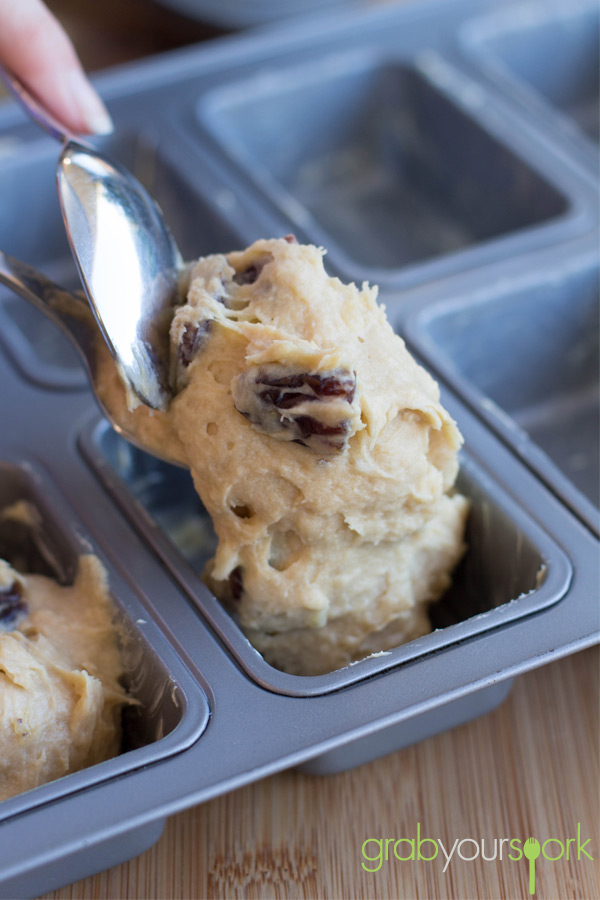
When making the mixture, rather than mashing the banana through the mixture Brooke leaves the banana in chunks to help leave pieces of banana throughout the cake. Then lastly stirs through the chopped dates and you’ve got yourself the perfect mixture for sticky date and banana loaves.

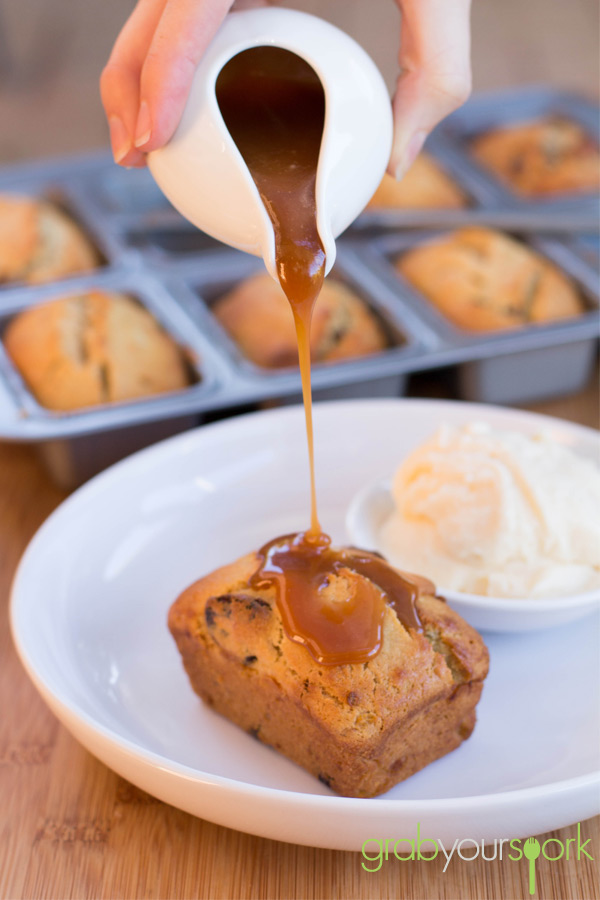
To serve we made a simple salted caramel sauce which was featured with our French Apple Cake. Serve your sticky date and banana loaves warm with some vanilla ice cream and the ooey gooey sauce this recipe will definitely satisfy your cravings this winter.

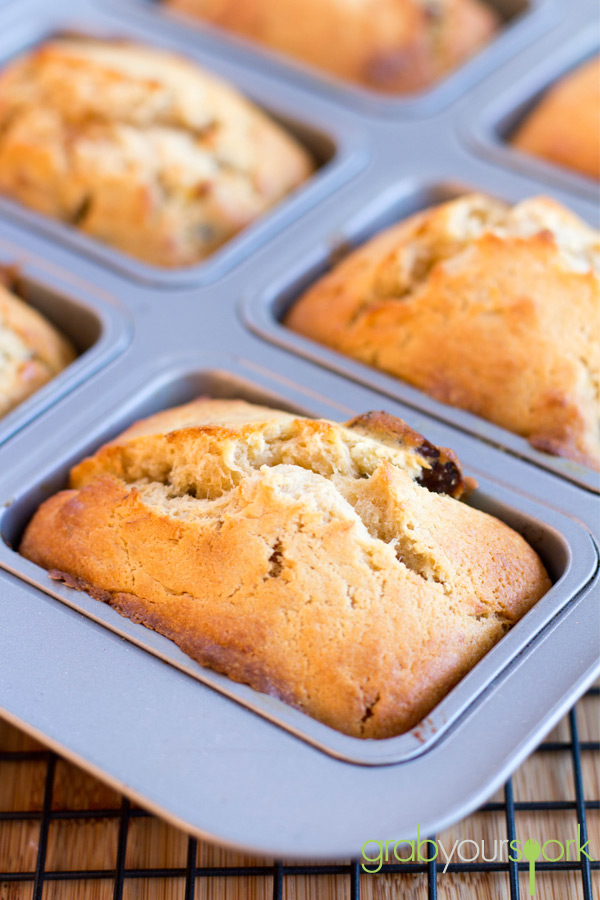
Sticky date and banana loaves

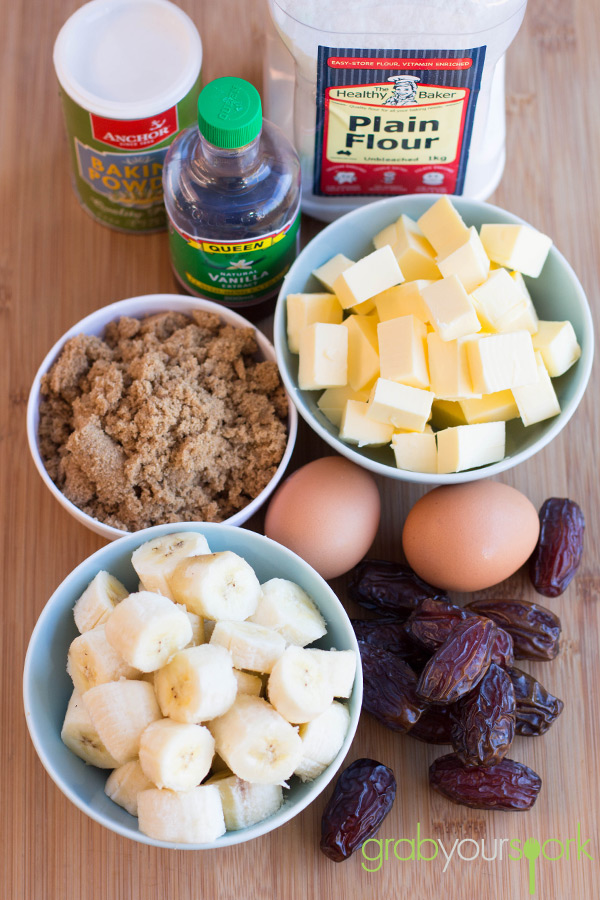
Sticky date and banana loaves ingredients

Sticky date and banana loaves recipe

Sticky date and banana loaves

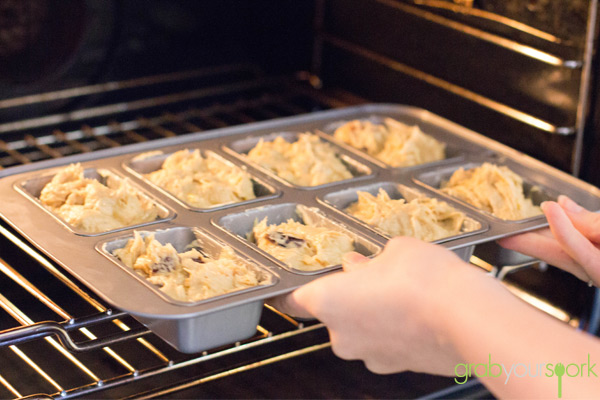
Sticky date and banana loaves in oven

Sticky date and banana loaves

Sticky date and banana loaves recipe

Mini Sticky Date and Banana Loaves – Recipe Instructions

Sticky Date and Banana Loaves
 
Prep time
Cook time
Total time
 
Sticky date and banana loaves topped with some delicious salted caramel sauce.
Author:
Recipe type: Dessert
Cuisine: Australian
Serves: 12
Ingredients
  • 2 Cups Plain Flour, sifted
  • 1 ½ Tsp baking powder, sifted
  • ¾ Cup butter, at room temperature
  • ½ Cup brown sugar
  • 2 Eggs
  • 4 Ripe bananas, chopped
  • 1 ½Ttsp vanilla extract
  • ½ Cup dates, chopped
  • 1 cup salted caramel sauce, or other caramel sauce to top
Instructions
  1. Preheat oven to 175°C. Grease and flour an 8 loaf tin or 12-cake cupcake tin.
  2. Beat butter and brown sugar until fluffy. Add eggs, one at at time. Add bananas and vanilla and mix until blended.
  3. Slowly mix in flour and baking powder, until just incorporated. Stir in chopped dates.
  4. Divide batter equally among cups and bake for 20-22 mins, or until lightly golden on top. While cakes are baking, prepare caramel sauce.
  5. Serve cakes warm with ice cream and salted caramel sauce.


Toffee Apples

Last Updated on April 1, 2014 by Grab Your Spork

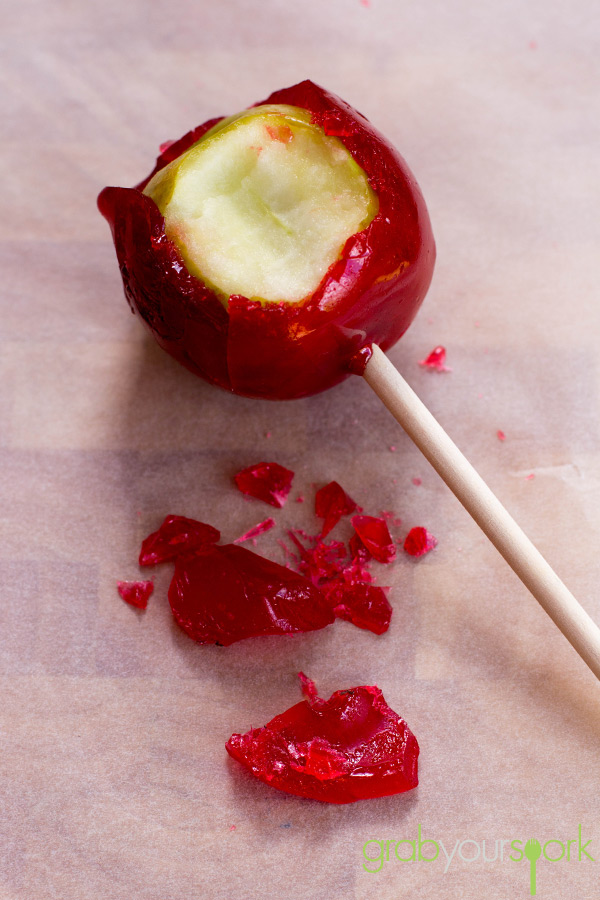
Toffee apples are one of those nostalgic foods, which seem to evoke memories of when you were young. For me I remember getting them from Coles and they came served with a lecture from mum about how they would make my teeth fall out from all the sugar.

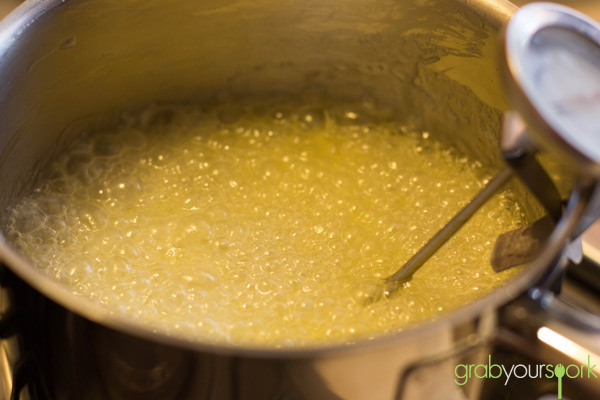
When making toffee apples do no be temped to lick the mixture off the spoon as I did, because you will burn your tongue, trust me. You definitely should not make these with kids around, as it might be a little dangerous. The other thing about making toffee apples is that you shouldn’t try and take photo’s along the way as you need to be spot on with your timing or the toffee will set on you early.

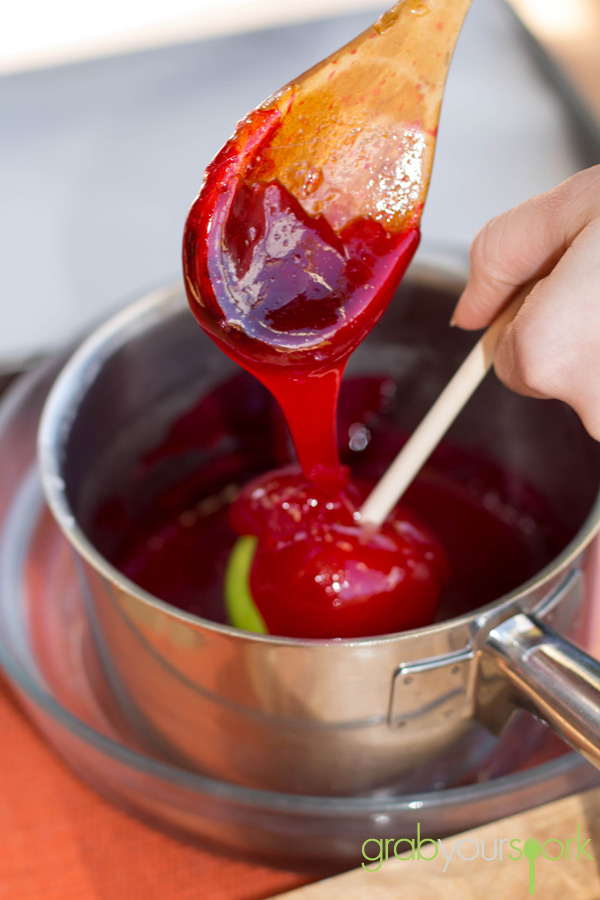
Toffee apples can be made any colour you like but we opted to go for traditional red for ours. Don’t be afraid to be more creative than we were with the colour palate for your toffee apples.

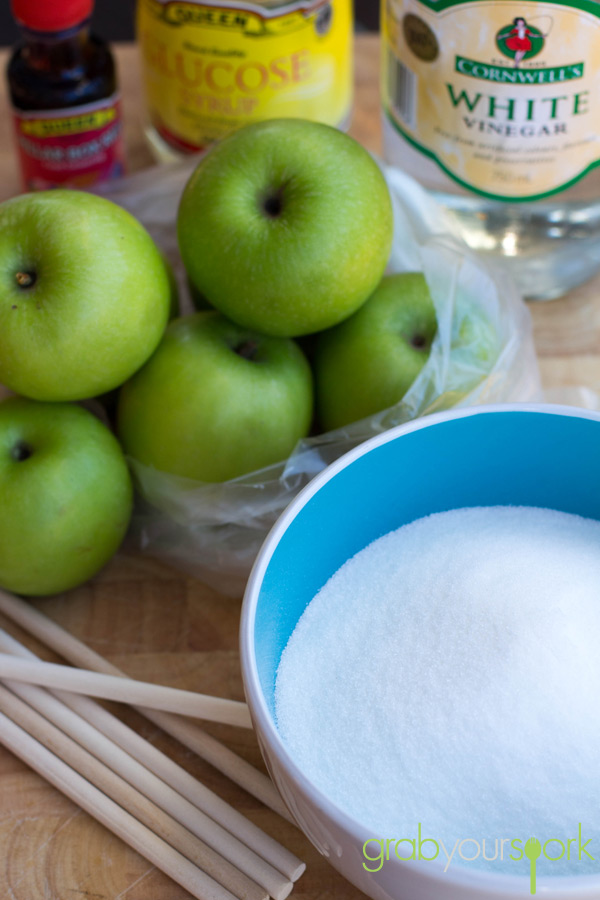
Toffee apples ingredients

Toffee apples recipe

Toffee

Toffee apples recipe

Toffee apples recipe

Toffee apples

Toffee Apples
 
Prep time
Cook time
Total time
 
Toffee apples recipe with just 5 ingredients. These sweet and sticky toffee apples will bring back childhood memories for sure.
Author:
Recipe type: Dessert
Cuisine: Australian
Serves: 6
Ingredients
  • 6 medium green apples, stalks removed
  • 3 cups caster sugar
  • ¼ cup liquid glucose
  • ¾ warm water
  • 1 teaspoon white vinegar
  • ½ teaspoon red food colouring
Instructions
  1. Line 2 large baking trays with baking paper.
  2. Wash apples in thoroughly in hot water to remove wax coating. Drying the apples thoroughly.
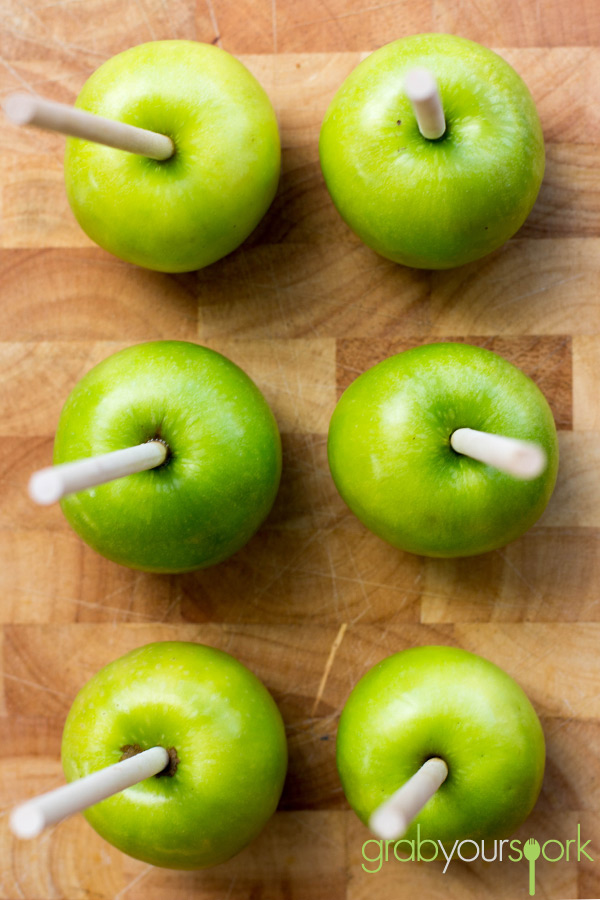
  3. Push 1 stick in top of each apple slowly avoid pushing all the way through.
  4. Place sugar, warm water, glucose and vinegar in a heavy-based saucepan over a low heat. Cook, stirring, for 5 to 6 minutes or until sugar has dissolved.
  5. Increase heat to medium-high and bring to the boil. Cook, without stirring, for 15 to 20 minutes or until toffee reaches hard crack stage, brushing sides of pan with a brush dipped in water to avoid crystallisation.
  6. Remove from heat. Tint with food colouring. Stand for 30 seconds for bubbles to subside slightly.
  7. Working quickly, dip apples one at a time into toffee, tilting pan to coat. Turn apple above pan to drain excess toffee.
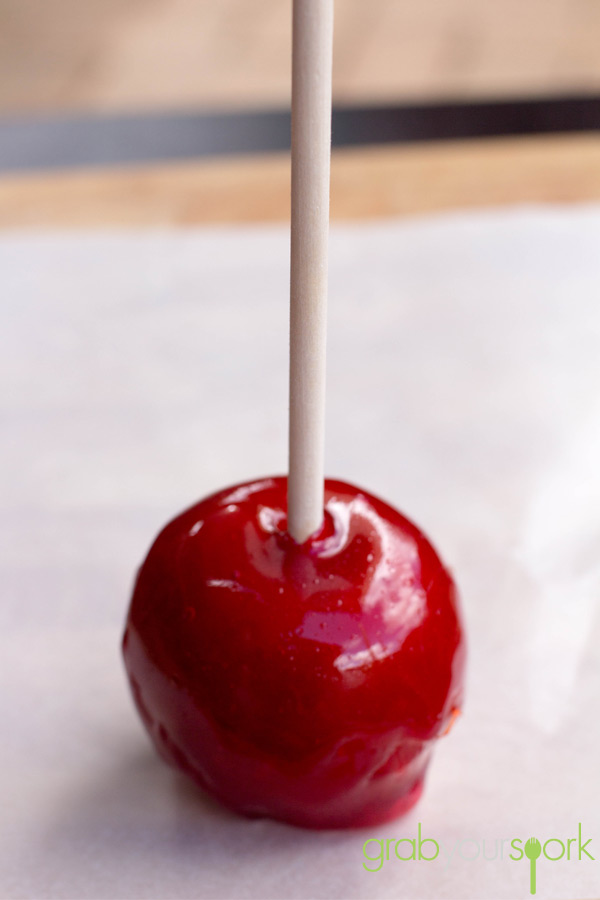
  8. Stand apple on prepared tray.
  9. Repeat with remaining apples and toffee. Stand for 20 minutes or until set.


Hot jam doughnuts recipe

Last Updated on November 25, 2018 by Grab Your Spork

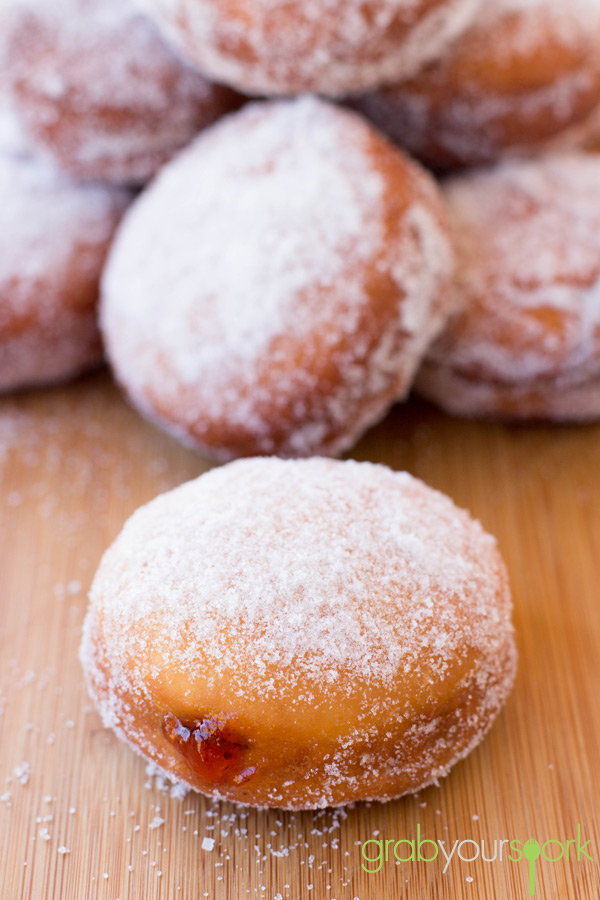
Whenever we are within close proximity to a bakery I must get a hot jam doughnut! Seriously no matter what time of day it is, it is always time for a jam doughnut. What’s not to love about them? They are deep fried balls of sweet doughy goodness, coated in sugar and filled with delicious jam. This homemade hot jam doughnuts recipe will have you making these finger licking sugary treats at home instead of buying them from the bakery!

Last weekend while we were cooking up a storm we added this hot jam doughnuts recipe into the mix. However, is it easier to go out to the shops and buy a doughnut? Yes. Do you end up with sugar throughout the house? Yes. Is it worth making your own doughnuts at home? Definitely yes! Brooke might not be as keen to make them again. As similar to the recent post on hot cross buns, there are a lot of steps and patience is key while letting the dough prove.

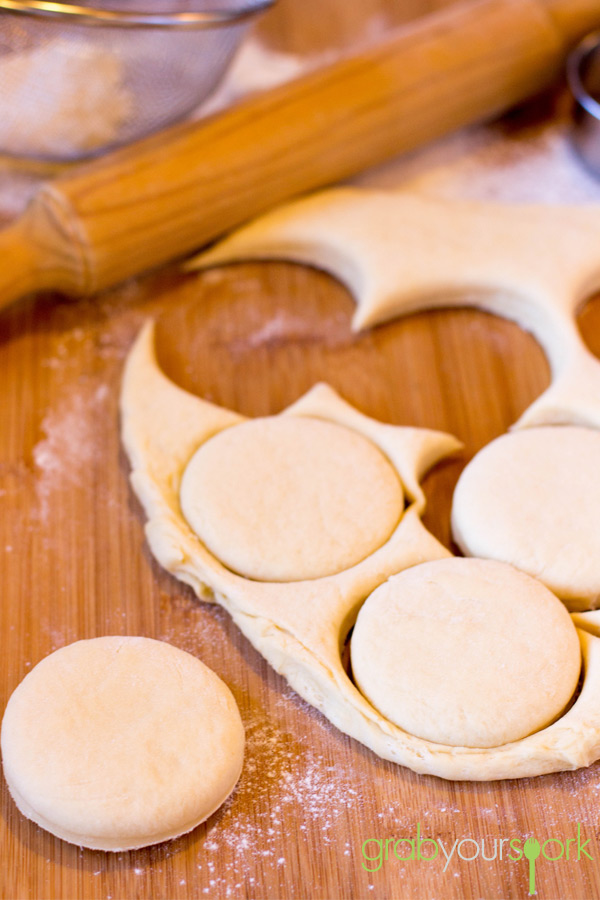
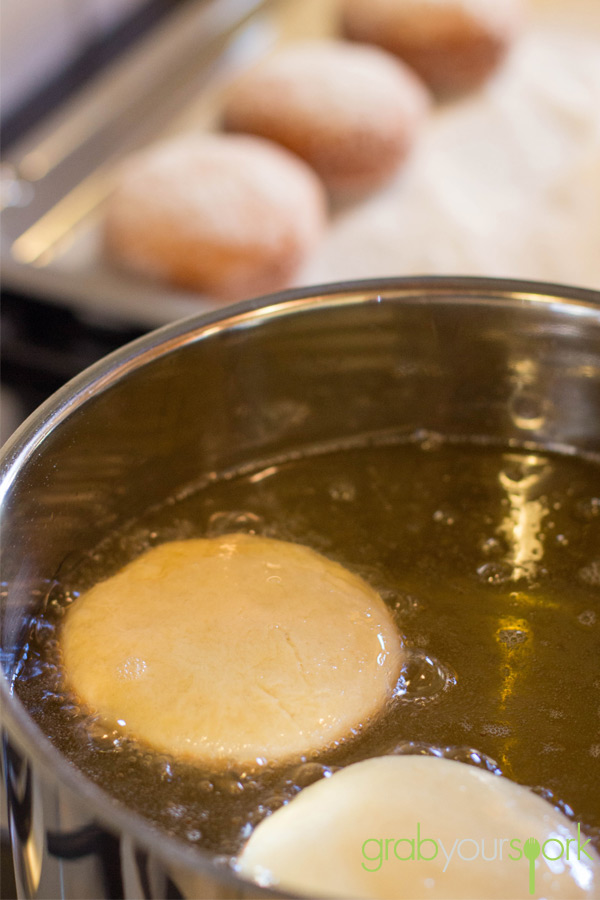
When making this recipe you need to be mindful of how thick you roll your dough. As you let your dough rise again once it is in circles, it will continue to rise and will puff up when you cook it in the oil. I would aim for around 2.5cm thick, as any thicker and your doughnuts won’t cook in the middle and be darker than necessary on the outside.

Once you have cooked your doughnuts evenly on both sides, drain excess oil and immediately roll in sugar. Allow to cool before filling with delicious jam. We used traditional strawberry this time (which needs to be strained before piping). However, you can fill with other flavoured jams, custards, chocolate or just simply add some cinnamon to the sugar and leave them plain.

I think my sugary grin showed how much I liked these!

If you like sweet treats then check out these our recipes for Chocolate mint fudgeNo bake Mars bar sliceor passionfruit marshmallows.

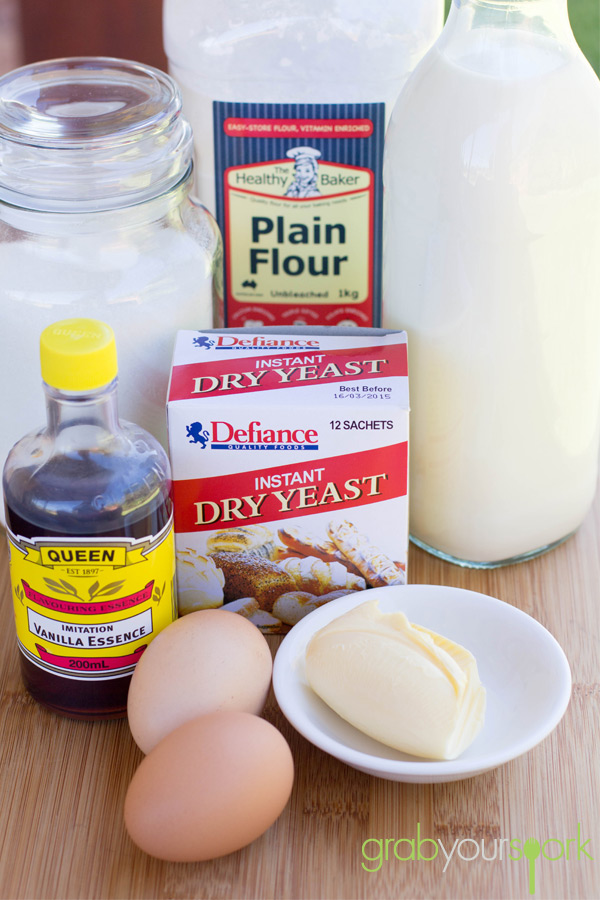
Jam Doughnuts Ingredients

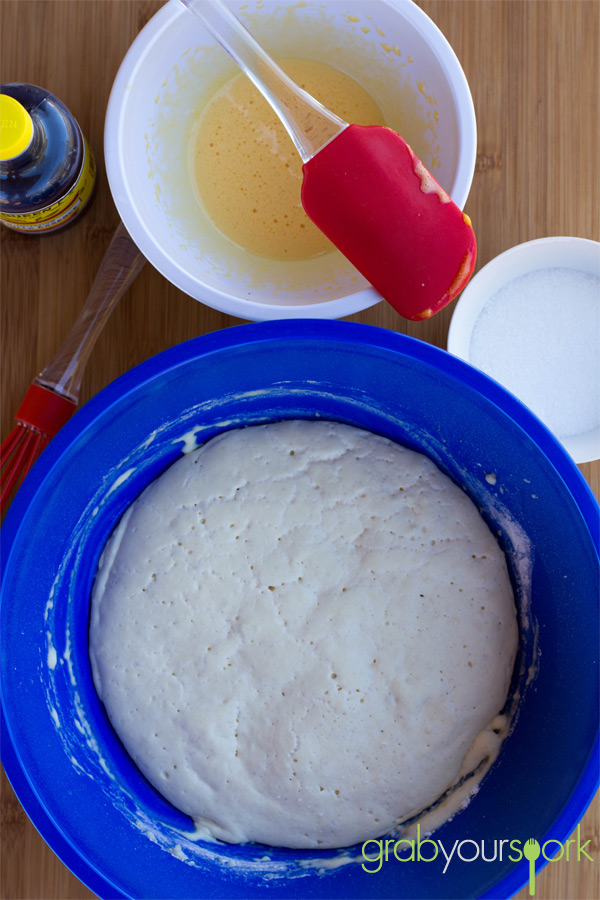
Jam Doughnuts Dough

Jam Doughnuts Balls

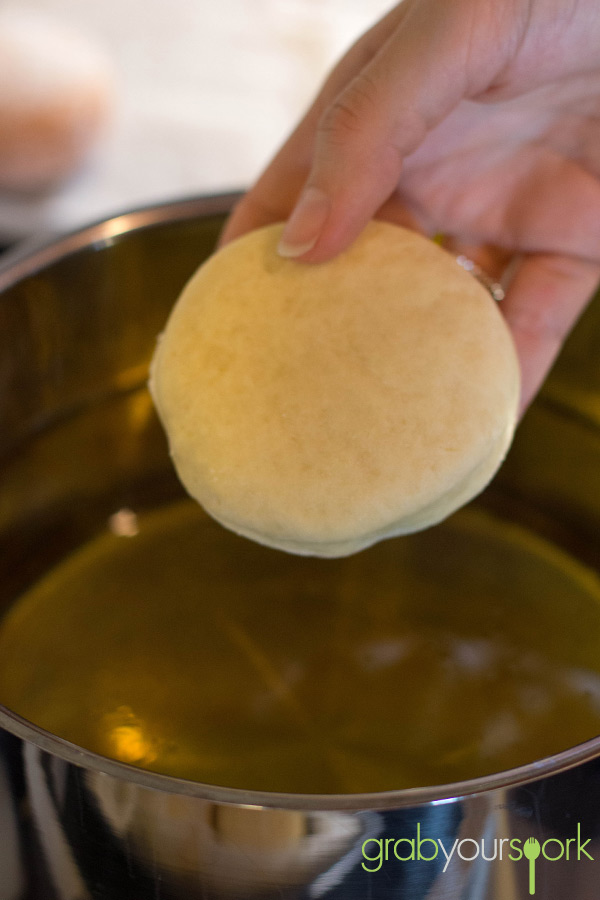
Fried Jam Doughnuts Recipe

 Hot jam doughnuts recipe

Jam Doughnuts Recipe

Homemade hot jam doughnuts – recipe instructions

5.0 from 1 reviews
Jam Doughnuts
 
Prep time
Cook time
Total time
 
Jam Doughnuts aka deep fried balls of sweet doughy goodness, coated in sugar and filled with delicious jam.
Author:
Recipe type: Dessert
Cuisine: American
Serves: 12
Ingredients
  • 1 pkg dry yeast 8 grams
  • 1 cup cooled whole milk
  • 2 large egg yolks
  • ¼ cup granulated white sugar
  • 2 Tbsp. melted butter
  • ½ tsp. vanilla
  • ½ tsp. salt
  • Approximately 3½ cups all-purpose flour
  • Vegetable Oil, for frying
  • White Granulated Sugar, for dusting after frying
  • Jam or custard, for filling (be sure to strained seeds from jam)
Instructions
  1. In a small saucepan, heat milk until steaming with small bubbles forming around the edges. Remove from heat and let cool to lukewarm.
  2. To activate the yeast, in a large bowl add the yeast and pour in the lukewarm milk. Let it stand for 5 minutes.
  3. Add 1 cup of flour. Mix together and let stand for 20 – 30 minutes, until really bubbly.
  4. Beat the yolks in a small bowl until they are light and fluffy.
  5. To the proofed yeast mixture, add the melted butter and sugar and mix.
  6. Add salt and vanilla. Add beaten egg yolks.
  7. Slowly add rest of the flour to bowl in ½ cup increments just until a very soft dough form that is moist but not sticky. Knead on the bench to ensure your dough is formed.
  8. Grease a clean bowl and add dough. Cover bowl with plastic wrap and let rise in warm place until doubled.
  9. Deflate dough and pat out onto floured cutting board. With a rolling pin, gently roll into a 2.5cm thick circle. Gently cut out circles with a biscuit cutter. Place onto a parchment lined baking sheet, cover and let rise until doubled (about 30 minutes).
  10. Heat a deep fat fryer to 190°C. Once the balls have doubled in size, carefully place them, one by one, into the fryer. Be mindful not to cook too many at a time as this well reduce the temperature of the oil.
  11. Once the underside is golden brown, use a slotted spoon to gently turn over. Continue to fry until evenly coloured.
  12. Remove doughtnuts to a cooling rack for about 30 seconds, then immediately roll in granulated sugar. Let stand until completely cooled.
  13. Once cooled, using a sharp knife, poke a hole on the side. Use a pastry bag with a large plain tip to pipe the jam or custard filling inside.
  14. These are best when freshly made, but you can freeze any extras.


Choc Mint Fudge

Last Updated on January 1, 2016 by Grab Your Spork

With Christmas just around the corner Brooke has been looking for inspiration for something new to make this year. After scrolling through Foodgawker and Pinterest she came across multiple recipes for choc mint fudge and this one is definitely a great find!

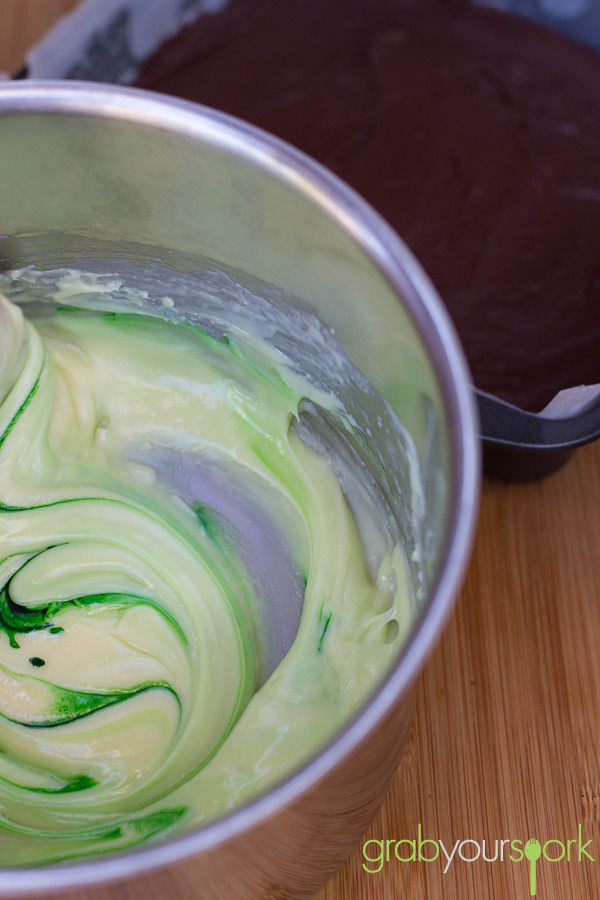
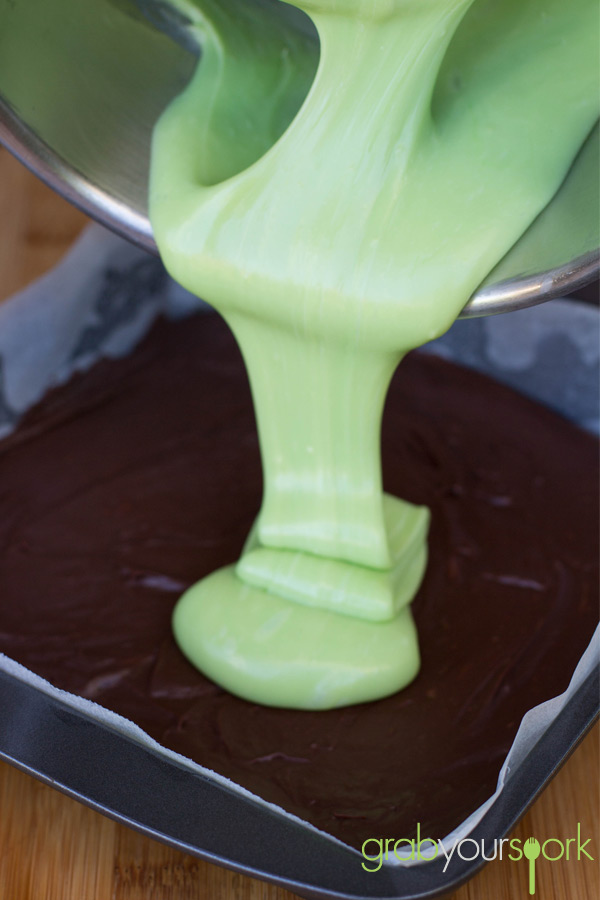
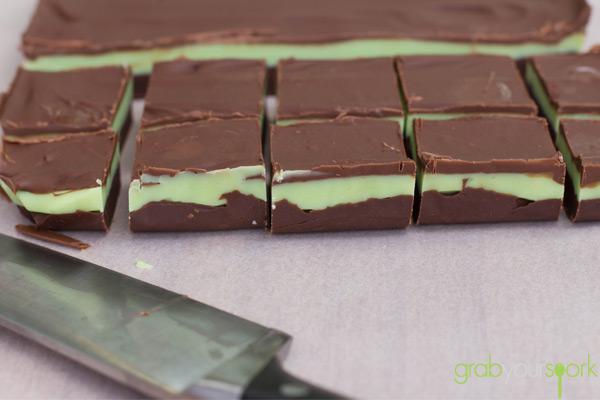
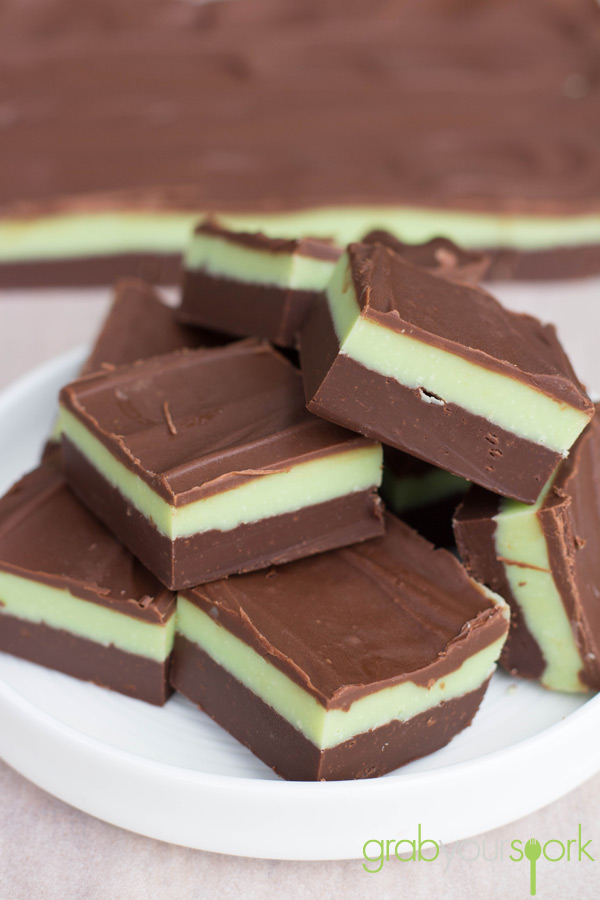
This easy recipe combines two dark chocolate layers encasing a white chocolate later flavoured with peppermint. The beauty of this recipe is that is doesn’t require any candy thermometer and is super quick to make – not taking into account the setting time of course.

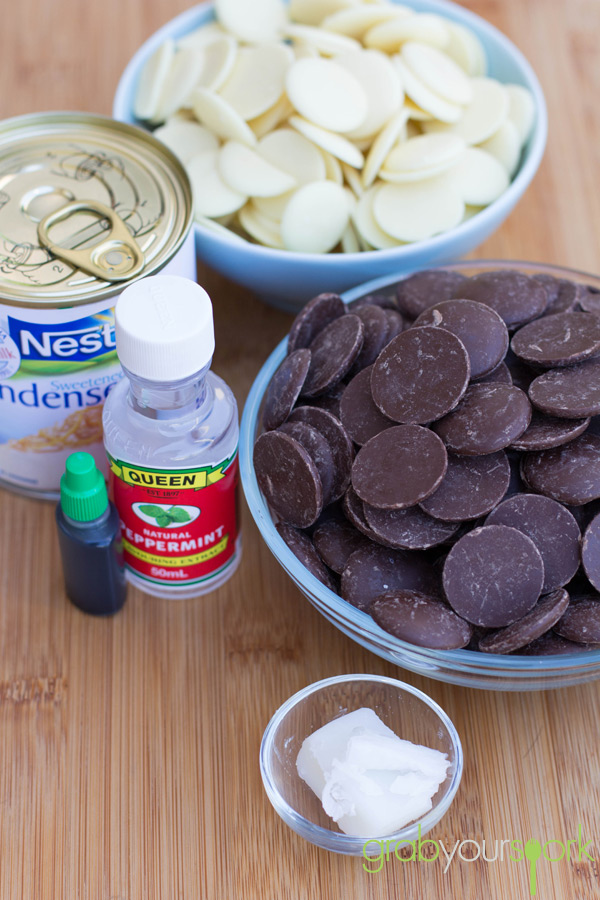
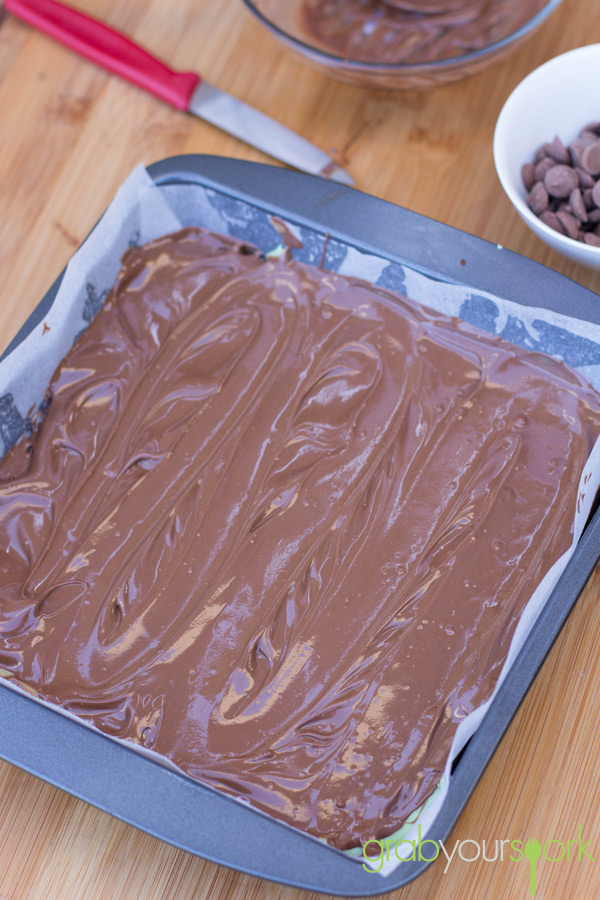
To make this recipe you will require a basketful of not so health ingredients – bitter sweet chocolate, white chocolate and condensed milk. Now normally I am not a huge fan of bitter chocolate, however combining it with the white chocolate layer it balances out the sweetness, so it is definitely worth it. To prepare you need to make each layer individually, and allow it to cool for 5 – 10 minutes before adding the next layer. Once all the layers are done, the fudge needs to be left to set for about 2 hours then it will be ready to devour!

The fudge can be kept in an airtight container in the fridge – however I don’t expect it to last long! This choc mint fudge is a great recipe to bring out after dinner, and definitely as a holiday treat.

If you like this recipe check out our other Dessert and Sweets recipes – like our recipes for Jam Doughnuts, Passionfruit Marshmallows or Apple and Rhubarb Crumble.

Choc Mint Fudge Ingredients

Choc Mint Fudge Green

Choc Mint Fudge Layers

Choc Mint Fudge

Choc Mint Fudge Slice

Choc Mint Fudge

5.0 from 1 reviews
Choc Mint Fudge
 
Prep time
Cook time
Total time
 
This delicious Choc Mint Fudge recipe combines two dark chocolate layers encasing a white chocolate layer flavoured with peppermint.
Author:
Recipe type: Dessert
Cuisine: American
Serves: 20
Ingredients
  • 2.5 cups semi-sweet chocolate chips (divided)
  • 395ml can sweetened condensed milk (divided)
  • 1.5 cups white baking chocolate chips
  • 1 teaspoon peppermint extract (or more, go by your taste preference)
  • 2 drops green food colouring
  • 1 teaspoon shortening
Instructions
  1. Line an 8x8 baking pan with baking paper.
  2. In a small saucepan over low heat, melt 1.5 cups chocolate with ¾ cup sweetened condensed milk, stirring occasionally. Spread melted chocolate mixture into pan and chill for 5-10 minutes.
  3. In another saucepan, melt white chocolate with remaining condensed milk, stirring until completely smooth. Remove from the heat and add peppermint extract and food colouring. Spread mint layer over chilled chocolate layer. Chill for 5-10 minutes as you make final layer.
  4. Melt remaining 1 cup chocolate with 1 tsp shortening in the microwave in 30 second increments. Stir until completely smooth. Spread over chilled mint layer
  5. Refrigerate for at least 2 hours or until fudge is completely set.
  6. Cut into squares. Store in an airtight container in the fridge up to two weeks.