Easy Afghan biscuit recipe

Last Updated on March 15, 2017 by Grab Your Spork

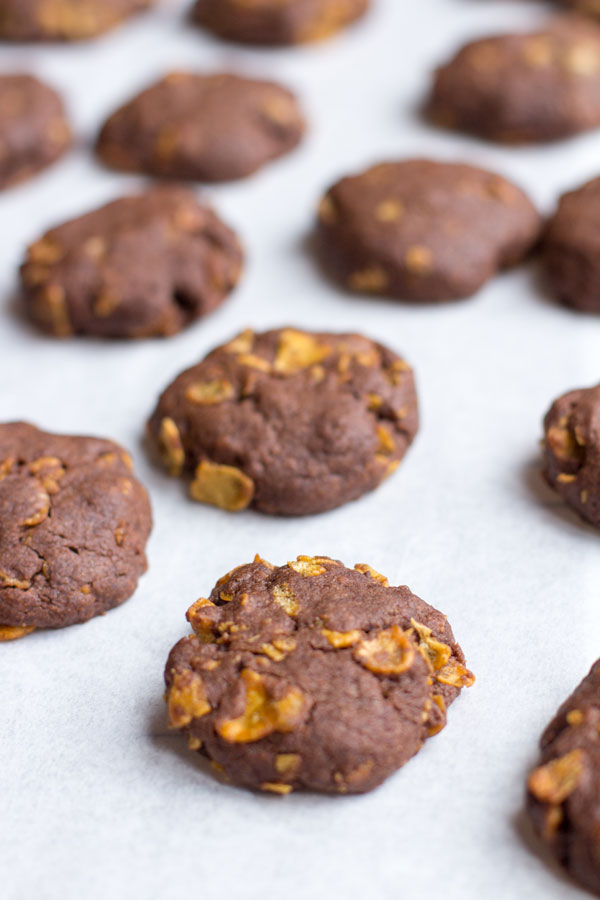
For those who love all things cookie; I’m looking at you cookie monster, you may already be familiar with Afghan biscuits or cookies to our American friends. If not, they’re a must try! These Afghan biscuits are creamy, nutty, chocolatey, crunchy and could be the definition of yum. They’re hit with both little kids and big kids alike.

The origin of the Afghan biscuit recipe and the derivation of the name are unknown, but the recipe has appeared in many editions of the influential New Zealand Edmonds Cookery Book. They’re surely one of the country’s greatest exports, second only to Richard Wilkins hair.

This recipe has a high proportion of butter, and relatively low sugar, no rising agent, giving them a soft, dense and rich texture, with crunchiness from the cornflakes, rather than from a high sugar content. The substantial butter used gives the biscuit a soft melt-in-the-mouth texture, and the sweetness of the icing offsets the low sugar content of the biscuit and the cocoa bitterness.

The simple ingredients and easy steps make these biscuits the perfect treat to make on a lazy Sunday to have with a cuppa. With the added bonus of many of the ingredients required being pantry staples why not give this Afghan biscuit recipe a try.

If you love this Afghan biscuit recipe then be sure to check out our recipes for florentine biscuits, oatmeal raisin cookies, melting moments with jam.
Easy Afghan biscuit recipe

New Zealand Afghan biscuit recipe

Easy Afghan biscuit recipe

Easy Afghan biscuit recipe

Easy Afghan biscuit recipe

Easy Afghan biscuit recipe
 
Prep time
Cook time
Total time
 
These afghan biscuits are creamy, nutty, chocolatey, crunchy and could be the definition of yum.
Author:
Recipe type: Dessert
Cuisine: New Zealand
Serves: 30
Ingredients
Biscuits
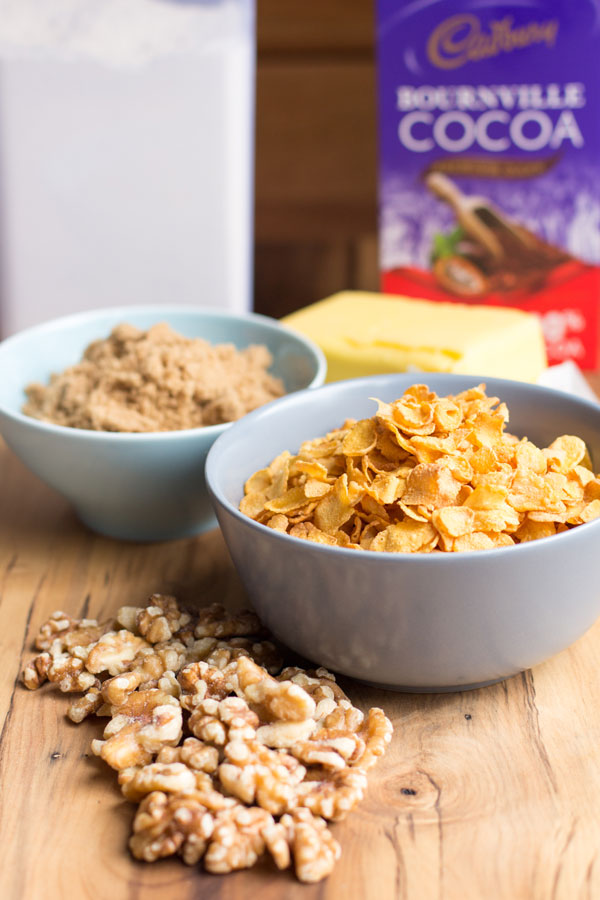
  • 250g butter softened
  • ¾ cup brown sugar
  • ¼ cup Cocoa powder
  • 1⅔ cups plain flour
  • 2½ cups cornflakes
  • Walnuts, to decorate
Chocolate icing
  • 1½ cups icing sugar mixture
  • 2 tablespoons cocoa powder
  • 2 tablespoons hot water
Instructions
  1. Preheat oven to 180C/160C fan-forced.
  2. Grease 2 large baking trays and line with baking paper.
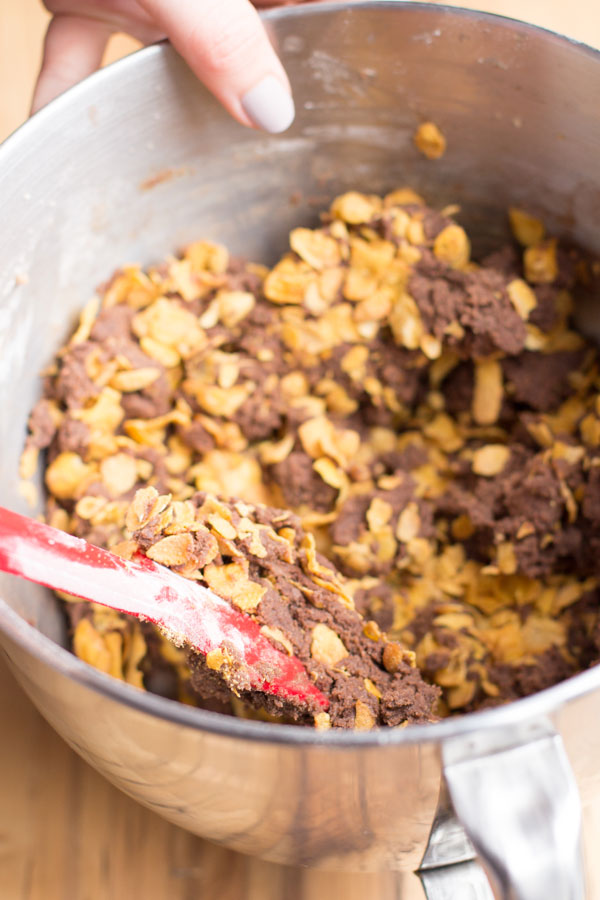
  3. Using an electric mixer, beat butter and sugar together until light and fluffy. Add cocoa and flour. Beat on low speed until combined. Stir in cornflakes. Roll level tablespoons of mixture into balls. Flatten slightly. Place onto prepared trays, 4cm apart, to allow room for spreading during cooking.
  4. Bake for 16 to 18 minutes or until just firm to the touch, swapping trays halfway through cooking. Cool completely on tray
  5. Make Chocolate icing: Sift the icing sugar and cocoa into a bowl. Gradually stir in enough hot water until the mixture is smooth and combined.
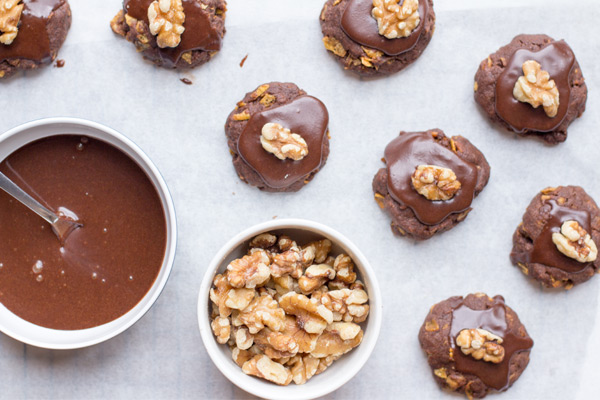
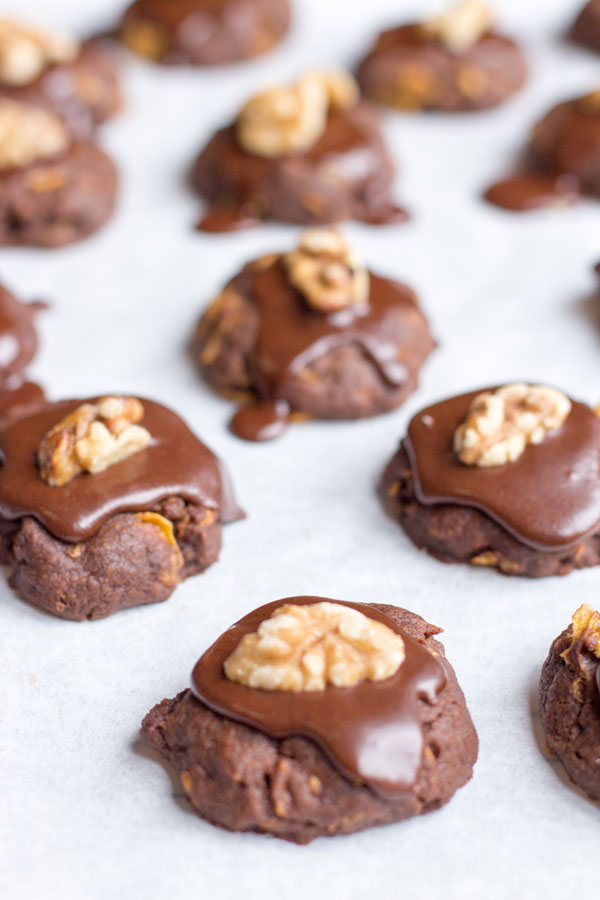
  6. Add a teaspoon of chocolate icing onto the tops of the biscuits, spreading slightly (see note). Decorate with walnuts. Set aside for 1 hour to set. Serve.

No bake Mars bar slice recipe

Last Updated on January 22, 2020 by Grab Your Spork

Warning this recipe is highly addictive! Proceed with caution… This ultra indulgent no bake Mars bar slice recipe is also dangerously tasty. The humble Mars bar slice has been a staple of Australian households for decades.

Do you love chocolate? Caramel? That memory of chocolate crackles at every birthday party you went to as a kid? Then this no bake Mars bar slice recipe is for you!

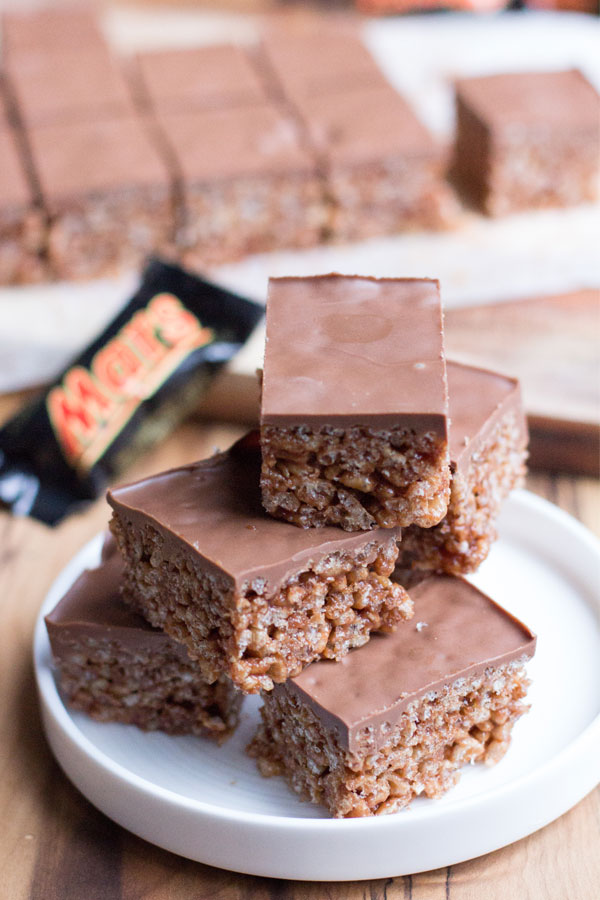
Mars bar slice is one of those recipes that has been around for years! In fact, the Mars bar first hit Australian shores in the late 1940’s, first being manufactured under licence by another company until Mars opened up their own manufacturing in Ballarat in 1979. No one really knows who created the original Mars bar slice, but one thing is for certain and that is its delicious. The ooey gooey melted mars bars, combined with rice bubbles and a chocolate icing set on top is not only a treat for the kiddies, it is also a treat for the adults!

If like me you’ve always wondered how to make Mars bar slice you will be pleased to know this recipe is so easy to make, requires only four ingredients and did I mention you don’t have to bake it? Perfect-o! This timeless favourite and crowd-pleasing treat is perfect for those time poor and perfect to make for parties or take along to functions. No doubt it will be a hit with all ages!

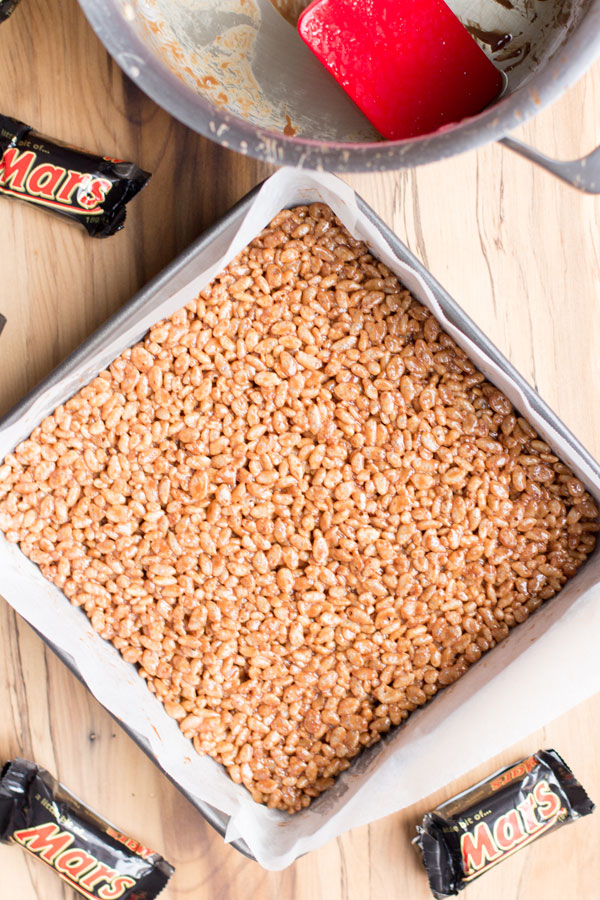
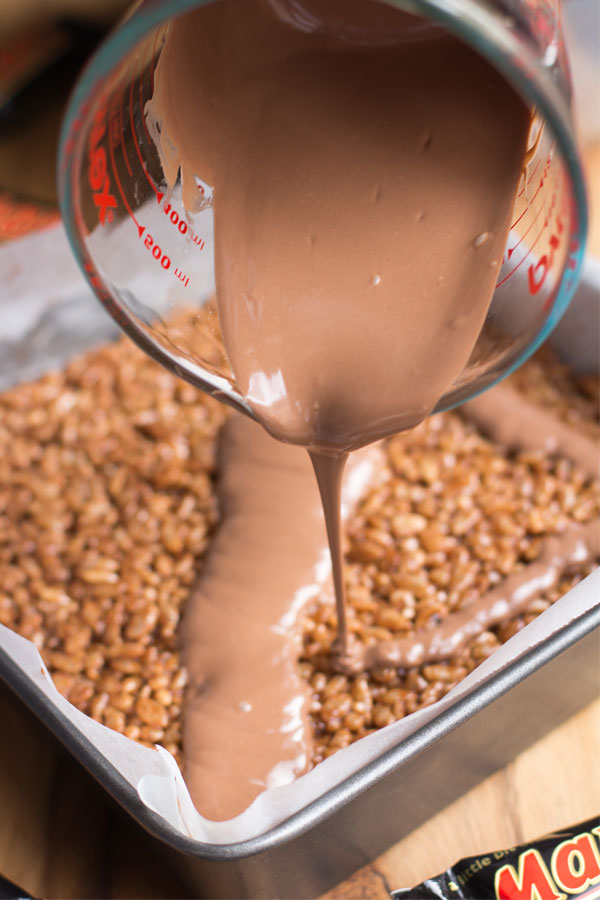
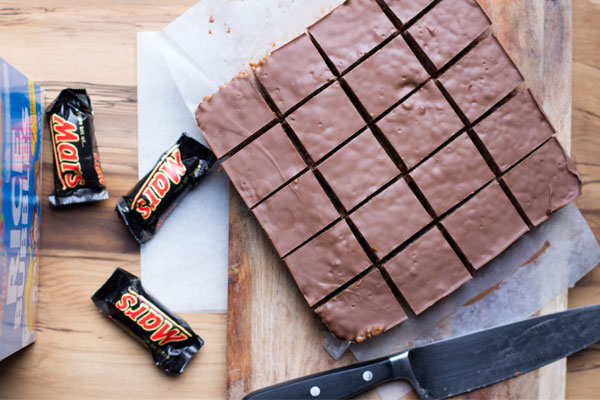
Simply melt the mars bars in a large pot with a little butter and add the rice bubbles. Filling a square tin with the mixture, top off with a simple Cadbury chocolate icing and allow to set in the fridge! Slice into bite sized pieces or a squares depending on your preference. Voila!

Note – it is encouraged you share the mars bar slice with friends, family or work colleagues otherwise you will end up eating it all if you have no control!

If you like sweet treats then check out these our recipes for chocolate mint fudge, passionfruit marshmallows, pecan slice, apple and rhubarb crumble, florentine biscuits or afghan biscuits.

No bake Mars bar slice recipe ingredients

No bake Mars bars slice recipe instructions

No bake mars bar slice recipe

Cadbury chocolate mars bar slice recipe

Sliced mars bar slice

No bake Mars bar slice recipe

Perfect Mars bar slice tips

Like all baking practice and precision with measurement makes perfect! There are many slight variations but follow these tips for the best Mars Bar Slice recipe.

Because this is a four ingredient Mars bar slice and there it is a no-bake slice it is a straightforward process but following these three tips will ensure it turns out perfect every time.

Use quality ingredients

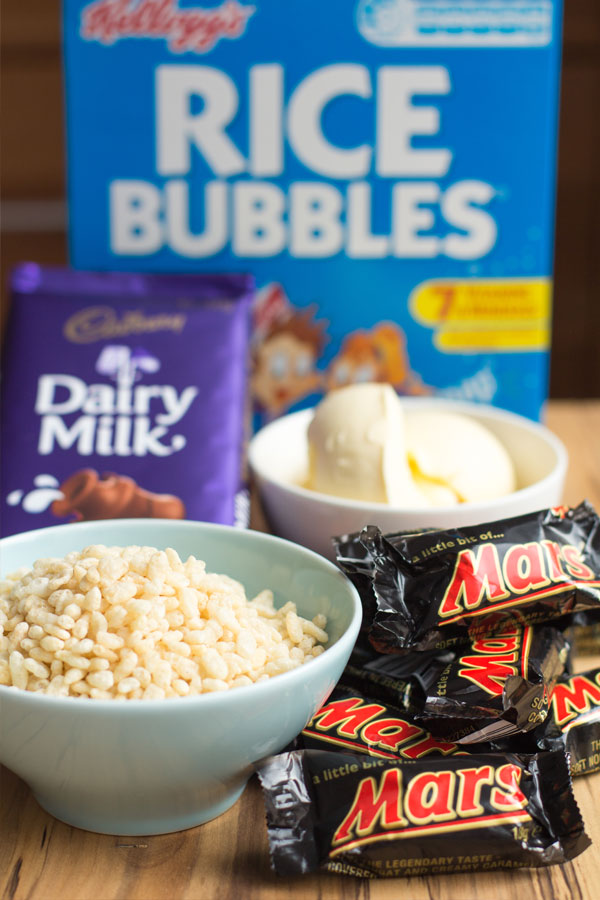
There are only four ingredients, so use the best. Cadbury milk chocolate, real Mars Bars (none of this Moro bar rubbish), Kellogg’s rice bubbles, and quality butter.

Whisk to ensure a super smooth melted mixture

When melting the butter, Mars Bars together over heat, the mixture can be clumpy. Use a whisk to stir the mixture at the end of the melting process for a super smooth result every time.

Use the back of a spoon for an even finish

After pressing the mixture into the tray, use the back of a spoon to flatten the slice evenly on top before putting in the refrigerator to set.

Mars bar slice recipe FAQs

Q. Why does it taste so good?

The combo of rice bubbles combined with melted Mars Bars and butter… all topped with a layer of chocolate creates the perfect combination of flavour and texture. It’s sweet, crunchy airy and soft all at once making it the perfect comfort food.

Q. How many Mars Bars do you need for the slice?

You need 195g of Mars bars which equates to roughly four 53g mars bars or 11 bite size mars bars depending on the region you live in. If you are a Mars Bar lover, it might pay to buy them on the day you plan to make the slice.

Q. How should you store Mars bar slice?

At room temperature is better than refrigeration when it comes to retaining the quality of the flavour. The best way to store them is to line an air tight container with kitchen paper, and place them on top, if you have two layers worth then add another sheet of baking paper in between before seeling the lid. However, if it is hot in your house then best store it in the fridge. It will last at least a week stored in an airtight container in the fridge.

Q. Can you freeze Mars Bar slice?

You could, and I imagine it would be okay for at least month. Because Mars bar slice is so damn tasty I can’t imagine ever needing to freeze it.

Q. How long does Mars Bar Slice last?

If it lasts more than a few days, then you obviously have more will power than us.

No bake Mars bar slice recipe instructions

5.0 from 1 reviews
No bake Mars bar slice recipe
 
Prep time
Cook time
Total time
 
Mars bar slice recipe the ooey gooey melted mars bars, combined with rice bubbles and a chocolate icing set on top is not only a treat for the kiddies, and is also a treat for the adults!
Author:
Recipe type: Dessert
Cuisine: American
Serves: 20
Ingredients
  • 195g Mars bar chopped (approx. 11 bite sized Mars bars)
  • 75g butter
  • 3 cup rice bubbles
  • 200 g milk chocolate
Instructions
  1. Line a square 16 inch baking tray with baking paper.
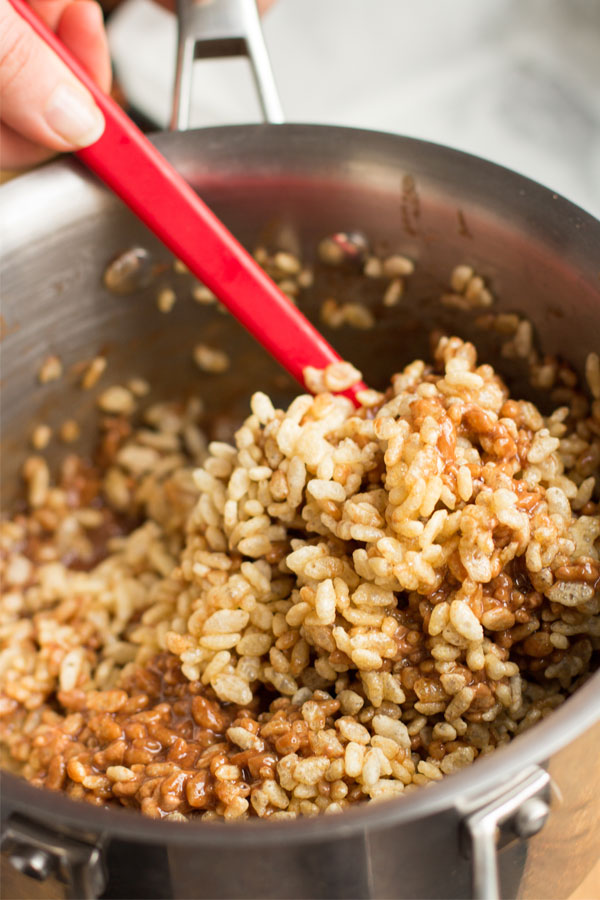
  2. Combine your chopped Mars Bars and butter in a saucepan. Stir constantly over low heat, do not boil. Stir until the mixture is smooth.
  3. Stir in your Rice Bubbles.
  4. Press your mixture evenly into your lined baking tray.
  5. Microwave your chocolate in a small bowl until melted. Use a low setting. Stir every 20-30 secs.
  6. Spread the chocolate nice and even over the slice mixture and refrigerate until set.


Blueberry and Lemon Loaves

Last Updated on June 8, 2017 by Grab Your Spork

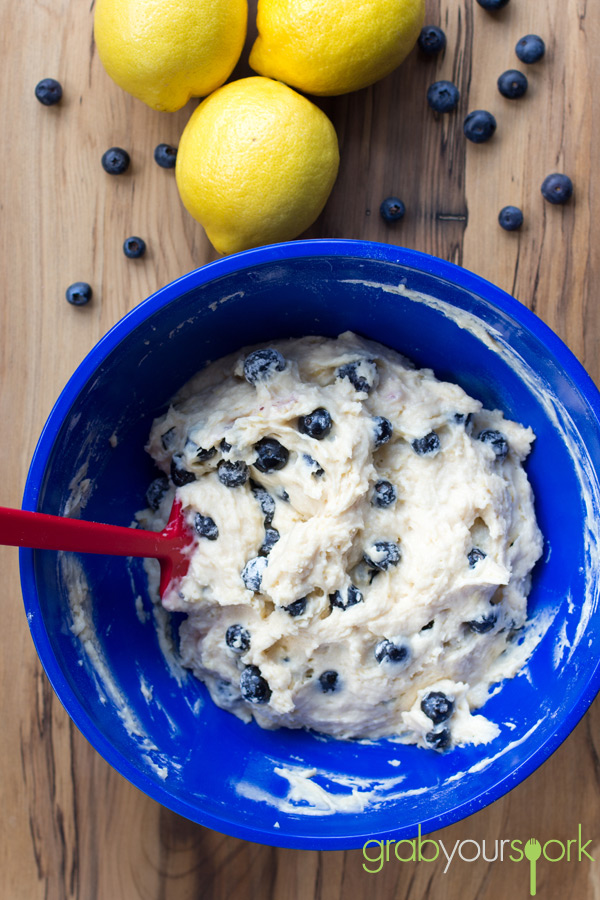
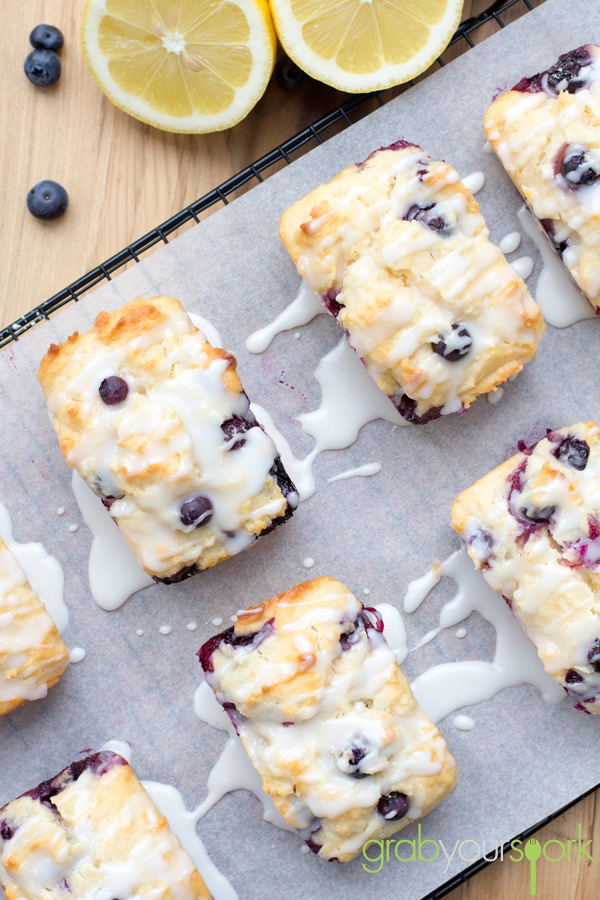
Now for those of you who have seen our recipe for Blueberry and Lemon cupcakes, this is not a repost. It is just a fact we love the combination of blueberries and lemon together! We love them so much we bought a dwarf lemon tree and also a blueberry bush the other weekend. These Blueberry and Lemon Loaves are just so easy and tasty you have to give them a try.

It is currently blueberry season in Australia and at the moment and we cannot resist the punnets when we are at the shops or markets. As a result, we have ended up with an abundance of blueberries in the fridge! For those of you who know Brooke is a fan of all things lemon, there are always a couple of lemons in the fruit bowl as well making this simple recipe a perfect treat to make on a lazy weekend.

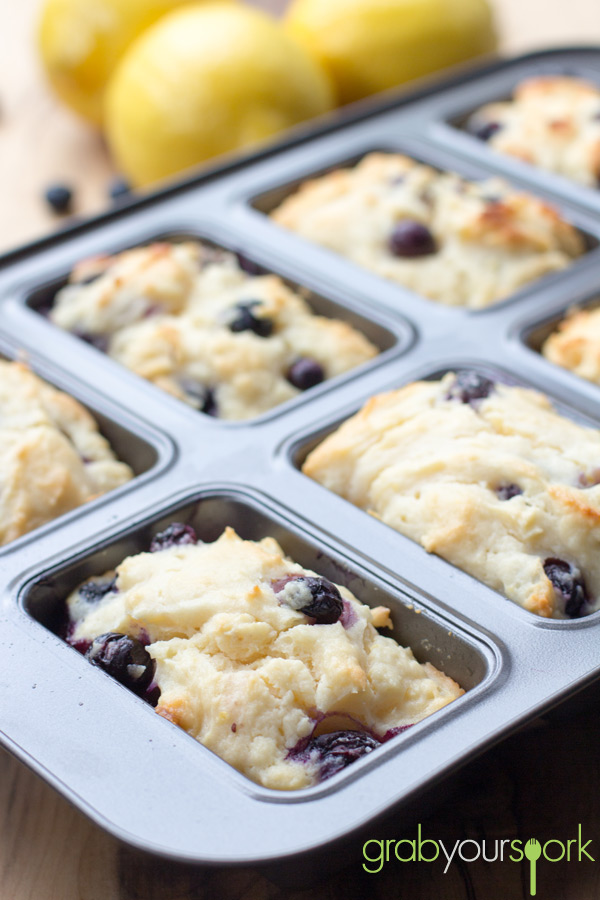
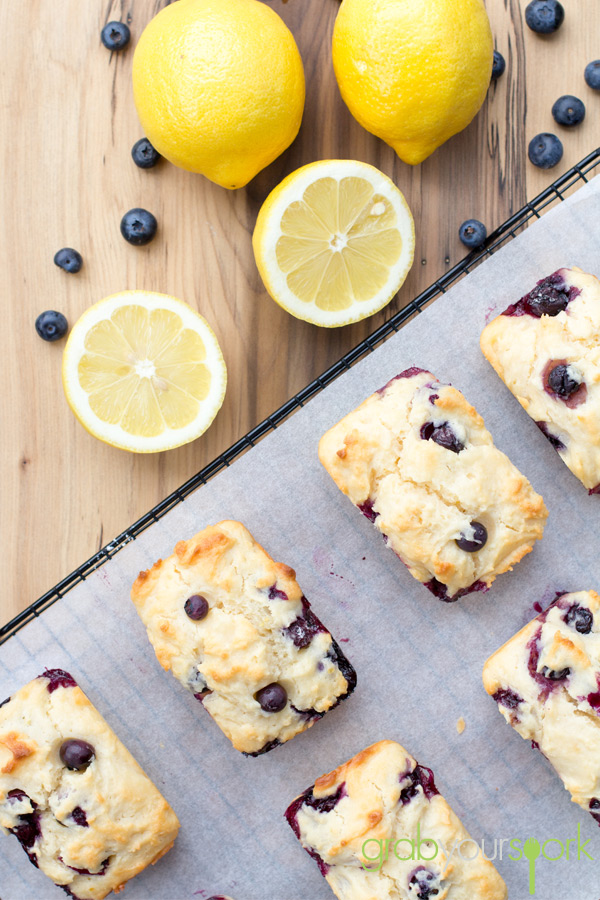
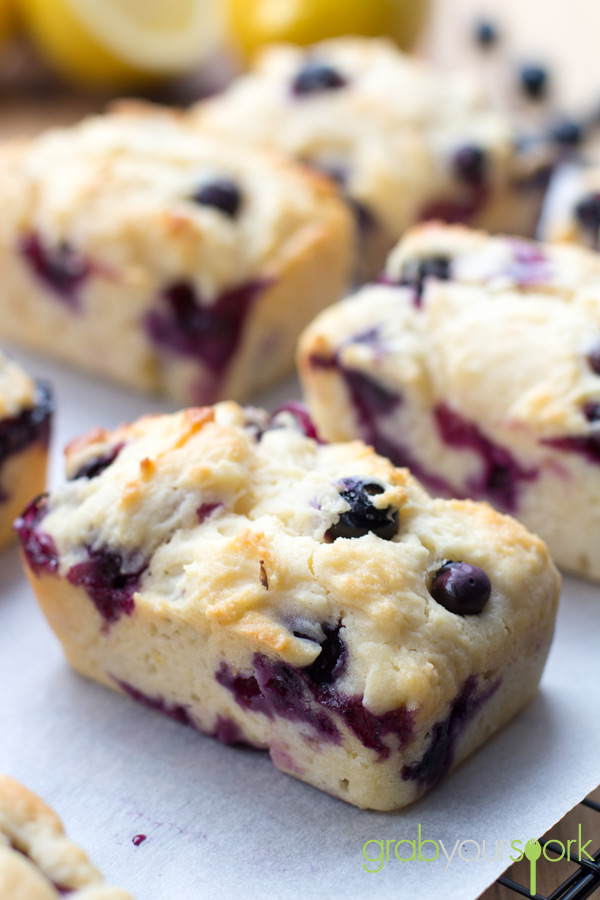
This recipe is courtesy of Live Well Bake Often and is made as one loaf. However, due to time restrictions, we decided to make this into 8 small loaves, which for the two of us works perfectly for a snack to take to work during the week.

Blueberry and lemon loaves

Blueberry and lemon loaves recipes

Blueberry and lemon loaves

Blueberry and lemon cake recipe

Blueberry and lemon loaves

Blueberry and lemon loaves recipe

Tasty Blueberry and Lemon Loaves – Recipe Instructions

Blueberry and Lemon Loaves
 
Prep time
Cook time
Total time
 
Blueberry and Lemon Loaves perfect for a snack to take to work during the week.
Author:
Recipe type: Dessert
Cuisine: American
Serves: 8
Ingredients
  • 2 cups all-purpose flour + 1 tablespoon, divided
  • 2 tsp. baking powder
  • ½ tsp. salt
  • ½ cup. vegetable oil
  • 2 tsp. vanilla extract
  • 2 eggs
  • 1 cup granulated sugar
  • 1 cup plain greek yogurt (or sour cream)
  • Zest & juice of 1 lemon
  • 1 cup blueberries
  • Lemon Glaze
  • ¾ cup icing sugar
  • 1-2 tablespoons fresh lemon juice
Instructions
  1. Preheat oven to 180°C. Spray a 9x5 loaf pan or small 8 loaf tin with cooking spray and set aside.
  2. In a small bowl, toss the blueberries with 1 tablespoon of the flour and set aside (this helps to prevent the blueberries from sinking).
  3. In a large bowl, whisk together 2 cups of flour, baking powder, and salt. Set aside.
  4. In a separate bowl, mix together the oil, vanilla, eggs, sugar, greek yogurt, lemon zest, and lemon juice.
  5. Combine the wet and dry ingredients, just until smooth. Do not overmix or your bread will come out tough.
  6. Lightly fold the blueberries into the batter.
  7. Pour batter into prepared loaf pan and bake for 15- 20 minutes. The loaves will be finished when a skewer inserted into the center comes out clean.
  8. Once loaves are finished, remove from oven and allow to cool for about 10 minutes in the baking tin. Remove from baking tin and transfer to a wire rack to cool completely.
  9. Once loaves are cool, whisk together the icing sugar and lemon juice. Start with half the lemon juice and whisk well. If your mixture is too thick, slowly add the rest of the juice.
  10. Using a spoon, drizzle the glaze on top of your loaves. The glaze should harden up a little more after about 15-20 minutes


Ginger Nut Biscuits

Last Updated on June 8, 2017 by Grab Your Spork

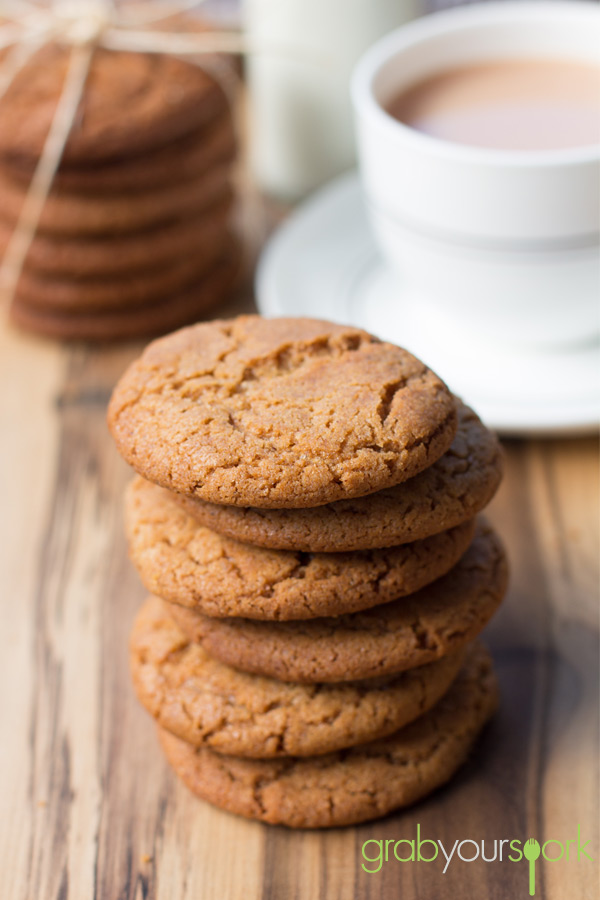
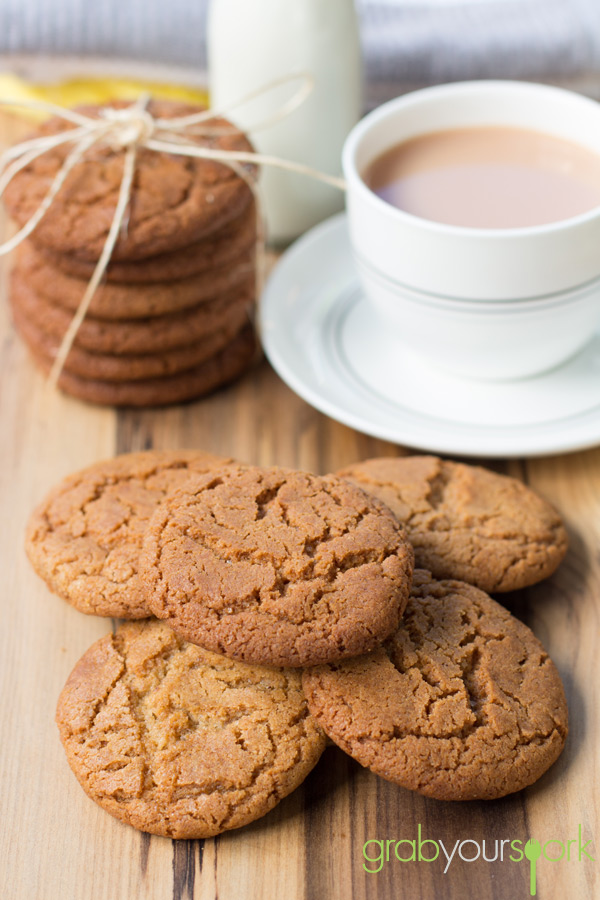
For as long as I can remember my family have been buying ginger nut biscuits. The traditional flavour and tough texture which can withstand a dunking into liquid helped this classic withstand the test of time. While I’m not claiming this recipe is healthy I have recently read about the health benefits of ginger so we have been trying to incorporate it into more and more recipes.

The ginger nut biscuit or ginger snaps as they are often referred to in the U.S. are  simple biscuits flavoured with powdered ginger and usually a variety of other spices, most commonly cinnamon, molasses and nutmeg. They’re fairly spicy biscuits, but the taste develops in your mouth, ending with a wonderful ginger taste. When Brooke makes these biscuits, she uses cinnamon to enhance the spicy flavour, as she is also rather partial to Speculaas, a Dutch spiced shortcrust biscuit.

When baking the biscuits you want them to be a rich golden brown. Cooking for 15 – 20 minutes will leave you with biscuits that are a lovely balance between snap and chew, rather than “teeth-breaking”, like so many store-bought ones. The golden syrup also helps give the biscuit its texture.

The simple ingredients and easy steps make these biscuits the perfect treat to make on a cold winters day to have with a cuppa. Plus your house will smell amazing!

If you love this ginger nut biscuit recipe then be sure to check out our recipes for florentine biscuits, oatmeal raisin cookies, melting moments with jam.
Ginger Nut Biscuits

Ginger Nut Biscuits Recipe

Ginger Nut Biscuits

Ginger Nut Biscuits

Ginger nut biscuits – Recipe Instructions

Ginger Nut Biscuits
 
Prep time
Cook time
Total time
 
The Ginger Nut or Ginger Snap as it is often referred to in the U.S. is a simple biscuit flavoured with powdered ginger.
Author:
Recipe type: Dessert
Cuisine: English
Serves: 24
Ingredients
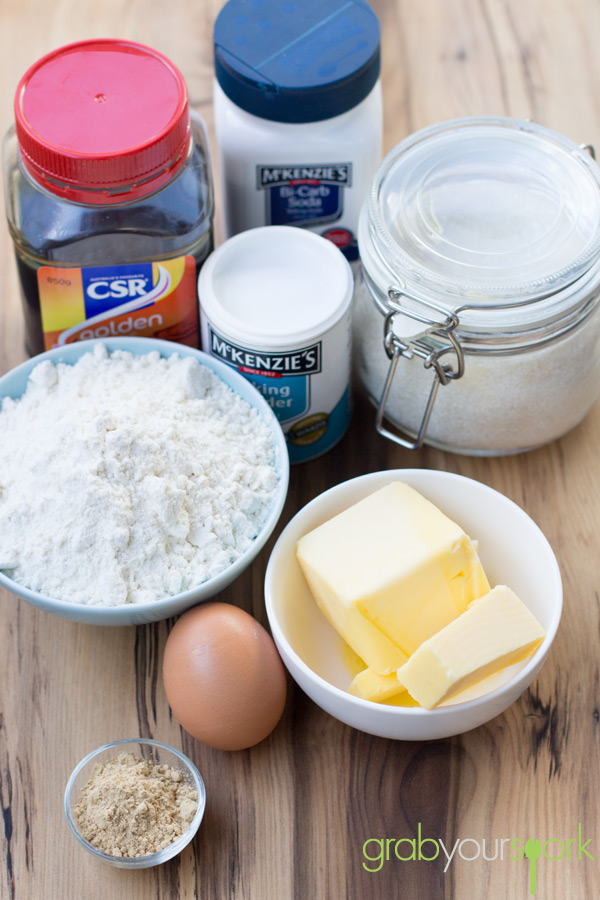
  • 150g butter
  • 250 g sugar
  • 1 tablespoon golden syrup
  • 1 egg
  • 250g flour
  • 1 teaspoon baking powder
  • ½ teaspoon baking soda
  • 4 teaspoon ground ginger
  • 1 teaspoon cinnamon
Instructions
  1. Preheat the oven to 180ºC.
  2. Mix together butter and sugar until pale and creamy.
  3. Mix in golden syrup, egg and combined dry ingredients.
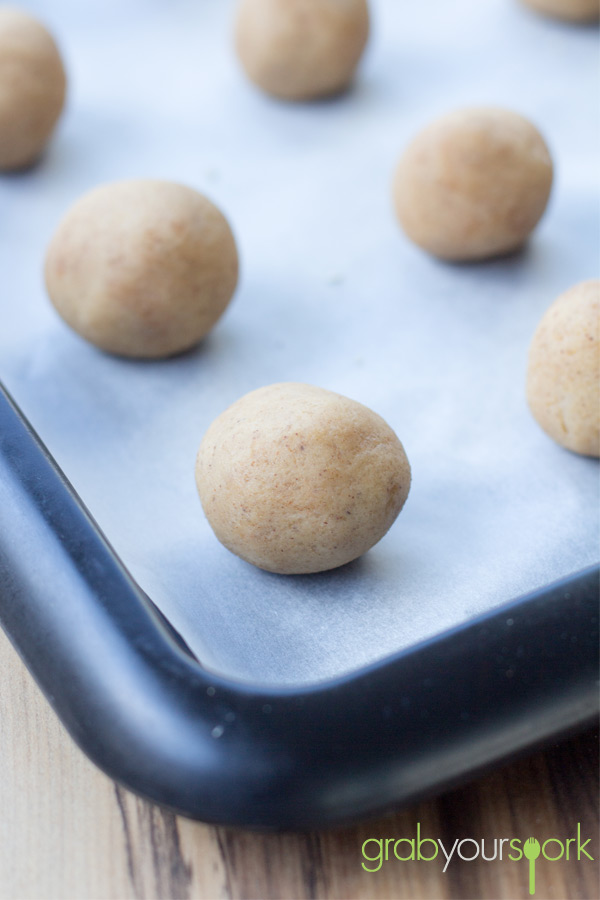
  4. Roll into balls, roughly 1 heaped tablespoon and place on lined baking trays allowing enough room for biscuits to spread. Do not flatten.
  5. Bake for 15 to 20 minutes until rich golden brown.

Grilled Peaches with Ricotta and Balsamic Glaze

Last Updated on June 8, 2017 by Grab Your Spork

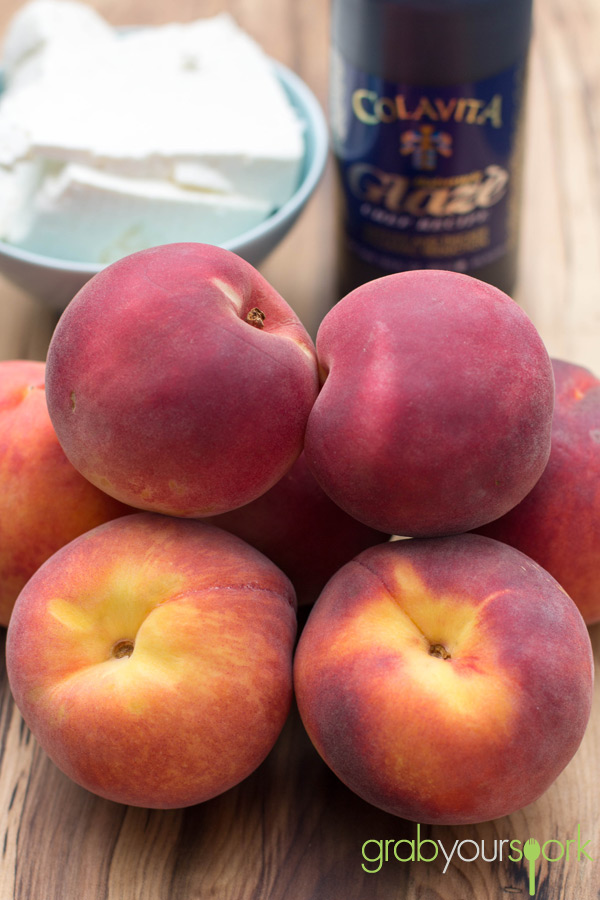
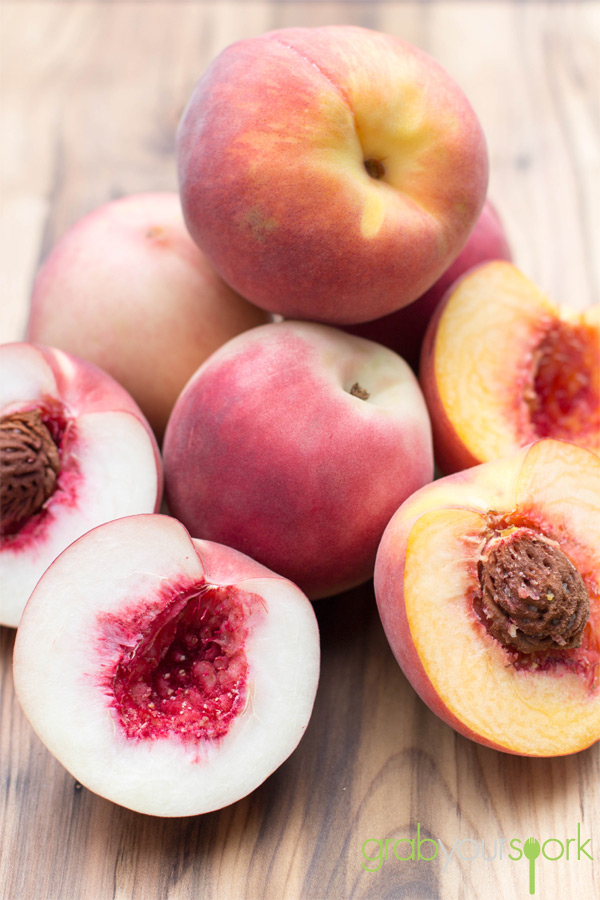
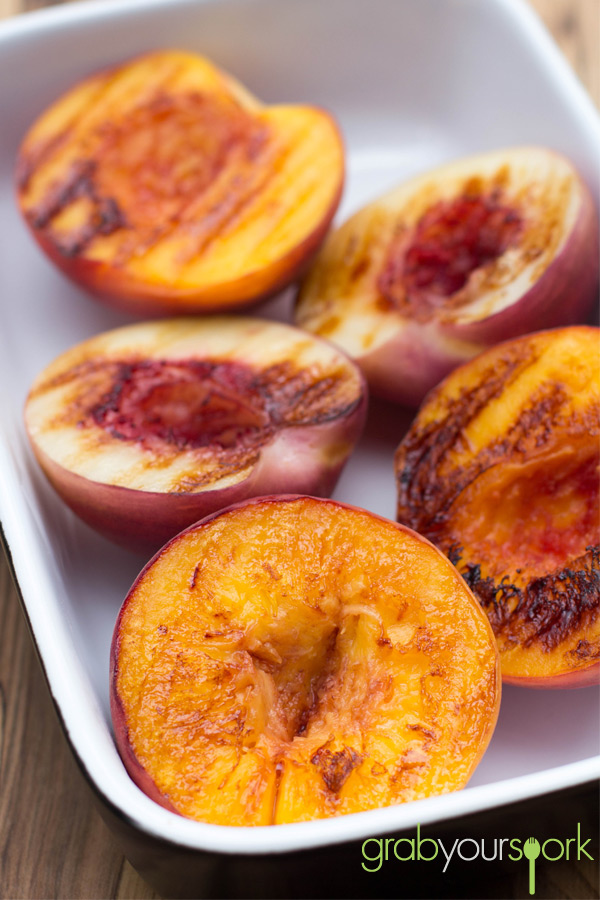
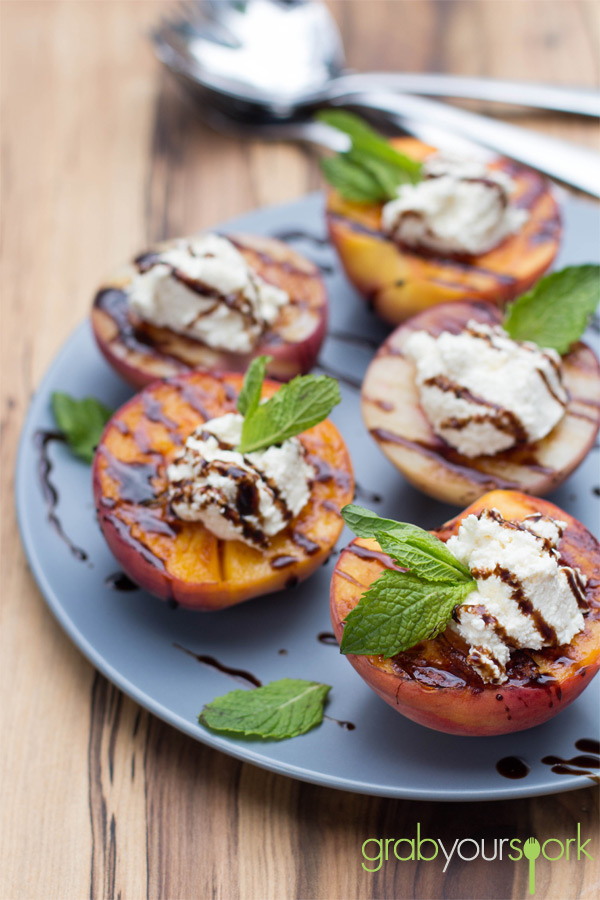
I love stone fruit season and this summer has brought an abundance of local ripe peaches. Brooke is partial to a white peach, while my preference is a yellow peach so we decided to just buy some of each. I’ve got to admit that I had never thought to grill peaches, but when Brooke and I tried some grilled peaches at The Queen Victoria night market they were so good Brooke decided to give them a try at home. These grilled peaches with ricotta and balsamic are simple to prepare and they also look great!

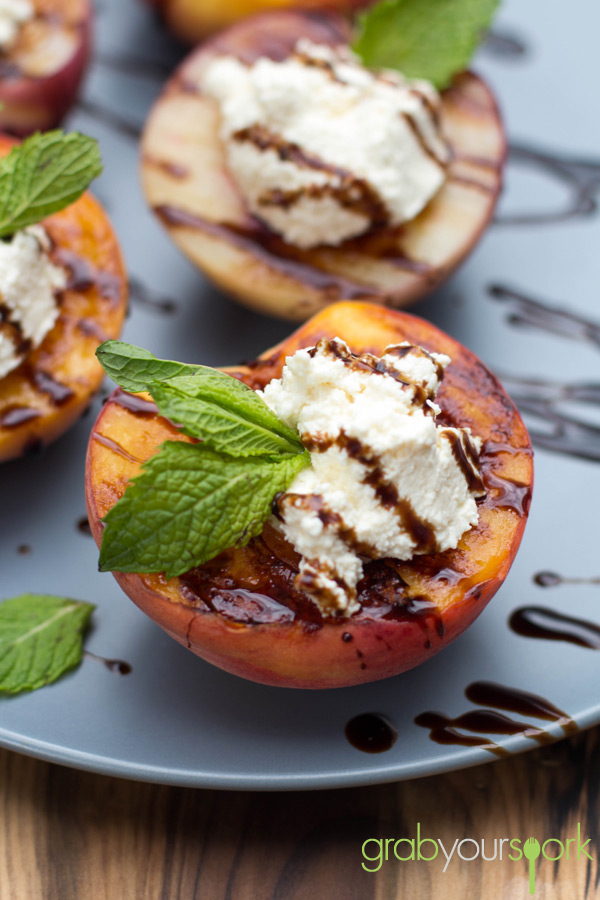
Grilled peaches make an excellent dessert to serve at dinner parties because they are so quick and easy, giving the chef ample time enjoy a wine or two. Topped with fresh creamy ricotta cheese and a drizzling of a balsamic glaze, you will feel spoiled but appreciate how fresh and healthy this dessert is.

If you like fruit-based desserts then be sure to check out our Tasty Apple and Rhubarb Crumble or Fresh Fruit and Custard Tart Recipe.

Ricotta and Balsamic Glaze

Grilled Peaches with Ricotta

Grilled Peaches

Grilled Peaches with Ricotta and Balsamic

Grilled Peaches with Ricotta and Balsamic

Grilled Peaches with Ricotta and Balsamic Glaze
 
Prep time
Cook time
Total time
 
Grilled peaches topped with whipped creamy ricotta cheese and a drizzling of a balsamic glaze and fresh mint to serve.
Author:
Recipe type: Dessert
Cuisine: Australian
Serves: 6
Ingredients
  • 3 ripe peaches, halved with pits removed
  • 1 cup fresh ricotta cheese whipped
  • ¼ cup balsamic vinegar glaze
  • fresh mint
Instructions
  1. Lightly olive oil a grill pan and heat on med-high. When the grill is nice and hot, grill each half peach for 4-5 minutes per side.
  2. Placed peaches on a plate with cut side facing up.
  3. Lightly whip your ricotta in a bowl to make the texture light and fluffy.
  4. Place a dollop of approximately 2 tablespoons of fresh ricotta cheese in the center of each peach half and drizzle with balsamic glaze.
  5. Top each peach half with mint.