French apple cake recipe

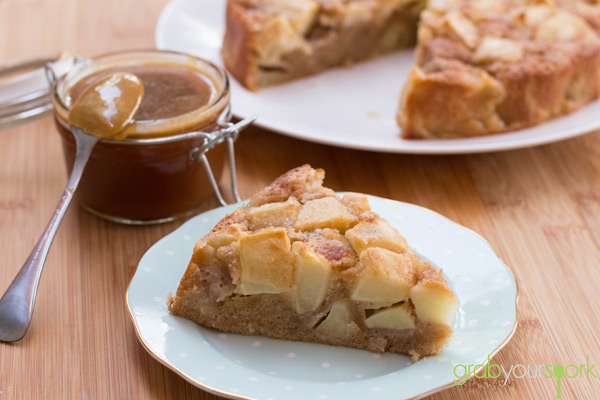
There is something that is so comforting about an a French apple cake – and especially one that is served with warm caramel sauce. Okay maybe the caramel sauce is a bit indulgent considering how delicious the cake is on its own. But if you are looking impress guests or simply feel like a treat, I definitely recommend making the sauce with this easy French apple cake recipe.

If you’re like me and love a classic then you will love this French apple cake recipe. A simple apple cake recipe is a great recipe to keep up your sleeve as apples are something that are available nearly all year round in most countries. Brooke has a few go-to recipes up her sleeve already, however on the weekend she wanted to try something new and came across this delicious French apple cake with fresh apples. If I have my way this cake is definitely going to get added to that list.

This recipe is simple and includes ingredients that nearly all households contain. Yes you may need to take a trip to the liquor store if you don’t have the brandy in your liquor cabinet. However I definitely recommend you add it as adds a nice warmth at the end of each bite and really completes the cake.

It comes together quickly, however you want to make sure you don’t over bake the cake. Simply check around the 50 minute mark with a skewer, and if the skewer comes out clean with no batter then your cake is ready. Be careful not to prick the apples as you go though.

French apple cake recipe adapted via Dorie Greenspan via David Lebovitz  via Sarah at strawberryplum.com

If you like this recipe – then check out our other dessert and sweets recipes – like our recipes for no-bake mars bar sliceginger-nut biscuitseasy raspberry friands, Belgian lemon tea cake or apple and rhubarb crumble.
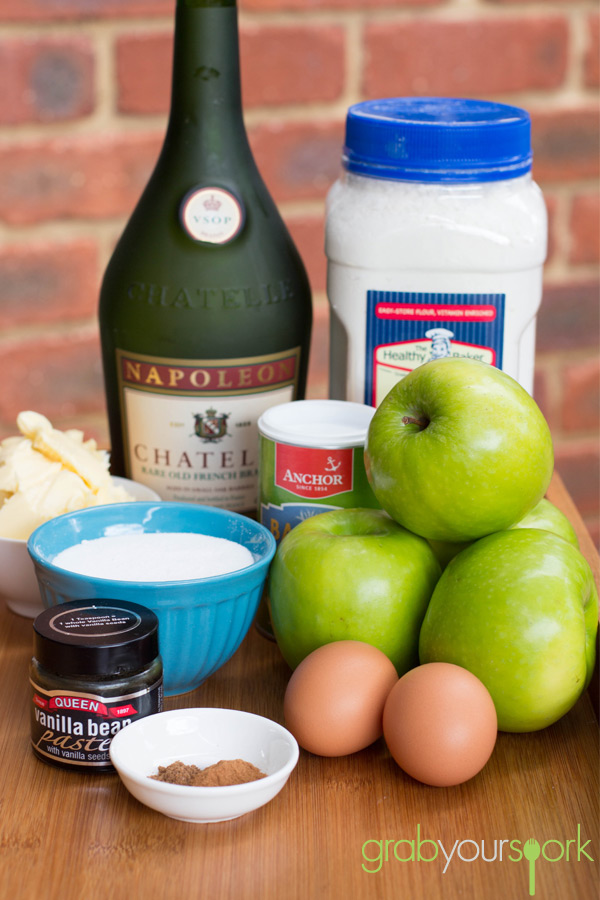
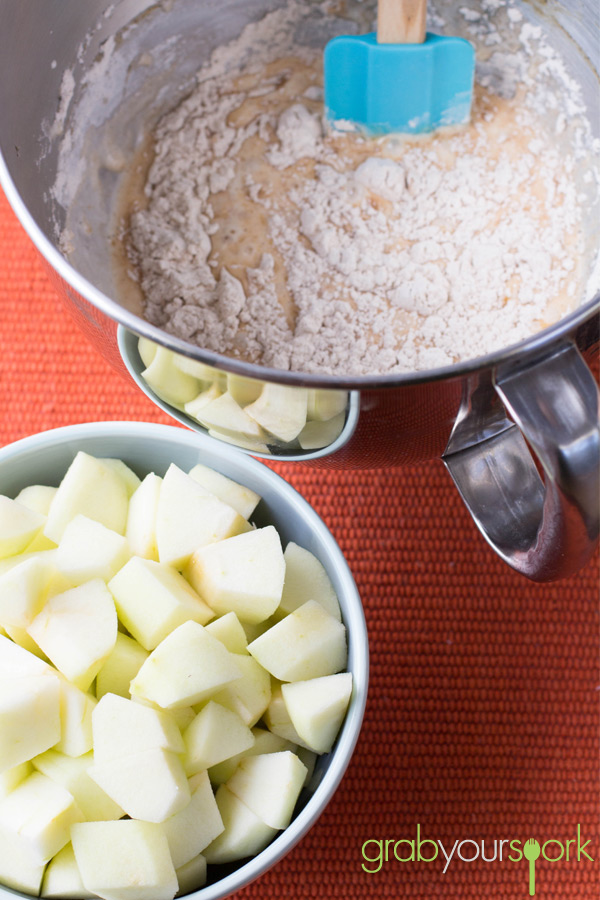
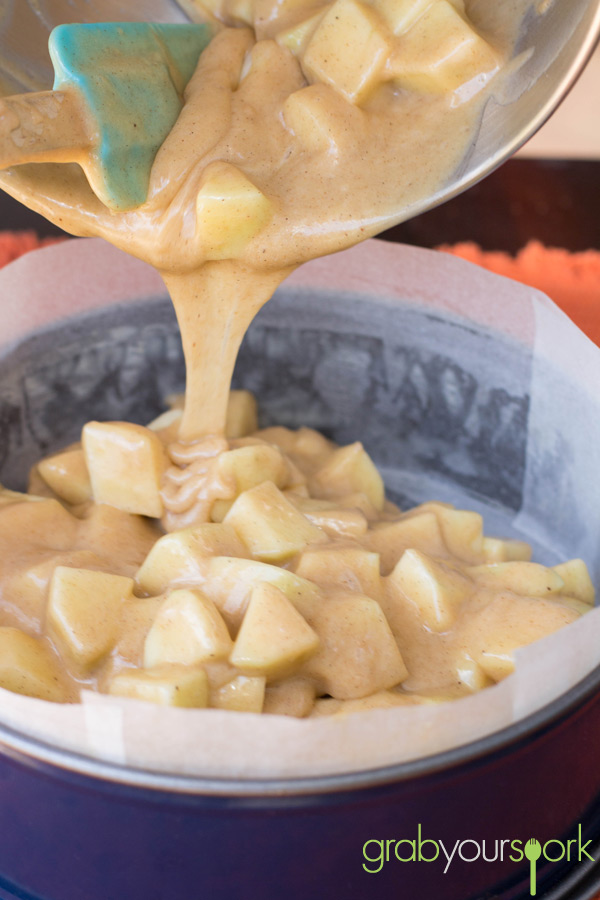
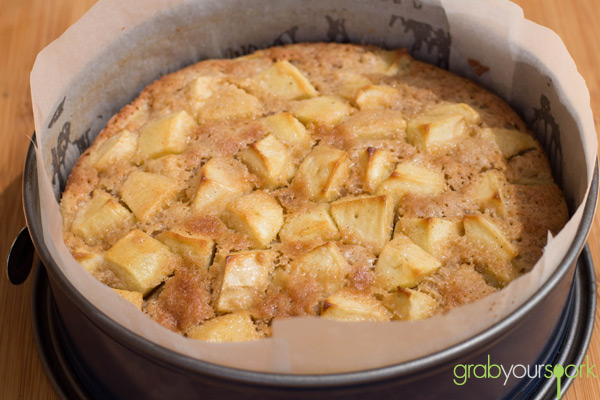
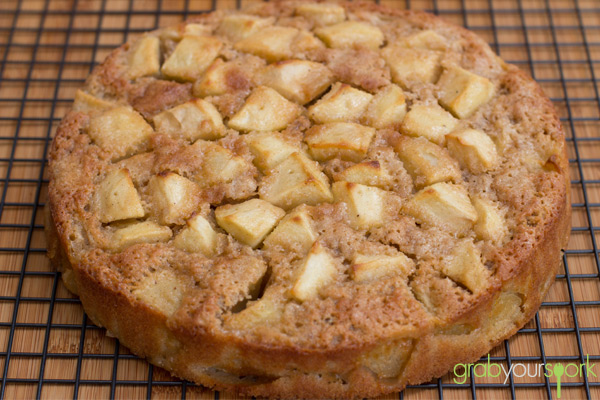
Apple Cake IngredientsFrench Apple Cake Mixture and ApplesFrench Apple Cake BatterFrench Apple Cake in TinFrench Apple CakeFrench Apple Cake with Caramel Sauce

French apple cake with caramel sauce – Recipe Instructions

5.0 from 1 reviews
French Apple Cake
 
Prep time
Cook time
Total time
 
This simple French Apple Cake is incredibly easy yet simply delicious. Enjoy it with this elegant caramel sauce for an extra degree of indulgence.
Author:
Recipe type: Baked Goods
Cuisine: French
Serves: 8
Ingredients
French Apple Cake
  • ¾ cp All-Purpose Flour
  • ¾ tsp Baking Powder
  • pinch of Salt
  • ½ tsp Cinnamon
  • ¼ tsp Nutmeg
  • 2 Eggs
  • ¾ cup Sugar
  • 3 Tbsp Brandy
  • ½ tsp Vanilla Extract
  • 8 Tbsp Unsalted Butter, melted and cooled, plus extra for greasing the pan
  • 4 large Apples (I used 4 Granny Smith), peeled and diced into ½-1 in. chunks
Caramel Sauce
  • ½ cup Sugar
  • ¼ cup Water
  • 3 Tbsp Unsalted Butter
  • ¼ cup Cream
  • ¼ tsp Sea Salt
Instructions
  1. Preheat oven to 180 degrees Celsius. Thoroughly butter a springform pan.
  2. In a medium bowl, whisk together flour, baking powder, a pinch of salt, cinnamon, and nutmeg. In a large bowl, whisk together the eggs and sugar until light and frothy. Beat in the brandy and vanilla.
  3. Stir half of the flour mixture to the egg mixture. Add half of the melted butter, stir, then add the remaining flour, followed by the remaining butter. Fold the apples into the batter and transfer the batter-covered apples to the already prepared pan.
  4. Set the springform pan on a baking sheet and bake until the centre of the cake is set and a tester comes out clean. Mine took approximately 1 hour, 5 minutes, however, baking times are likely to vary based on the size and moisture content of your apples to be sure to keep an eye on your cake.
  5. Let the cake cool for a few minutes in the pan, then run a knife around the edges, and remove the springform. Allow to cool slightly, then serve with ice cream, whipped cream, or crème fraîche and a drizzle of caramel sauce.
  6. While the cake bakes, make the caramel. Place the sugar and water in a large saucepan over medium-high heat and whisk to dissolve. Cook until the mixture become dark amber in color, about 10 minutes. Remove from the heat, stir in the butter, then slowly stir in the cream and salt. Drizzle over cake. Any leftover sauce can be refrigerated and reheated in a water bath to a pourable consistency.
 

Oysters Kilpatrick

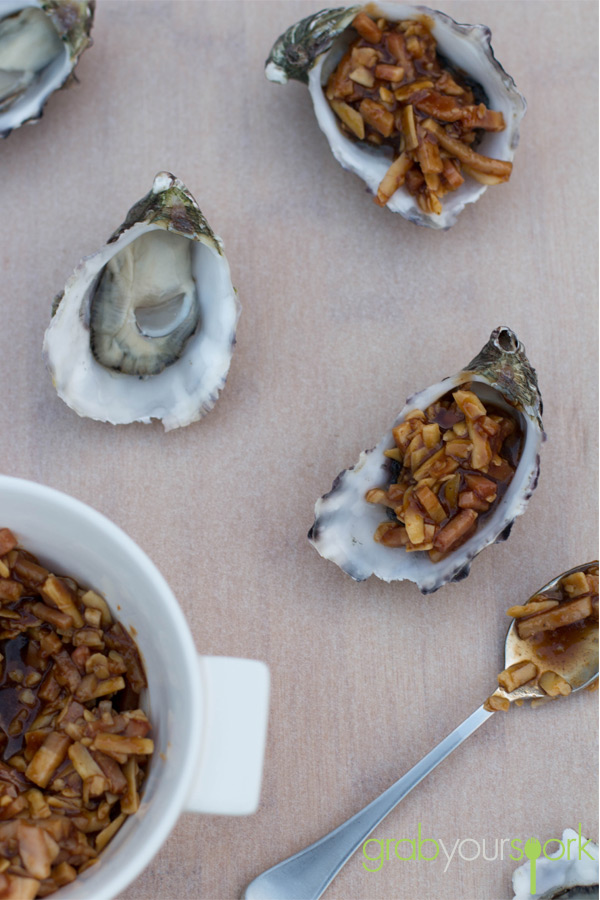
Now I am sure even the thought of an oyster has already turned some of you away, and even for food lover Brooke it pushes the limits. While you real oyster lovers out there would disapprove of cooking or merely dressing an oyster but, for those of you who would prefer to disguise the look of the oyster, oysters kilpatrick is your answer. This oysters kilpatrick recipe is so simple you will wonder why you never tried making them sooner.

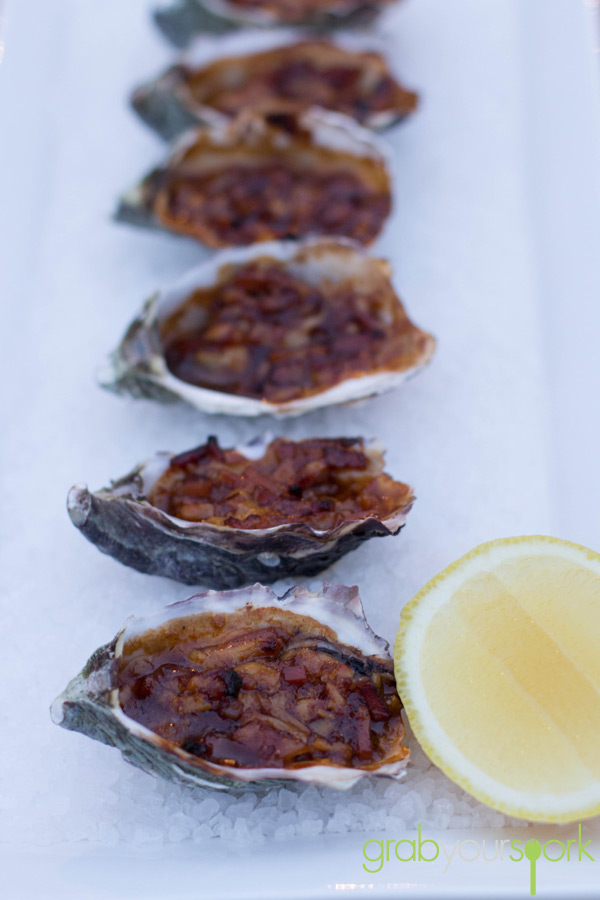
These retro Australian classics are one of my favourite ways to eat oysters, as they contain one of the world’s best ingredients BACON! Yes, it might seem like an odd combination. But I guarantee if you go to a bar or a restaurant in Australia and if they have oysters on the menu, they will have oysters kilpatrick (or Killers) on it too.

Oysters Kilpatrick are so easy to make and take very little time to prepare. For this recipe we used a more traditional method combining Worcestershire sauce, tomato sauce, bacon and wait for it the most odd ingredient cheese! Now some other recipes don’t include cheese, and to be honest I am not sure I will include it next time. However, through including it in the sauce I do find it adds a slight creamy texture to the sauce.

The key to this oysters kilpatrick recipe though is trying to balance the sauce. Even though you’re adding it to the oyster you still want to showcase the natural sweet and saltiness of the oyster. In addition depending on where you buy your oysters from they will vary in size. The trick to remember is to adjust the time accordingly depending how big they are. You only want to warm the oyster, not cook it so it starts to shrink or turns to rubber.

To finish off I like to add a couple of drops of Tabasco to each oyster to give them an extra bit of kick.

If you like seafood then be sure to try our salt and pepper squid recipe.

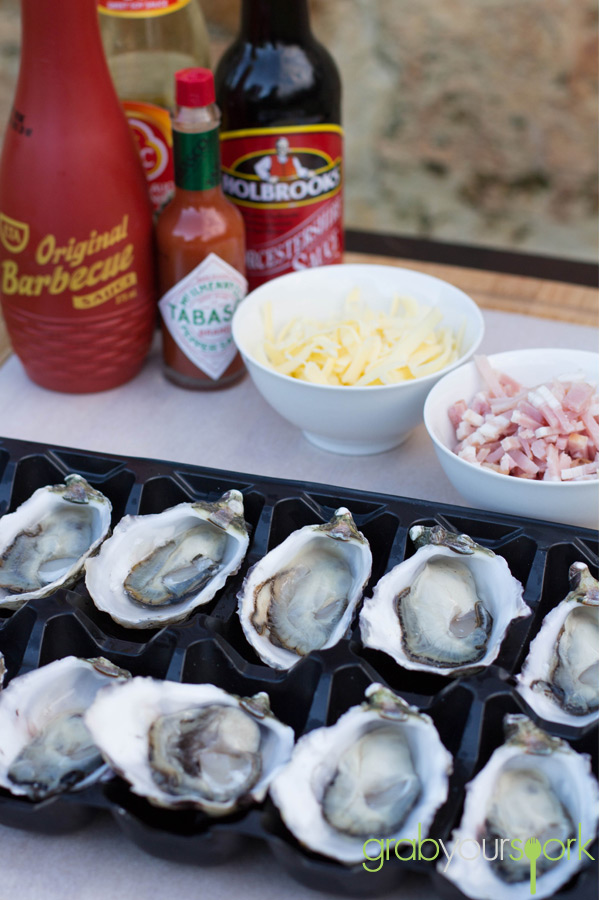
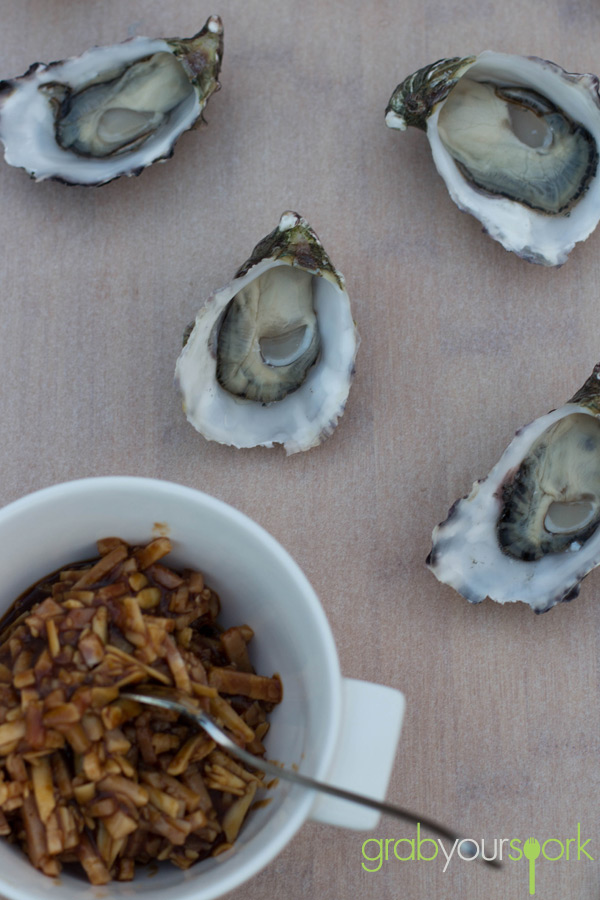
Oysters Kilpatrick IngredientsAustralian Oysters KilpatrickPreparing Oysters KilpatrickOysters Kilpatrick

Oysters kilpatrick – Recipe Instructions

5.0 from 3 reviews
Oysters Kilpatrick
 
Prep time
Cook time
Total time
 
Author:
Recipe type: Seafood
Cuisine: Australian
Serves: 4
Ingredients
  • 40ml BBQ sauce
  • 40ml Tomato sauce (Ketchup)
  • 40ml Worcestershire sauce
  • 20ml Kecap manis
  • 1 tps Tobasco sauce
  • 1½ tps garlic, crushed
  • ¼ tps salt
  • ¼ tps fresh black cracked pepper
  • 1 cup cheddar cheese finely grated
  • 1 cup bacon, finely diced
  • 2 dozen oysters in their shells
  • rock salt to serve
Instructions
  1. Preheat the ove to 180 degrees Celsius.
  2. Mix all the ingredients, except for the oysters in a bowl.
  3. Place the oysters on a wire rack and top each oyster with 1 heaped teaspoon of the mixture.
  4. Cook for approximately 15 minutes.
  5. To serve, line a dish with rock salt and place the oysters on top.
  6. Serve with a check of lemon and tabasco sauce for those who like it hot!


MYO Bruschetta

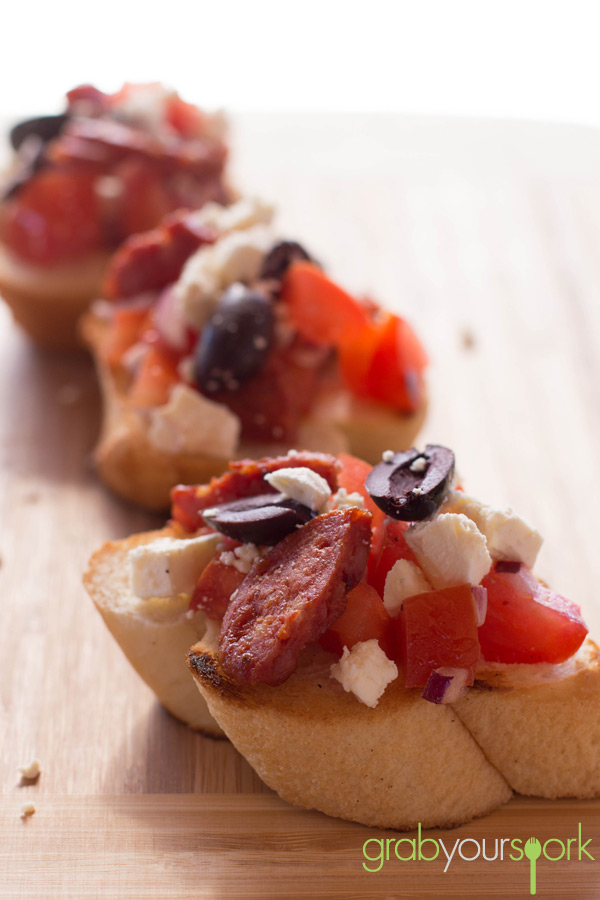
As you know I love anything snack related and bruschetta has to be one of the most simple and flavour packed snacks (or antipasto) you can make. Normally Brooke and I would make traditional bruschetta recipe with tomato, onion, basil and drizzled with olive oil. However on this lazy weekend in winter it wasn’t the best time for buying basil.

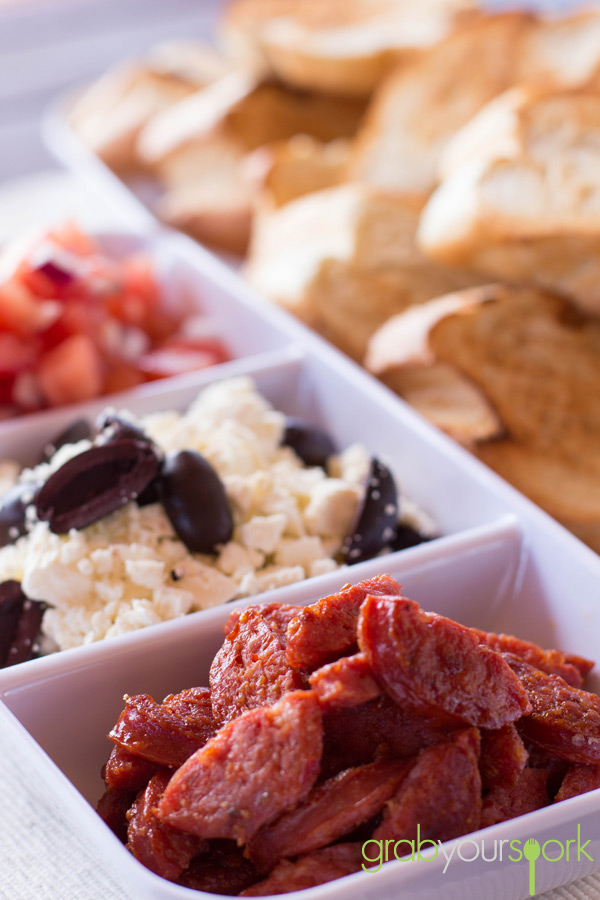
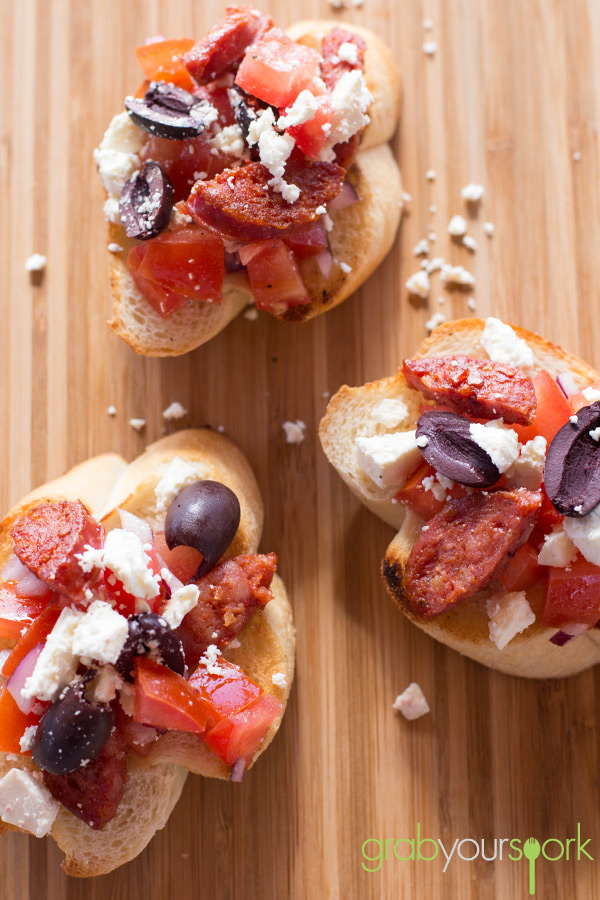
As a result, we started looking for ingredients and opted for non traditional options including chorizo, feta and kalamata olives to add with some fresh tomato and onion for a make your own bruschetta station. Now some of you may be thinking this doesn’t have any resemblance of bruschetta, however there are no rules to say what you can’t use as your toppings. However, I am sure if you love chorizo as much as me you will not doubt the flavour combinations.

Now unfortunately Brooke isn’t the hugest fan of chorizo (weirdo), so to have a bit of fun with it we created a make your own bruschetta. This meant keeping some of the ingredients separate then, each of us could top ours with more of our favourite toppings.

To start we diced the tomatoes, removing the seeds and mixed with some diced onion. To season we used olive oil and a dash of balsamic for a nice tang. Next we simply crumbled the feta and combined this with some kalamata olives. Lastly we cooked off some chorizo. You want to make sure you cut this small enough so it stays on the bread.

To serve we lightly grilled some bread in the pan to crisp it up a little to act as the perfect carrier for this flavour packed combination.

Looking for other great snack recipes then try savoury muffins recipe or baked feta with chilli recipe.

Bruschetta IngredientsMake Your Own BruschettaBruschetta with Olives, Feta and chorizoBruschetta with chorizo, feta and kalamata olivesClint eating Bruschetta

MYO Bruschetta – Recipe Instructions

MYO Bruschetta
 
Prep time
Cook time
Total time
 
Make Your Own Bruschetta with chorizo, feta and kalamata olives.
Author:
Recipe type: Snack
Cuisine: Italian
Serves: 10
Ingredients
  • 100 g Feta
  • 4 Tomatoes, diced with seeds removed
  • ¼ red onion, diced
  • 1 chorizo sausage
  • ¼ cup pitted kalamata olives (in half)
  • 1 Tbsp Olive Oil
  • ½ Tbsp balsamic
  • 1 French stick / baguette
Instructions
  1. Dice the tomatoes and onion, ensuring you remove the seeds from the tomatoes.
  2. Drizzle the olive oil and balsamic over the tomato and onion in a small bowl.
  3. Crumble the feta into another bowl, and add in the olives. Be careful not to crumble the feta too much.
  4. Cut the chrizo into pieces, then cook in a preheated fry pan.
  5. To crisp the bread slightly. Toast off in a pan, or cook under the grill till golden brown.
  6. To serve keep elements separate and allow guests to build their own bruschetta.


Healthy savoury muffins recipe

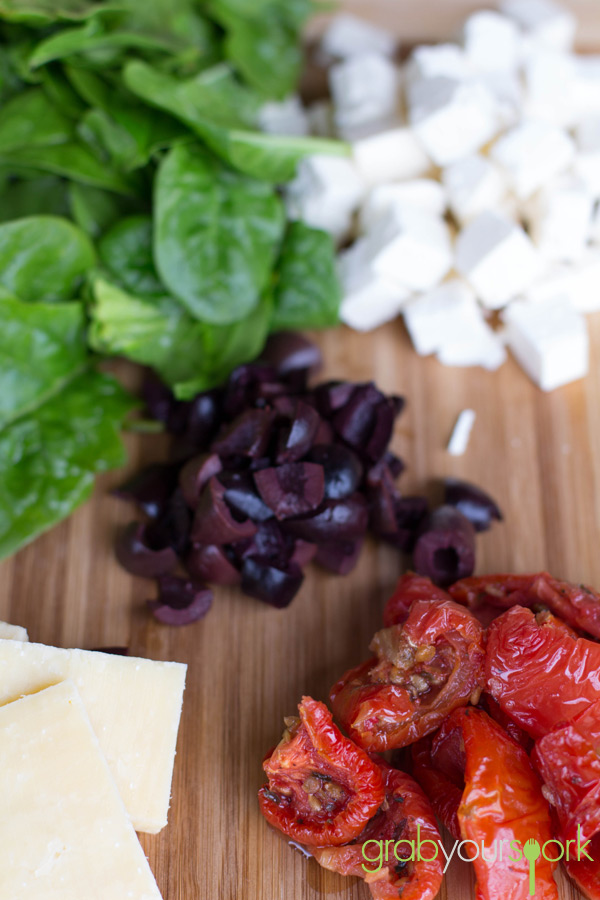
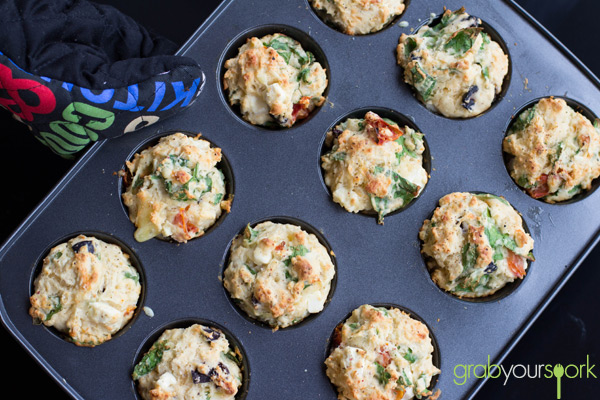
When Brooke told me that she was going to make this vegetarian healthy savoury muffins recipe, at first I was a little skeptical. Anything with the word vegetarian typically has me scrunching up my face as my initial reaction. The thing was, as Brooke began to rattle off the list of ingredients including, Kalamata olives, semi sun-dried tomatoes and feta just to name a few I was quickly being won over by this savoury muffins recipe.

The thing about these vegetable muffins is they are incredibly versatile, you can have them for breakfast, lunch or dinner or even just as a lunchbox snack. Brooke and I took them to work with us throughout the following week. Personally, I couldn’t seem to get past morning tea without eating mine. However, Brooke managed to wait and have hers with soup at lunchtime.

Not only are these really tasty savoury muffins, but they are also really filling and pretty healthy too. The beauty of these muffins is you can also freeze them to eat during the week or whenever you feel like a sugar-free snack.

I can definitely see this healthy savoury muffin recipe becoming a go to recipe in case of a snacking emergency. Although I think next time I will sneakily add some bacon or chorizo while Brooke is preoccupied in the kitchen (Insert evil laugh).

If you have a craving for something sweet and vegetable savoury muffins just won’t cut it then check our recipes for blueberry and lemon cupcakes, pecan slice, apple and rhubarb crumble or no bake mars bar slice.

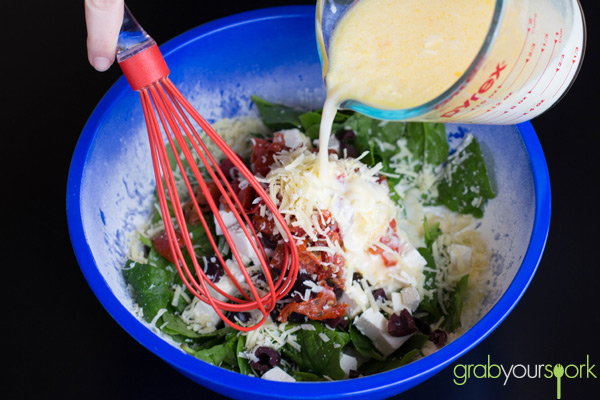
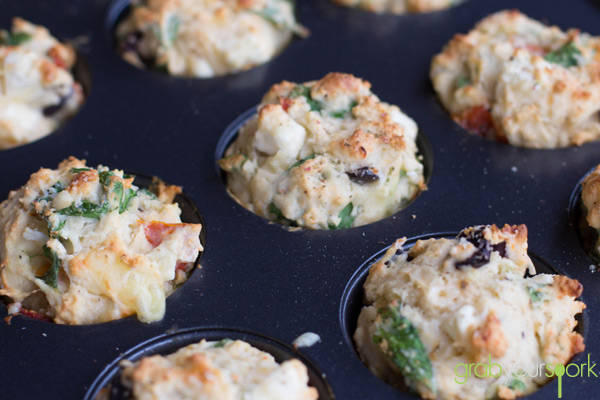
Spinach, Semi Sundried Tomatoes, Feta, Kalamata OlivesSavoury Muffins Mixturehealthy savoury muffins in TinSavoury Muffins in Tinhealthy savoury muffins recipe

Vegetable savoury muffin baking tips

Like all baking practice and precision with measurement makes perfect! However, try these helpful tips to make your vegetable savoury muffins turn out on the first attempt.

Its important that when you wash your baby spinach leaves you remove as much excess water as possible. Running your spinach through a salad spinner is a good way to do this. Alternatively placing the spinach on paper towel and gently drying will work.

Don’t over stir the savoury muffin mixture. Resist the temptation to over beat your batter as this will cause your savoury muffins to become touch. You want the final mixture to be lumpy in texture. It should only take 10-12 strokes with a wooden spoon to blend your mixture.

Don’t skimp of the vegetables. If you don’t like on of the veggies, don’t just leave it out but instead replace it with an alternative.

Thoroughly grease the muffin tin before adding the batter. They tend to turn out better without paper cases or muffin cups. We recommend that you spray the pan with canola oil however you also could use olive oil.

Keep an eye on the baking time. Because of the variation in the water content in your ingredients and because all ovens are different you want to monitor them closely. If you take them out too early your savoury muffins could be uncooked in the middle. Bake them too long and they can become dry. Use a skewer to test your savoury muffins a couple of minutes before the end of the bake. If your skewer comes out clean then they should be perfectly cooked.

How to store your savoury muffins

Once you’ve made such great savoury muffins you will be keen to ensure you get to enjoy them all. While to some that could mean trying to eat as many as soon as possible if you store them properly they can be enjoyed over a longer period of time. These are our tips for storing muffins;

Leave your savoury muffins for around 3-5mins after cooking to allow them to firm up before you transfer to a cooling rack.

The muffins you don’t eat warm, ensure they cool completely on a wire rack. Storing your muffins when they are even a little bit warm will result in condensation which you need to avoid, or you will be left with soggy muffins.

Depending on how many muffins you have made you may either want to store dry, refrigerate or freeze your muffins.

We always like to freeze savoury muffins, its such a great way to store them and if they are properly frozen they will be good for at least 2 months (but will remain safe well past then). For best quality we like to individually wrap muffins in clingfilm and then transfer them into containers or Ziplock freezer bags. To reheat – just pop them out of the freezer and place them back in the muffin tin. Reheat at 170c (350f) until heated through. Alternatively, allow them to thaw and reheat them in the microwave.

You can refrigerate them muffins, however this tends to alter the texture of the muffin and we don’t recommend this.

Storing muffins at room temperature is better than refrigeration when it comes to retaining the quality of the flavour. The best way to store them is to line an air tight container with kitchen paper, and place them on top, if you have two layers worth then add another sheet of baking paper in between before seeling the lid. The paper should help to avoid any moisture build up. If you live in a warm climate I recommend only storing for a day or 2 at room temperature. Make sure you freeze them if you don’t think they will be gone in 2 days

Savoury muffins recipe instructions

4.7 from 3 reviews
Savoury Muffins
 
Prep time
Cook time
Total time
 
Yummy savoury muffins with Kalamata olives, semi sun-dried tomatoes, spinach and feta and more.
Author:
Recipe type: Baked Goods
Cuisine: Australian
Serves: 12
Ingredients
  • 2½ cups self-raising flour
  • ½ bunch spinach
  • 150g feta cheese
  • ½ cup semi-sundried tomatoes
  • ¼ cup Kalamata sliced olives
  • 2tbspn parmesan
  • 1⅓ cup milk
  • 50g melted butter
  • 1 egg
Instructions
  1. Preheat oven to 200c and brush a 12 muffin pan with canola oil.
  2. Sift the flour into a large bowl. Add shredded spinach, crumbled feta cheese, chopped sundried tomatoes, olives, parmesan and stir to combine. Whisk together the melted butter, milk and egg until just combined and add to the dry ingredients. Mix together.
  3. Spoon mixture into prepared pans. Bake for 20 minutes. Turn onto a wire rack to cool. Serve warm with some butter or avocado if you prefer. Yum!
Notes
You can easily change the filling to whatever you like – bacon, corn, asparagus, fresh tomato etc.


Passionfruit Marshmallows

After being given a bag of home grown passionfruit, Brooke and I thought for a while about what we could make with this delicious tropical fruit. We wanted something that would showcase the sharp and tangy flavour of this amazing fruit. After searching for a while on a couple of sites we came across passionfruit marshmallows.

Brooke made caramel swirl marshmallows at Christmas time last year, and let me tell you homemade marshmallows cannot compare to the store bought ones!

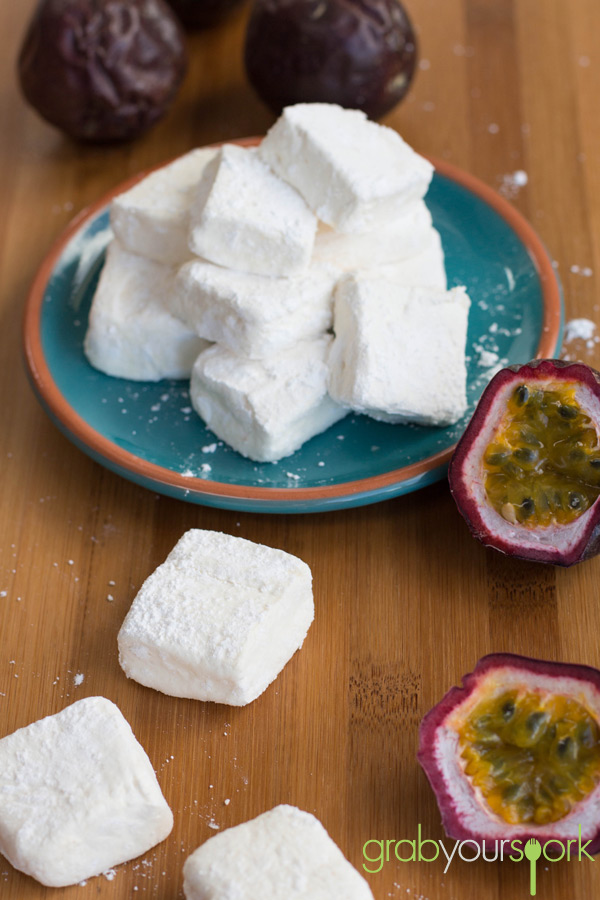
This recipe is adapted from one we found on Gourmet Traveller (via Neil Perry’s Rockpool recipe). The recipe is a little more complicated then our other recipes, however you will be left with little pillows that are so soft and light. With the mix of the passionfruit, it gives these marshmallows a refreshing taste and the smell is incredible!

We were lucky enough to be given more then enough fresh passionfruit, however given the cost of these delights in the shops you can easily use tinned pulp.

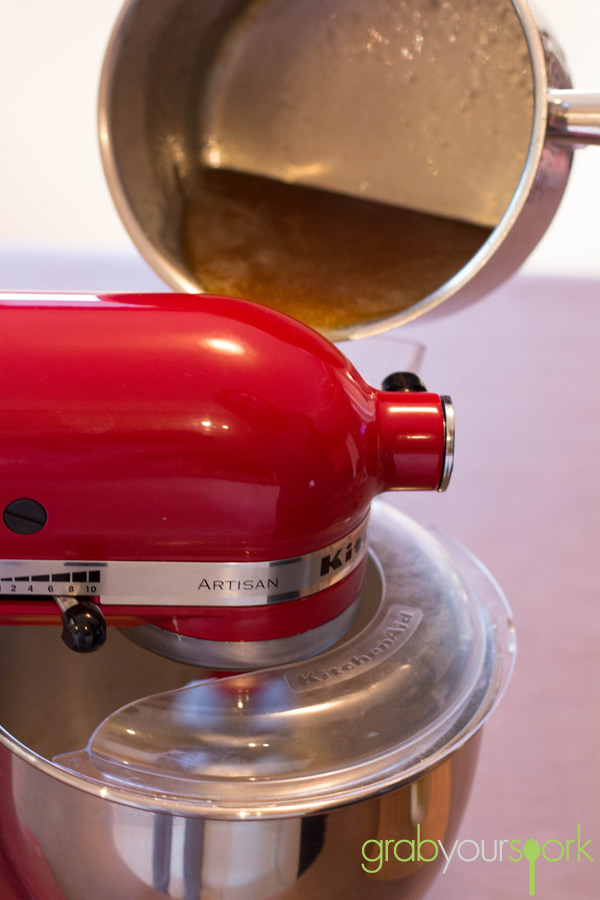
On a side note please be careful when adding the hot sugar water and the passionfruit together as it creates a rather large reaction. Which if you are like us can really catch you a bit off guard!

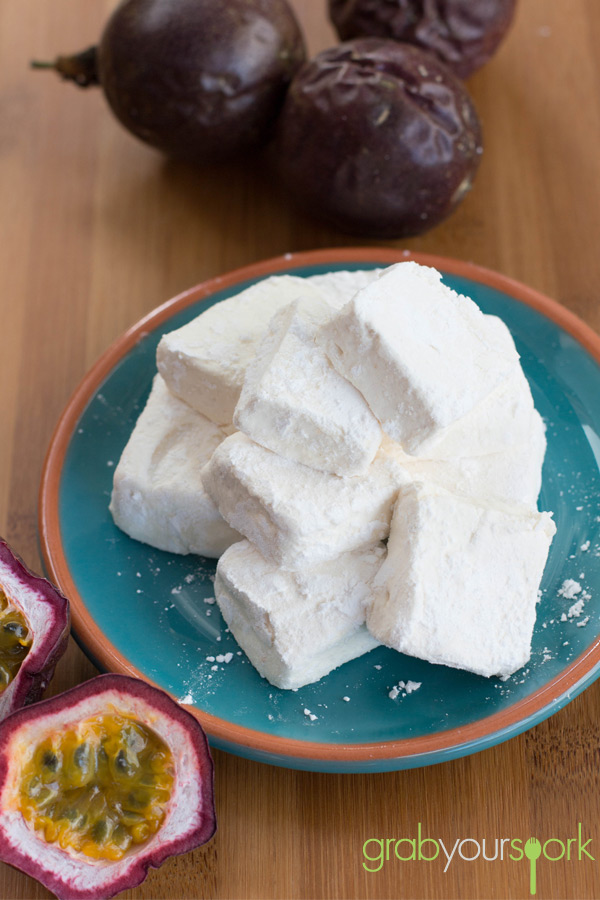
Overall these passionfruit marshmallows may leave you in a sugar coma, but they are definitely worth the sticky mess you will be left with.

For other sweat treats checkout our choc mint fudge recipe or toffee apples recipe.

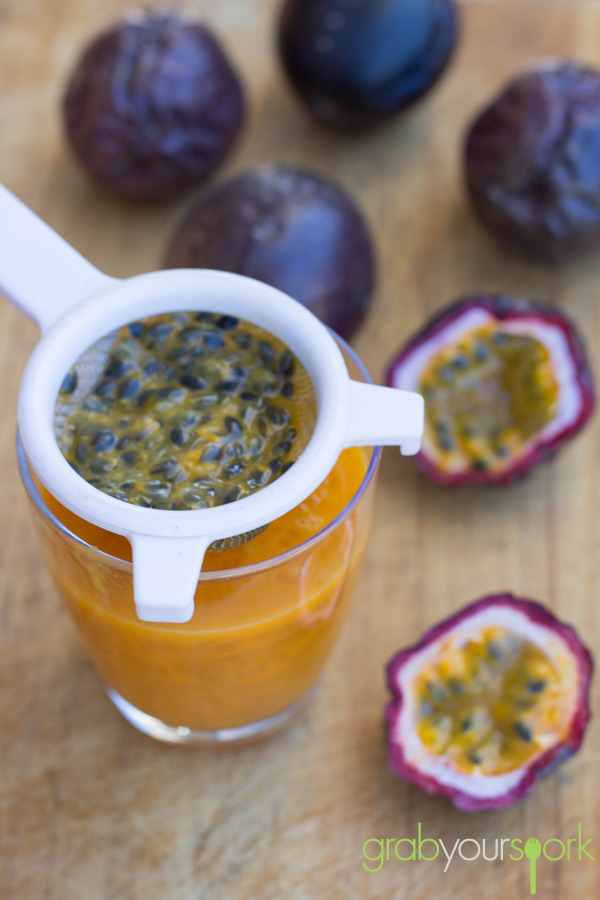
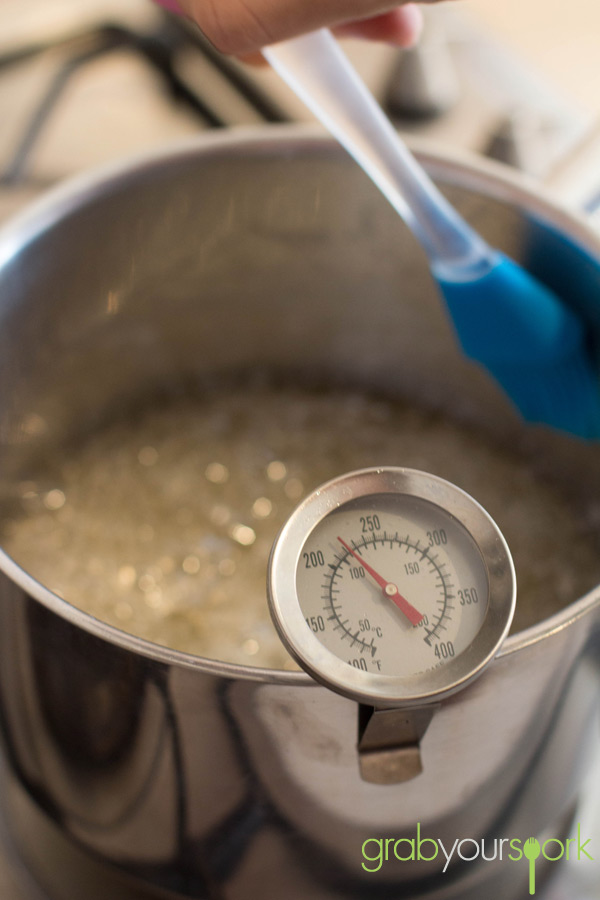
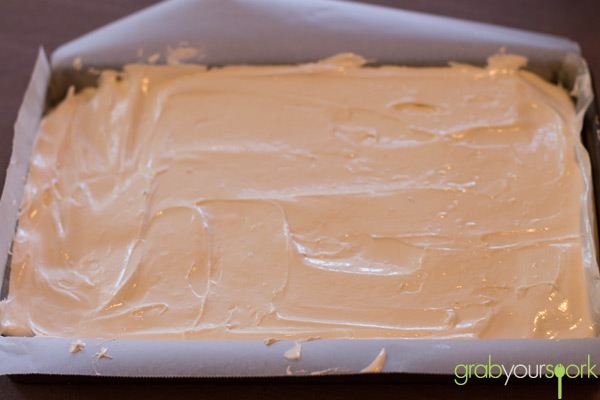
Passionfruit PulpSugar SyrupMixing Passionfruit MarshmellowsPassionfruit Marshmallows MixturePassionfruit MarshmallowsPassionfruit Marshmallows

Passionfruit marshmallows – Recipe Instructions

5.0 from 1 reviews
Passionfruit Marshmallows
 
Prep time
Cook time
Total time
 
Light and fluffy marshmallows with a tropical passionfruit twist.
Author:
Recipe type: Dessert
Cuisine: French
Ingredients
  • 180ml strained passionfruit juice (about 10 passionfruit)
  • 20g powdered gelatine
  • 500g caster sugar
  • 1 cup water
  • 2 eggwhites
  • Snow sugar, for dusting
Instructions
  1. Lightly grease and line a 17.5cm x 25cm shallow cake pan and dust base liberally with snow sugar.
  2. Combine passionfruit juice and gelatine in a bowl and set aside.
  3. Combine caster sugar and 1 cup water in a saucepan and cook over low heat, stirring, until sugar dissolves, then increase heat to medium and cook for 5-10 minutes or until syrup reaches 125’C on a sugar thermometer.
  4. Remove from heat, add passionfruit mixture to syrup and stir until gelatine dissolves.
  5. Meanwhile, using an electric mixer, whisk eggwhites and a pinch of salt until frothy.
  6. Gradually add passionfruit mixture, whisking continuously on medium speed until mixture has doubled in size, then slowly decrease speed and mix until mixture is warm (about 40’C).
  7. Pour into prepared cake pan, and, using a spatula, spread evenly, then dust top liberally with snow sugar. Stand at room temperature for 3 hours or until firm.
  8. Using a sharp knife, cut marshmallow into 2.5cm squares and roll in snow sugar to coat. Store in an airtight container between sheets of baking paper at room temperature for up to 2 weeks.
Notes
If your knife is sticking too much when you are trying to cut the marshmallow, either sprinkle come icing sugar over the knife, or warm the knife in hot water for ease of cutting.